ornament or any other air-driven aquarium accessory. Ensure that
the airline tubing has no restrictions or kinks.--
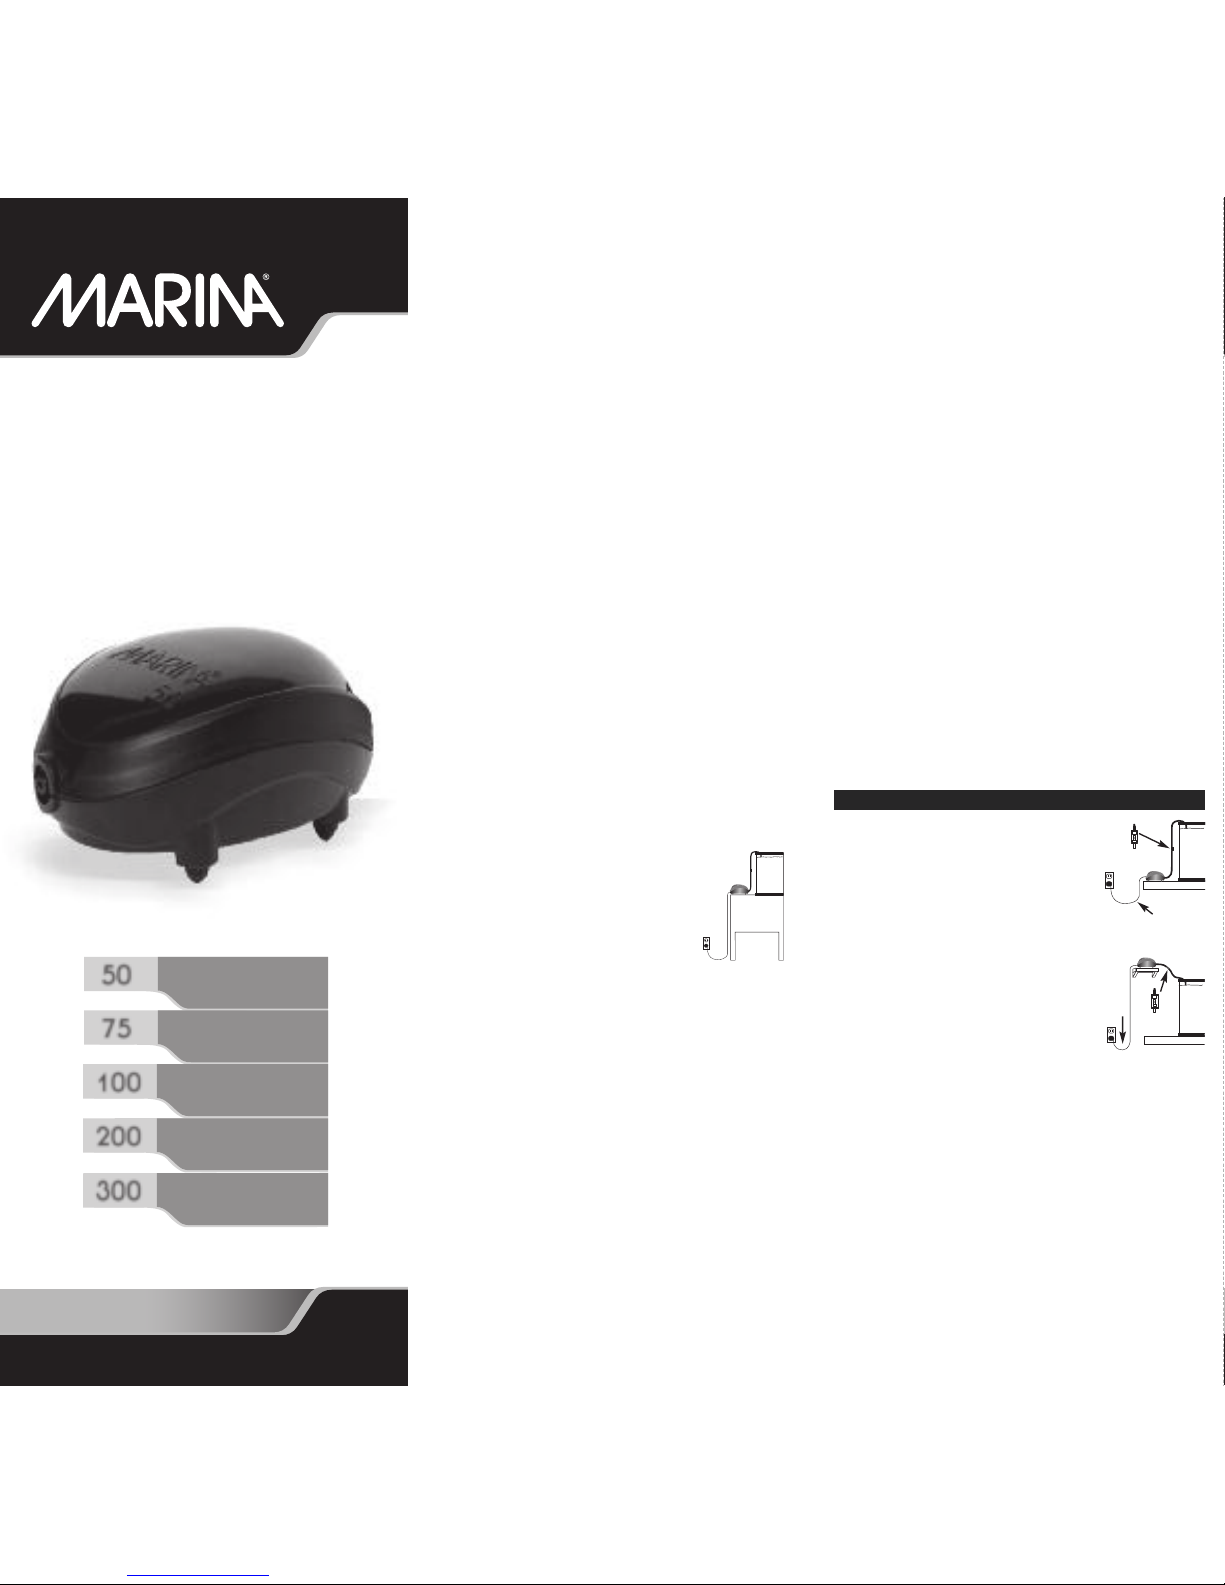
3.
Plug air pump into outlet. Be sure to allow for a
“drip loop”
.
IN TALLATION TIP :
• The pump should be placed in a location which is dry and relatively
free from dust. Do not place the air pump on carpet, as fibers
might collect on pump and clog free-flowing air from entering
pump. This will decrease the air output, cause overheating and
reduce the service life of the pump.
• Air control valves with multiple outlets may also be used to power
additional apparatus in the aquarium. When using multiple air
valves, it is recommended to have one more outlet than required
by the accessories; this will be used to bleed over production of
air due to back pressure build up. Please refer to BACK PRESSURE
section for more information about back pressure.
• Air Pumps can be used to operate a variety of aquarium accessories
such as air stones, corner filters, under gravel filters, and ornaments.
Follow installation instructions for your particular aquarium
accessory product.
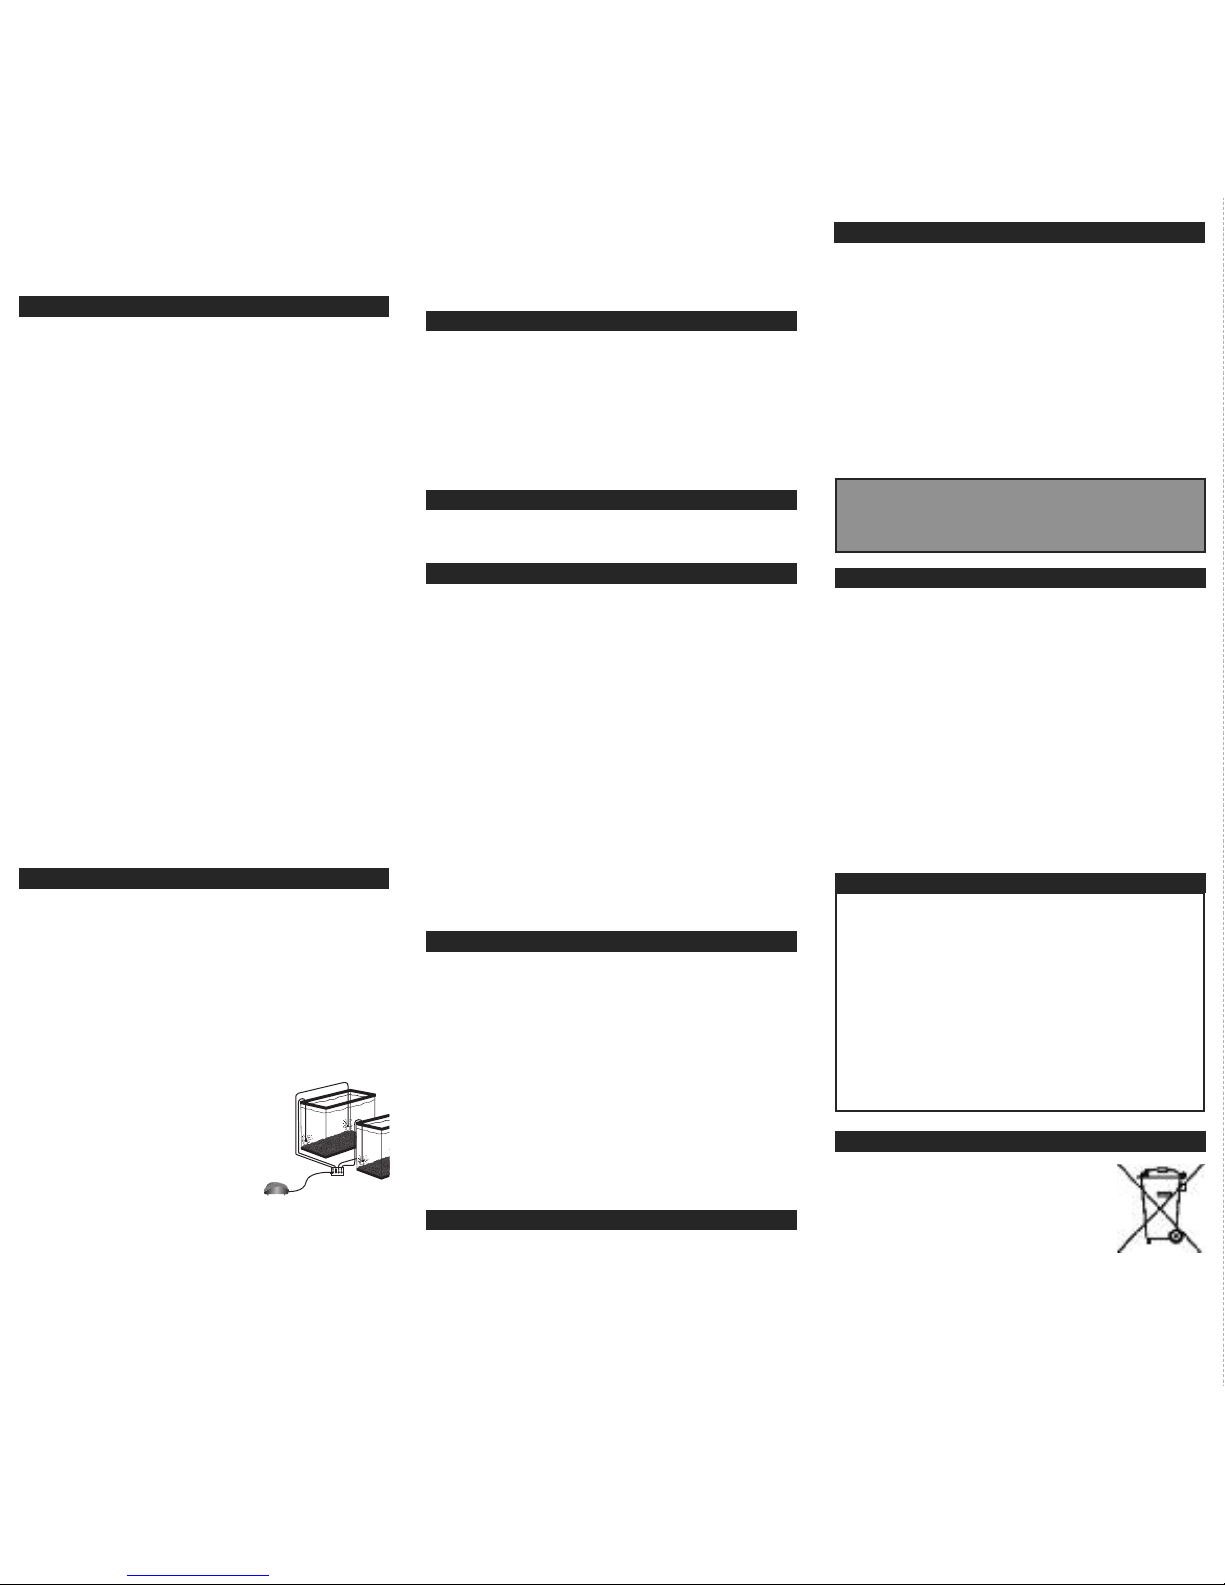
CAUTI N:
Care must be taken during installation to ensure that
water cannot siphon out of the aquarium through the air hose and
damage the air pump. To prevent back-siphoning when removing
the filter, air stone, ornament or any other air-driven aquarium
accessory from the aquarium, do the following:
1.
Install a Check Valve.
2. Leave pump running while you disconnect tubing from pump.
Disconnect tubing and tape this end of the tubing to the very top
frame of your aquarium.
3. Filter(s), air stone(s) and other air-driven ornaments can now be safely
removed from your aquarium.
AIR FLOW ADJU TMENT
In order to achieve correct airflow, a balance between the valve setting
and the pump output is necessary. The ideal setting is obtained by
minimum back pressure or non restriction of flow of air. ever physically
restrict the output of the pump. Restriction causes damage to the
diaphragm (see BACK PRESSURE section for more information). Adjust
air valve output as required (Sold separately).
To regulate air volume using an air control valve with multiple outlets,
it is recommended to have the last valve available to release excess
air pressure build up (see BACK PRESSURE section for more
information). In regulating the air pressure,
it is best to work from the valve farthest
from the input of the air valve. Remember to
have the last valve completely closed so as
not to lose any air pressure. Proceed to make
adjustments on the remaining valves. Once
the adjustments are complete, slowly open
the last valve to the point where no loss of air output is noticed from
the items controlled by the other valves. To achieve and maintain an
equal balance of air pressure to the accessories in the aquarium,
further adjustments of the air valve may be required depending on the
items powered by the air pump.
Note:
If the first valve on the air control assembly is fully opened, air
volume to the remaining outlets will be reduced.
To alleviate excess air pressure or overproduction of air, it is
recommended to open the last valve every 2 weeks or when required.
In doing this, you will increase the life of the pump and diaphragms
by preventing premature wear.
BACK PRE URE
Back pressure is the buildup of pressure on the diaphragm due to
restricted air flow. This occurs when excess air is produced by the air
pump, or when the air channels are inadvertently blocked.
Back pressure over time resulting from clogged air stones or other air
system blockages and restrictions will cause the diaphragm to expand
or rupture. An expanded diaphragm leads to a loss of air volume while
a rupture results in the total loss of air.
MAINTENANCE (EXTERNAL APPEARANCE)
Remove dust and grime with a soft, damp cloth. Do not immerse
pump in water. Do not use detergents.
AIR TONE, AIRLINE, AND ORNAMENT MAINTENANCE
This pump requires no regular internal maintenance during its life.
The rest of the air system should be periodically checked and cleaned.
• Airlines should be carefully inspected whenever standard aquarium
maintenance is performed.Adjust, or if required, replace all sections
which are pinched, kinked, or otherwise damaged.
• All attached air-driven aquarium ornaments should be regularly
maintained. Algae growths should be removed from moving parts
and kept as clean as possible. Internal air tubes should be cleaned.
• Air stones should be kept clean and free of debris or algae build-up.
The ideal situation is to replace them every month, alternating with
an extra set which has been dried over that period and cleaned before
being placed in the aquarium.
Two complete sets of air stones alternately changed each month will
extend the life of the air stones and help keep back pressure to a minimum.
Clogged air stones and air-driven aquarium ornaments will lead to low
air pressure output and also reduce the life of the diaphragms.
TROUBLE HOOTING TIP
If the air pump fails to produce air, check the following:
1.
Ensure that the air pump is plugged in.
2.
Ensure that there are no blockages in the air hose assembly and
that all valves allow air passage. If no air is produced by the
accessories in the aquarium, remove the air line from the pump and
ensure that air is being produced.
3.
If the air pump produces no output, the most common problem
encountered with any air pump is a ripped or weakened diaphragm.
Remove airline. Unplug appliance. Inspect the diaphragm for tears
or rips. Any opening in the diaphragm will make it impossible for
the pump to produce air for aeration purposes.Always inspect the
diaphragm first before replacing other parts in the pump.
REMOVING THE PUMP
Important:
Whenever the air pump must be shut off and removed
from the aeration system,
always
take off the airline before the pump
is unplugged. This will prevent water from siphoning back into the
pump. If the airline cannot be removed before unplugging the power
cord, raise the pump above the water level.
REPLACEMENT PART
Repair kits for all wearable parts are available for all Marina Air Pumps.
These can be easily obtained at your local aquarium and pet supply
store. Failure of the electric coil or any other electrical part requires
proper service, and should be returned to the manufacturer for repairs
or replacement (see warranty for full details).
A-18033 50 Repair kit
A-18034 75 Repair kit
A-18035 100 Repair kit
A-18036 200 Repair kit
A-18037 300 Repair kit
FOR AUTHORIZED GUARANTEE REPAIR ERVICE:
For Authorized Warranty Service please return (well packaged and by
registered post) to the address below enclosing dated receipt and
reason for return. If you have any queries or comments about the
operation of this product, please let us try to help you before you
return the product to your retailer. Most queries can be handled
promptly with a phone call. When you call (or write), please have all
relevant information such as model number, age of product, details
of aquarium set-up, as well as the nature of the problem.
UK: Rolf C. Hagen (UK) Ltd,
Customer Service Department
California Drive, Whitwood Ind Est., Castleford, West Yorkshire
WF10 5QH
Call Customer ervices on 01977 556622 Between 9:00 AM
and 5:00 PM,Monday to Friday (excluding Bank Holidays).
WARRANTY
RECYCLING
This symbol bears the selective sorting symbol for
waste electrical and electronic equipment (WEEE).This
means that this product must be handled pursuant to
European Directive 2002/96/EC in order to be recycled
or dismantled to minimize its impact on the environment.
Check with your local Environmental Agency for possible
disposal instructions or take to an official council registered refuse collection
point. Electronic products not included in the selective sorting process
are potentially dangerous for the environment and human health due
to the presence of hazardous substances.
To register your warranty on line or for more
information on this and other products go to
www.hagen.com
The Marina air pump is guaranteed against defects in material or
workmanship under normal aquarium usage and service for 2 years.
We offer a 2 year guarantee on all non-replaceable rubber parts
which means that the air pump will be repaired or replaced at the
manufacturer’s discretion, free of charge, when the complete pump
is returned with proof of purchase and postage paid. This warranty
does not apply to any air pump that has been subjected to misuse,
negligence, or tampering. o liability is assumed with respect to
loss or damage to livestock or personal property irrespective of the
cause thereof.
Ver: 38/10-UK