CT SERIES COUNTERTOP OVENS 4
DELIVERY AND INSPECTION
All Marsal ovens are shipped in containers to prevent damage. Upon delivery of your new oven:
• Read the notice on the outside carton regarding damage in transit.
• Inspect the shipping container for external damage. Any evidence of damage should be noted on the
delivery receipt which must be signed by the driver.
• Uncrate the oven and check for internal damage.“Concealed Damage”, damage discovered after open-
ing the crate(s), must be reported immediately to the carrier. The carrier will perform an inspection of
the damage and furnish forms for the consignee’s claim against the carrier. Retain all packing material-
including outer carton until the inspection has been completed.
Marsal Pizza Ovens cannot assume responsibility for loss or damage suered in transit. The carrier assumed
full responsibility for delivery in good order when the shipment was accepted. We are, however, prepared to
assist you if ling a claim is necessary.
OVEN LOCATION
The well planned and proper placement of your oven will result in long term operator convenience and
satisfactory performance. Adequate air space must be provided for proper venting of the controls and provi-
sions must be made for venting of the cooking vapors. The oven must be installed in a well-ventilated area
and following minimum clearances must be maintained at all times:
• A 2” minimum air space MUST be left between BOTH SIDES and REAR of the unit and any wall to allow
adequate ventilation for the cooling of the controls.
• Be sure to place the oven in an area which is accessible for proper operation and servicing.
• Keep the area around your oven free and clear of all combustible materials.
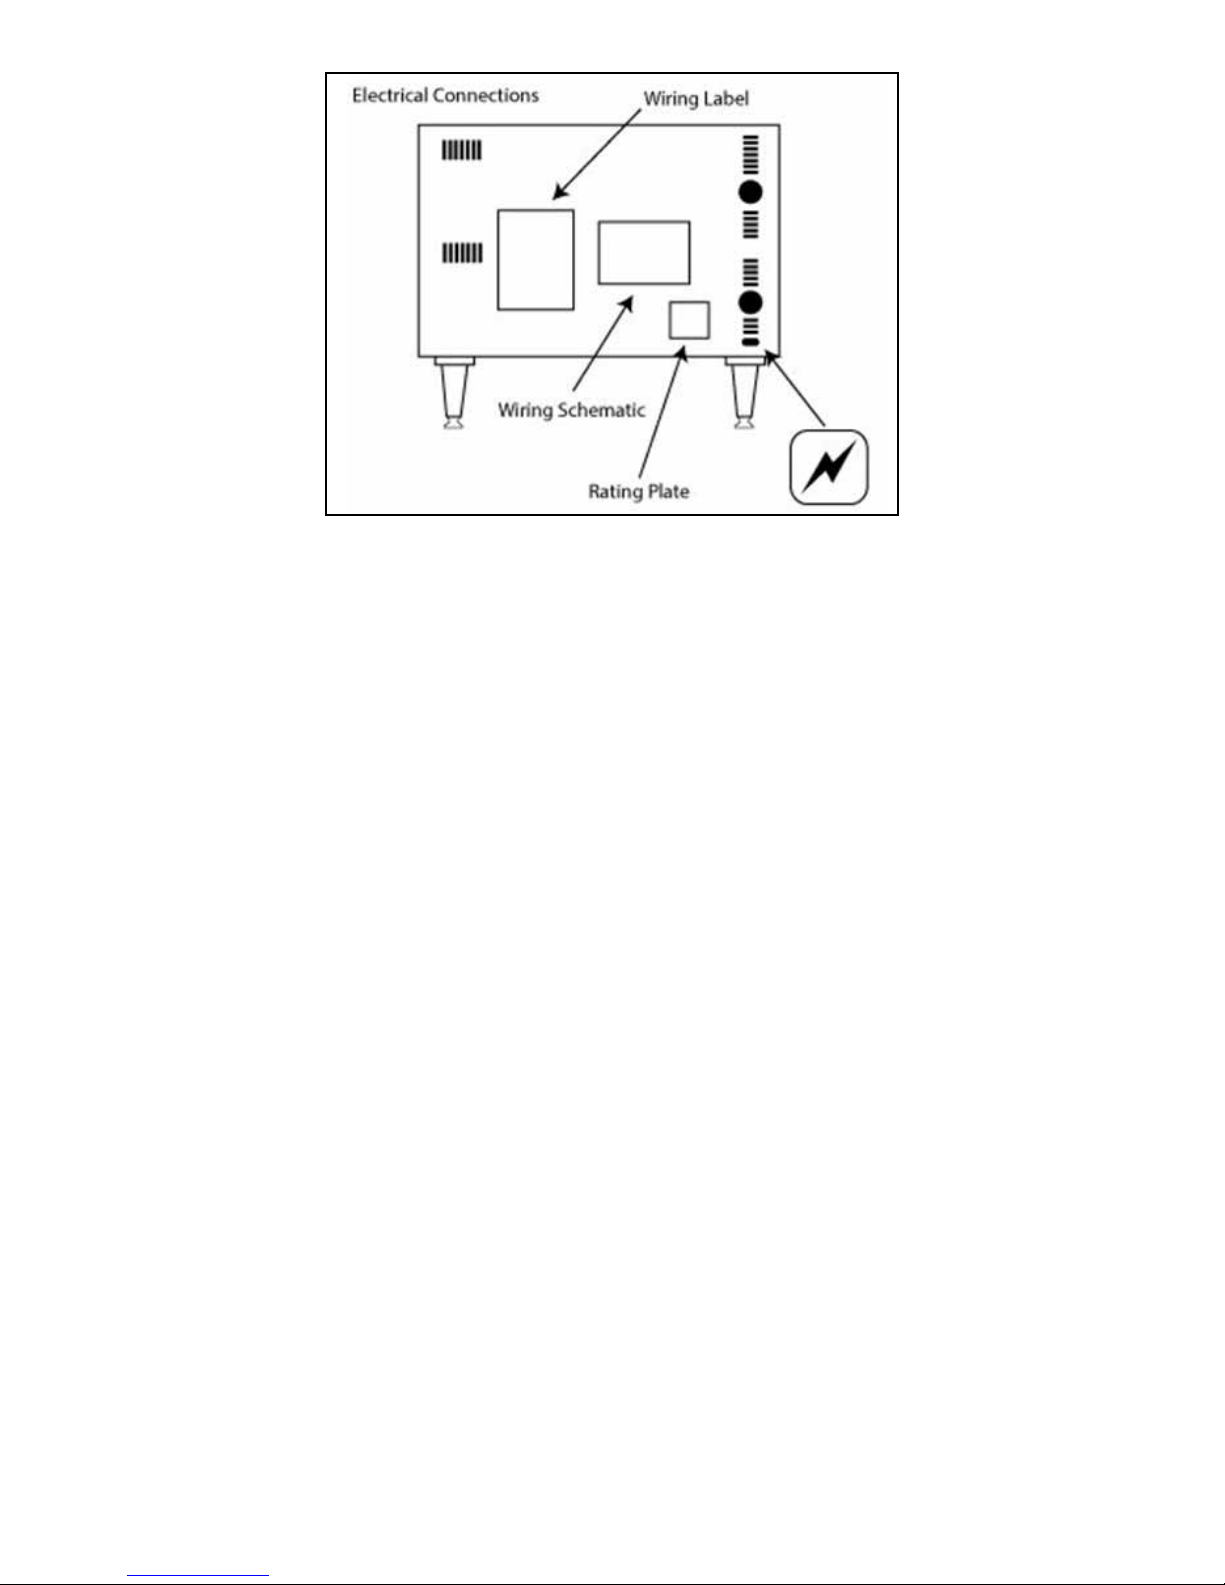
ELECTRICAL CONNECTION
Ovens are supplied for operation on 208 volt or 220-240 volt installation. The thermostat, indicator light and
related switches are interconnected through one power source supplied to the oven.
Before making any connection to this oven, check the rating plate attached to the body back to assure that
the voltage, phase and KW rating are compatible with the electrical supply.
All ovens, when installed, must be connected and electrically grounded in accordance with local codes, or in
the absence of local codes, with the National Electrical Code, ANSI/NFPA 70-Latest Edition and/or Canadian
Electric Code CSA C22.1 as applicable.
For 302 model 208V or 220V single phase, eld wiring must use 6 AWG stranded wire only.
Wiring diagrams are located on the body back.