manuals.online logo
Brands
  1. Home
  2. •
  3. Brands
  4. •
  5. Marshall Amplification
  6. •
  7. Digital Camera
  8. •
  9. Marshall Amplification CV620 User manual

Marshall Amplification CV620 User manual

Other Marshall Amplification Digital Camera manuals

Marshall Amplification CV-H20-HFL User manual

Marshall Amplification

Marshall Amplification CV-H20-HFL User manual

Marshall Amplification CV370 User manual

Marshall Amplification

Marshall Amplification CV370 User manual

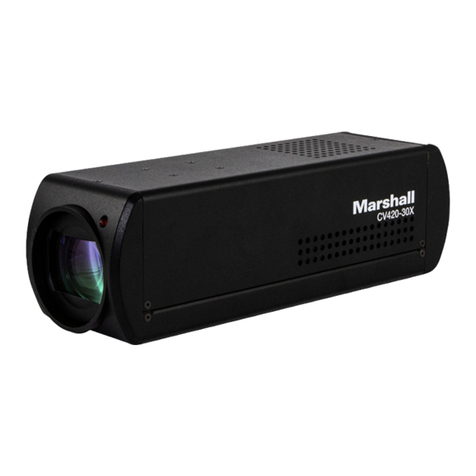
Marshall Amplification CV420-30X User manual

Marshall Amplification

Marshall Amplification CV420-30X User manual

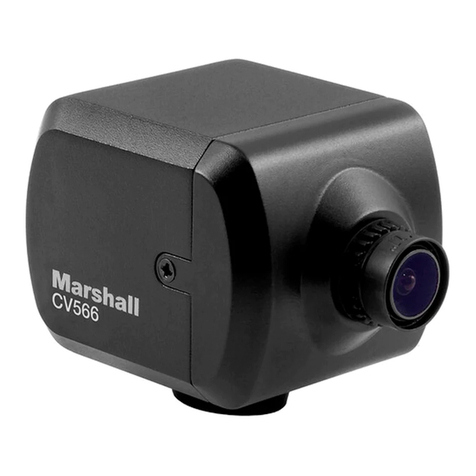
Marshall Amplification CV566 User manual

Marshall Amplification

Marshall Amplification CV566 User manual

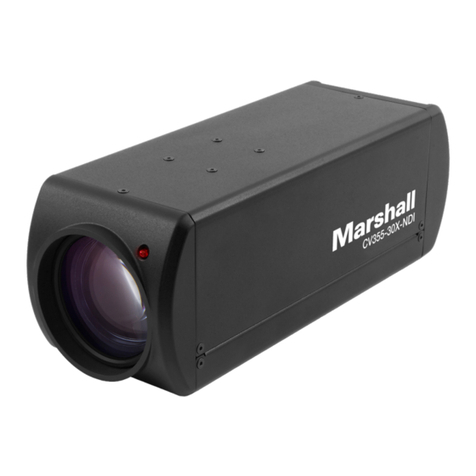
Marshall Amplification CV355-30X-NDI User manual

Marshall Amplification

Marshall Amplification CV355-30X-NDI User manual

Marshall Amplification CV228 User manual

Marshall Amplification

Marshall Amplification CV228 User manual

Marshall Amplification CV420-CS User manual

Marshall Amplification

Marshall Amplification CV420-CS User manual

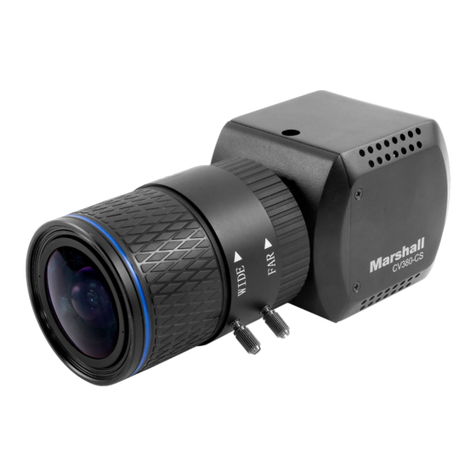
Marshall Amplification CV380-CS User manual

Marshall Amplification

Marshall Amplification CV380-CS User manual

Marshall Amplification CV620-NDI User manual

Marshall Amplification

Marshall Amplification CV620-NDI User manual

Marshall Amplification CV420-18X User manual

Marshall Amplification

Marshall Amplification CV420-18X User manual

Marshall Amplification Broadcast & Pro AV CV-PT-HEAD User manual

Marshall Amplification

Marshall Amplification Broadcast & Pro AV CV-PT-HEAD User manual

Marshall Amplification CV504 User manual

Marshall Amplification

Marshall Amplification CV504 User manual

Popular Digital Camera manuals by other brands

Canon WP-DC35 user guide

Canon

Canon WP-DC35 user guide

Xiaomi 70mai Dash Cam Lite user manual

Xiaomi

Xiaomi 70mai Dash Cam Lite user manual

Samsung PL70 Quick start manual

Samsung

Samsung PL70 Quick start manual

GE E1680W user manual

GE

GE E1680W user manual

Canon EOS 1200D instruction manual

Canon

Canon EOS 1200D instruction manual

Tevion MD 86497 user guide

Tevion

Tevion MD 86497 user guide

Exakta VX Features

Exakta

Exakta VX Features

Kodak Digital Science DC120 user guide

Kodak

Kodak Digital Science DC120 user guide

Nikon FM3A Specifications

Nikon

Nikon FM3A Specifications

Vectra Fitness H1 Quick reference guide

Vectra Fitness

Vectra Fitness H1 Quick reference guide

Nikon COOLPIX 775 quick start guide

Nikon

Nikon COOLPIX 775 quick start guide

Olympus IR 500 - 4MP Digital Solutions Camera Manuel de Référence

Olympus

Olympus IR 500 - 4MP Digital Solutions Camera Manuel de Référence

Samsung EC-L100ZBBA brochure

Samsung

Samsung EC-L100ZBBA brochure

FujiFilm FINEPIX BL01124-201 owner's manual

FujiFilm

FujiFilm FINEPIX BL01124-201 owner's manual

Panasonic DMC-L10KPP Service manual

Panasonic

Panasonic DMC-L10KPP Service manual

Hyundai Electric HYU-CC-CHBF12001 Quick installation guide

Hyundai Electric

Hyundai Electric HYU-CC-CHBF12001 Quick installation guide

Sony DSC-WX80 specification

Sony

Sony DSC-WX80 specification

Nikon Nuvis S - Point & Shoot instruction manual

Nikon

Nikon Nuvis S - Point & Shoot instruction manual

manuals.online logo
manuals.online logoBrands
  • About & Mission
  • Contact us
  • Privacy Policy
  • Terms and Conditions

Copyright 2025 Manuals.Online. All Rights Reserved.

Marshall Electronics www.LCDracks.com
1.1 Preparation before installation
Installation and connection of HD camera requires special skills. To install by yourself,
please follow necessary steps, ensure steady and tight installation of the device, and
pay attention to your safety to avoid any accident.
1. Ensure the safety of the installation environment. Please do not install the device on
unstable ceiling or in a place where the device is in danger of falling to avoid any
accident.
2. Please check whether accessories in the box are complete or not. Please contact the
supplier for any shortage, and make sure to keep the accessories in the box intact.
3. Please choose a proper place for installation of camera in advance.
Please determine an installation place according to the following requirements:
Confirm the position for the object to be captured.
Confirm whether the camera is set at a proper distance from other light sources.
2.1 Precautions for installation
Please install the machine on a flat desk.
Do not grab the camera head by hand when handling the device.
Do not rotate the camera head by hand. Improper rotation may result in breakdown of
the camera.
2.2 Installation steps
1. Please adjust DIP switch at first prior to installation. (Please refer to 4. Instruction on
DIP SWITCH Setting)
2. Place the camera on a flat desk
directly to ensure the normal
vertical and horizontal
operation of the machine.
3.1 Prepare for the parts and equipment required during the
installation
Accessories of Camera in the box (metal plates A, B, M3 screw silver x 8, black x 2)
Screw for locking on ceiling mounted hanger x 4
Drill and screw driver, ladder
3.2 Precautions for installation
1. Before installation, please confirm the orientation of the machine relative to the object
to be captured.
2. It is recommended that the machine should be set at a distance of more than 1 meter
away from the object to be captured. Please adjust for a best distance according to
the magnification of the lens.
3. The machine (including metal
plates) is weighed at about 2.5 kg.
If it is to be installed on the ceiling,
please use the hanger that has
obtained UL security approval to
prevent the machine from falling
down.
4. Please check whether the camera
is installed stably on a periodical
basis.
3.3 Installation steps
1. Please adjust resolution on DIP Switch at first.
(Please refer to 4. Instruction on DIP SWITCH
Setting)
2. Fix the metal plate A on the machine base with
4 M3 silver screws.
1. Instruction for Installation
2. I would like to install Camera on the desk
3. I would like to install Camera on the ceiling
1meter
CV620 Quick Installation Guide Marshall
All manuals and user guides at all-guides.com
all-guides.com
Marshall Electronics www.LCDracks.com
3. Lock the metal plate B on ceiling mounted hanger
※Caution:
* Please use the hanger that has obtained UL security approval.
* Please reserve the hole for the connecting wires of the camera.
4. Combine the metal plate A and the metal plate B
 Push the metal plate A up to the ceiling and then to the right to latch the metal
plate B.
 And then secure with 2 M3 silver screws and 1 M3 black screw.
ID Setting
4.3 Camera Address Selector
Setting Function
Descriptions
0~7 ID 0~7
8~9 Reserved
4.4 System Switch
Setting Function Descriptions
DIP 1 RS-232C/RS-422 selector
OFF: RS-232C / ON: RS-422
DIP 2 Infrared signal output switch
OFF: Off / ON: On
DIP 3 Communication baud rate selector
OFF: 9600 / ON: 38400
DIP 4 Reserved
4.1 OUTPUT SWITCH 4.2 IR SELECT
Output Mode Setting
4. Instruction on DIP SWITCH Setting
Black
Screw
All manuals and user guides at all-guides.com