6
1080 HD-SDI Camera
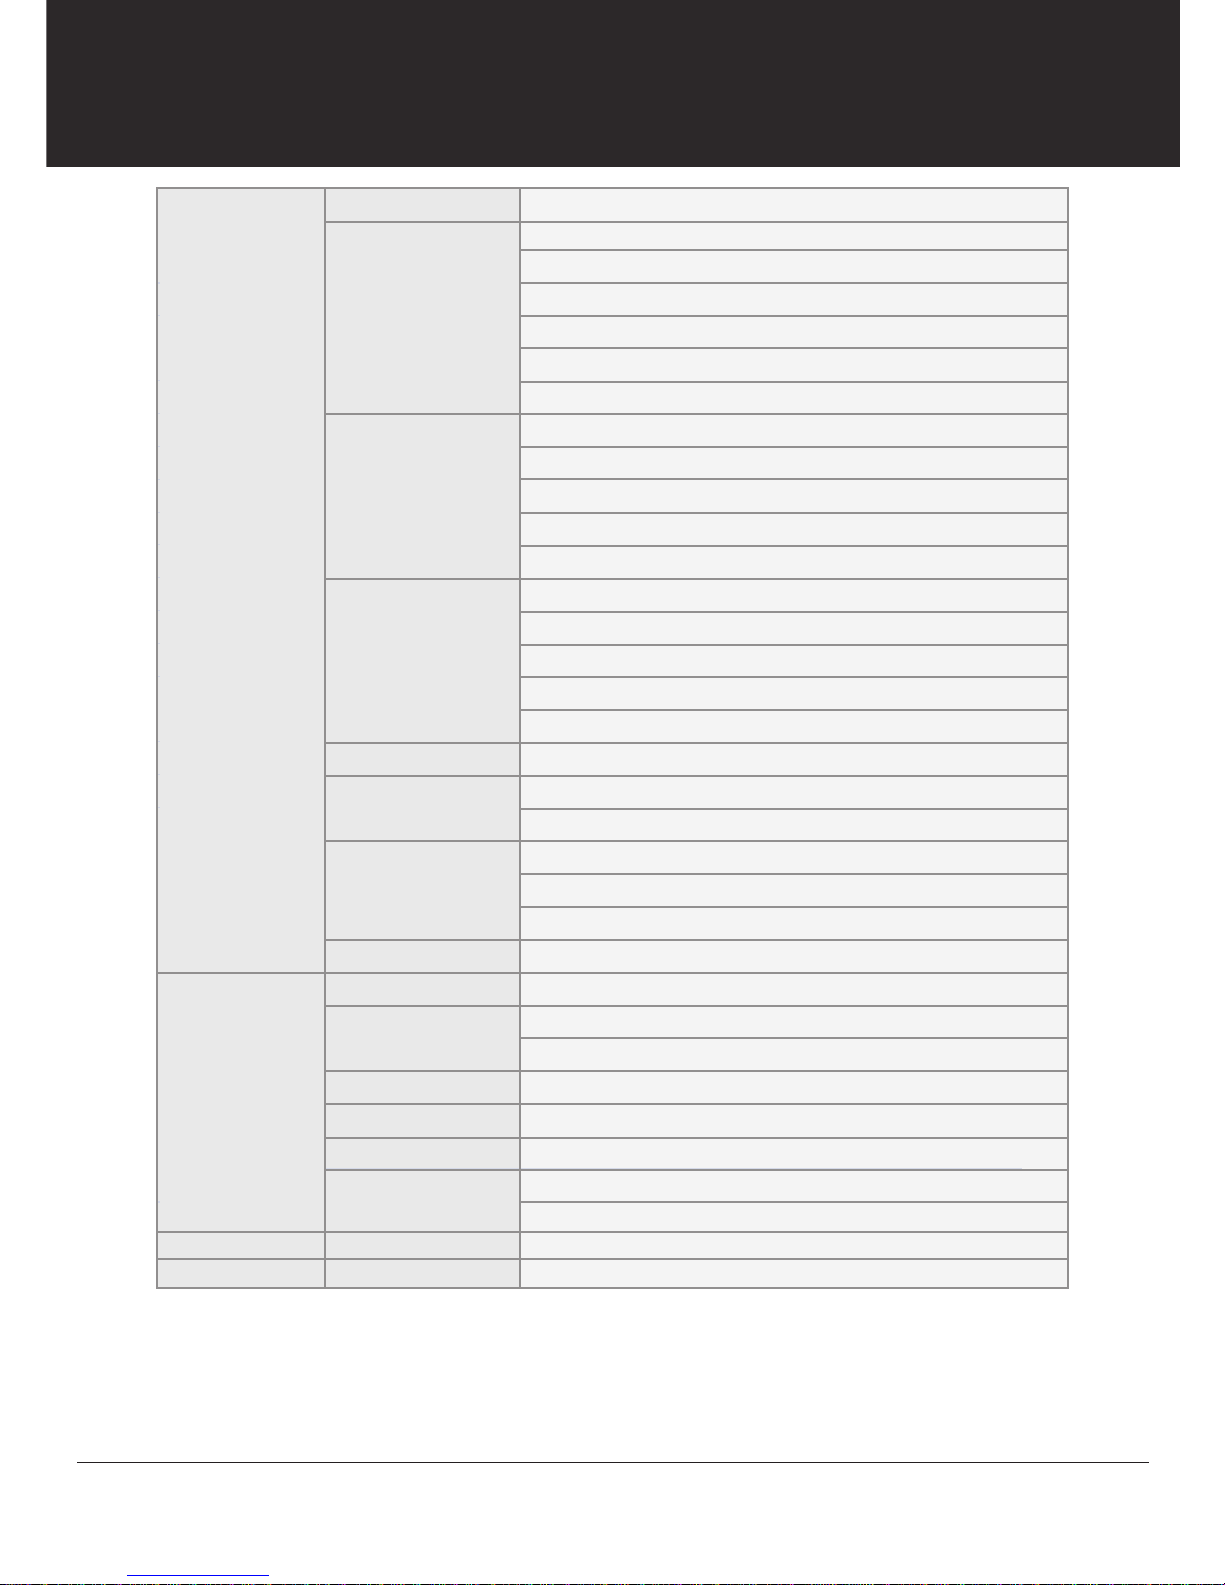
MAIN MENU
1. LENS
2. EXPOSURE
3. BACK LIGHT
4. WHITE BAL
5. DAY & NIGHT
6. NR
7. SPECIAL
8. ADJUST
9. RESET
10. EXIT
DC
OFF
ATW
AUTO
EXPOSURE SHUTTER
Select EXPOSEURE using the UP or DOWN button.
You can select SHUTTER, AGC, SENS-UP, BRIGHTNESS, D-WDR, and DEFOG menu using
the UP or DOWN button.
SHUTTER: You can adjust the shutter speed of the lens.
You can adjust the shutter speed manually or select shutter speed mode from FLK or AUTO
mode using the LEFT or RIGHT button.
FLK: Select this when you experience picture flicker, this happen when
there is a clash with the installed lighting frequency.
AUTO: Enable AUTO to control the shutter speed automatically. If AUTO
is selected, the shutter speed is automatically controlled depending on
the ambient illumination of the subject.
1/60sec ~ 1/50,000sec, x2~x30: You can control shutter speed manually
using the LEFT or RIGHT button.
EXPOSURE
1. SHUTTER AUTO
2. AGC IIIIIIIIIIIIIII15
3. SENS-UP AUTO
4. BRIGHTNESS IIIIIIIIIIIIIII25
5. D-WDR OFF
6. DEFOG OFF
7. RETURN RET
■ If the shutter mode is set to AUTO, carefully position the camera during installation since
the produced image might be poorly framed due to a bright light source.
■ When the SHUTTER is set to FLK mode, 1/240 ~ 50,000, or x2~x30, SENS-UP will be
disabled.