Marvel ML24BNS2 Manual

Beverage Dispensers
Distributeurs de
boissons
ML24BN
MO24BN
EN Installation, Operation and maintenance Instructions
FR Instructions d’installation, d’utilisation et d’entretien

2
NOTE
!CAUTION
Contents:
Safety information ...............................................................2
Unpacking your appliance ..................................................3
Warranty registration .....................................................3
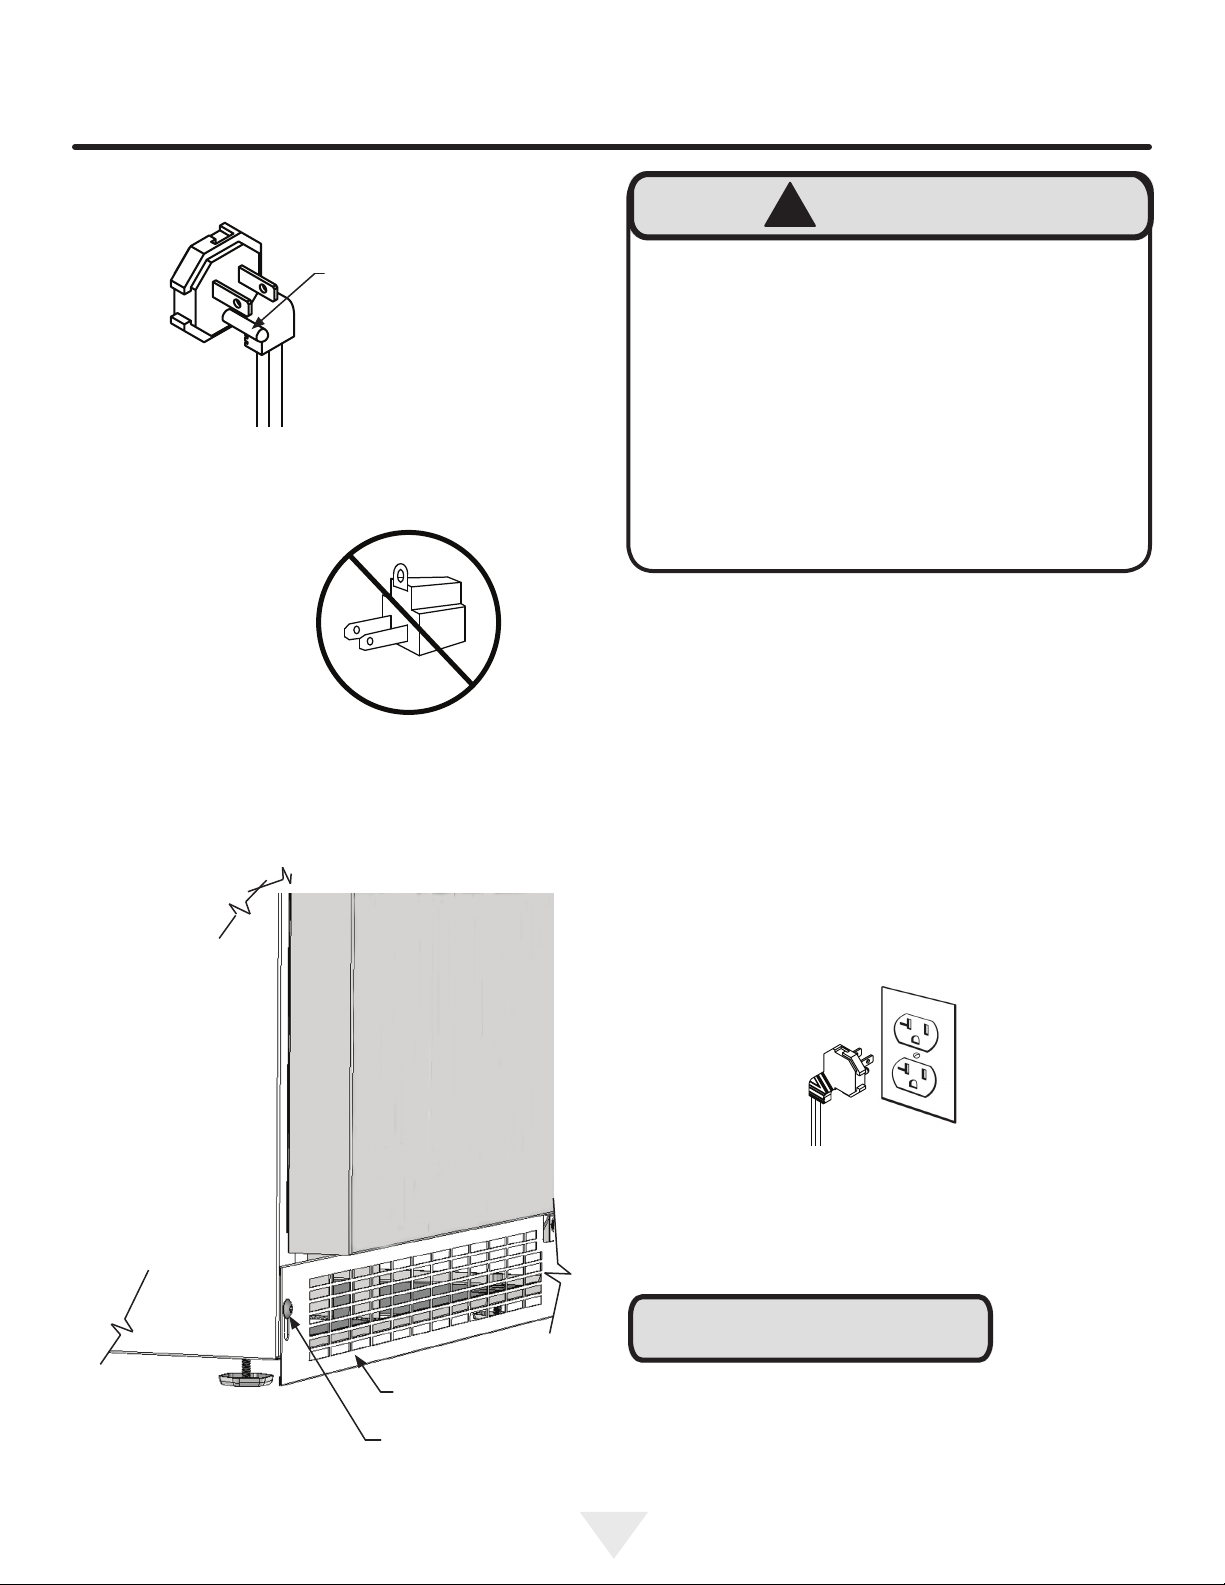
Installing your appliance ......................................................4
Cabinet clearances .........................................................4
Leveling the appliance ....................................................4
Electrical connection ......................................................5
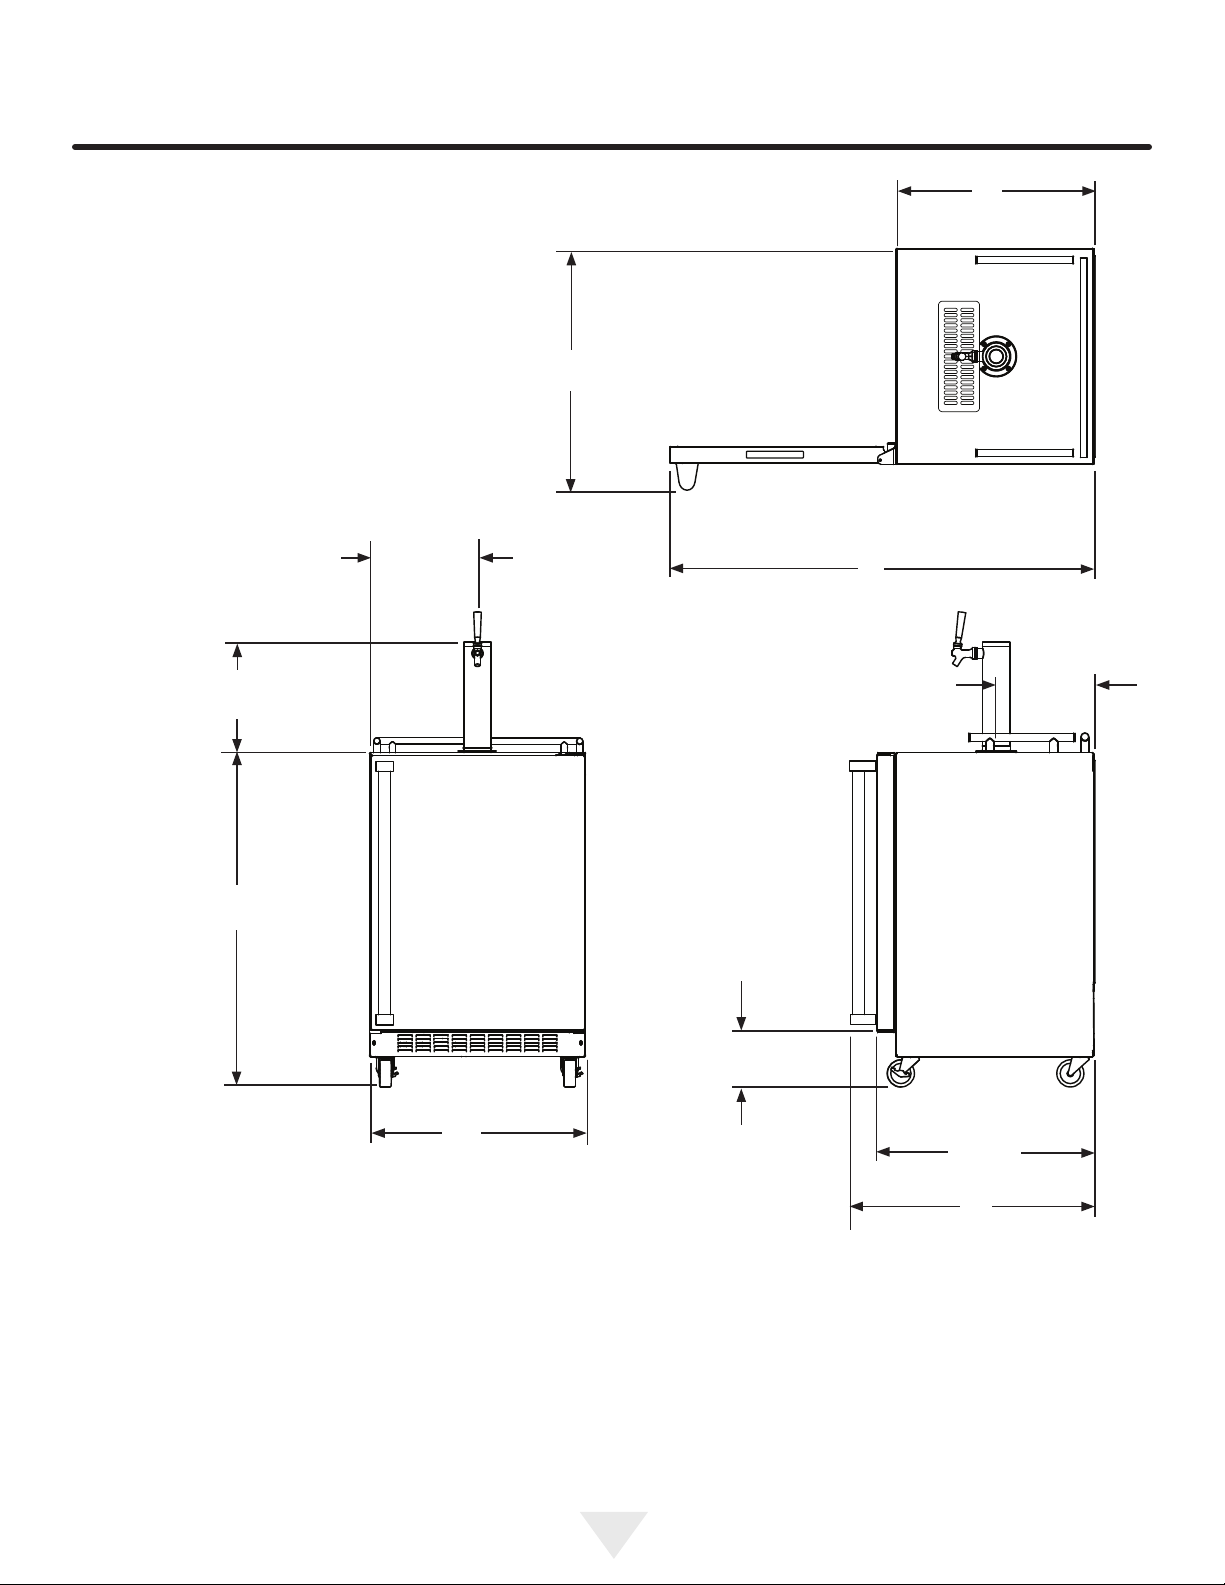
Product dimensions Single and Double Tap .....................6
Product dimensions Mobile ................................................7
Using your Electronic control - Indoor Models .....................8
Starting your appliance ...................................................8
Sleep mode ....................................................................8
Turning your appliance "ON" or "OFF" ...........................8
Adjusting the temperature .............................................9
Temperature mode ........................................................9
Temperature sensor error codes ..................................9
Control lock ....................................................................10
Alarms ...........................................................................10
Door ajar ...................................................................10
Power failure .............................................................10
Temperature alarm ....................................................10
Vacation Mode ..............................................................11
Using your Electronic Control - Outdoor Models ..............12
Overlay door panel installation ........................................13
Using your beverage dispenser.......................................17
Shelving .......................................................................17
Tap equipment and assembly......................................18
Externally mounting gas tank .......................................22
Gas regulator ................................................................23
Drain kit ........................................................................24
Care and cleaning ............................................................24
Cleaning the drain sump ...............................................24
Tap cleaning kit .............................................................25
Faucet cleaning ............................................................25
Keg coupler cleaning ....................................................25
Front grille .....................................................................26
Cabinet .........................................................................26
Interior ..........................................................................26
Stainless steel maintenance & Energy saving tips .........29
Obtaining service .............................................................30
Troubleshooting ................................................................31
Warranty ...........................................................................32
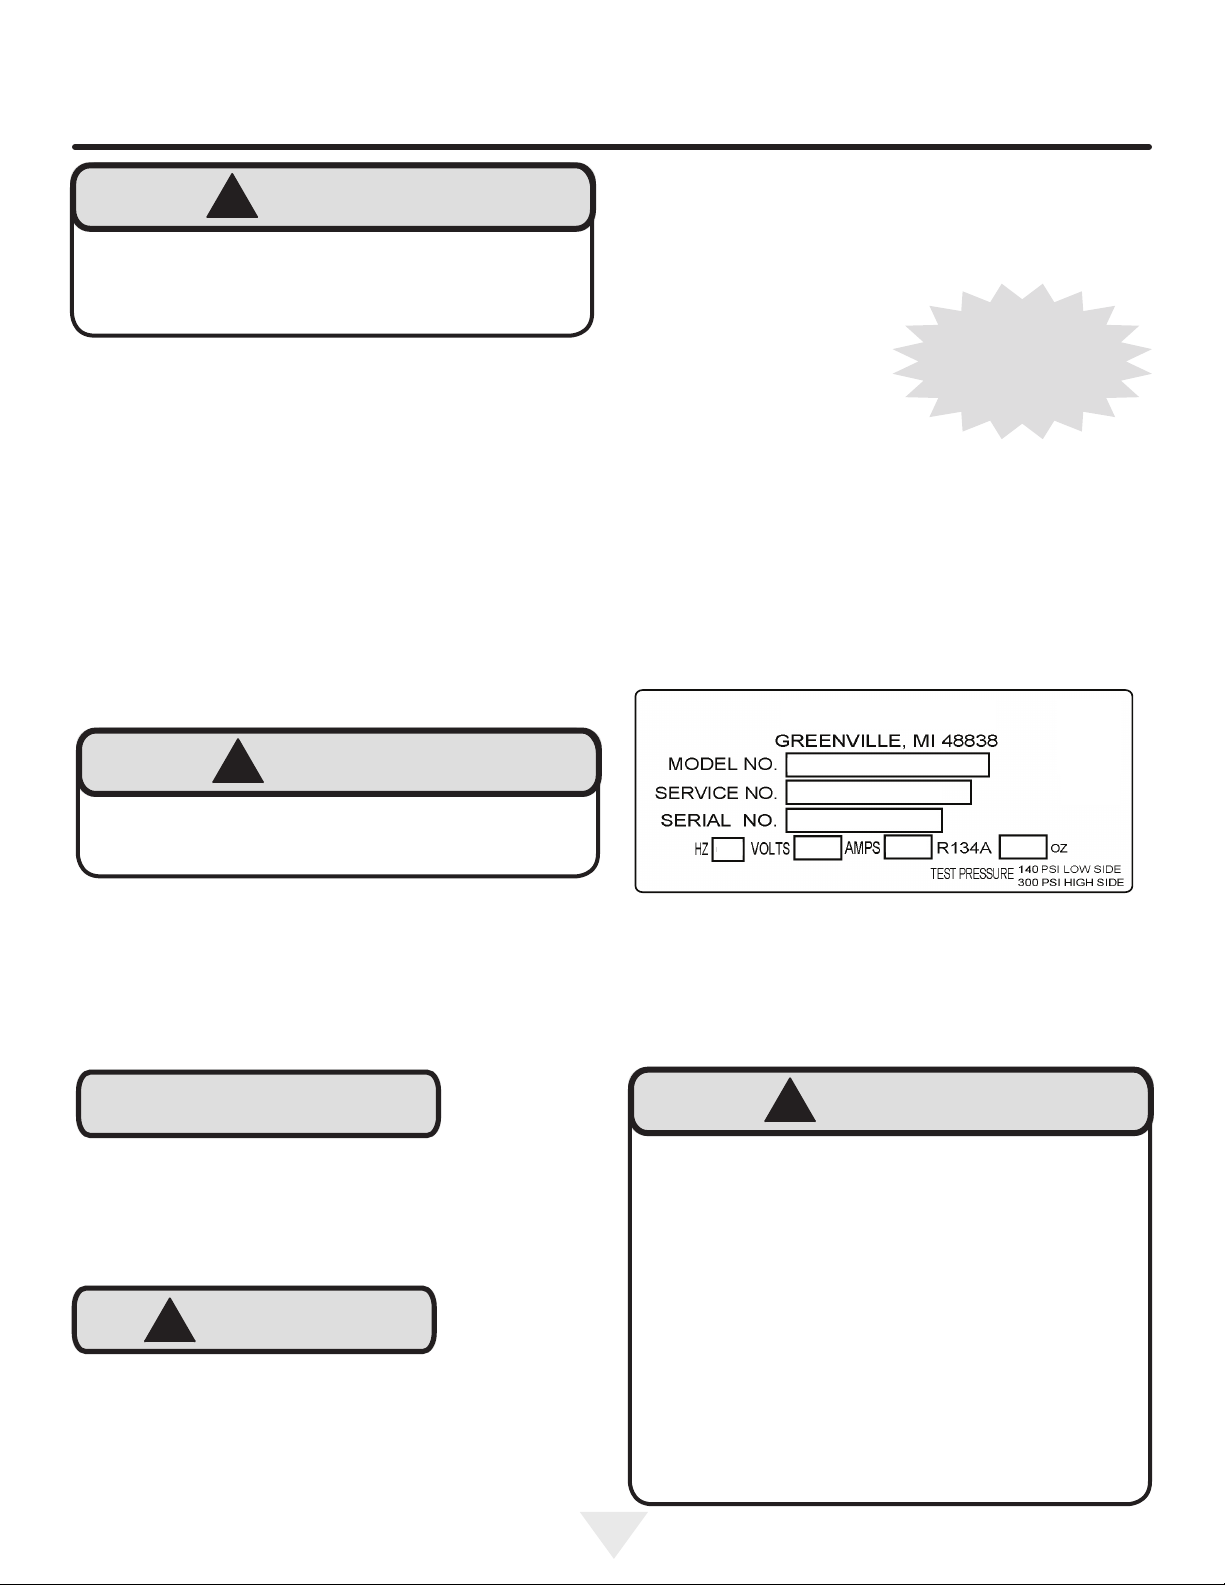
Important Safety Instructions
Warnings and safety instructions appearing in this guide
are not meant to cover all possible conditions and situa-
tions that may occur. Common sense, caution, and care
must be exercised when installing, maintaining, or operat-
ing this appliance.
Recognize Safety Symbols,
Words, and Labels.
!WARNING
WARNING - You can be killed or seriously injured
if you do not follow these instructions.
CAUTION-Hazards or unsafe practices which could re-
sult in personal injury or property / product damage.
NOTE-Important information to help assure a problem
free installation and operation.
CONTENTS

3
NOTE
!CAUTION
XXXXXXXXXXXX
XXXXXXXXXXXX
MARVEL
It is important you send in your warranty registration card
immediately after taking delivery of your appliance or you
can register online at www.marvelrefrigeration.com.
The following information will
be required when registering
your appliance.
Service Number
Serial Number
Date of Purchase
Dealer’s name and address
The service number and serial number can be found on the
serial plate which is located inside the cabinet on the left
Warranty Registration
Online registra-
tion available at
www.marvelrefrig-
eration.com
Figure 1
Remove Interior Packaging
Your appliance has been packed for shipment with all parts
that could be damaged by movement securely fastened.
Remove internal packing materials and any tape holding in-
ternal components in place. The owners manual is shipped
inside the product in a plastic bag along with the warranty
registration card, and other accessory items.
Important
Keep your carton and packaging until your appliance has
been thoroughly inspected and found to be in good condi-
tion. If there is damage, the packaging will be needed as
proof of damage in transit. Afterwards please dispose of all
items responsibly.
Note to Customer
This merchandise was carefully packed and thoroughly
inspected before leaving our plant. Responsibility for its
safe delivery was assumed by the retailer upon acceptance
of the shipment. Claims for loss or damage sustained in
transit must be made to the retailer.
DO NOT RETURN DAMAGED MERCHANDISE TO THE
MANUFACTURER - FILE THE CLAIM WITH THE
RETAILER.
If the appliance was shipped, handled, or stored in other
than an upright position for any period of time, allow the ap-
pliance to sit upright for a period of at least 24 hours before
plugging in. This will assure oil returns to the compressor.
Plugging the appliance in immediately may cause damage
to internal parts.
!WARNING
EXCESSIVE WEIGHT HAZARD
Use two or more people to move product.
Failure to do so can result in personal injury.
UNPACKING YOUR APPLIANCE
!WARNING
WARNING - Help Prevent Tragedies
the past. Junked or abandoned refrigerators are still
dangerous - even if they sit out for "just a few hours".
If you are getting rid of your old refrigerator, please
follow the instructions below to help prevent acci-
dents.
Before you throw away your old refrigerator or
freezer:
•
• Leave the shelves in place so children may not
easily climb inside.
!WARNING
WARNING - Dispose of the plastic bags which can

4
!CAUTION
Figure 2
Front Leveling
Legs
Front Grille,
keep this area
open.
Leveling Legs
Adjustable legs at the front and rear corners of the appli-
-
all height of your Marvel appliance may be adjusted higher
To adjust the leveling legs, place the appliance on a solid
lean the appliance back to access the front leveling legs.
Raise or lower the legs to the required dimension by turning
the legs. Repeat this process for the rear by tilting the appli-
ance forward using caution. On a level surface check the
appliance for levelness and adjust accordingly.
The front grille screws may be loosened and the grille ad-
justed to the desired height. When adjustment is complete
Rear
Leveling
Legs
Select Location
The proper location will ensure peak performance of your
appliance. We recommend a location where the unit will
be out of direct sunlight and away from heat sources. To
-
mended installation location temperature range is from 55
Cabinet Clearance
Ventilation is required from the bottom front of the appli-
ance. Keep this area open and clear of any obstructions.
Adjacent cabinets and counter top can be installed around
the appliance as long as the front grille remains unob-
structed. Overlay door models with articulated hinges are
intended for built-in applications only.
Front Grille
Do not obstruct the front grille. The openings within the
-
energy usage and loss of cooling capacity. For this reason
it is important this area not be obstructed and the grille
openings kept clean. Marvel does not recommend the use
INSTALLING YOUR APPLIANCE
Model
Minimum
Height
Maximum
Height
ML24BNS 33 34 34 34
MO24BNS 33 34 34 34
ML24BNP
Table A

5
NOTE
Figure 6
Electrical Shock Hazard
• Do not use an extension cord with this appliance.
They can be hazardous and can degrade product
performance.
• This appliance should not, under any circumstanc-
es, be installed to an un-grounded electrical supply.
• Do not remove the grounding prong from the power
•
• Do not splash or spray water from a hose on the
appliance. Doing so may cause an electrical shock,
which may result in severe injury or death.
!WARNING
Figure 5 Front grille screw
-
sance tripping which will cause the appliance to shut down.
GFCI’s are generally not used on circuits with power equip-
ment that must run unattended for long periods of time, un-
less required to meet local building codes and ordinances.
Electrical Connection
A grounded 115 volt, 15 amp dedicated circuit is required.
This product is factory equipped with a power supply
cord that has a three-pronged, grounded plug. It must be
plugged into a mating grounding type receptacle in accor-
dance with the National Electrical Code and applicable lo-
not have a grounding type receptacle, it is the responsibility
and obligation of the customer to provide the proper power
supply. The third ground prong should not, under any cir-
cumstances, be cut or removed.
Front grille
INSTALLING YOUR APPLIANCE
Figure 3
Figure 4
Do not remove
ground prong
This manual suits for next models
7
Table of contents
Languages:
Other Marvel Beverage Dispenser manuals
Popular Beverage Dispenser manuals by other brands

CDS AUTOMATEN
CDS AUTOMATEN ML-16C2-C user manual

Siemens
Siemens GA 3000 OPERATING & SERVICE MANUAL

Bunn
Bunn IMIX Service & repair manual

Fizz Creations
Fizz Creations Slush Puppie Instructions for use

Cornelius
Cornelius IntelliCarb Cold Beverage Dispenser Training manual

TAPRITE
TAPRITE Rattler II Instructional manual