6
AA
BB
ASSEMBLYINSTRUCTIONS
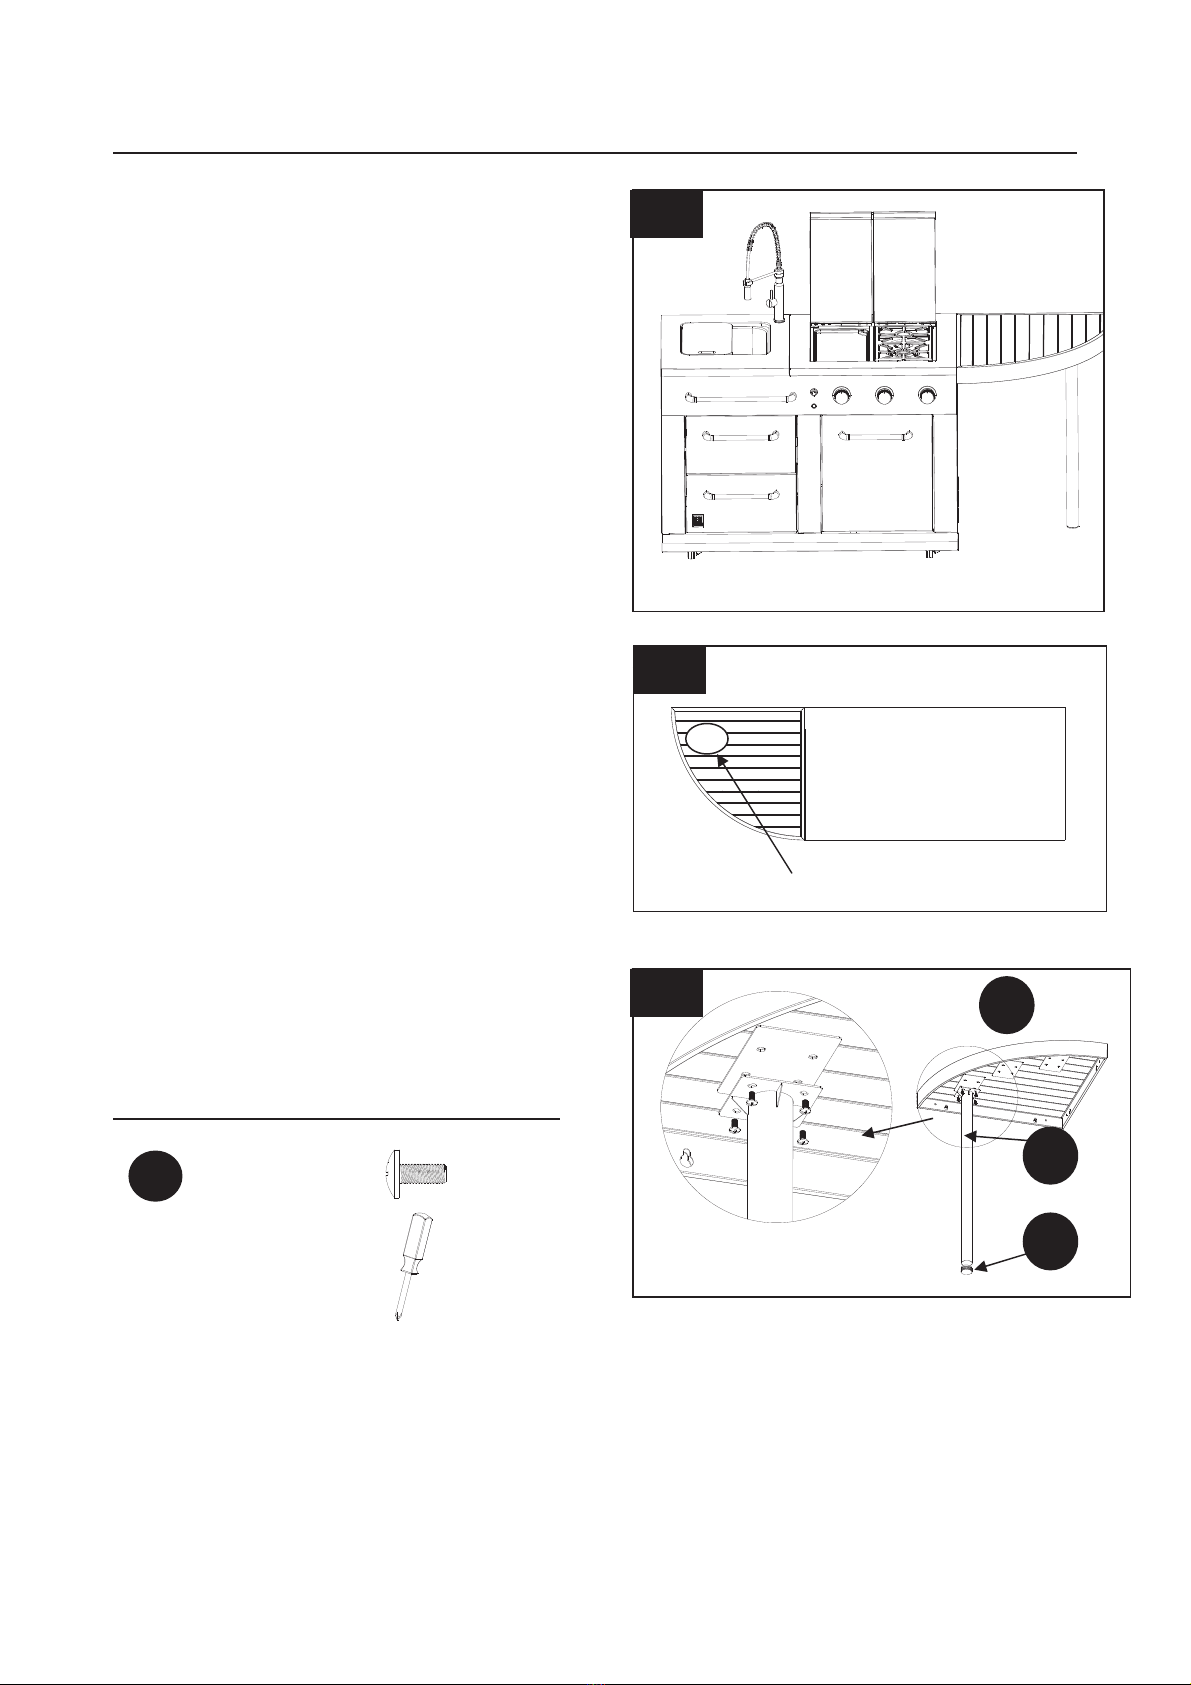
I-Shape Configuration:
Install this table unit to both sides.
1. When installing the table to the right side
of the outdoor kitchen configuration, install
the leg at the position shown.
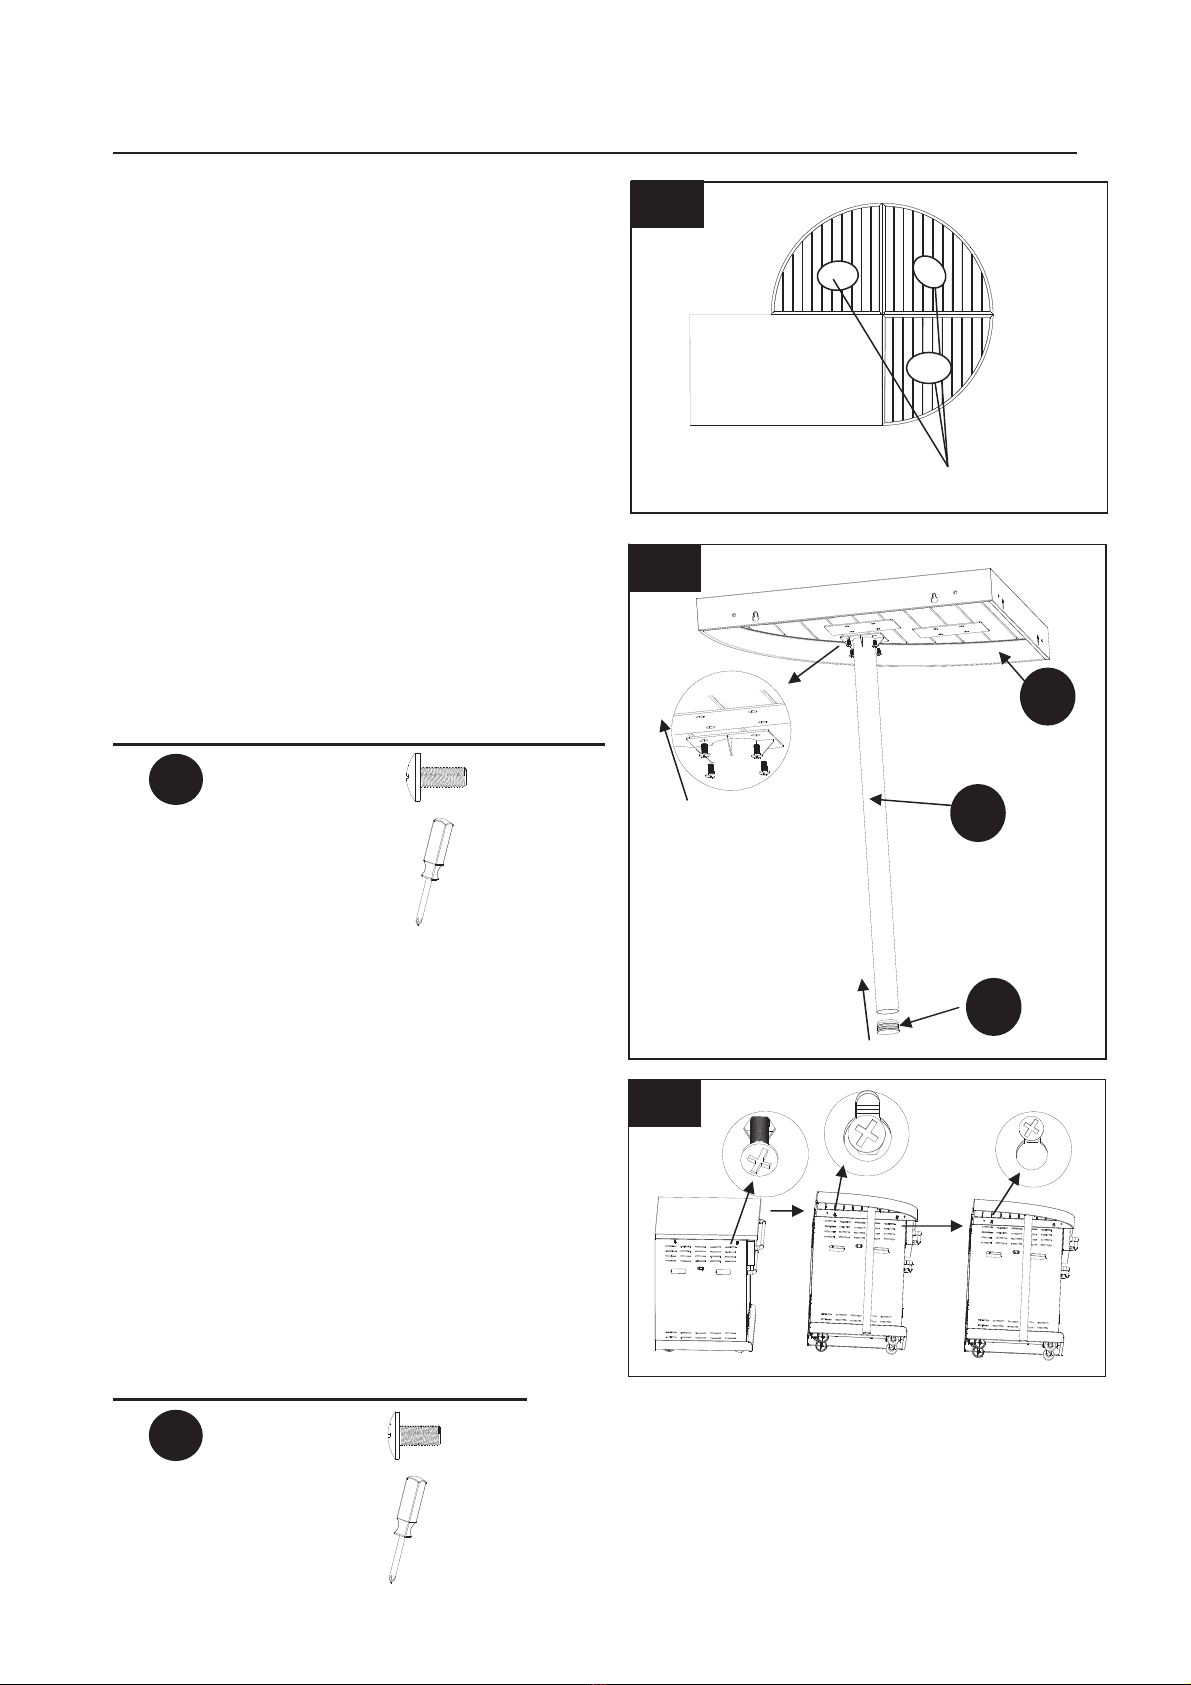
NOTE: The quarter round side should be
facing the front.
2. Use 4 M6x16 screws (AA) to attach the
leg (B) under the quarter round table top (A).
Insert the pipe plug (C) to the bottom of leg (B).
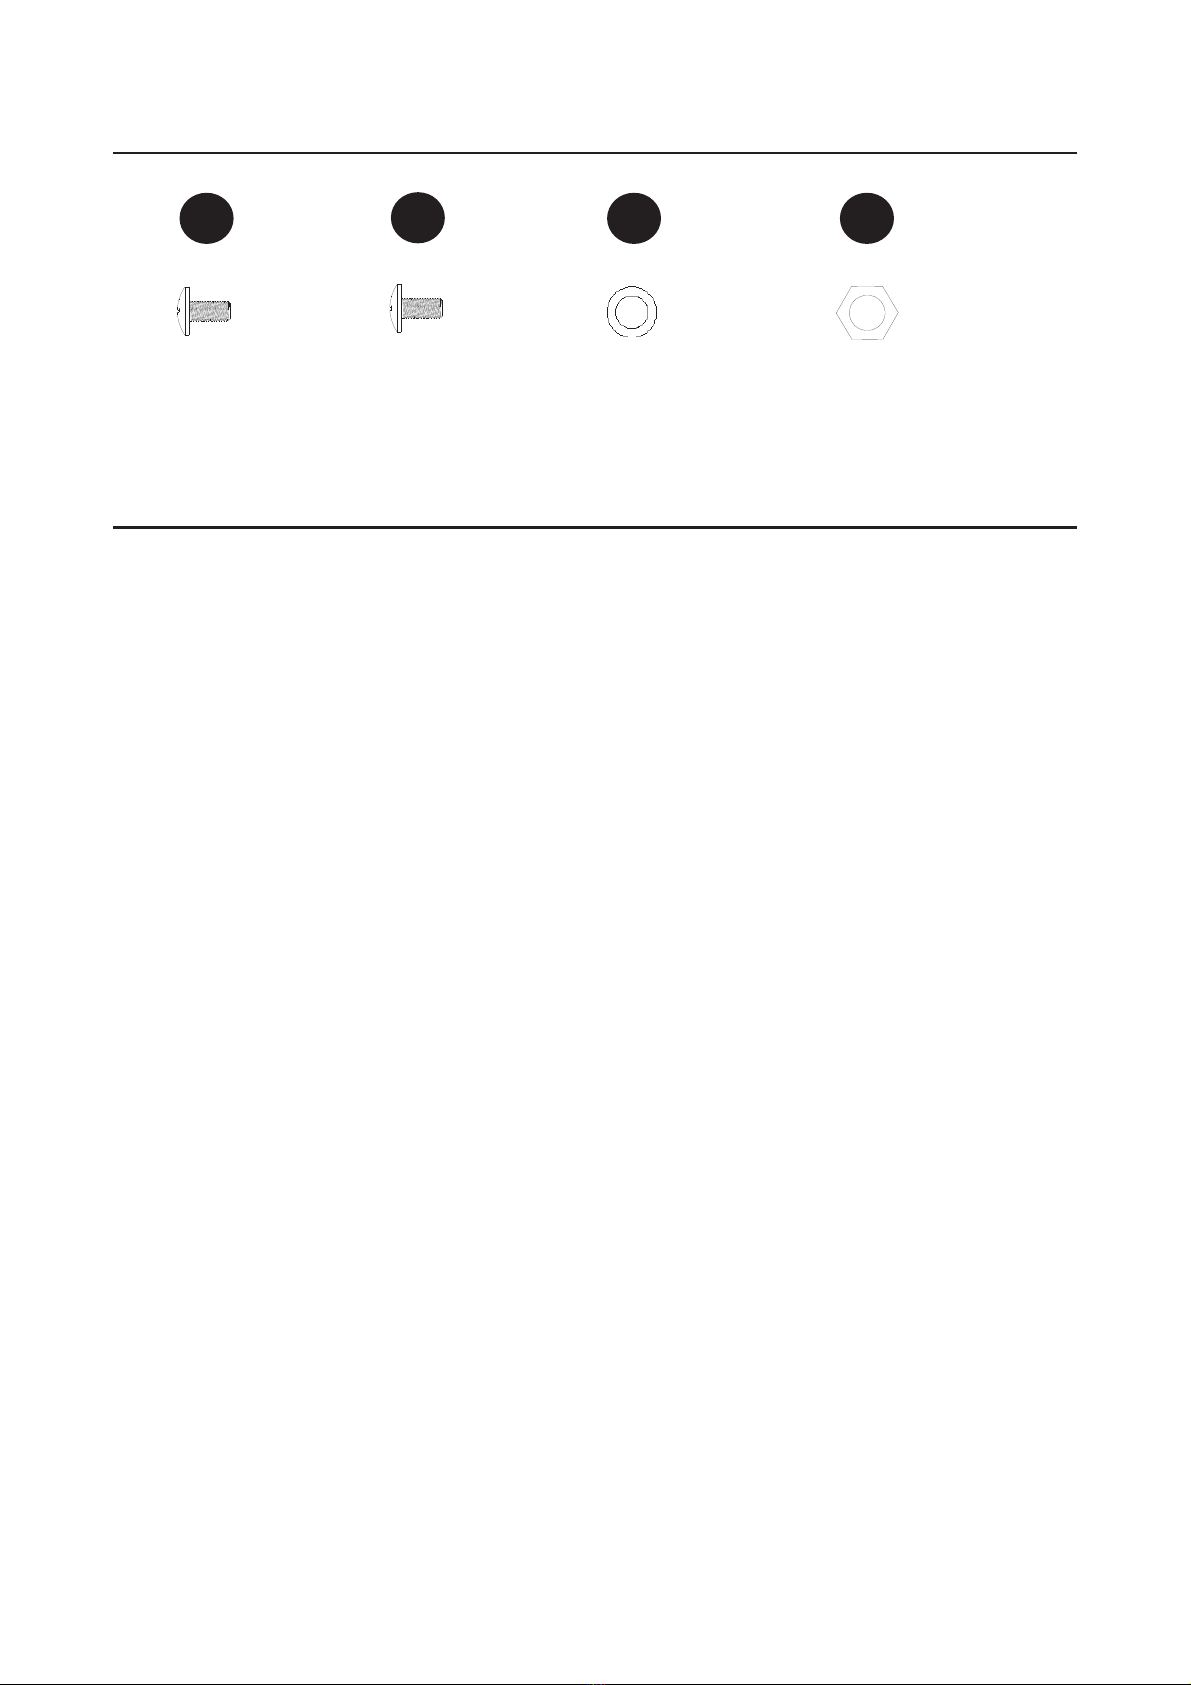
Hardware Used
x1
3. Use Phillips screwdriver to screw
M6x30 screws (BB) to the hole on right side
panel of your outdoor kitchen, leaving the
screw heads protruding approximately 2/3
above the panel.
Insert the hardy holes in side panel of table
Over the protruding screws; press down on
the table to let the leg stand on floor. Tighten
the screws to secure the table in place.
Hardware Used
A
B
C
2
Phillips
Screwdriver
Phillips x1
Screwdriver
3
M6x16Screw x4
M6x30Screw x2
$ǃ%ǃ&
1
Leg installed under here