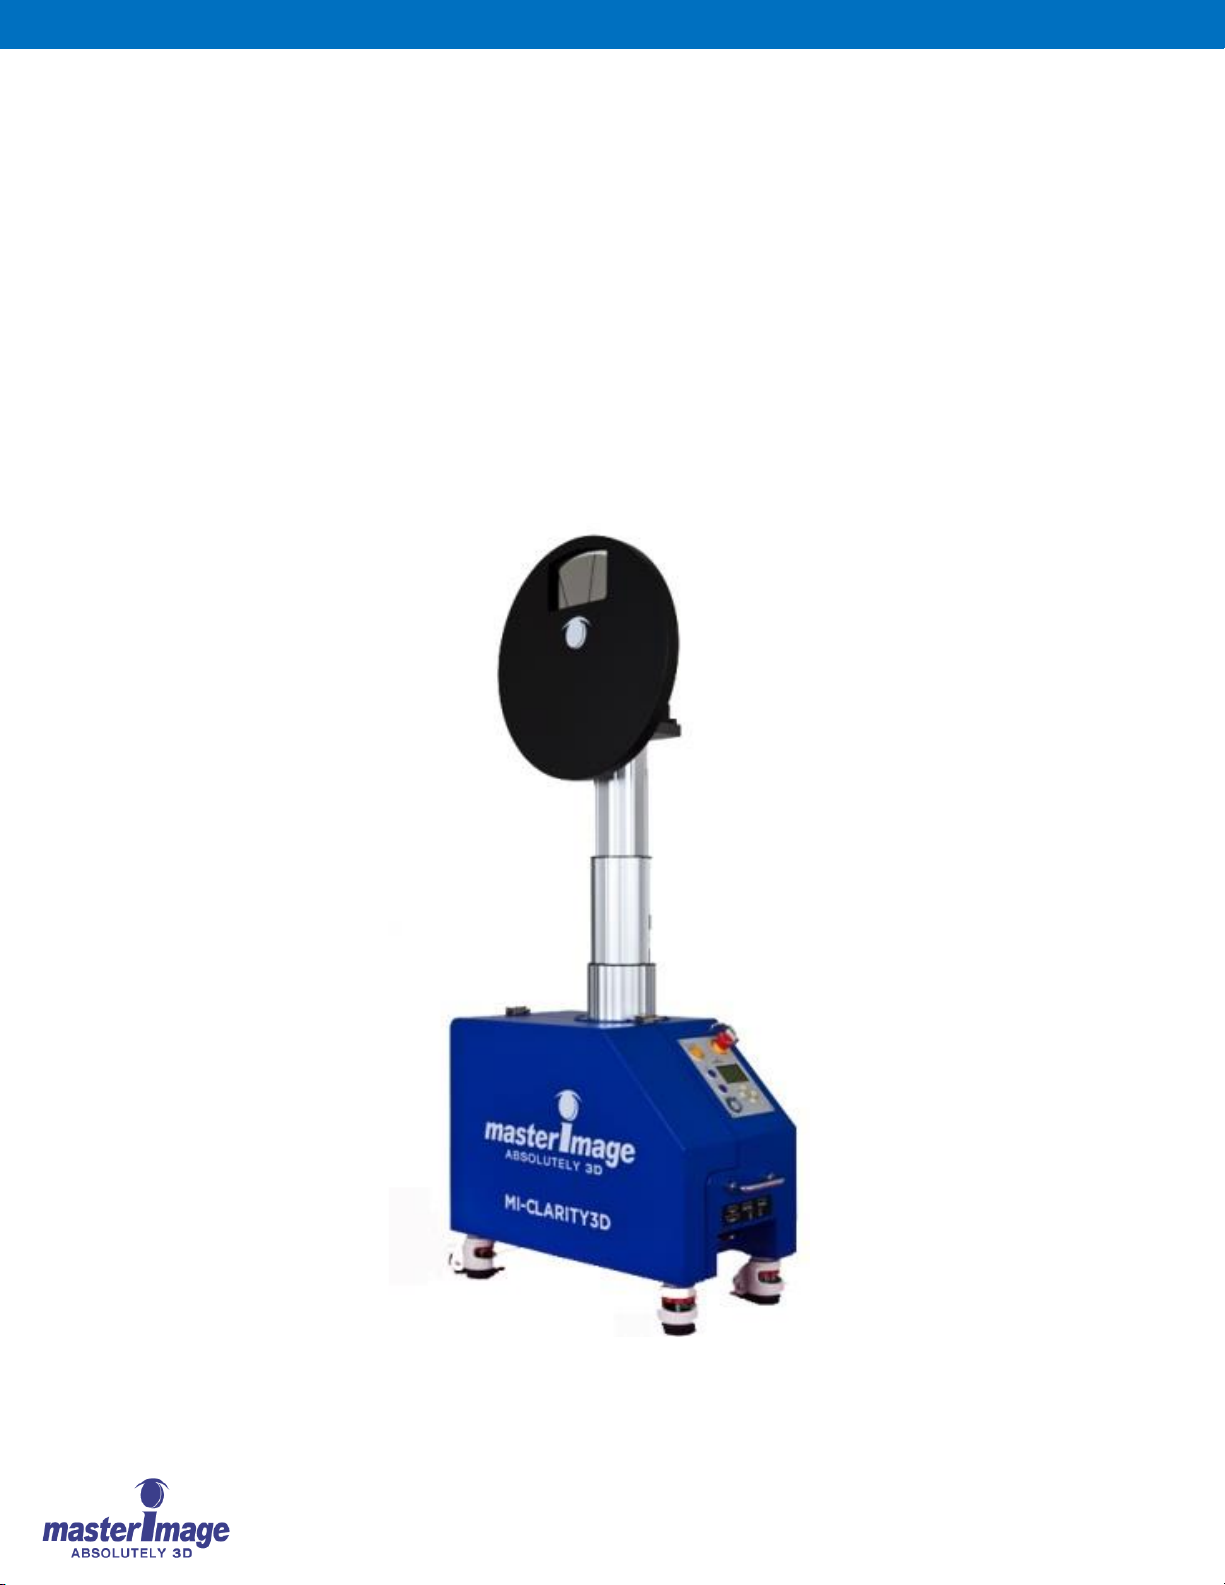
User Manual | MI-CLARITY3D SA
User Manual | MI-CLARITY3D
User Manual | MI-CLARITY3D
6.3. Start the System Running...........................................................................................24
7. Menu Structure with Default Conditions................................................................25
8. Detailed Setup and Configuration of the MI-CLARITY3D.....................................29
8.1. Setting the Clock ........................................................................................................29
8.2. Setting the Lifting Column Zero Position.....................................................................29
8.3. Setting a 3D Position..................................................................................................30
8.3.1. Moving FHA to a Predetermined 3D Position ....................................................31
8.4. Setting a 2D Position..................................................................................................31
8.4.1. Moving FHA to a Predetermined 2D Position ....................................................32
8.5. Selecting a Sync Source.............................................................................................32
8.5.1. Setting Internal Sync Source Frequency ...........................................................33
8.6. Selecting an Automation Source.................................................................................34
8.7. Setting PFD Home Position........................................................................................35
8.8. Adjusting 3D Phase....................................................................................................36
8.9. System Diagnostics....................................................................................................36
8.10. Setting the Menu Password........................................................................................37
8.11. Ethernet Configuration................................................................................................40
8.12. Performing a Factory Reset........................................................................................42
8.13. Servo Pack Parameter Information.............................................................................43
8.14. System Log Information..............................................................................................43
8.15. System Information.....................................................................................................44
9. Installation Checklist.............................................................................................45
10. Maintenance.........................................................................................................46
10.1. Changing the Polarizing Filter Disk (PFD)...................................................................46
10.2. Cleaning the PFD.......................................................................................................52
10.2.1. Materials Required............................................................................................52
10.2.2. Cleaning the PFD..............................................................................................52
11. Simple Troubleshooting........................................................................................55
11.1. Button LED Notification...............................................................................................55
11.2. Fuses .........................................................................................................................56
11.3. Servopak Correct Status Indication.............................................................................57
11.4. Servopak Error Status Indication ................................................................................58
11.4.1. E Stop Button Pressed......................................................................................58