mastro EFB0009 User manual

EFB0009 /THERMOSA

12345678901234567890123456789012123456789012345678901234567890121234567890123456789012345678901212345678901234567890123456789012123456789012345678901
1
234567890123456789012345678901212345678901234567890123456789012123456789012345678901234567890121234567890123456789012345678901212345678901234567890
1
1
234567890123456789012345678901212345678901234567890123456789012123456789012345678901234567890121234567890123456789012345678901212345678901234567890
1
1
234567890123456789012345678901212345678901234567890123456789012123456789012345678901234567890121234567890123456789012345678901212345678901234567890
1
1
234567890123456789012345678901212345678901234567890123456789012123456789012345678901234567890121234567890123456789012345678901212345678901234567890
1
1
234567890123456789012345678901212345678901234567890123456789012123456789012345678901234567890121234567890123456789012345678901212345678901234567890
1
1
234567890123456789012345678901212345678901234567890123456789012123456789012345678901234567890121234567890123456789012345678901212345678901234567890
1
1
234567890123456789012345678901212345678901234567890123456789012123456789012345678901234567890121234567890123456789012345678901212345678901234567890
1
12345678901234567890123456789012123456789012345678901234567890121234567890123456789012345678901212345678901234567890123456789012123456789012345678901
3.
The Coffee brewer is equipped with a key set for automatic water filling.
You can choose between brewing a full or a half pot of coffee.
The key set allows you to adjust water amount in pot and brewingtime
Please read through this manual before you take the machine into operation
for the first time.
The manual contents important instructions for a safe and proper usage of the machine.
Always keep this manual within reach for the user!
Generally.
Some tips for best quality.
Do not change the recommended portion of coffee.
Do not mix freshly brewed coffee with coffee kept warm.
Never fill brewed coffee in the machine.
Instructions
Coffee machine for automatic water filling.
In the tank there is a float which activates a microswitch when water is filled.
Microswitch activates element unit and brewing starts.
During brewing the membran switch is blinking.
When the tank is empty the current to the boiler is cut off.
The machine is equipped with an overheating protection which is manually restored when
the current has been cut.
We congratulate to your choice of a coffee brewer EFB0009

12345678901234567890123456789012123456789012345678901234567890121234567890123456789012345678901212345678901234567890123456789012123456789012345678901
1
234567890123456789012345678901212345678901234567890123456789012123456789012345678901234567890121234567890123456789012345678901212345678901234567890
1
1
234567890123456789012345678901212345678901234567890123456789012123456789012345678901234567890121234567890123456789012345678901212345678901234567890
1
1
234567890123456789012345678901212345678901234567890123456789012123456789012345678901234567890121234567890123456789012345678901212345678901234567890
1
1
234567890123456789012345678901212345678901234567890123456789012123456789012345678901234567890121234567890123456789012345678901212345678901234567890
1
1
234567890123456789012345678901212345678901234567890123456789012123456789012345678901234567890121234567890123456789012345678901212345678901234567890
1
1
234567890123456789012345678901212345678901234567890123456789012123456789012345678901234567890121234567890123456789012345678901212345678901234567890
1
12345678901234567890123456789012123456789012345678901234567890121234567890123456789012345678901212345678901234567890123456789012123456789012345678901
4.
1.1.
Locate the machine on a flat level and waterproof
surface.
1. Installation and start.
1.2.
Connect to cold water feed with connection tube
supplied. Adapt to a cut-off cock.
1.3.
CAUTION!
Connect the plug to a separate wall socket.
240 V, 10 ampere.

12345678901234567890123456789012123456789012345678901234567890121234567890123456789012345678901212345678901234567890123456789012123456789012345678901
1
234567890123456789012345678901212345678901234567890123456789012123456789012345678901234567890121234567890123456789012345678901212345678901234567890
1
1
234567890123456789012345678901212345678901234567890123456789012123456789012345678901234567890121234567890123456789012345678901212345678901234567890
1
1
234567890123456789012345678901212345678901234567890123456789012123456789012345678901234567890121234567890123456789012345678901212345678901234567890
1
1
234567890123456789012345678901212345678901234567890123456789012123456789012345678901234567890121234567890123456789012345678901212345678901234567890
1
1
234567890123456789012345678901212345678901234567890123456789012123456789012345678901234567890121234567890123456789012345678901212345678901234567890
1
1
234567890123456789012345678901212345678901234567890123456789012123456789012345678901234567890121234567890123456789012345678901212345678901234567890
1
1
234567890123456789012345678901212345678901234567890123456789012123456789012345678901234567890121234567890123456789012345678901212345678901234567890
1
12345678901234567890123456789012123456789012345678901234567890121234567890123456789012345678901212345678901234567890123456789012123456789012345678901
5.
2.2.
Place the thermos under the filter holder.
Turn on control switch 1.
Press the button I/I (Full brew) and the water shall
start pouring
When brewing is ready , empty the thermos.
Brewing will take about 6 minutes.
2.1.
Do the first brewings with water only .
1. Place filter holder without filter and coffee.
2. Lift the lid on thermos and then place thermos under the filter holder.
2. Rinsing and filling up water system.
Note!
Do not make any adjustments of water volume in
thermos, after the first brewing with water only!
When first brewing, the machine will filling up water system.
For this, machine will use approx. 4 dl of water.

6.
3. Brewing of coffee.
3.1.
Place a 90 mm filter in the filter holder.
12345678901234567890123456789012123456789012345678901234567890121234567890123456789012345678901212345678901234567890123456789012123456789012345678901
1
234567890123456789012345678901212345678901234567890123456789012123456789012345678901234567890121234567890123456789012345678901212345678901234567890
1
1
234567890123456789012345678901212345678901234567890123456789012123456789012345678901234567890121234567890123456789012345678901212345678901234567890
1
1
234567890123456789012345678901212345678901234567890123456789012123456789012345678901234567890121234567890123456789012345678901212345678901234567890
1
1
234567890123456789012345678901212345678901234567890123456789012123456789012345678901234567890121234567890123456789012345678901212345678901234567890
1
1
234567890123456789012345678901212345678901234567890123456789012123456789012345678901234567890121234567890123456789012345678901212345678901234567890
1
1
234567890123456789012345678901212345678901234567890123456789012123456789012345678901234567890121234567890123456789012345678901212345678901234567890
1
1
234567890123456789012345678901212345678901234567890123456789012123456789012345678901234567890121234567890123456789012345678901212345678901234567890
1
12345678901234567890123456789012123456789012345678901234567890121234567890123456789012345678901212345678901234567890123456789012123456789012345678901
3.2.
Add coffee, restaurant / catering grounded coffee).
Make sure that the coffee is evenly spread.
3.3.
Place the filter holder.
3.4.
START BREWING: Turn ON control switch .
Press button I / I (Full brew) to start automatic
water filling.
During the brewing the button is blinking.

7.
3. Brewing of coffee
12345678901234567890123456789012123456789012345678901234567890121234567890123456789012345678901212345678901234567890123456789012123456789012345678901
1
234567890123456789012345678901212345678901234567890123456789012123456789012345678901234567890121234567890123456789012345678901212345678901234567890
1
1
234567890123456789012345678901212345678901234567890123456789012123456789012345678901234567890121234567890123456789012345678901212345678901234567890
1
1
234567890123456789012345678901212345678901234567890123456789012123456789012345678901234567890121234567890123456789012345678901212345678901234567890
1
1
234567890123456789012345678901212345678901234567890123456789012123456789012345678901234567890121234567890123456789012345678901212345678901234567890
1
1
234567890123456789012345678901212345678901234567890123456789012123456789012345678901234567890121234567890123456789012345678901212345678901234567890
1
1
234567890123456789012345678901212345678901234567890123456789012123456789012345678901234567890121234567890123456789012345678901212345678901234567890
1
1
234567890123456789012345678901212345678901234567890123456789012123456789012345678901234567890121234567890123456789012345678901212345678901234567890
1
12345678901234567890123456789012123456789012345678901234567890121234567890123456789012345678901212345678901234567890123456789012123456789012345678901
3.5.
When the brew is ready.
Check the volume in the thermos.
4.1.
If the amount of water is wrong: Adjust with the buttons for automatic water filling.
I / I button = Increase 5% 1 beep.
0 = Exit and save settings
I / 2 button = Decrease 5% 1 beep.
4. Adjusting water amount and brewtime.
Press the button for I / I (Full) and I /2 (Half) at same time in 5 seconds. The buzzer beeps twice.
See page 8. chapter 4.3. (table)
4.2.
If you need to adjust the brewtime: Adjust with the buttons for automatic water filling.
I / I button = Increase 5% 1 beep.
0 = Exit and save settings
I / 2 button= Decrease 5% 1 beep.
Press the button for I / I (Full) and 0 at same time in 5 seconds. The buzzer beeps 4 times.
See page 8. chapter 4.4 (table)

8.
12345678901234567890123456789012123456789012345678901234567890121234567890123456789012345678901212345678901234567890123456789012123456789012345678901
1
234567890123456789012345678901212345678901234567890123456789012123456789012345678901234567890121234567890123456789012345678901212345678901234567890
1
1
234567890123456789012345678901212345678901234567890123456789012123456789012345678901234567890121234567890123456789012345678901212345678901234567890
1
1
234567890123456789012345678901212345678901234567890123456789012123456789012345678901234567890121234567890123456789012345678901212345678901234567890
1
1
234567890123456789012345678901212345678901234567890123456789012123456789012345678901234567890121234567890123456789012345678901212345678901234567890
1
1
234567890123456789012345678901212345678901234567890123456789012123456789012345678901234567890121234567890123456789012345678901212345678901234567890
1
1
234567890123456789012345678901212345678901234567890123456789012123456789012345678901234567890121234567890123456789012345678901212345678901234567890
1
1
234567890123456789012345678901212345678901234567890123456789012123456789012345678901234567890121234567890123456789012345678901212345678901234567890
1
12345678901234567890123456789012123456789012345678901234567890121234567890123456789012345678901212345678901234567890123456789012123456789012345678901
4. Adjustment of water amount and brewtime.
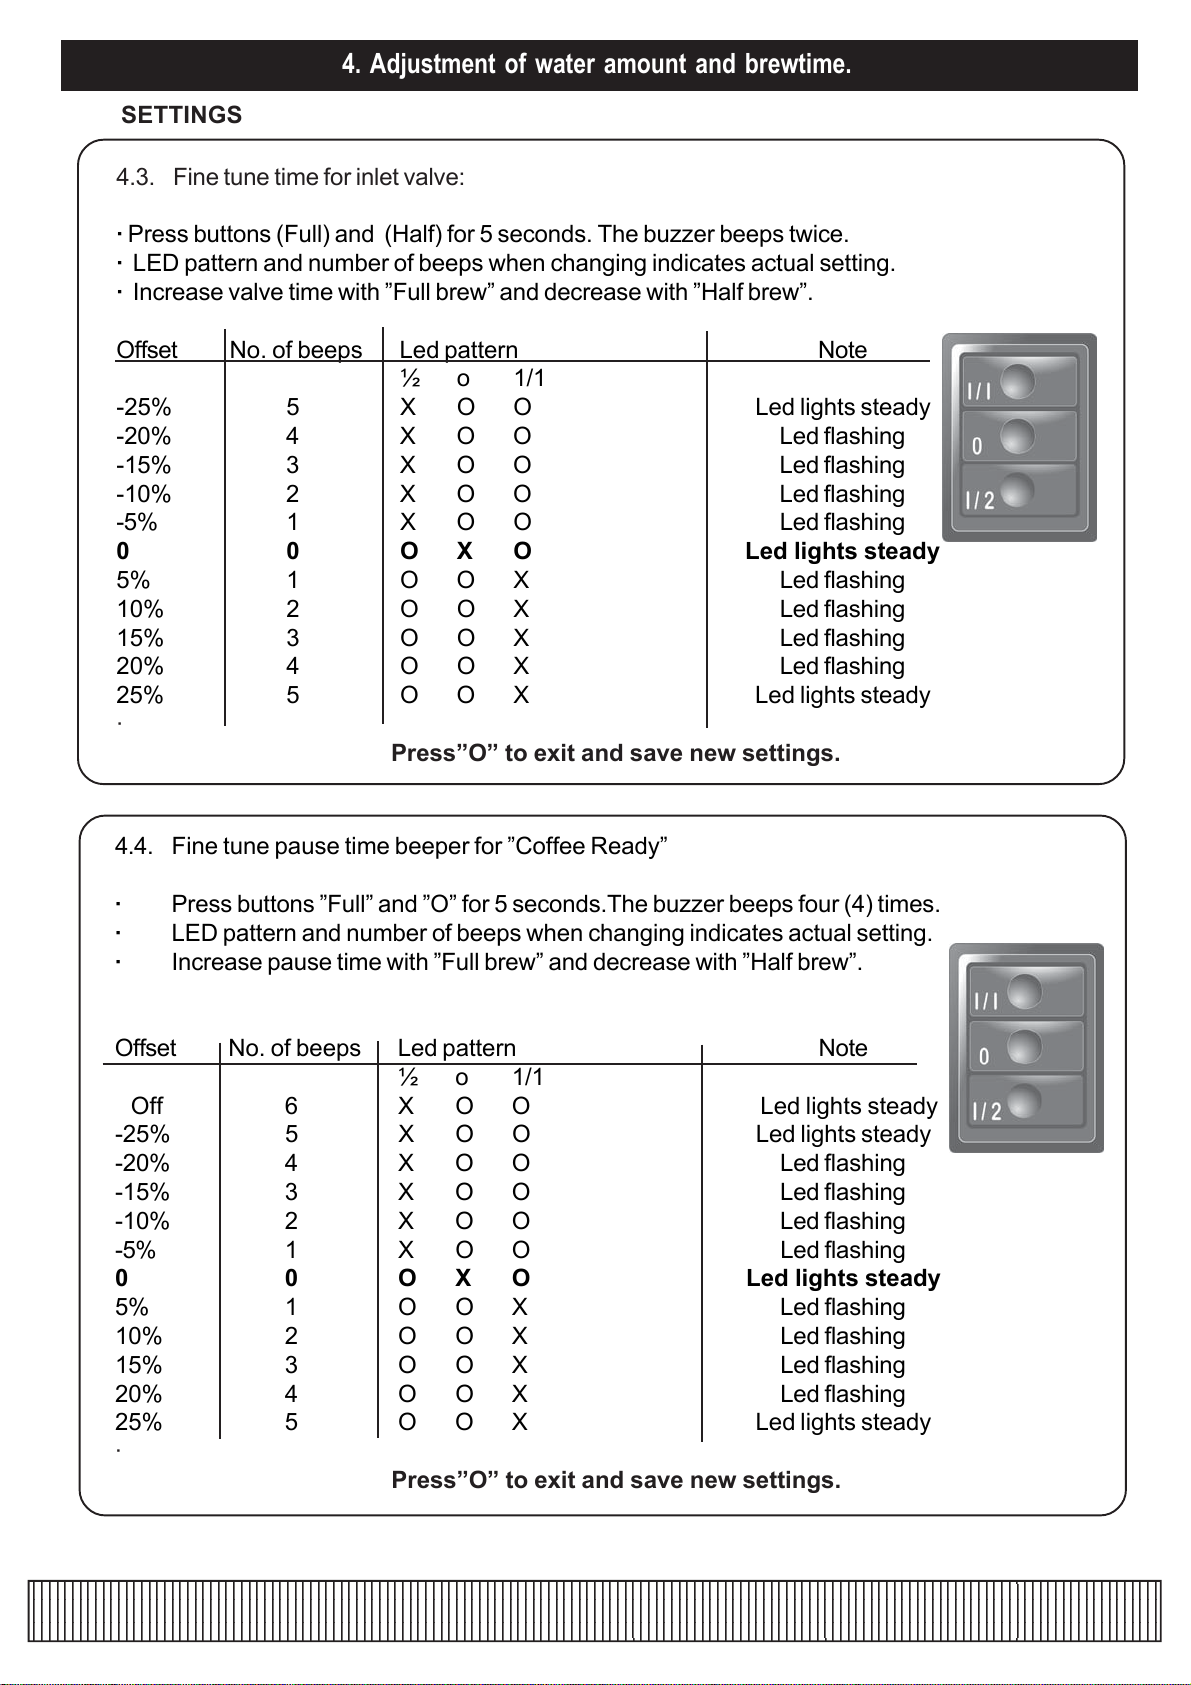
4.3. Fine tune time for inlet valve:
· Press buttons (Full) and (Half) for 5 seconds. The buzzer beeps twice.
·LED pattern and number of beeps when changing indicates actual setting.
·Increase valve time with ”Full brew” and decrease with ”Half brew”.
Offset No. of beeps Led pattern Note
½ o 1/1
-25% 5 X O O Led lights steady
-20% 4 X O O Led flashing
-15% 3 X O O Led flashing
-10% 2 X O O Led flashing
-5% 1 X O O Led flashing
0 0 O X O Led lights steady
5% 1 O O X Led flashing
10% 2 O O X Led flashing
15% 3 O O X Led flashing
20% 4 O O X Led flashing
25% 5 O O X Led lights steady
·
Press”O” to exit and save new settings.
SETTINGS
4.4. Fine tune pause time beeper for ”Coffee Ready”
·Press buttons ”Full” and ”O” for 5 seconds.The buzzer beeps four (4) times.
·LED pattern and number of beeps when changing indicates actual setting.
·Increase pause time with ”Full brew” and decrease with ”Half brew”.
Offset No. of beeps Led pattern Note
½ o 1/1
Off 6 X O O Led lights steady
-25% 5 X O O Led lights steady
-20% 4 X O O Led flashing
-15% 3 X O O Led flashing
-10% 2 X O O Led flashing
-5% 1 X O O Led flashing
0 0 O X O Led lights steady
5% 1 O O X Led flashing
10% 2 O O X Led flashing
15% 3 O O X Led flashing
20% 4 O O X Led flashing
25% 5 O O X Led lights steady
·
Press”O” to exit and save new settings.

9.
NOTE!
Before each brewing.
Rinse the thermos.
CAUTION!
The machine should not be
Submerged in water orWashed in a
dishwasher
5. Maintenance
12345678901234567890123456789012123456789012345678901234567890121234567890123456789012345678901212345678901234567890123456789012123456789012345678901
1
234567890123456789012345678901212345678901234567890123456789012123456789012345678901234567890121234567890123456789012345678901212345678901234567890
1
1
234567890123456789012345678901212345678901234567890123456789012123456789012345678901234567890121234567890123456789012345678901212345678901234567890
1
1
234567890123456789012345678901212345678901234567890123456789012123456789012345678901234567890121234567890123456789012345678901212345678901234567890
1
1
234567890123456789012345678901212345678901234567890123456789012123456789012345678901234567890121234567890123456789012345678901212345678901234567890
1
1
234567890123456789012345678901212345678901234567890123456789012123456789012345678901234567890121234567890123456789012345678901212345678901234567890
1
1
234567890123456789012345678901212345678901234567890123456789012123456789012345678901234567890121234567890123456789012345678901212345678901234567890
1
1
234567890123456789012345678901212345678901234567890123456789012123456789012345678901234567890121234567890123456789012345678901212345678901234567890
1
12345678901234567890123456789012123456789012345678901234567890121234567890123456789012345678901212345678901234567890123456789012123456789012345678901
X
Each day.
Wash the thermos pot and the filterholder with
liquid solution for coffee machines.
Clean the spray nozzle and the surrounding area.
Clean the hot plate.
Use a soft rag and liquid solution that does
not scratch.

10.
12345678901234567890123456789012123456789012345678901234567890121234567890123456789012345678901212345678901234567890123456789012123456789012345678901
1
234567890123456789012345678901212345678901234567890123456789012123456789012345678901234567890121234567890123456789012345678901212345678901234567890
1
1
234567890123456789012345678901212345678901234567890123456789012123456789012345678901234567890121234567890123456789012345678901212345678901234567890
1
1
234567890123456789012345678901212345678901234567890123456789012123456789012345678901234567890121234567890123456789012345678901212345678901234567890
1
1
234567890123456789012345678901212345678901234567890123456789012123456789012345678901234567890121234567890123456789012345678901212345678901234567890
1
1
234567890123456789012345678901212345678901234567890123456789012123456789012345678901234567890121234567890123456789012345678901212345678901234567890
1
1
234567890123456789012345678901212345678901234567890123456789012123456789012345678901234567890121234567890123456789012345678901212345678901234567890
1
12345678901234567890123456789012123456789012345678901234567890121234567890123456789012345678901212345678901234567890123456789012123456789012345678901
5. Maintenance
Each week.
Descaling and cleaning.
Pour 50 ml descaling / cleaning solution in a pot and fill it up with cold water.
Take off the spray nozzle and put it into the filterholder.
Pour the mixture in the machine and proceed with a brewing without a filterpaper or coffee.
Rinse by brewing at least 3 times with clean water so that the particles from descaling solution
disappear.
Put back the spray nozzle.
Regular descaling/cleaning will ensure optimum brewing performance and a longer life of the
machine.
Surface cleaning. Use a soft rag and liquid solution that does not scratch.

11.
12345678901234567890123456789012123456789012345678901234567890121234567890123456789012345678901212345678901234567890123456789012123456789012345678901
1
234567890123456789012345678901212345678901234567890123456789012123456789012345678901234567890121234567890123456789012345678901212345678901234567890
1
1
234567890123456789012345678901212345678901234567890123456789012123456789012345678901234567890121234567890123456789012345678901212345678901234567890
1
1
234567890123456789012345678901212345678901234567890123456789012123456789012345678901234567890121234567890123456789012345678901212345678901234567890
1
1
234567890123456789012345678901212345678901234567890123456789012123456789012345678901234567890121234567890123456789012345678901212345678901234567890
1
1
234567890123456789012345678901212345678901234567890123456789012123456789012345678901234567890121234567890123456789012345678901212345678901234567890
1
1
234567890123456789012345678901212345678901234567890123456789012123456789012345678901234567890121234567890123456789012345678901212345678901234567890
1
1
234567890123456789012345678901212345678901234567890123456789012123456789012345678901234567890121234567890123456789012345678901212345678901234567890
1
12345678901234567890123456789012123456789012345678901234567890121234567890123456789012345678901212345678901234567890123456789012123456789012345678901
7. Important
Important.
Do not make any alterations to the machine. Such measures may cause personal injury and
the
machine to fail.
The machine should stand on a flat surface so that it will function properly.
The machine should be placed on a water-proof surface so that any leakage is easily
noticeable,
make sure there is no bendage on the connection tube when machine is pushed into its place.
The tube connections should be regularly checked. Make sure that no leakage has occurred in
connection with installation.
Do not leave the machine unattended while using. Close water connection when not using
machine.
The machine must be disconnected from electrical supply before any maintenance.

12.
12345678901234567890123456789012123456789012345678901234567890121234567890123456789012345678901212345678901234567890123456789012123456789012345678901
1
234567890123456789012345678901212345678901234567890123456789012123456789012345678901234567890121234567890123456789012345678901212345678901234567890
1
1
234567890123456789012345678901212345678901234567890123456789012123456789012345678901234567890121234567890123456789012345678901212345678901234567890
1
1
234567890123456789012345678901212345678901234567890123456789012123456789012345678901234567890121234567890123456789012345678901212345678901234567890
1
1
234567890123456789012345678901212345678901234567890123456789012123456789012345678901234567890121234567890123456789012345678901212345678901234567890
1
1
234567890123456789012345678901212345678901234567890123456789012123456789012345678901234567890121234567890123456789012345678901212345678901234567890
1
1
234567890123456789012345678901212345678901234567890123456789012123456789012345678901234567890121234567890123456789012345678901212345678901234567890
1
1
234567890123456789012345678901212345678901234567890123456789012123456789012345678901234567890121234567890123456789012345678901212345678901234567890
1
12345678901234567890123456789012123456789012345678901234567890121234567890123456789012345678901212345678901234567890123456789012123456789012345678901
8. Possible solutions.
Fault Possible Solution
A. Switch does not light. 1. Check plug connection to wall socket.
2. Check fuse in plug.
B. Brewer omits excess steam. 1. Machine may require descaling.
2. Spray nozzel may need unblocking.
3. Hose may be bent?
4. Inlet to boiler may be blocked. Descale
machine - if boiler still defective - replace.
C. Machine will not brew. 1. Trip-switch has activated - reset with button.
For possible fault / solution see B.
2. Check microswicth .
3. Check float .
4. Check connection to boiler .
5. Boiler unit may need replacing
E. The machine does not take in 1. Make sure water-inlet is not closed.
water. 2. Make sure the tube is not bent.
3. Check solenoid.
4. Checkthat thelamp in membran switch is blinking.
F. The machines does not stop 1. Dirt in the solenoid .
taking in water.
G. The machine is giving wrong 1. Check watertap.
amount of water. 2. Bent tube.
3. Dirt in solenoid .
4. Membran switch wrongly adjusted. Adjust according to
installation manual.
5. Defective flow regulator in solenoid, shift solenoid.

Art. nr 1704445
FOR SERVICE
Please contact your retail dealer
Your retail dealer
...............................................................................
...............................................................................
...............................................................................
EFB0009
Table of contents
Other mastro Coffee Maker manuals
Popular Coffee Maker manuals by other brands

Siemens
Siemens TE 803 series instruction manual

Krups
Krups Intuition Preference EA87 Series manual

Bosch
Bosch BCM8450UC/03 use and care manual

LAVAZZA
LAVAZZA Blue LB 2000 Instructions for installation and use

Breville
Breville Nespresso Vertuo Creatista user manual

Braun
Braun Hot Beverage Machine User instructions