6
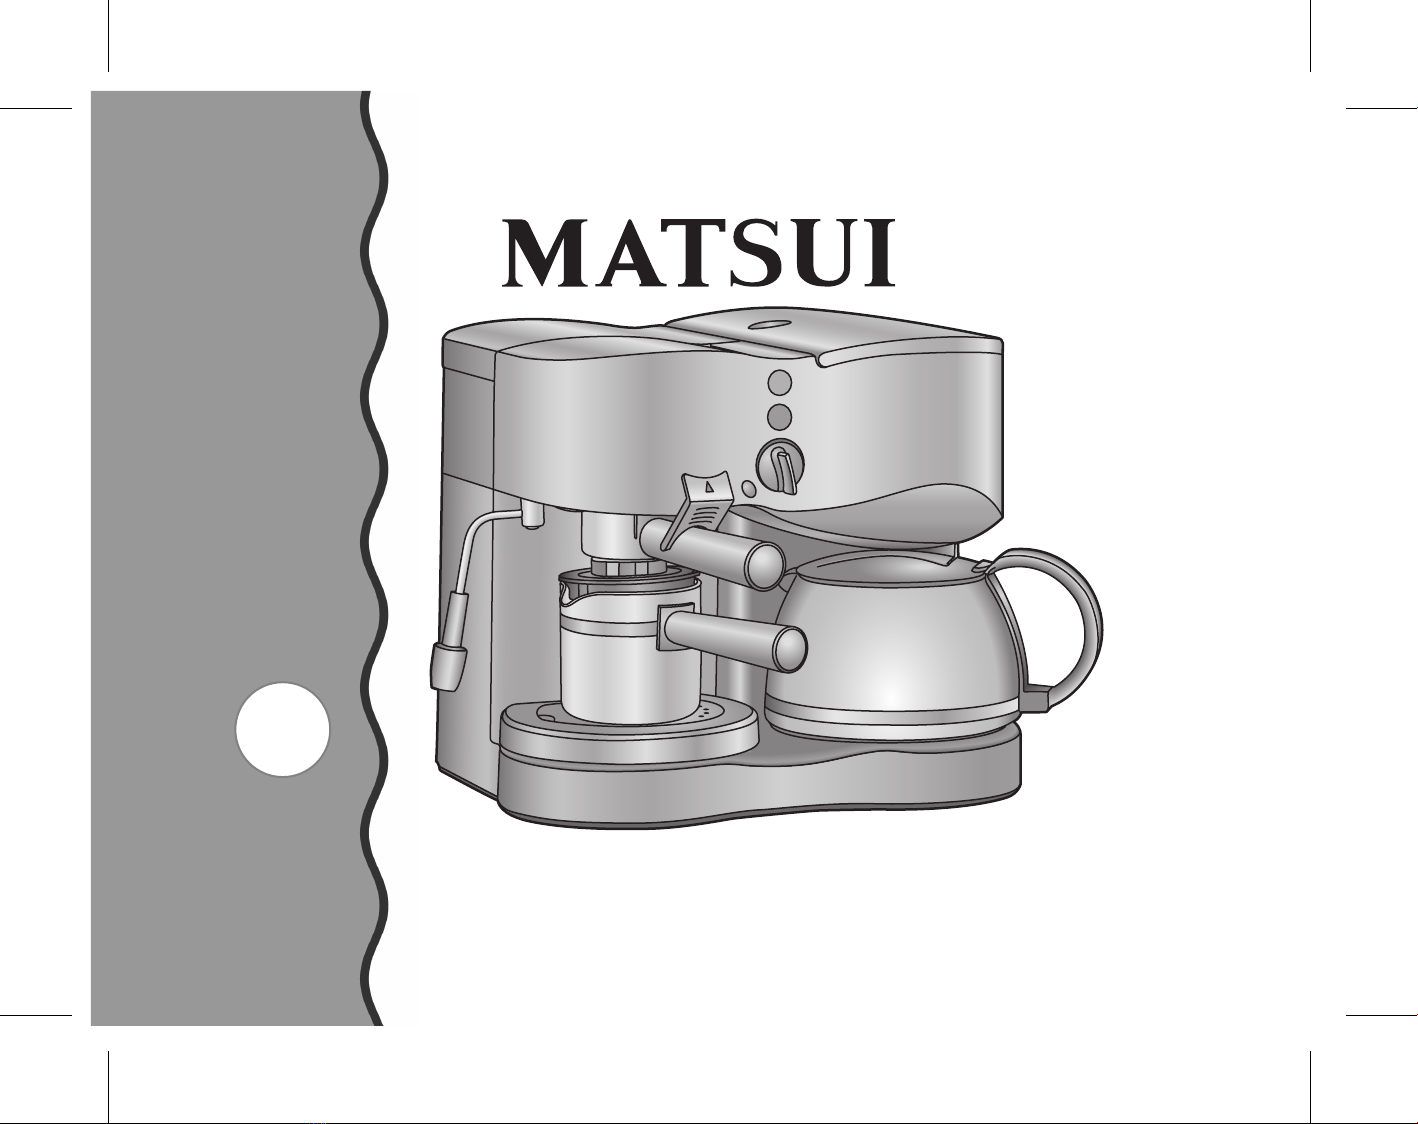
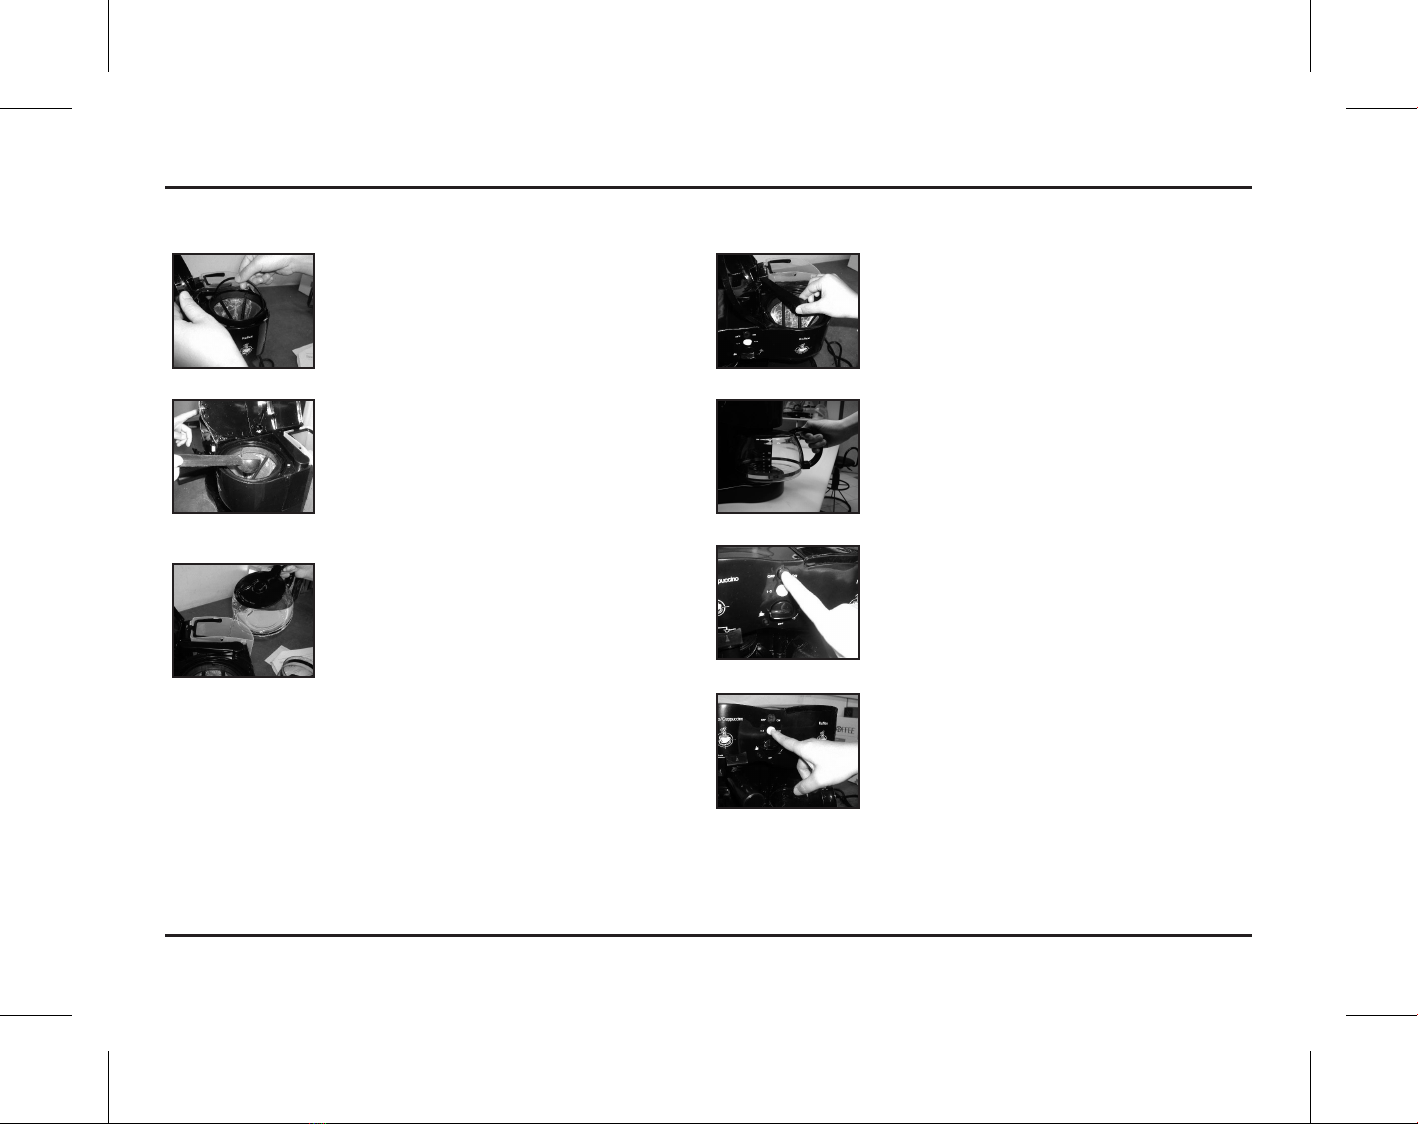
Once the espresso has stopped brewing, turn
the Espresso/cappuccino switch to OFF.
The indicator light will go out, indicating
that the machine is off.
WARNING: THE FILTER HOLDER GETS HOT DURING
OPERATION. IF THE MACHINE HAS BEEN IN OPERATION,
DO NOT TOUCH THE METAL PARTS WHEN REMOVING THE
FILTER HOLDER. AFTER REMOVING, COOL THE METAL
PARTS UNDER RUNNING WATER.
To make more espresso proceed as follows :
a. Check the boiler chamber is empty and not under pressure
(see the PRESSURE WARNING on this page)
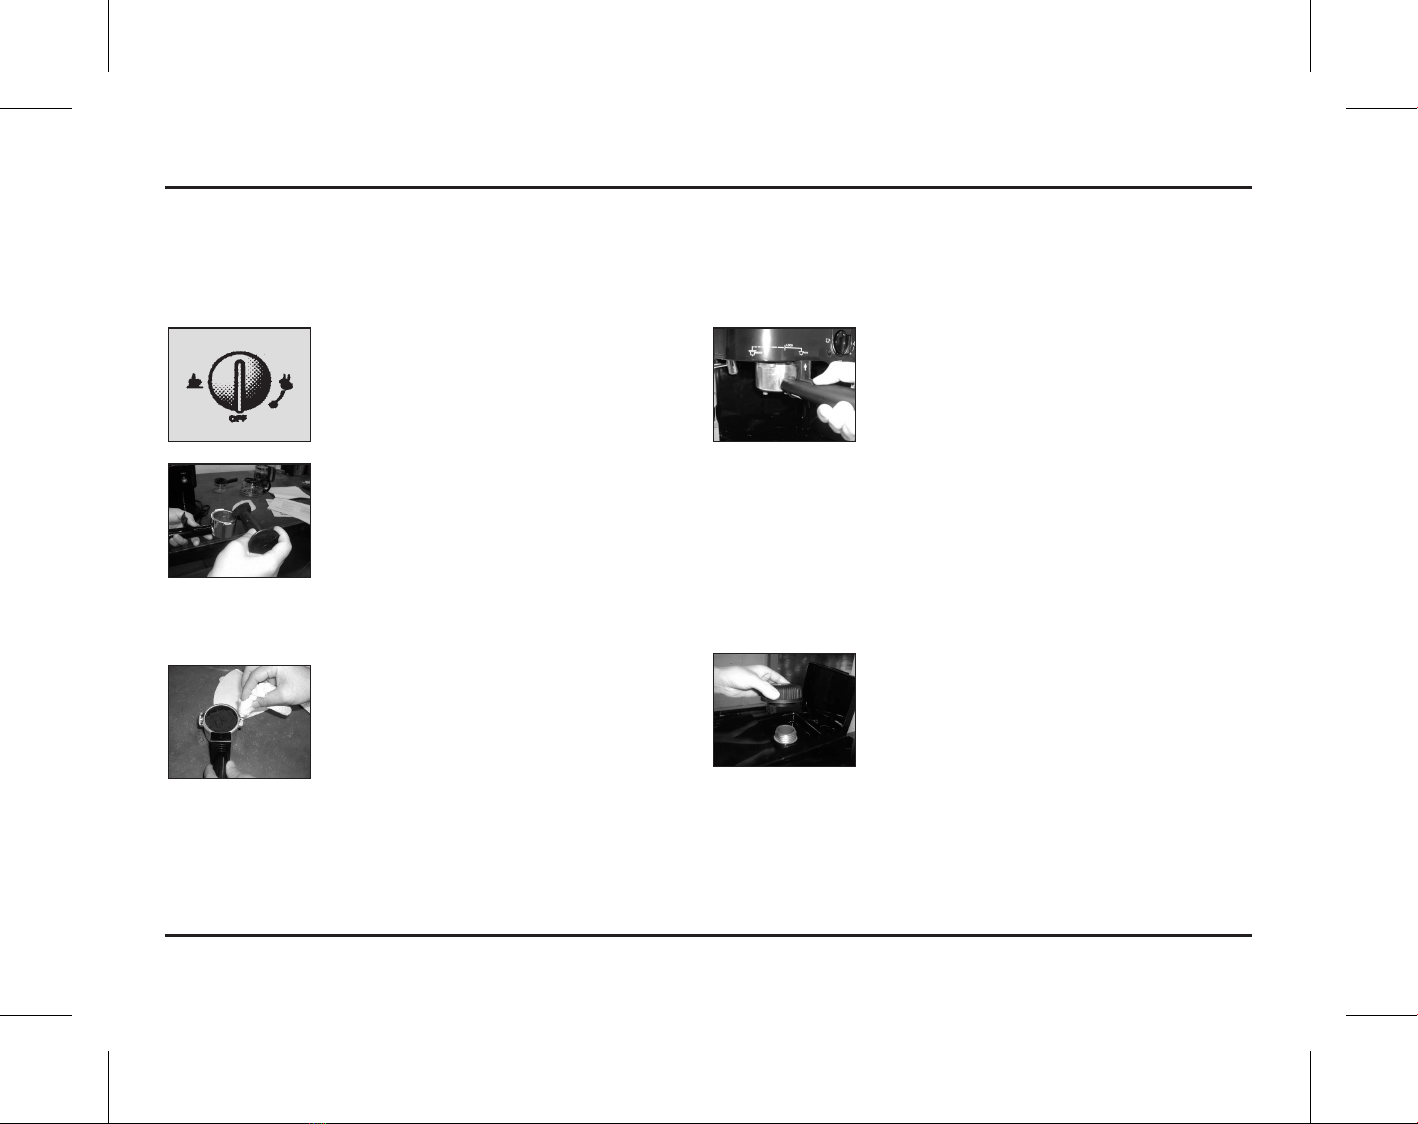
b. Remove the filter holder, empty the filter holder.
Use the filter retainer to stop the filter falling out of the
holder.
c. Repeat steps for making espresso.
After Use ~
PRESSURE WARNING:YOU MUST NEVER OPEN THE BOILER CAP OR
REMOVE THE FILTER HOLDER WHILE THE MACHINE IS SWITCHED
"ON", OR AS LONG AS THERE IS PRESSURE IN THE BOILER.
Follow the instructions below to find out if the boiler is still under
pressure These precautions should be followed while your machine is in use
and up to 15 mins after the machine was last used.
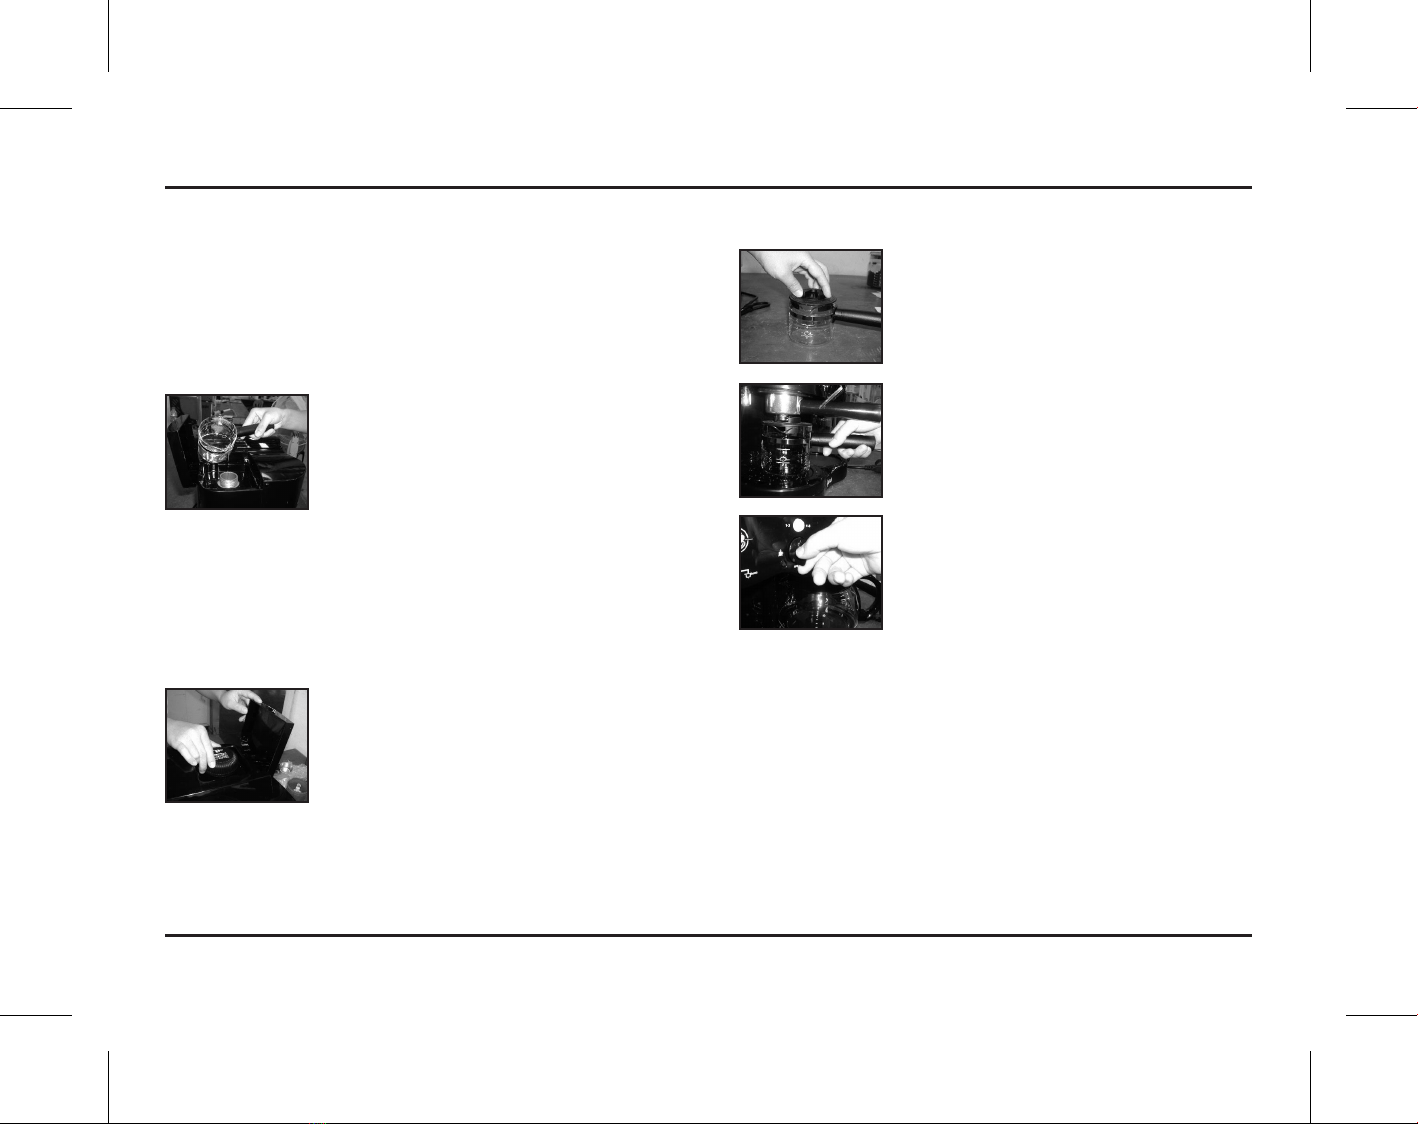
Make sure the Espresso/Cappuccino switch
is in the OFF position. Unplug the machine
from the main supply.
Hold a jug containing cold water under the
steam nozzle and immerse the nozzle in the
cold water.
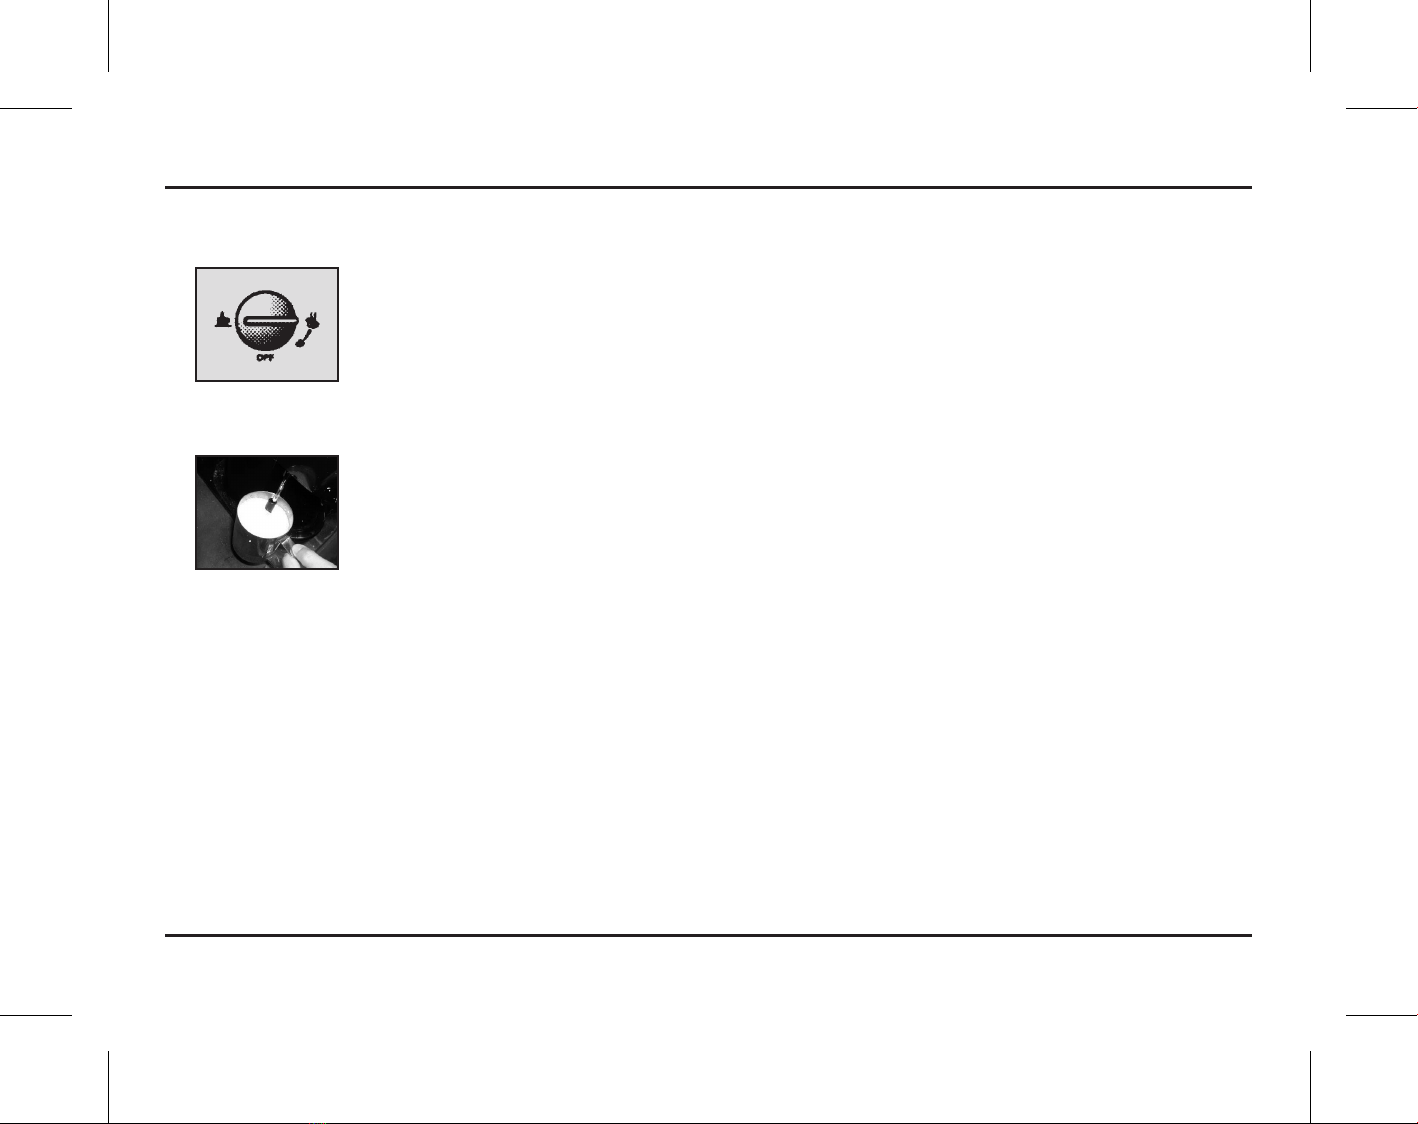
Turn the swith to steam position until steam
come out of the steam nozzle. Keep the nozzle
in the cold water until the flow of steam stops.