Before using the device, please read the safety instructions carefully.
Keep these instructions for future reference. If the device is passed on one
day, please also pass on this manual too. Please also observe the
restrictions in your national provisions in addition to those mentioned in
this manual.
Note also the servicing instructions and list of accessories (dust bag,
etc.) at the end of the manual.
Symbol explanation
Attention potential hazards
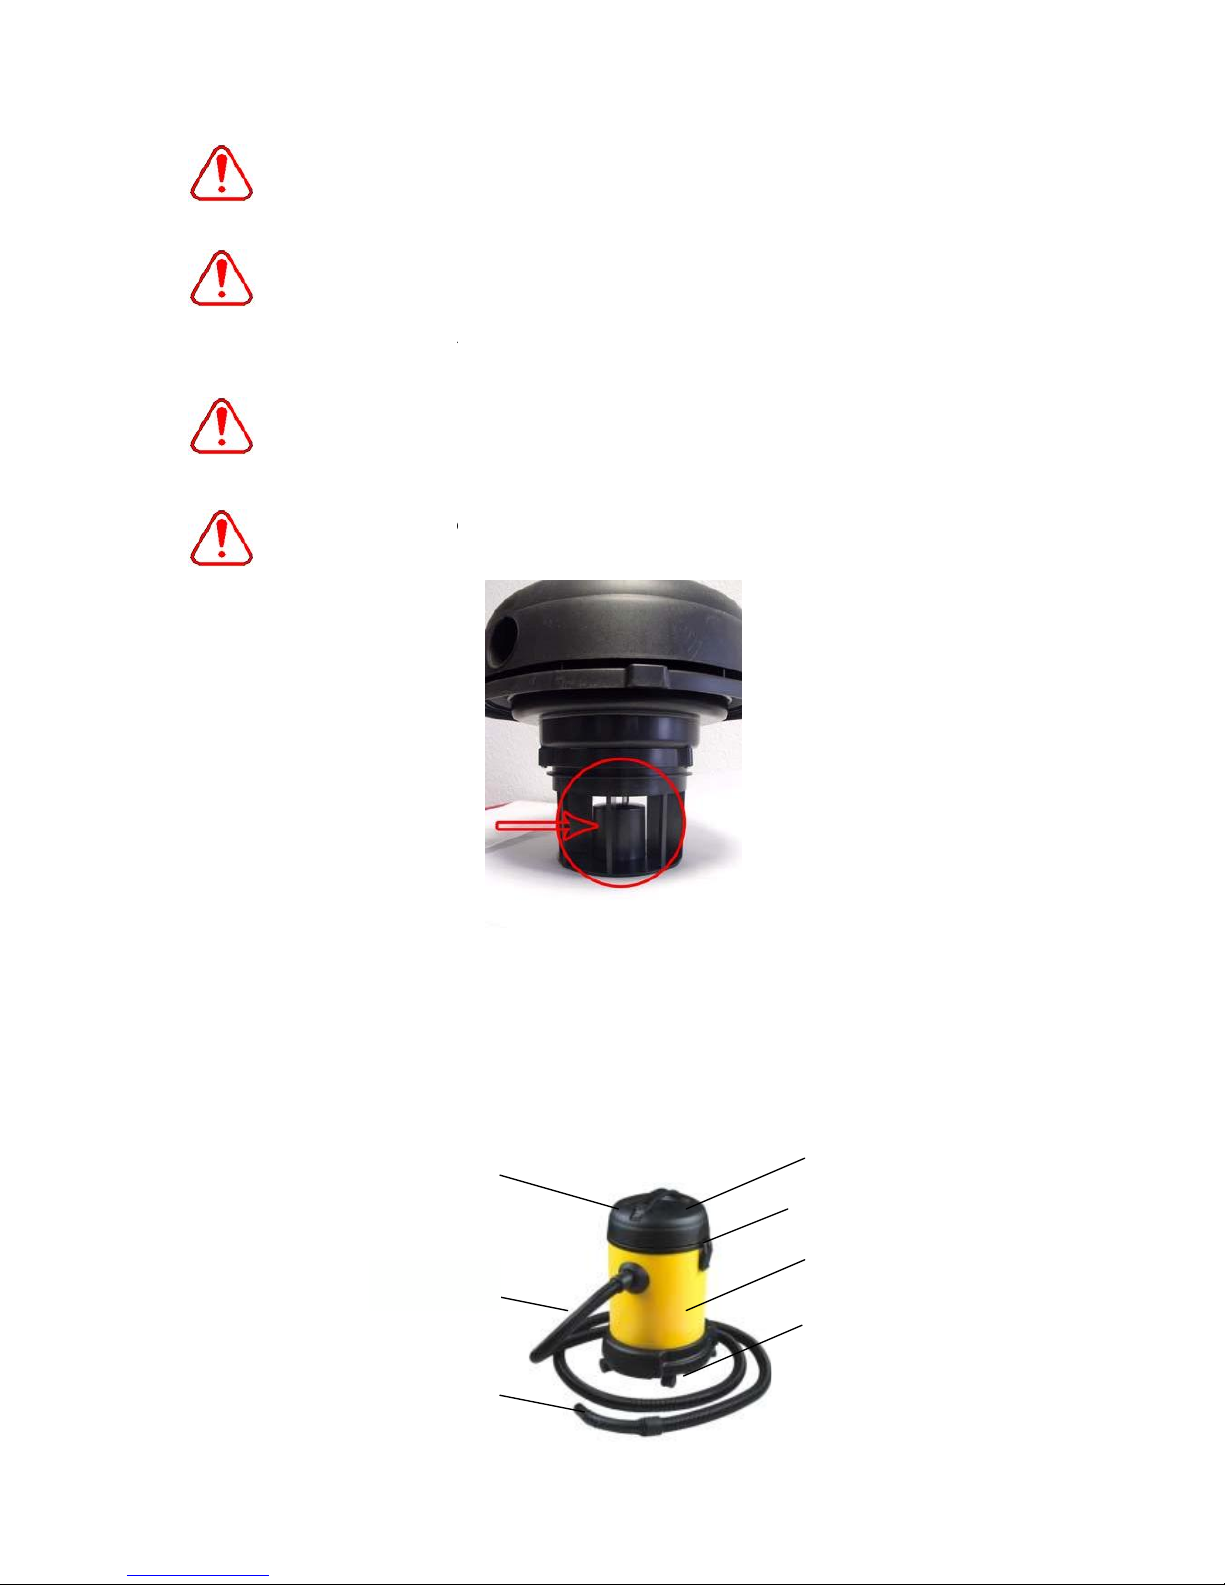
This unit is equipped with double insulation. Due to its high standard on an
additional ground of device waived. A service requires special
thoroughness. Only original spare parts should be used if device is defected. If
in doubt, consult your dealer. He will give you the necessary contact.
Table of Contents:
Intended use ................................................ ..................................................... 2
Technical Details ................................................. . ........... ........... ..................... 3
Security warnings .............................................................. .................................3
Before use............................................................................. .............................6
OPERATION – Mud vacuuming ................................................ .............................. 8
OPERATION - Wet vacuuming ............................................ ................................... 9
OPERATION – Dry vacuuming ................................................ .............................. 10
The device is placed near a pond ............................................ .............................. 11
After vacuuming ............................................... .................................................. 11
Maintenance and Cleaning .................................................................................... 12
Explosion warning ............................................................................................... 13
Service tipps........................................................................................................ 14
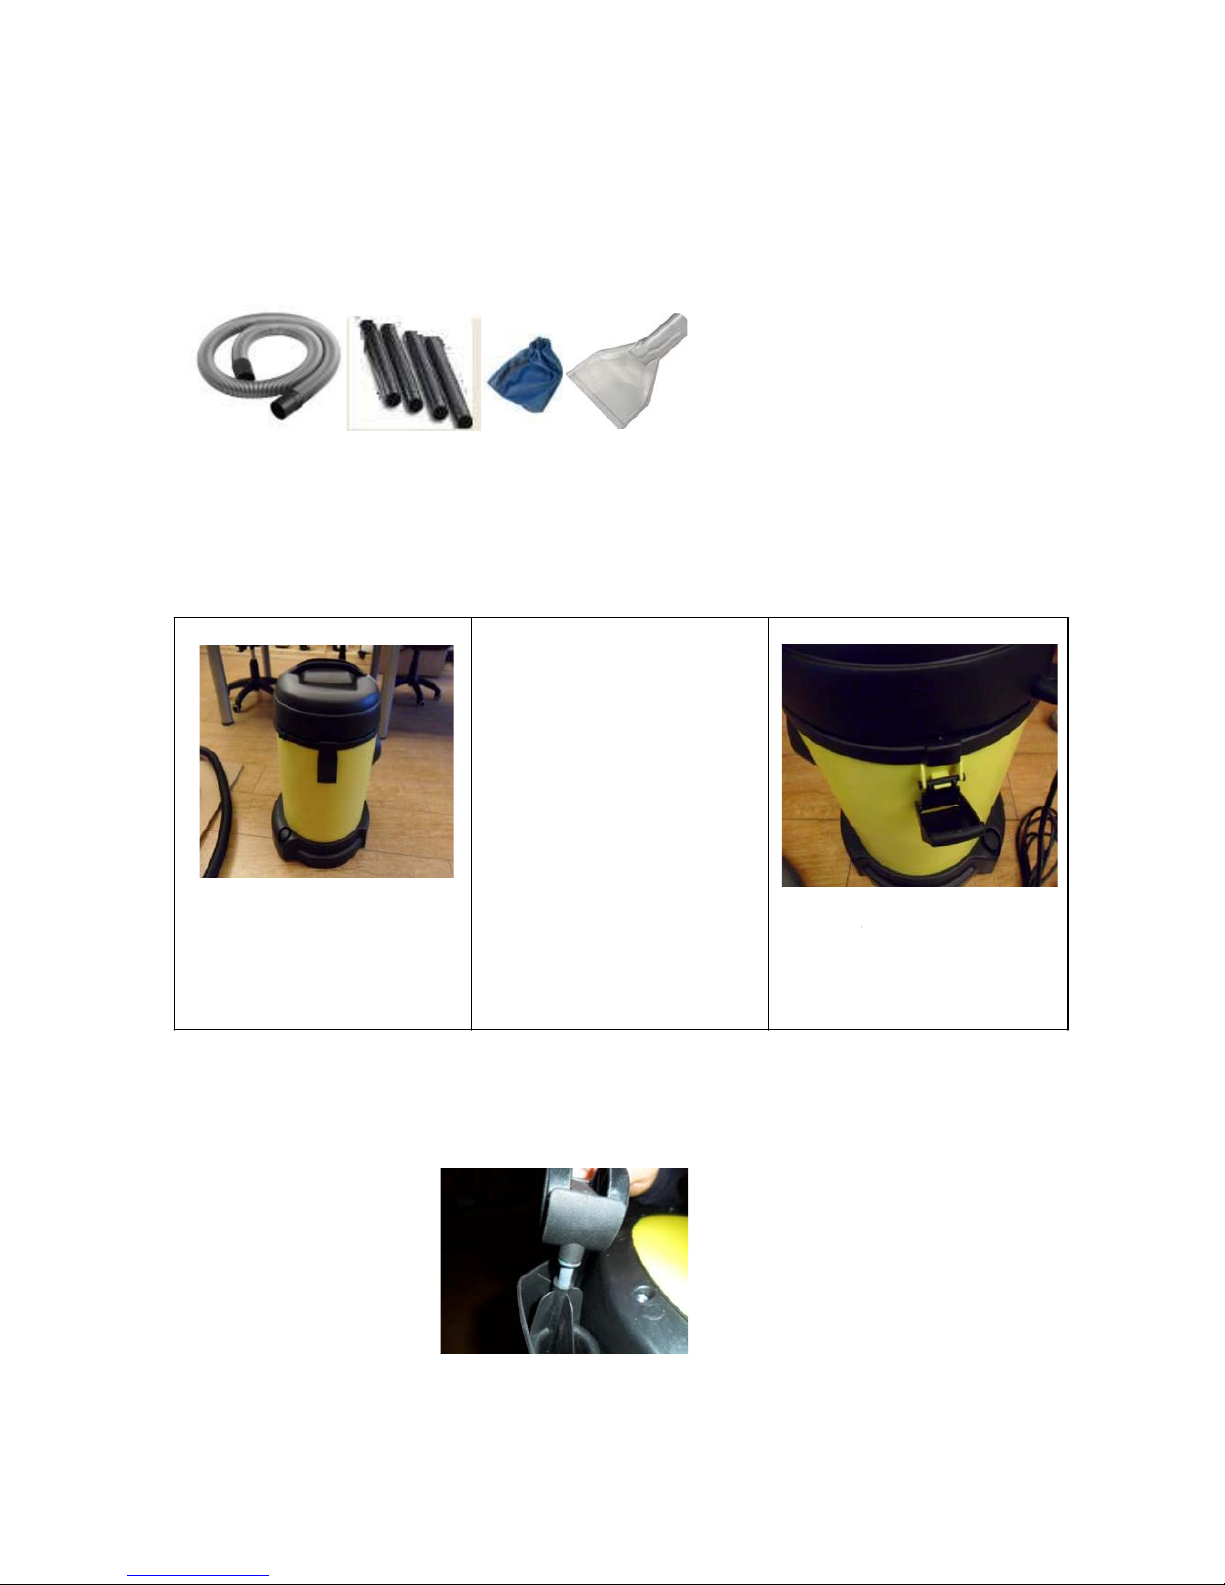
Intended Use
The device is suitable for SUCTION of residues such as mud, leaves, etc. from the
bottom of a pond or in manmade ponds, as well as wet and dry vacuum cleaner for
the home.
Contaminants (algae, leaves and mud), located at the base of ponds accumulate; can
be simply removed by this device.
Before using the device, please read the safety instructions carefully.
Keep these instructions for future reference. If the device is passed on one
day, please also pass on this manual too. Please also observe the
restrictions in your national provisions in addition to those mentioned in
this manual.
Note also the servicing instructions and list of accessories (dust bag,
etc.) at the end of the manual.
Symbol explanation
Attention potential hazards
This unit is equipped with double insulation. Due to its high standard on an
additional ground of device waived. A service requires special
thoroughness. Only original spare parts should be used if device is defected. If
in doubt, consult your dealer. He will give you the necessary contact.
Table of Contents:
Intended use ................................................ ..................................................... 2
Technical Details ................................................. . ........... ........... ..................... 3
Security warnings .............................................................. .................................3
Before use............................................................................. .............................6
OPERATION – Mud vacuuming ................................................ .............................. 8
OPERATION - Wet vacuuming ............................................ ................................... 9
OPERATION – Dry vacuuming ................................................ .............................. 10
The device is placed near a pond ............................................ .............................. 11
After vacuuming ............................................... .................................................. 11
Maintenance and Cleaning .................................................................................... 12
Explosion warning ............................................................................................... 13
Service tipps........................................................................................................ 14
Intended Use
The device is suitable for SUCTION of residues such as mud, leaves, etc. from the
bottom of a pond or in manmade ponds, as well as wet and dry vacuum cleaner for
the home.
Contaminants (algae, leaves and mud), located at the base of ponds accumulate; can
be simply removed by this device.