MAXWORKS 80699 User manual

Read and understand this entire manual before assembling,
installing, operating, or servicing this product.
SAVE THIS MANUAL
Copyrightc2018 by Maxx Group LLC. All rights reserved. No portion of this manual or any artwork
contained herein may be reproduced in any shape or form without the express written consent of Maxx
Group LLC. Due to continuing improvements, actual product may dier slightly from the product de-
scribed herein. Tools required for assembly and maintenance may not be included.
Instruction Manual
&
Parts List
Tumbler Composter
Model 80699

IMPORTANT SAFETY
INFORMATION
This is a SAFETY ALERT symbol.
It is used to alert you to
potential personal
injury hazards. Obey all
safety messages that follow
this symbol to avoid possible injury or death.
DANGER indicates a
hazardous situation which, if not avoided,
will result in death or serious injury.
WARNING indicates a
hazardous situation which, if not avoided,
could result in death or serious injury.
CAUTION indicates a
hazardous situation which, if not avoided,
could result in minor or moderate injury.
NOTICE indicates
important information which, if not followed,
may cause damage to equipment.
SAVE THIS MANUAL
Keep this manual for the safety warnings
and precautions. The manual oers impor-
tant information on how to assemble, use
and maintain this product.
Write the product’s model number and
purchase date on the cover page of this
manual.
Keep this manual (and your purchase re-
ceipt) in a safe place.
UNPACKING
The shipment should be thoroughly inspected as
soon as it is received. The signed “bill of lad-
ing” is acknowledgement by the carrier of receipt
in good condition or shipment covered by our
invoice. For your own protection, if any of the
goods called for on the bill of lading are shorted
or damaged, do not accept them until the carrier
makes a notation on the freight bill of the shorted
or damaged goods.
Notify MAXWORKS immediately if any hidden
loss or damage is discovered after receipt.
DANGER
WARNING
CAUTION
NOTICE
INSTRUCTION
MANUAL
WARNING concerning Risk of Eye
Injury. Wear ANSI approved eye
protection.
WARNING concerning Risk of
Hearing Loss. Wear hearing pro-
tection.
Denition of Symbols
IMPORTANT SAFETY
INSTRUCTIONS
1. Read and understand all
safety warnings and in-
structions. Failure to follow the warnings
and instructions may result in serious injury
or death. Save all warnings and instructions
for future reference.
2. Personal and Work Area Safety
A. Always wear ANSI approved
safety goggles.
B. Always wear hearing protec-
tection when working in
noisy environments. Prolonged exposure
to high intensity noise can cause hearing
loss.
C. Use safety equipment. Safe-
ty shoes, dust mask, hard hat
and work gloves must be used for applicable
conditions.
Model 80699 Page 2
D. Dress appropriately. Never wear loose
tting clothing or jewelry when working.
Contain long hair, and keep hair, clothing
and gloves away from moving parts.
E. Use common sense when working.
Stay alert and concentrate when assembling
and using the Tumbler Composter. Never
work while under the inuence of alcohol,
drugs or medications.

Model 80699 Page 3
Personal and Work Area Safety (continued)
F. While assembling and using the Tum-
bler Composter, keep work area clean
and well lighted. Keep spectators and
children out of the work area.
3. Use of the Tumbler Composter
A. Do not modify this product and do not
use this product for purposes that it was not
designed for.
B. This product is designed to cure food
scraps and other household waste into com-
post. Compost adds nutrients and organic
matter back to the soil which benets agri-
culture, reduces the need for fertilizers and
improves the soil’s water retention.
C. This product is not
a toy and should be located in an area away
from children and out of reach of children.
Small hardware components such as bolts
and nuts can be accidently swallowed by
children at play.
D. Complete assembly of this product is
required. If you are not experienced or
capable of doing this type of assembly work
safely, the Tumbler Composter should be
assembled by qualied service technicians.
This product is best assembled by two
people.
E. Save packaging information, warnings
and this manual. They contain important in-
formation and must always remain readable.
Contact MAXWORKS for replacements.
Keep in mind that the warnings previous-
ly discussed cannot cover all possible
conditions or situations that could occur.
It is important that the person setting up
and using this product understand that
common sense and caution are factors
which cannot be built into this product,
and must be supplied by the person(s)
using this product.
Limited Warranty
MAXWORKS warrants to the original retail
purchaser that the product is free of defects
in material and workmanship at the time of
shipment. This Tumbler Composter is war-
ranteed for 90 days from the date of pur-
chase. This warranty is expressly in lieu of
all other warranties, express or implied.
Proof of purchase is required for warranty
transactions; a copy of the original invoice
or sales receipt is required.
Assembling and Using the Tumbler
Composter
Always wear ANSI approved
safety goggles when assembling
this product.
Refer to the photos below and on Pages 4
and 5 when assembling the Tumbler Com-
poster.
A. Read and adhere to all Personal and
Work Area Safety Warnings on pages 2 and
3 before assembling and using this product.
B. Find a convenient and safe working area
(away from children and pets) for the assem-
bly of this product.
WARNING
C. Lay out and identify all components.
Note that the 2 longer Bolts with matching
Nuts are used to secure the Tumbler to the
Stand (this will be last assembly step).
Stand
Long Bolt
with Nut
Long Bolt
with Nut
(hidden
from
view)

All of the other included Bolts and Nuts are
of the same size and are used to assemble
the various plastic panels of the Tumbler
together.
First connect the Sliding Door Panel to the
two Side Panels using 4 Bolt/Nut sets.
For easier Panel assembly, stand the as-
sembled Side Panel/Sliding Door Panel
vertically as shown below.
Model 80699 Page 4
Side Panel
Note: Connection is made where two
triangle marks meet
Sliding Door
Panel
All Panels are of the same design. Attach
this Panel rst to the Sliding Door Panel.
Note: See 2 tabs inside each Panel. These
tabs t inside the rectangular opening of the
adjoining Panel. Connect each Panel using
7 Bolt/Nut sets.
Next, assemble this Panel.
Then, assemble one more Panel.
Tab
Tab
Assembling the at, center Divider inside
the Tumbler:
In Photo below, see how the Divider rests
between the 2 tracks on inside of each
Panel. Slide Divider in place.
This is a good time to make sure that all
previosly assembled Bolts/Nuts are tight,
before adding the nal 3 Panels to close up
the Tumbler.
After adding each of last 3 Panels, double
check that the Divider is resting in the tracks,
before tightening the Bolts/Nuts.
Attaching last Panel to Sliding Door
Panel:
In Photo below see how lip of last Panel
slides underneath edge of Sliding Door Pan-
el, before Bolts/Nuts are tightened in place.
Slide Divider
in place
Tracks
Lip slides
underneath
edge of Sliding
Door Panel

No replacement parts are available for this
product
Using the Tumbler Composter
1. The Tumbler Composter should be po-
sitioned in a level, dry location (preferably
near the garden). The Tumbler Composter
should be in an area that is free of children
and animal trac.
2. Composting turns kitchen scraps and
light yard debris into food for the soil. Com-
post adds organic matter and nutrients to the
soil which helps reduce the need for fertiliz-
ers, and improves the soil’s water retension.
Compost can be made in as little as 2 to 4
weeks.
3. Composting works best by combining
moist green materials (rich in Nitrogen) with
dry brown materials (rich in Carbon). The
best ratio is: 2 parts green materials to 1
part brown materials.
Examples of green materials: grass clip-
pings, kitchen food scraps, house and gar-
den plants, and vegetable waste.
Examples of brown materials: mulched up
twigs, saw dust, leaves and straw or hay.
Never attempt to compost meat, bones, fats,
dairy products, trash/plastics, wood ashes or
invasive plants (poison ivy).
Model 80699 Page 5
Assembling Stand
Per the Photo,
t Stand parts
A, B, and C
together.
Connecting Tumbler to Stand
Slide Tubular Axle through center section of
Tumbler. While holding each end of the Tu-
bular Axle, lift Tumbler to top of Stand. With
assistance, insert the 2 Large Bolts through
mounting holes in Axle and top of Stand.
Secure Bolts with Nuts to lock the Tumbler in
place. See Photo below.
A
A
B
B
C
C
The Tumbler should rotate smoothly while on
the Stand.
Tubular
Axle ts
through
center of
Tumbler
Long Bolt
with Nut
Long Bolt with Nut (hidden from view)
13”
13”
15”
13”
15”
15” SPECIFICATIONS
Maximum Capacity of
Tumbler
42 Gallons
Dual Chambers One for maturing com-
post; one for new waste
Composition Recycled plastic Tumbler;
Powder coated steel
Stand

Model 80699 Page 6
Manufactured for and distributed by:
Maxx Group LLC
300 S. Lewis Road, Suite H
Camarillo, CA 93012 USA
www.maxxhaul.com
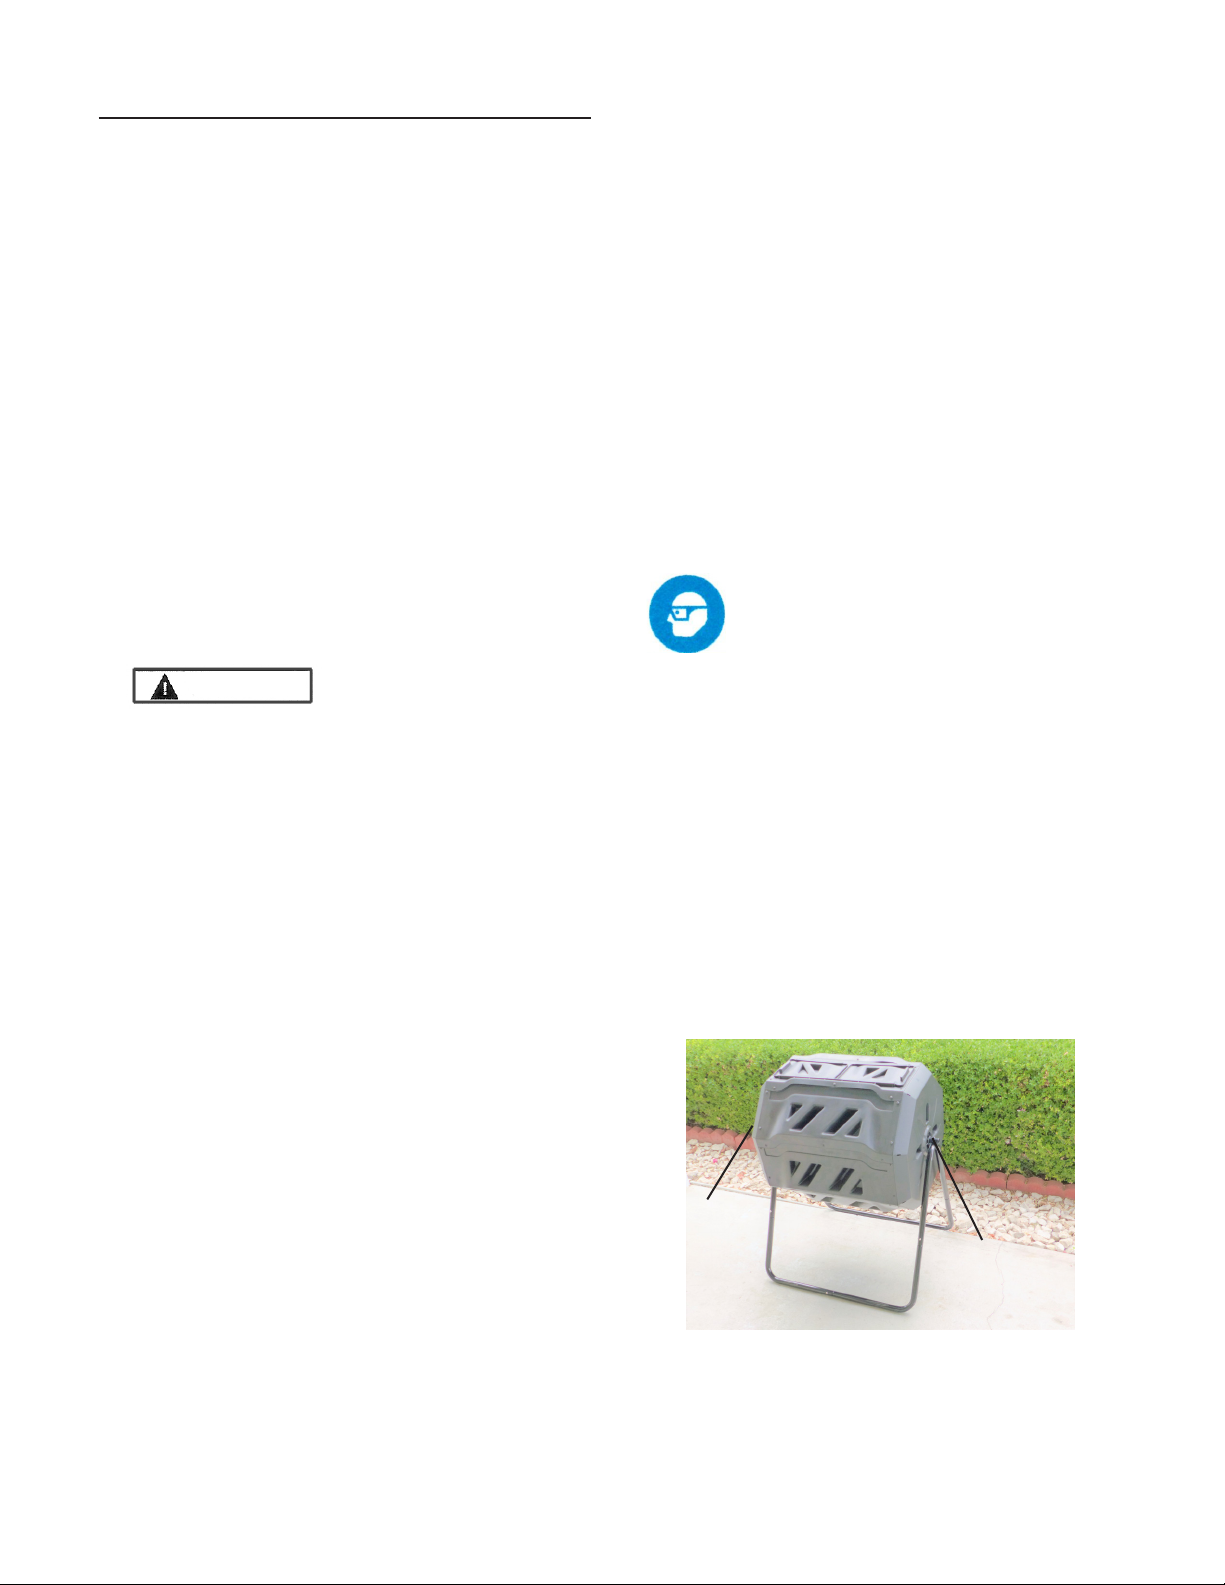
Loading the Tumbler/Composter
Rotate Tumbler so that the Sliding Doors are
on top. Open one Sliding Door. Add new
raw material to this chamber. Close Sliding
Door. Every other day the Tumbler should
be rotated 3 to 5 times to mix the contents.
Continue to add new raw materials to this
chamber until it is full. Continue to rotate the
Tumbler.
Checking the contents: After several
days, the mix should be getting warm/hot.
This conrms that the mix is decomposing.
Squeeze a handful of compost to make sure
the contents are not drying out. If it feels like
a damp rag, the water content is ne. If too
dry, add just a small amount of water. If the
contents are too wet, add more dry, brown
materials.
When one chamber is full, now add new raw
material to the second chamber and start
the curing process with this new material.
Repeat the steps mentioned above with this
second batch.
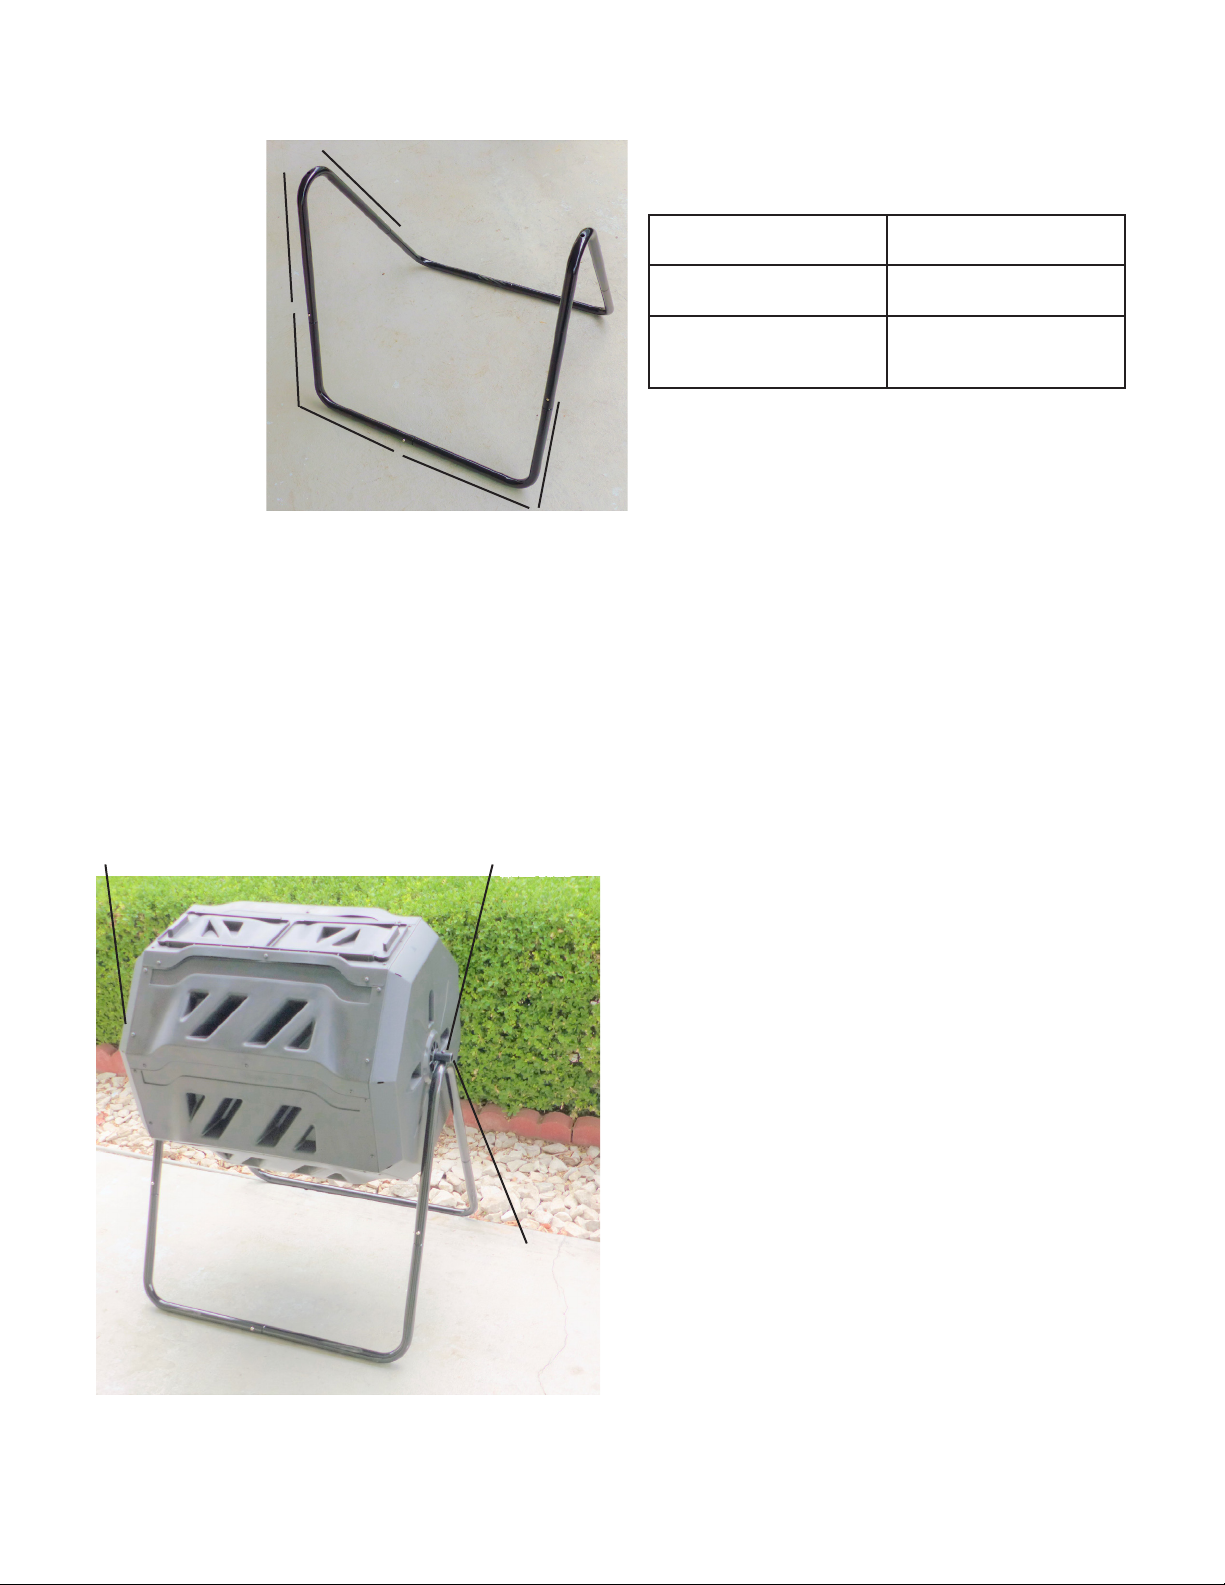
Finished compost: After several weeks,
when the composting process is complete,
the material can be removed from the cham-
ber. Place a tarp or plastic sheet on the
ground under the Tumbler. Rotate the Tum-
bler so that the Sliding Doors are facing the
ground, and slowly open the Door of the rst
chamber (with nished compost), to remove
the compost. Make sure the other Sliding
Door remains closed.
The nished compost will consist of coarse
and ne material. This nished compost can
be sifted and used in a potting mix. More
coarse material can be spread around out-
door plants, or mixed directly into the soil.
Additional thoughts:
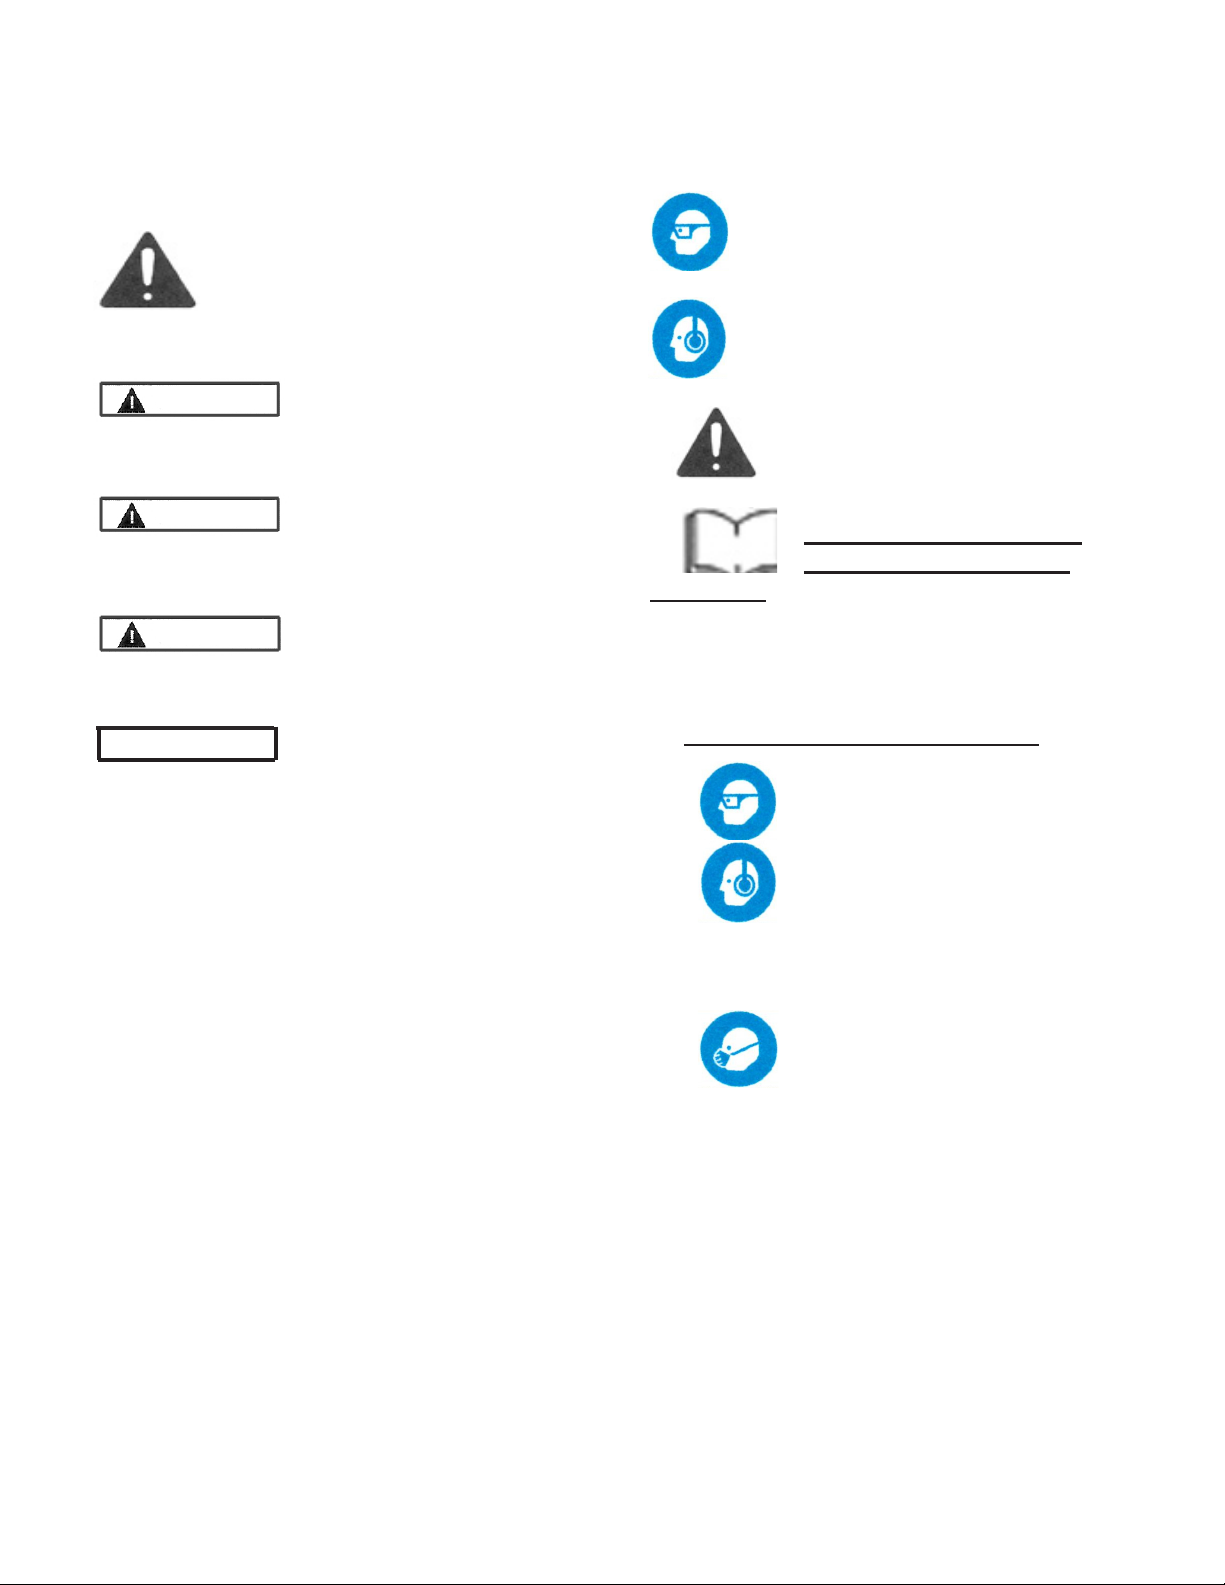
Some individuals may be particu-
larly sensitive to some organisms in com-
post. Dierent species of molds and fungi in
an active compost process can cause al-
lergic responses. To minimize potential risk,
wear common OSHA approved dust masks
in dry and dusty conditions and when the
Tumbler is rotated.
If you notice an ammonia smell from the
mix, this indicates the presence of too much
Nitrogen (green materials). To correct, add
more brown dry material.
A mix smelling of rotten eggs or a putrid
smell indicates mix is too wet with not
enough Oxygen. To correct, add more
brown dry materials and rotate the Tumbler
more frequently.
Insects and ies are attracted to uncovered
food scraps. Mix and cover food scraps with
dry brown materials.
Since rodents are attracted to meat and fatty
foods, never include these items in the com-
posting mix.
Additional Information: A search of the
internet will nd many souces of good in-
formation regarding composting. Recom-
mended: U.S. Environmental Protection
Agency website www2.epa.gov/recycle/
composting-home
Maintaining the Tumbler Composter
A. The general condition of this product
should be checked periodically. Make sure
that all hardware is tightened. Make sure
that the Sliding Doors are in good condition.
B. Keep the product clean and keep the
area around the Tumbler Composter clean
of debris to discourage interest from insects,
ies and rodents.
Table of contents