Measurement Systems MSI-6260CS Use and care manual

MSI6260cs
RF Digital Crane Scale
Calibration Guide

Page 1 of 7
INTRODUCTION
The MSI-6260CS Series crane scales are best calibrated using a remote indicator such as the MSI-
3750CS, MSI-9850, or the MSI-9750A Handheld. Calibration procedures using these devices are covered
in their respective User Guides. If above listed remote devices are not in use with the MSI-6260CS, the
only way to calibrate it is through the Comm. Port using the Terminal Access Mode. MSI recommends
having test weights of at least 50% capacity to properly calibrate the Crane Scale. The calibration
procedures will operate with as little as 12.5% of capacity, though rated accuracy cannot be guaranteed.
For details of Multi-Point, Certified, or other specialized calibrations, refer to full version of MSI-6260CS
User’s Guide.
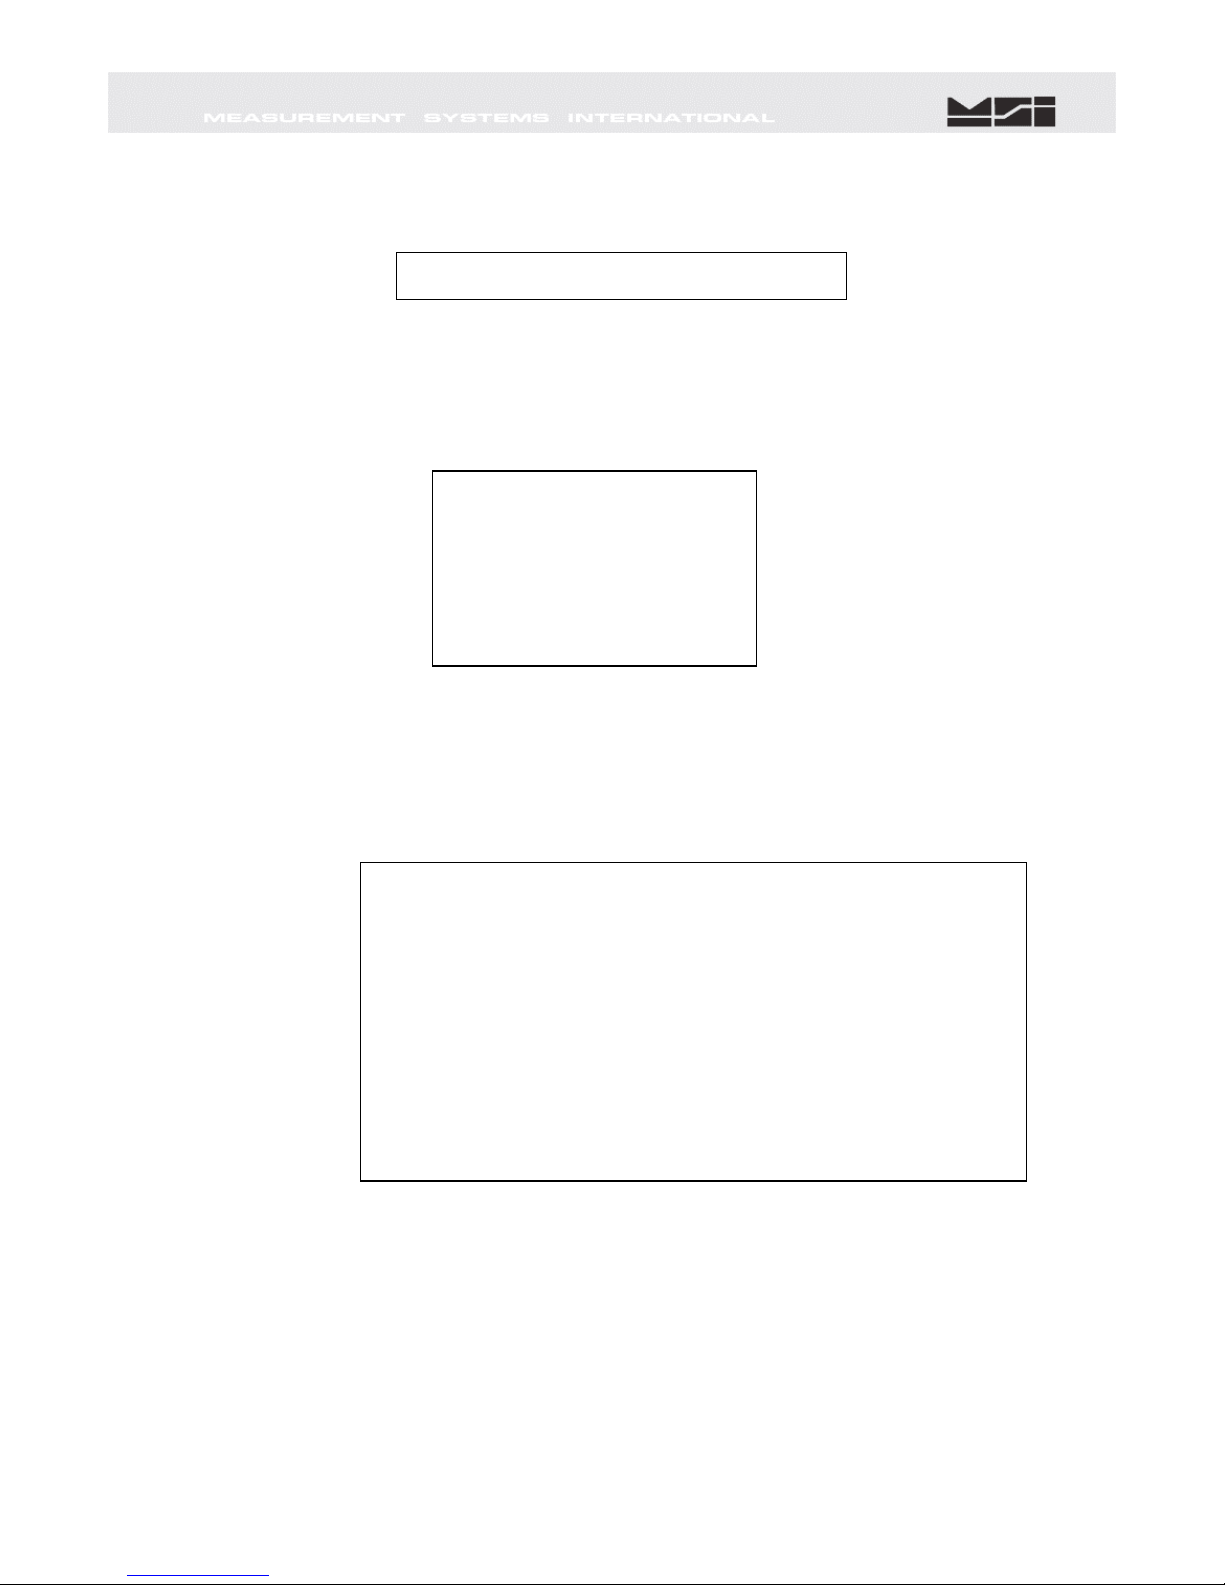
The following procedure describes how to perform a standard, single point
calibration for a single load cell MSI-6260CS Crane Scale. Some menu items may
appear slightly different than shown, depending upon actual software application
version. However, those relative to Scale Calibration are accurate.
REQUIRED EQUIPMENT:
1) PC or terminal with terminal program and RS-232 serial port.
2) Serial Communications cable, PN: 501705-0001.
3) Known calibration test weight between12.5 and 100% of the scale’s capacity.
ACCESSING EMBEDDED CELL SCALE
The MSI-6260CS Crane Scale is controlled by an embedded MSI-9000 CellScale. All scale functions
& operating parameters are stored within the MSI-9000.
1) Set the terminal program to emulate an ASCII terminal.
2) Set the terminal programs port protocol to 9600 Baud, no parity, 8 data bits and 1 stop bit.
3) Disable flow control in the terminal program.
4). Turn scale ON.
5). Connect the MSI-6260CS comport to the PC serial port with the 501705-0001 serial cable.
6). From PC, press ENTER. Main Cell Scale Manu will appear.
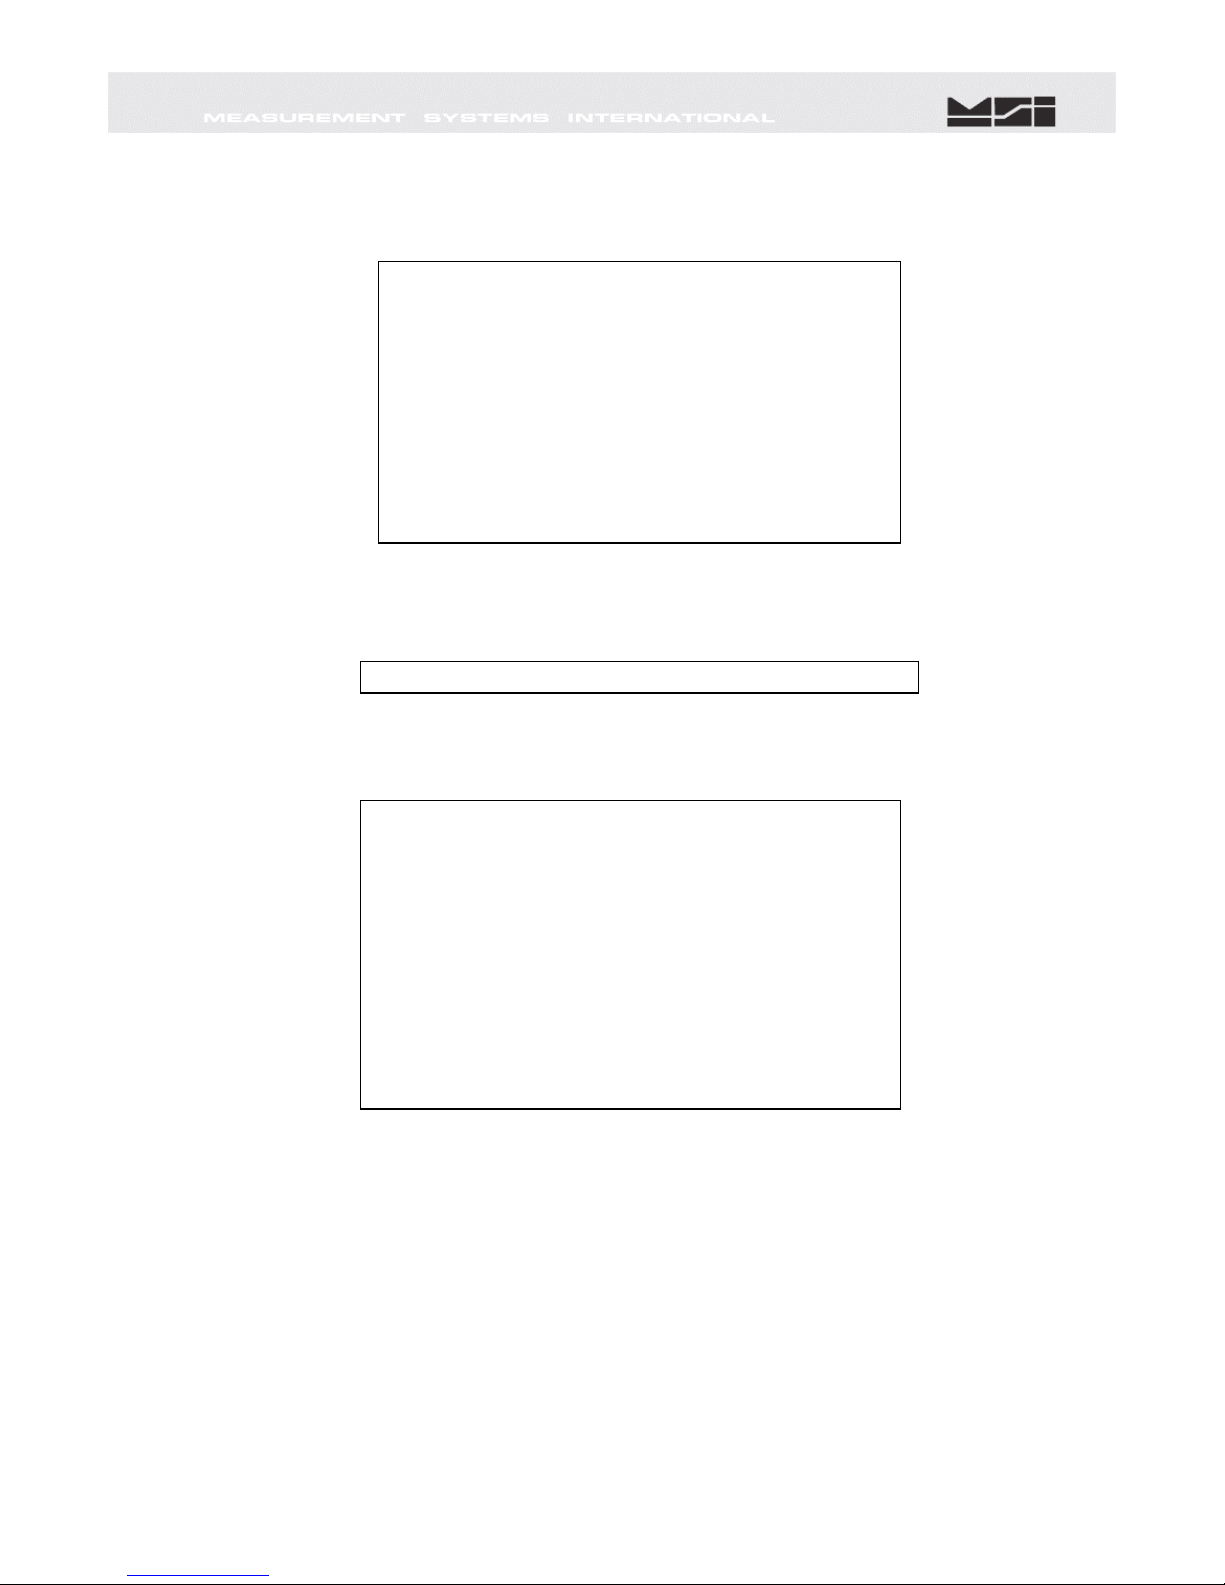
Select Channels/Calibration press 1.
---------- MSI 9000 - CellScale ------------------------
-(c) 2005 Measurement Systems International -
----------------------------------------------------------------
13:48:06 01/01/08
(1) Channels/Calibration
(2) Communications
(3) Display
(4) Feature Locks/Passwords
(5) Product IDs
(6) Set Points
(7) System
(8) About...
Enter choice:

Page 2 of 7
CALIBRATION PROCEDURE
1) Select Channel Calibration press 1.
2) Start the Calibration procedure by pressing 1.
.
3) Press 1to perform a completely new calibration.
4) The MSI-9000 CellScale prompts for the calibration units of mass. Press number value
corresponding to desired units.
***** Channel Setup *****
(1) Channel Calibration
(2) Data backup
(3) Filter (software)
(4) Channel Scanlist functions
(5) Motion Compensation (Accelerometer option required)
(6) Motion Detection
(7) Tare
(8) Total
(9) Units Lock
(a) Zero
(b) Standard Mode: Industry
(c) 4 to 20mA
(d) Temperature Sensor Installed: No
(ESC) Exit
***** Choose Channel Parameters *****
(1) Continue. These settings are correct
(2) Choose the channel to calibrate: 1-1
(3) Calibration timeout: None
(ESC) Exit
***** Channel Calibration *****
(1) Perform a completely new calibration
(2) Re-do the current calibration
(3) Manually adjust current cal points
(4) Reset all cal parameters to defaults
(5) Change display resolution countby
(ESC) Exit
Calibrate channel #: 1-1
The channel name is: ....................
Calibration Capacity: 0.
Calibration Countby: 1.
Calibration Units:
Display Resolution Countby: 1.
Display Units:
***** Choose Calibration Units *****
(1) Pounds
(2) Kilograms
(3) Tons
(4) Metric Tons
(5) Ounces
(6) Grams
(7) Deka-Newtons
Type a key...

Page 3 of 7
5) The MSI-9000 CellScale next prompts for the capacity. With the numeric keys, enter the
capacity of the scale. Type capacity value and press ENTER.
The capacity represents the highest operating value of the crane scale. Do not enter a higher number than the
scale is rated for. The actual overload point is a few scale divisions above the entered capacity.
6) The MSI-9000 CellScale next prompts for the count by (d). Press letter value
corresponding to desired value
This list is for a type ‘A’ scale with up to 10000 counts resolution. This is the standard default. MSI recommends
all MSI-6260CS Series crane scales calibrated at 5000 divisions or less. Too many divisions will compromise
stability and settling time. Use the largest division size suitable for your application.
7) Unload the scale, make sure it is stable, and press Y. The scale performs its zeroing
step, removing all offset. This process takes several seconds.
The number presented at the bottom of the screen is direct A/D counts. This is for troubleshooting only. This
number will never be steady as it represents 24 bits. If the deviation is less than ±250 counts the load is stable
enough for a 5000 count scale. The calibration step needs the scale platform to remain steady and unloaded
during this step.
***** Select a countby *****
(a) 1. Kilograms
(b) 2. Kilograms
(c) 5. Kilograms
(d) 10. Kilograms
(e) 20. Kilograms
(f) 50. Kilograms
(g) 100. Kilograms
***** Channel Calibration *****
Calibrating Ch # 1-1, named: ...............
Precision in Kilograms : 10000 x 2.
Test weight # 0 in Kilograms : 0.
Unload the scale.
Press (Y) when scale is unloaded and steady
Press (B) to backup
Press (ESC) to exit calibration
Raw A/D counts: 8403115
Type in the new capacity: 10000 kg

Page 4 of 7
8) Next, the MSI-9000 CellScale prompts for the value of the first calibration test weight.
This step defaults to capacity. If this is the actual calibration test load push Y, otherwise
push Nto input the actual cal weight. If Yis selected, skip to step 10.
9) If the calibration test weight is any value less than capacity. Type Nto bring up the to
change screen. Type in the correct calibration TEST WEIGHT VALUE and press ENTER
to store the value.
10) Load the scale with the indicated test weight. When the scale is stable press Y.
NOTE: When load is applied to scale, there will be a significant increase in the Raw A/D Counts. Actual
amount will vary depending upon rated mV/V output of load cell and percentage of capacity applied to
scale.
***** Channel Calibration *****
Calibrating Ch # 1-1, named: ….................
Precision in Kilograms : 10000. x 2.
Test weight # 0 in Kilograms : 0.
Test weight # 1 in Kilograms : 10000.
Press (Y) if this is correct
Press (N) to change
Press (B) to backup
Press (ESC) to exit calibration
***** Channel Calibration *****
Calibrating Ch # 1-1, named: .................
Precision in Kilograms : 10000. x 2.
Test weight # 0 in Kilograms : 0.
Test weight # 1 in Kilograms : 10000.
Load the scale with test weight # 1
Press (Y) when scale is loaded and steady
Press (B) to backup
Press (ESC) to exit calibration
Raw
A/D
counts:
1649850
T
yp
e in the new test wei
g
ht value:
7540
Kilo
g
rams

Page 5 of 7
11) The MSI-9000 CellScale calibrates with the first test weight, and then presents the
following menu. The upper half of the screen indicates the two cal steps taken, zero and
a 10000 kg test weight. Press ESC to end calibration, and store all the calibration
constants.
12). Calibration is now complete. After 15 seconds, press R, to assure Main Menu appears in
full as confirmation of data stored. Disconnect serial cable from scale and cycle power
***** Channel Calibration *****
Calibrating Ch # 1-1, named: .................
Precision in Kilograms : 10000. x 2.
Test weight # 0 in Kilograms : 0.
Test weight # 1 in Kilograms : 10000.
Test Weight # 2 in Kilograms: 10000
Press (Y) when scale is loaded and steady
Press (N) to change
Press (B) to backup
Press (ESC) to complete and store calibration
---------- MSI 9000 - CellScale ------------------------
-(c) 2005 Measurement Systems International -
----------------------------------------------------------------
13:48:06 01/01/08
(1) Channels/Calibration
(2) Communications
(3) Display
(4) Feature Locks/Passwords
(5) Product IDs
(6) Set Points
(7) System
(8) About...
Enter choice:

Page 6 of 7
Notes on terminal programs
There are several terminal programs available for every platform. Below are some notes on terminal
programs that are used regularly at MSI for communicating with CellScale products.
TeraTermPro
Get from downloads.com or MSI can e-mail “ttermp23.zip”
After installing, start the program Start -> Programs -> TeraTermPro
Select “serial” and COM1 or whichever port being used (DO NOT SELECT TCP/IP) Hit
OK
Set-up Serial port
Port:COM1
Baud Rate: 9600
Data: 8 bits
Parity: none
Stop: 1 bit
Flow Control: none
Hit OK May need to hit space bar to refresh display.
HyperTerminal
Comes with Windows Start -> Programs -> Accessories -> Communications ->
HyperTerminal -> Hyperterm.exe
Name connection CSCom1 (any name is fine)
Under connect using:
Direct to Com1 DO NOT TYPE PHONE NUMBER IN!
HitOK
Port Settings
Baud Rate: 9600
Data: 8 bits
Parity: none
Stop: 1 bit
Flow Control: Hardware
HitOK
May need to press space bar to refresh the display When done, save session as you
named it earlier and an icon will be created so you will not have to go through set-up in
the future.
ProComm Plus
After installed: Programs Procomm Plus
Data Terminal Set-up – set-up bar is at the bottom of the screen. To change, click on the
appropriate parameter and set to the following:
Port: Direct connect-Com1
Baud: 9600
Parity-Data bits-Stop bits: N-8-1
Hit 'r' key to refresh

A RICE LAKE WEIGHING SYSTEMS COMPANY
Measurement Systems
International
TM
14240 Interurban Avenue South Suite 200 ƔSeattle, WA 98168-4661 ƔUSA
Phone: 206-433-0199 ƔFax: 206-244-8470
www.msiscales.com
©
2012 Rice Lake Weighing Systems
Table of contents
Other Measurement Systems Scale manuals