MegaWise APJ-617 User manual

MeGaw1se
USER MANUAL

WARRANTY
•Your product is guaranteed by usfor12 months fromyour original date of
purchase. If you want to extend your warranty for one more year, please do
not hesitate to contact us.
•
Become a MegaWise member and get access to exclusive benefits, such as
updates about the latest MegaWise products.
1.
Share your experience by leaving an honest review.
*
Plea
*
se
leav
*
e
a
r e
*
view
w
*
ith
accompanying photosora videowould begreatly appreciated!
:•: Add photos/video
2.
CONTACT US
Please scan the QR-code to start chatting (Livechat).
SCAN ME

CATALOGUE
Safe
tips
Configuration Illustration
•
3
Specification
•
______________________________________________ 4
How
to
useit _______________________________________________ 5
Attention Operation
_________________________________________
7
Notes for Safety
•
___________________________________________ 8
Maintenance and Cleaning
___________________________________
9
Common Trouble
Shooting
_________________________________
10
Please read the user manual carefully before using the unit.
Products refer to actual item, should have any update information,
we will not advise specially

1 SAFE TIPS
SAFE TIPS
•
Please read the user manual carefully before using the unit and take order to
operate it.
•
Donot pull the power plug with wethands.
•
In
case the machine body tilts,shut off the power before going to dealwith it.
•
Not free to decomposition of the body, so as to avoid electric shock accident.
•
Power lines may not bescratches, damages, excessive bending, reversed,
knotting,otherwise can be caused by electric shock,short-circuit and fire.
•
Do not arbitrarily change the power cord.
•
Donot let children play withthe appliance.
•
Machine indoor use only.
•
Machines are prohibited to around flammable, corrosive gases and dust
conductive.
•
If the power supply cord is damaged, it must bereplaced by the manufacturer, its
service agent or similarly qualified persons in order to avoid a hazard.
•
This appliance is not intended for use by persons (including children) with
reduced physical, sensory or mental capabilities, or lack of experience and
knowledge, unless they have been given supervision or instruction concerning use
of the appliance by a person responsible for their safety.

•
Care should be taken when using the appliance due to the emission of hot water
vapour
•
Unplug the appliance during filling and cleaning.
•
Never submerse the housing in liquid or pour liquid inor on the housing. Doing so
may damage the humidifier and cause injuries.
•
The appliance isonly intended for the purpose described in user manual. Do not
use appliance or any part of the appliance out of the intended use to avoid risk.
•
The useofattachments which are not recommended or sold bythe appliance
manufacturer may cause a risk of injury to persons.
•
Always disconnect the appliance from the supply if it is left unattended and before
assembling,disassembling or cleaning
•
Household and Indoor use only.

CONFIGURATION ILLUSTRATION
l. Nozzle cover
2.Water tank cover
3.Humidifier filter
4.Water tank
5.Floater
6.Pedestal
7.lndicatorlight
8.
Switch ON/OFF/mist level control
9.
Power cord
10.
Colorful light/night light
l l.Transducer
12.Air outlet
73.Colorful light/night light switch
1
2
3
4
5
6
7
8
9
10
11
12
13

SPECIFICATION
ModelNo
Voltage
Frequency
Power
Capacity
Mist
volume
Noise
Type
GO-
2877
l00-240V~
S0/60Hz
25W
3.SL
250ml/h
<28dB(A)
Class
II
HOW
TO USE IT
7. Locate an appropriate level flat surface near an electrical outlet for placement of
your humidifier. When placing on the floor do not place on shag or very high pile
carpet or rug. Doing so maycreate an uneven surface. Be sure to place your
humidifier on a water-resistant surface and away from furniture and electronics
appliances since water can cause damage to furniture and other possessions.
Position your humidifier so that the electrical cord and the humidifier do not
become a tripping hazard.To ensure proper ventilation be sure to keep all sides
and top of your humidifier at least 72 inches from walls or any objects.
2.
Directly fill the tank with cool water from the top cover (or after removing the
cover). for best results use distilled or filtered water.Do not use hot water or
additives, essential oil is accepted.

3.
Connect to 700-240V 50/60Hz power supply after the tank injected water into the
trough.Switch the knob toturn the unit on or off.Turn the knob to set for different
mist output, from low, medium and high.
4.
When the tank isempty and the waterreaches a minimum level in the trough,
the unit will automatically shut down and stop producing moisture.Turn off and
unplug the power cord.Refill the tank with cool water, for best results, use distilled
or filtered water. Do not use hot water or chemical additives (essential oilis
accepted). Properly replace the tank,plug into an outlet and turn the humidifier
ON. Comfortable, soothing, invisible cool mist will beproduced immediately.

MAINTENANCE
&
REPAIR
△PS: The filter element can filter impurities in the water. If the filter element is
installed, tap water can be injected directly. If the filter element is not installed, the
product can also work normally without filtering function.
Replace
the
filter
element.
Turn off the power and make sure that there is no excess water in the water tank. Turn
the filter element counterclockwise to remove it. Turn the replacement filter element
clockwise to tighten the filter element.
How to obtain a replacement filter element?
1.
Activate the warranty to receive a free filter element.
2.
Purchase through the website.

ATTENTION OPERATION
•
Enter clean water below 704"F.
•
It
is not allowed to let water into the base from the air outlet. Please wipe the
outside of the humidifier with a dry soft cloth if there is water on the housing.
•
Please pour out the water from the tank and trough ifthe ambient temperature
below 32"Fin case ofwater freezing and causing any damage.
•
Never submerse the housing in liquid or pour liquid in or on the housing.Doing
so may damage the humidifier and cause injuries.
•
Besure to turn off and unplug this unit when not in use.
•
Never tip or move this appliance while operating or while water is in the base or
tank.
•
Use this unit on a flat, level surface only This unit may not function properly if
placed on an uneven surface or to avoid from overflowing from the water flume.
•
Place this humidifier on a water-resistant surface.
•
Do not place this humidifier near furnaces, heaters, stoves,or any other source of
heat.
•
Do NOT add water directly into the trough.
•
DO NOT use anything other than water in this appliance.Do not use additives.
(Essential oil is accepted.)
•
DO NOT pour out the water in the trough without unplug the unit. Otherwise,
damage will occur.
•
Dry the hands before pushing the control button.Otherwise,low-sensitivity may
occur because of wet hands.

NOTES FOR SAFETY
•
Use of this humidifier, the safety measures necessary to comply with the
following
•
Carefully read all the instructions, even if you are veryfamiliar with this product.
•
Before connected with the power, please check your home used by the voltage
and humidifier in the mark in line voltage. If the voltage does not match, please
contact the dealer for replacing correct voltage product.
•
Do not heat near the surface at any place using this machine.
•
Machinery asfar as possible away from furniture andelectrical products.
•
Do not touch water and transducer in the mainframe base when in operation.
•
Donot turn unit on when water tank isempty.
•
Do not immerse the mainframe base in water.
•
Disconnect power supply before cleaning or servicing unit.
•
Enter tap water below l04"F.
•
Do not try to pull out plug with a wet hand in case of anelectric shock.
•
When machine body inclines,please disconnect power supply before any
adjustment.
•
After start-up, do not touch transducer,otherwise,you would suffer from a pain.
•
Donot disassemble the machine at will incase of an electric shock.
•
Donot replace power line byyourself. If power line isworn, please call in the
professional of our company.
•
Extreme caution is necessary when this unit isused byor near children or invalids
whenever the unit is left operating and unattended.

CLEANING AND MAINTENANCE
•
Power supply must be disconnected and plug pulled out before cleaning.
•
In cleaning water tank (once every 2-3 weeks), wipe off incrustation with soft
cloth and clean it with water.
•
In cleaning trough (once a week), if there isincrustation in the trough, user can
wipe off the incrustation with soft cloth immersed in cleaning agent,andthen
wash the trough with water.
•
Incleaning the externalbodyofhumidifier, use the wet cloth to wipeoffthe dirt
on the surface.
•
In cleaning transducer piece, if there is incrustation on the surface, user can wipe
off the incrustation with swab andthen wash it withclean waterto achieve
cleaning effect.

COMMON TROUBLE SHOOTING
Abnormal Phenomenon
Causes
Solutions
Mist volume is small and
water column sprays out
after machine isturned on
There isincrustation on
atomizing piece;
or,itis a new machine;
Clean atomizing piece
with swab;inject new
water.
Orit has beenstored for
alongtime.
Change original water.
Mist is smelly
Unclean water inside
water tank
Open tank cap and keep
the tank open in shade
for 72h,and then clean it,
and refill it with water.
Atomizing is
discontinuous when the
machine is turned on
Normal
It willimprove after a
while.
Atomizing volume cannot
beadjusted.
Potentiometer knob
goes wrong
Seek for the help of
professional maintenance
station
Atomizing is insufficient
Air inletis blocked
Check the air inlet.
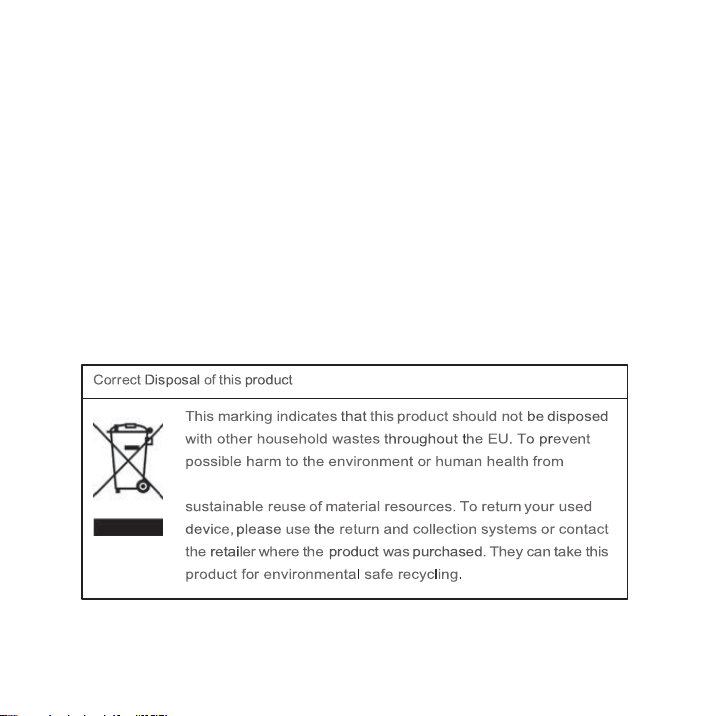
uncontrolled waste disposal, recycle it responsibly to promote the


Table of contents
Other MegaWise Humidifier manuals

Popular Humidifier manuals by other brands


easywell
easywell EW-030HDA Operation manual

Quality Importers Trading Company
Quality Importers Trading Company HUMIDOR instruction manual

Caso
Caso Air Vital operating manual

Honeywell
Honeywell HE360A - Whole House Powered Humidifier owner's guide

Honeywell
Honeywell TRADELINE HE360 Installation guide & owner's manual

Carrier
Carrier HUMCCLFP1025-A Series Homeowner's manual