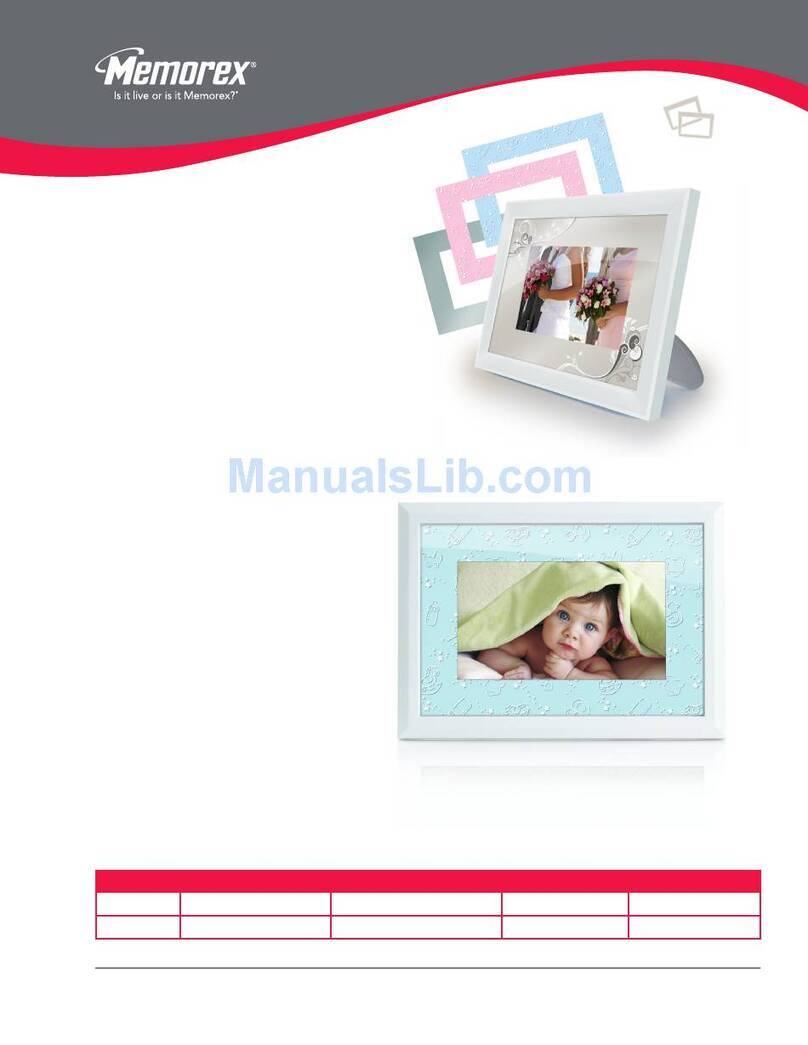
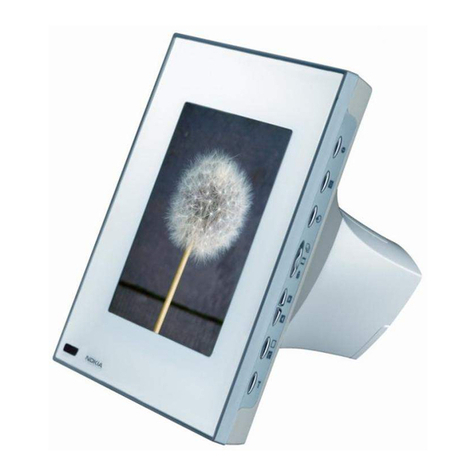
Memorex MDF0153 - 1.5IN Trio Series Digital Photo... User manual

1
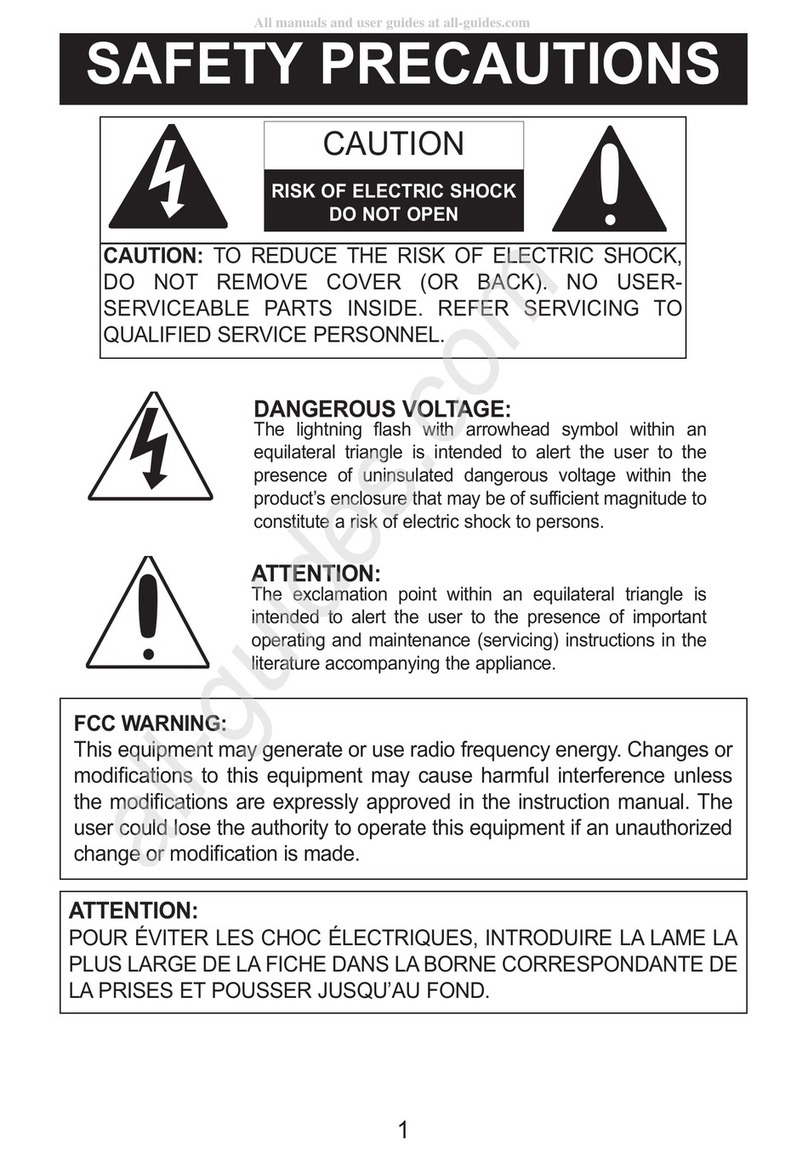
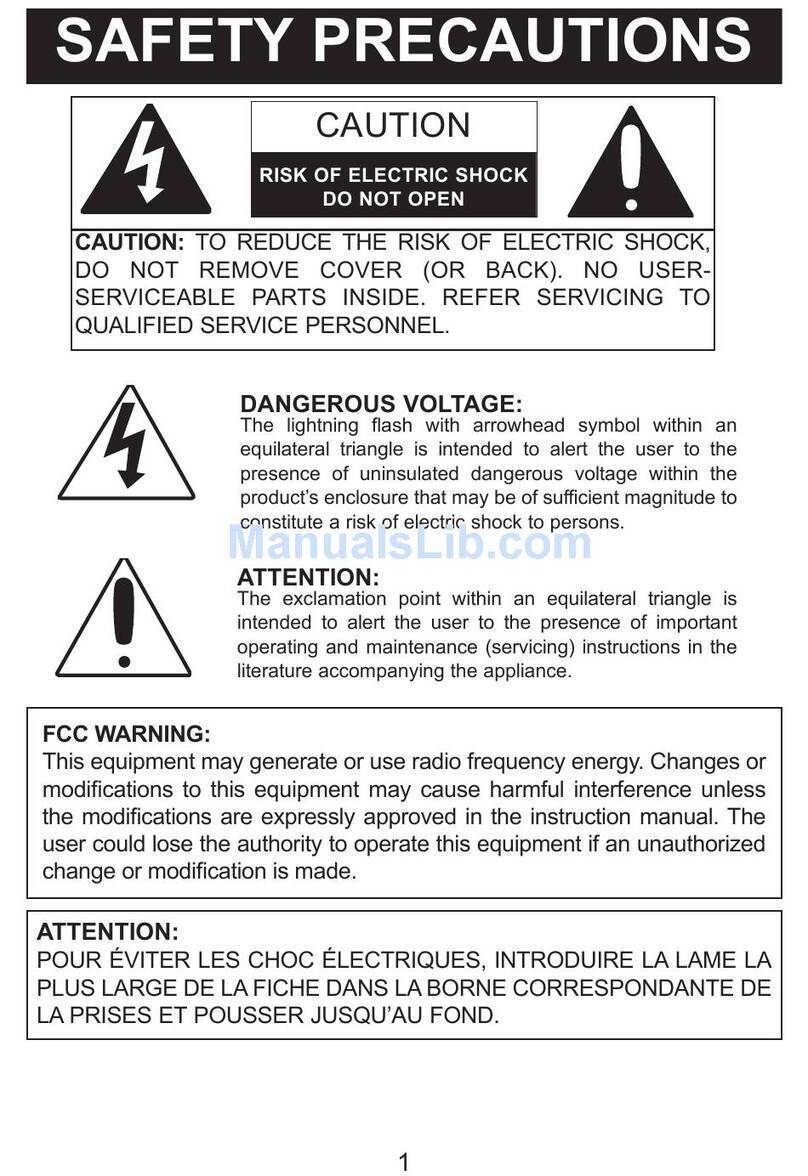
SAFETY PRECAUTI NS
CAUTI N: TO REDUCE THE RISK OF E ECTRIC SHOCK,
DO NOT REMOVE COVER (OR BACK). NO USER-
SERVICEAB E PARTS INSIDE. REFER SERVICING TO
QUA IFIED SERVICE PERSONNE .
CAUTION
RISK F ELECTRIC SH CK
D N T PEN
DANGER US V LTAGE:
The lightning flash with arrowhead symbol within an
equilateral triangle is intended to alert the user to the
presence of uninsulated dangerous voltage within the
product’s enclosure that may be of sufficient magnitude to
constitute a risk of electric shock to persons.
ATTENTI N:
The exclamation point within an equilateral triangle is
intended to alert the user to the presence of important
operating and maintenance (servicing) instructions in the
literature accompanying the appliance.
FCC WARNING:
This device complies with Part 15 of the FCC Rules. Operation is subject
to the following two conditions: (1) this device may not cause harmful
interference, and (2) this device must accept any interference received,
including interference that may cause undesired operation.
ATTENTI N:
POUR ÉVITER ES CHOC É ECTRIQUES, INTRODUIRE A AME A
P US ARGE DE A FICHE DANS A BORNE CORRESPONDANTE DE
A PRISES ET POUSSER JUSQU’AU FOND.
All manuals and user guides at all-guides.com
all-guides.com

INF RMATI N
This equipment has been tested and found to comply with the limits for a
Class B digital device, pursuant to Part 15 of the FCC Rules. These
limits are designed to provide reasonable protection against harmful
interference in a residential installation. This equipment generates, uses
and can radiate radio frequency energy and, if not installed and used in
accordance with the instructions, may cause harmful interference to
radio communications. However, there is no guarantee that interference
will not occur in a particular installation. If this equipment does cause
harmful interference to radio or television reception, which can be
determined by turning the equipment off and on, the user is encouraged
to try to correct the interference by one or more of the following
measures:
• Reorient or relocate the receiving antenna.
• Increase the separation between the equipment and receiver.
• Connect the equipment into an outlet on a circuit different from that to
which the receiver is connected.
• Consult the dealer or an experienced radio/TV technician for help.
2
SAFETY PRECAUTI NS
WARNING: T PREVENT FIRE R SH CK
HAZARD, D N T EXP SE THIS UNIT T RAIN
R M ISTURE.
SURGE PR TECT RS:
It is recommended to use a surge protector for AC connection.
ightning and power surges ARE NOT covered under warranty
for this product.
This Class B digital apparatus complies with Canadian
ICES-003.
Cet appareil numérique de la classe B est conforme à la
norme NMB-003 du Canada.
All manuals and user guides at all-guides.com

3
L CATI N F C NTR LS
1
2
35
4
6
1. Displays x 3
2. USB Jack
3. Stand
4. POWER Button
5. SE ECT Button
6. RESET Button
USB AC ADAPTER PART N . 318-22425001-000-9*
USB CABLE PART N . 225-07609001-000-9*
*Consumer Replaceable Part (See page 11 to order.)
All manuals and user guides at all-guides.com

4
P WER S URCES
CHARGING THE BATTERY
This unit has a built-in i-Polymer rechargeable battery. When the display
dims, recharge the battery as follows.
1a. Connect the USB cable to the
USB jack on the rear of this
unit (as shown) and to the
USB port on your computer;
“Press any key to connect to
PC” will appear in the display.
Do not press any button at
this time.
R
1b. Connect the USB cable to the USB jack on the rear of this unit (as
shown) and to the USB port on the supplied AC USB adapter. Plug in
the AC USB adapter; “Press any key to connect to PC” will appear in
the display. Do not press any button at this time.
2. The display will count down 5 to 0 and then enter the Charging mode;
the battery indicator at the top right of display will appear. You can
view the pictures in the internal memory while the unit is charging.
When the battery is charging, the battery indicator will cycle from
empty to full. When the battery is full, the battery indicator will stop
cycling.
N TES:
• It takes approx. 4 hours to charge the battery from empty to full. When
fully charged, the unit can playback for approx. 12 hours. (Actual
playback times may vary.)
• For data transfer, see page 5.
• When the battery icon blinks, recharge the battery as shown above.
Otherwise, when the battery is empty all settings will be lost.
All manuals and user guides at all-guides.com

5
GETTING STARTED
C PYING PH T FR M Y UR C MPUTER
You can copy photos files directly from your computer to this digital frame using
a mini USB cable (included). This unit is only compatible with Windows XP or
Vista operating systems.
1. Turn this unit on by pressing and holding the POWER button for two
seconds, and then releasing.
2. Connect the mini USB cable to the mini USB jack located on the rear of
this unit and connect the other
end to your computer (as shown);
“Press any key to connect to PC”
will appear in the display. Within
five seconds, press the POWER
button or the SE ECT button to
connect to the PC.
3. The first time you connect to a
PC, the unit will automatically install ImageViewer. After the install, the
computer will ask you to
restart. Click Yes. If the
installer does not
automatically run, double
click “My Computer” and
locate the drive labelled “Memorex” and open.
The software should install after doing this.
4. Subsequent times you connect the unit,
ImageViewer will automatically open.
5. To add more pictures, click “Add Image as...” and
the open dialog box will appear. Select a picture
(or press and hold the Control key on your
keyboard to select more than one at a time),
then click Open to add the picture(s).
N TE: You can add up to 58 pictures. If trying to
add more than 58 pictures, you will get a message
stating you cannot. Delete picture(s) in this case.
Computer
USB cable
Mini USB jack
USB jack
All manuals and user guides at all-guides.com

6. To delete a picture, select it and then click Delete.
7. To delete all pictures, click Clear.
8. To rotate a picture, select it, then click Rotate.
9. To edit a picture (only pictures added can be edited), select it and then
click Edit. Click and drag a portion of the picture as desired. The picture
may not fit the screen (128 x 128 pixels). It depends the portion you click
& drop.
10. When editing the picture, click Smooth
Edit to smooth out the picture.
Click ock Style and the selection will
default to a perfect square. This will
allow you to take a portion of the
picture and make it fit exactly into this
frame’s screen.
Click Auto Stretch so the picture will
stretch to fit the display.
After selecting the box, click on the picture at the left of the window to see
the effect.
11. Set Auto Power Off Time (the time the unit will stay on before turning off if
no button is pressed) in the Auto Time Power Off (Min.) box. Set to “0”
and the unit will stay on until turned off using the POWER button.
Note: Auto Power Off function will not work during playback of the slide show.
12. Click Exit to exit the ImageViewer or click Save to save the new pictures
and settings to the player. If Exit is selected before saving the pictures,
the pictures and settings will not be saved.
13. When finished saving and exiting the ImageViewer, you can follow the
“Safely Remove Hardware” procedure as shown on the next page.
N TE: When the photos are loaded into the unit, they will appear at the
original ratio. This means there may be black bars at the sides or top of the
picture.
6
GETTING STARTED (C NTINUED)
All manuals and user guides at all-guides.com
all-guides.com

7
SAFELY REM VING Y UR PLAYER FR M THE C MPUTER
N TE: To avoid damage to your player or data loss, always follow
the procedure listed below before disconnecting your player from
the USB port on your computer.
Using your mouse, double click the "Safely
Remove Hardware" icon on the task bar.
From the "Safely Remove Hardware" window (shown lower right),
select "USB Mass Storage Device" and click the "Stop" button.
The "Stop a Hardware Device" window will pop-up. Click "OK".
When the "Safe to Remove Hardware" window is displayed, you
may remove the player from the USB cable or remove the USB
cable from the computer.
N TE:
• If the “Safely Remove Hardware” icon
is not displayed on the task bar, please
double-click on My Computer. Right-
click on "Memorex" and left-click on
“Eject”. Then it is safe to remove the
player from the computer.
GETTING STARTED (C NTINUED)
All manuals and user guides at all-guides.com

8
BASIC PH T PLAYBACK (Supported format: JPEG)
PERATI N
With the unit charged or connected to a PC or USB AC adapter, press
and hold the POWER button for two seconds. The default logo will
appear briefly, and then the slide show will start automatically.
1
While in the slide show, press the SE ECT button once to go to the next
group of pictures.
Press and hold the SE ECT button for two seconds to turn the slide show
off; “Auto Slide OFF” will appear. To turn the slide show back on, press
and hold the SE ECT button again for two seconds; “Auto Slide ON” will
appear in the display.
2
Auto Slide
ON
AUT P WER FF:
When no button has been pressed for a while, the unit will automatically
turn itself off to save power (set in the options). The Auto Power Off time
is set using the ImageViewer software, see page 6.
All manuals and user guides at all-guides.com

9
PERATI N (C NTINUED)
R TATING THE FRAME
This frame can be used vertically or horizontally. Rotate the Stand so it
faces as shown to use the stand horizontally. The pictures will be shown
horizontally.
1
Rotate the Stand so it faces as shown to use the stand vertically. The
pictures will be automatically be rotated vertically.
2
All manuals and user guides at all-guides.com

10
TR UBLESH TING GUIDE
If you experience a problem with this unit, check the troubleshooting guide
below before calling for service.
Problem: No Power.
Solution1: Battery is not charged; charge the battery.
Solution2: USB or AC USB Adapter is not connected; connect.
Problem: No slide show playback.
Solution1: No photos installed in unit; transfer photos, see page 5.
Solution2: Slide show has been turned off; turn it back on, see page 8.
Problem: USB is not recognized.
Solution1: Disconnect from the PC, wait 10 seconds and then connect
again.
Solution2: Make sure you are using Windows XP or Vista operating
systems.
Solution3: Restart the computer and try to connect the unit again.
All manuals and user guides at all-guides.com

11
SPECIFICATI NS
GENERAL:
Power Source (AC) .......................................AC USB Adapter, DC 5V
Power Source (DC) . ithium polymer rechargeable battery (600mAh)
Weight ........................................................................................0.22 b
Dimensions (Horizontally)............5.2" (W) x 1.7 (D) x 2.25 (H) Inches
Weight and dimensions are approximate.
CD Display Size.................................1.5" x 3 (measured diagonally)
Resolution ..............................................................................128 x 128
USB ...................................................................................................2.0
Specifications are subject to change without notice.
F R ADDITI NAL SET-UP R PERATING ASSISTANCE, PLEASE VISIT
UR WEBSITE AT:
WWW.MEM REXELECTR NICS.C M
R C NTACT CUST MER SERVICE:
For customers calling within US, call 1-800-919-3647.
For customers calling within Mexico, call 001-866-580-8316.
For customers calling within Canada, call 1-866-928-2349.
PLEASE KEEP ALL PACKAGING MATERIAL F R AT LEAST 90 DAYS IN
CASE Y U NEED T RETURN THIS PR DUCT T Y UR PLACE F
PURCHASE R IMATI N ELECTR NIC PR DUCTS.
F R C NSUMER REPLACEABLE PART(S), SEE PART NUMBER(S) N
PAGE 3 AND THEN C NTACT F X INTERNATI NAL AT 1-800-321-6993.
All manuals and user guides at all-guides.com
all-guides.com
Other manuals for MDF0153 - 1.5IN Trio Series Digital Photo...
1
This manual suits for next models
1
Table of contents
Other Memorex Digital Photo Frame manuals

Memorex
Memorex MDF1071-BLK - Digital Photo Frame User manual

Memorex
Memorex MDF8402-LWD User manual

Memorex
Memorex MDF0712-C User manual

Memorex
Memorex MDF0738-BLK - Digital Photo Frame User manual

Memorex
Memorex MDF1062-MTL - Digital Photo Frame Owner's manual

Memorex
Memorex MDF1071-BLK - Digital Photo Frame Owner's manual

Memorex
Memorex MDF1071-BLK - Digital Photo Frame User manual

Memorex
Memorex MDF0153 - 1.5IN Trio Series Digital Photo... User manual

Memorex
Memorex MDF1061-WLS User manual

Memorex
Memorex MDF0712-C - Digital Photo Frame Operation manual