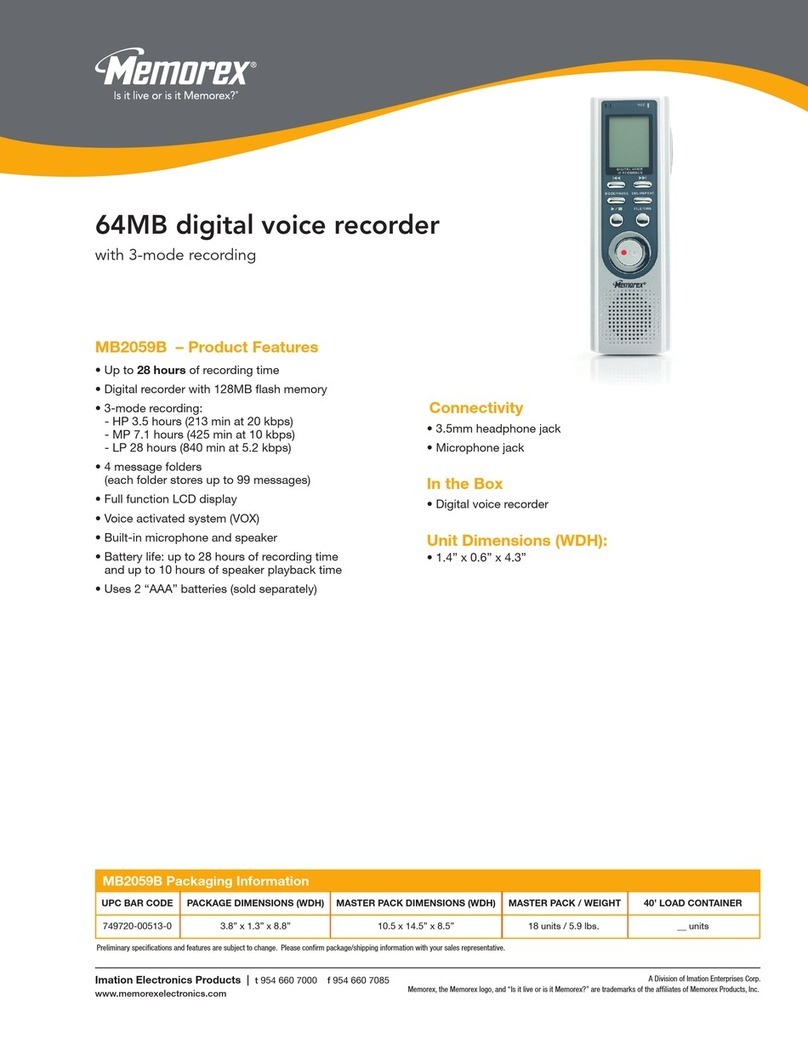
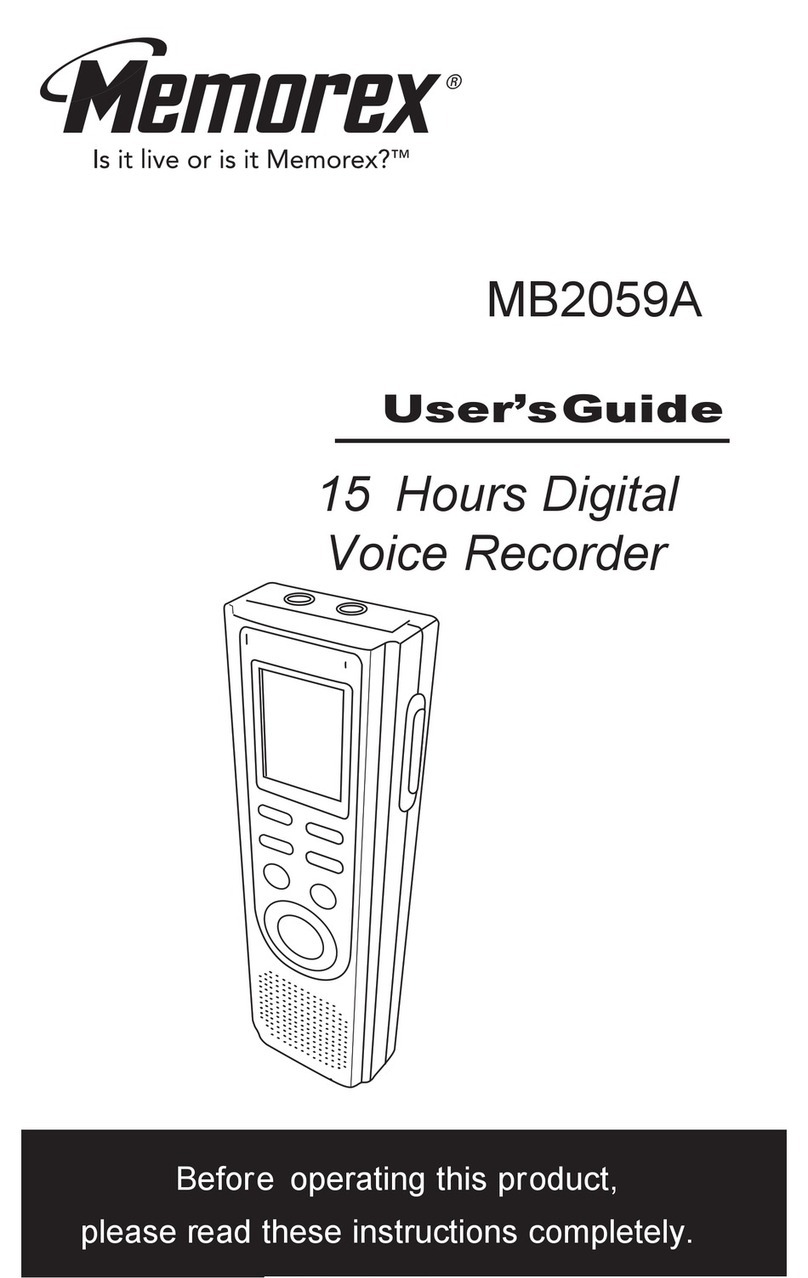
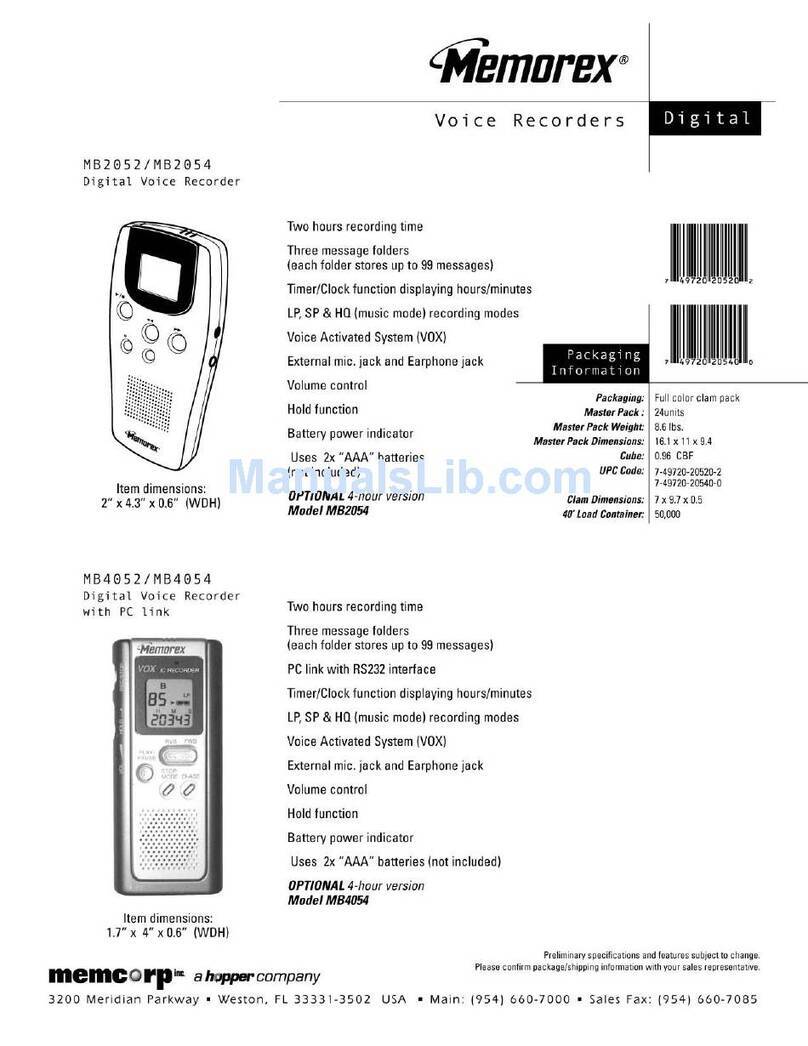
Memorex MB2059D User manual

LIMITED WARRANTY
MEM-CE, LLC warrants this product against defects for
90 days from the date of original purchase. MEM-CE, LLC
shall not be responsible for any lost data or other incidental
or consequential damages related to this product. Some
jurisdictions do not allow limitations on how long an
implied warranty lasts, or the exclusion or limitation of
incidental or consequential damages, so the above
limitations or exclusions may not apply to you. This
limited warranty gives you specic legal rights, and you
may have other rights which may vary from one state,
province or country to another.
Memorex and the Memorex logo are trademarks of Imation Corp
and its afliates. All other trademarks are the property of their
respective owners.
Made in China
Distributed by MEM-CE, LLC.
11485 Valley View Road
Eden Prairie, MN 55344 USA
memorex-ce.com
memorex-ce.com

1 21 2
SAFETY PRECAUTIONS
This device complies with part 15 of the FCC Rules. Operation
is subject to the following two conditions: (1) This device may
not cause harmful interference, and (2) this device must accept
any interference received, including interference that may
cause undesired operation.
This Class B digital apparatus complies with Canadian ICES-003.
Cet appareil numérique de la classe B est conforme à la norme
NMB-003 du Canada.
INFORMATION
This equipment has been tested and found to comply with the
limits for a Class B digital device, pursuant to Part 15 of the
FCC Rules. These limits are designed to provide reasonable
protection against harmful interference in a residential
installation. This equipment generates, uses and can radiate
radio frequency energy and, if not installed and used in
accordance with instructions, may cause harmful interference
to radio communications. However, there is no guarantee
that interference will not occur in a particular installation. If
this equipment does cause harmful interference to radio or
television reception, which can be determined by turning the
equipment off and on, the user is encouraged to try to correct
the interference by one or more of the following measures:
• Reorient or relocate the receiving antenna.
• Increase the separation between the equipment and receiver.
• Consult the dealer or an experienced radio/TV technician for help.
FCC WARNING:
This equipment may generate or use radio frequency energy
Changes or modifications to this equipment may cause
harmful interference unless the modifications are expressly
approved in the instruction manual. The user could lose the
authority to operate this equipment if an unauthorized change
or modification is made.
Thank you for purchasing this Memorex audio system.
The serial number of your unit can be found on a label on
the rear of the cabinet. We suggest that you record the serial
number in the space provided below in case this information is
ever needed at a future date.
Model Number: MB2059 “D”
Serial Number: _________________________________
IMPORTANT SAFETY INSTRUCTIONS
1. Read these Instructions.
2. Keep these Instructions.
3. Heed all Warnings.
4. Follow all Instructions.
5. Do not use this apparatus near water.
6. Clean only with a dry cloth.
7. Do not install near any heat sources such as
radiators, heat registers, stoves, or other apparatus
(including amplifiers) that produce heat.
8. Only use attachments/accessories specified by
the manufacturer.
9. CAUTION: To reduce the risk of fire or explosion,
do not expose batteries to excessive heat such as
sunshine, fire or other heat sources.
3 4
LOCATION OF CONTROLS
19
3
4
6
7
8
5
2
10
11
12
13
14
15
FRONT
1. MIC (Microphone)
Jack
2. Built-in Microphone
3. Display
4. REV Button
5. MODE/PAUSE Button
6. PLAY/STOP Button
7. REC/STOP Button
8. Speaker
9. EAR (Earphone) Jack
10. REC Indicator
11. VOLUME Up Button
12. VOLUME Down
Button
13. FWD Button
14. DEL/REPEAT Button
15. FILE/TIME Button
LOCATION OF INDICATORS
A. Play Indicator
B. Recording Quality Indicators
C. Message/Year Indicators
D. REPEAT 1/ALL Indicators
E. Record Indicator
F. Battery Indicator
G. Date/Volume Indicators/
Remain Time Hour
H. Minute/Second (Timer) Indicators
I. REMAIN Indicator
J. R (Record) DATE Indicator
K. VOX Indicator
L. Message File Folder Indicator
L
C
F
E
D
LP MP
HP
A
H
K
J
I
A
B
C
D
B
G
R DATE
REMAIN
REPEAT ALL
M D
AM
PM
Y

5 6
BATTERY INSTALLATION
Open the battery compartment by
sliding it towards the bottom of the unit.
1
Insert two (2) “AAA” size batteries
(not included) following the
polarity diagram. Slide the battery
compartment back in place.
2
NOTE: When replacing the batteries,
the recorded messages will be saved,
but the time will have to be reset.
LOCATION OF CONTROLS
1
3
2
4
REAR
1. MIC SENS (Microphone Sensitivity) Switch
2. VOX Switch
3. HOLD Switch
4. Battery Compartment
(BATTERY COVER PART NO.
217-04240106-30*)
* Consumer Replaceable Part. (See page 28 to order.)

7 8
BATTERY INSTALLATION
BATTERY PRECAUTIONS
Follow these precautions when using batteries in this device:
1. Warning – Danger of explosion if battery is
incorrectly replaced. Replace only with the same
or equivalent type.
2. Use only the size and type of batteries specified.
3. Be sure to follow the correct polarity when
installing the batteries as indicated in the battery
compartment. A reversed battery may cause
damage to the device.
4. Do not mix different types of batteries together
(e.g. Alkaline, Rechargeable and Carbon-zinc) or
old batteries with fresh ones.
5. If the device is not to be used for a long period of
time, remove the batteries to prevent damage or
injury from possible battery leakage.
6. Do not try to recharge a battery not intended to be
recharged; it can overheat and rupture. (Follow
battery manufacturer’s directions.)
7. Remove batteries promptly if consumed.
8. Clean the battery contacts and also those of the
device prior to battery installation.
BATTERY INDICATORS:
: The batteries are fresh.
: The batteries are weak or
dead; replace.
OPERATION
To turn the unit on, press the PLAY/STOP 1
button, then it shows date and time (Time mode).
To turn the unit off, simply do not touch any
button for 60s, and the unit will automatically
turn off, or press and hold PLAY/STOP 1 button
for 3s to turn it off.
1
1
TO TURN THE UNIT ON & OFF
To enter the Standby mode, press the
PLAY/STOP 1 button while in the Time
mode. To enter the Time mode, press the
MODE/PAUSE 2 button once while in the
Standby mode.
3
2
1
1
TO SWITCH BETWEEN MODES

9 10
OPERATION
Press the PLAY/STOP button 1 to confirm and the
year will blink. Set the year using the REV 2 and
FWD 3 buttons, then press the PLAY/STOP button
1 again to confirm. Then the Month will blink .
3
1
1
2
3
Set the Month using the FWD 1 and REV 2
buttons, then press the PLAY/STOP button 3
again to confirm. Repeat this step to set the Day,
Hour and Minute. At last press the
MODE/PAUSE 4 or REC/STOP 5 button to
return to Standby mode .
1
34
2
5
4
OPERATION
While in Time mode, the date/time appears
in the display, press the FILE/TIME button
to select 12 or 24 hour time display.
1
1
While in Standby mode, press and hold the
MODE/PAUSE button for two seconds, then
release; “SET” will appear in the display. Press
the MODE/ PAUSE button once again to enter
the Set Date mode.
1
2
SETTING THE TIME AND DATE

11 12
OPERATION
While in Standby mode, press and hold the
MODE/PAUSE 1 button for two seconds;
“SET” will appear and the recording quality
will blink. Press the REV 2 or FWD 3 button
to select the desired recording quality.
1
13
2
1
RECORDING QUALITY
You can choose between three voice recording
quality modes. For best sound quality, select
HP (High Play) and for good quality, select
MP (Medium Play). For longer recording time
(reasonable sound quality), select LP (Long Play).
OPERATION
To adjust the volume, while in the Standby
mode or during playback of a file, press the
VOL+ 1 or VOL– button 2; the volume number
will increase or decrease to indicate the volume
level (i.e. “0” is minimum and “15” is maximum).
1
3
3
2
1
ADJUSTING THE VOLUME
EARPHONE JACK
For private listening, connect an earphone
(not included) to this jack. The speaker is
automatically disconnected when the
earphone plug is inserted in the jack.

13 14
OPERATION
While in Standby mode, press the FILE/TIME
button 2 to select the desired file folder
(A,B,C,D). The number at the top right of the
display indicates the total messages recorded.
The number at the bottom of the display will
indicate the total time recorded for the selected
message.
12
1
SELECTING A FILE FOLDER
This unit has four memory storage areas
(file folders) to choose from, labeled A, B, C and D.
You can store a total of 99 messages in each
individual file folder, for four file folder you can save
a total of 396 messages or 288 hours in LP mode
(144 hours in MP, 96 hours in HP) in all the folders.
To select the folder:
NOTE:
Each time you record a message, the unit will assign
a number, counting up 1 from the last message
number, which will be shown on the display. If the
unit is full, FULL will appear in the display. Delete
messages in this case.
OPERATION
When the desired recording quality appears,
press the MODE/PAUSE button twice to confirm
and return to the Standby mode.
High Play: .................................................96 hrs.
Medium Play:..........................................144 hrs.
Long Play: ..............................................288 hrs.
1
2

15 16
OPERATION
Make sure the VOX switch on the rear of unit is
set to OFF. While in Standby mode, select the
desired sound quality as previously described.
1
1
Select a File Folder as described on page 14 by
pressing the FILE/TIME button 1. While in the
Standby mode, press the REC/STOP button 2
and the REC indicator will light and the elapsed
time will appear.
2
3
1
2
NORMAL RECORDING
This unit is capable of recording only when sound
is heard. To use this feature, see page 18. For
normal recording, follow steps below.
OPERATION
Slide the MIC SENS switch to the LOW position if
recording sounds that are close. Select the HIGH
position if recording sounds that are further away.
1
1
RECORDING SENSITIVITY
Slide the HOLD switch to the LOCK position
to disable the buttons; HOLD will appear in the
display if the unit is in the Standby mode. Slide
the HOLD switch to the OFF position to enable
the buttons again.
1
1
HOLD SWITCH

17 18
OPERATION
Slide the VOX switch on the rear of the unit to the
ON position. While in Standby mode, select the
desired sound quality as described on page 12.
1
1
Select a File Folder by pressing the FILE/TIME
button (see page 14).
1
2
VOICE ACTIVATED (VOX) RECORDING
Voice activated recording will allow dictation only
when you speak. When the unit detects a pause
of a few seconds, it will temporarily stop recording
until it detects sound again.
OPERATION
Speak into the built-in microphone or insert a
microphone into the MIC jack and speak into it
in a normal tone of voice. Press the REC/STOP
button again to stop recording.
3
3
Press and hold the PLAY/STOP button 1 to see
the remaining recording time during recording. To
pause recording, press the MODE/PAUSE button
2; PAUSE will blink in the display. To release
pause, press the MODE/PAUSE button 2 again.
3
2
1
4
NOTES:
• The built-in audio level automatically sets the
recording level.
• For normal voice levels, a distance of 5-9
inches is appropriate.

19 20
While in Standby mode, select a File Folder
by pressing the FILE/TIME button (see page 14).
1
1
Select the desired message number by pressing
the REV 1 or FWD 2 button; the message
number and the message length will appear in
the display.
1
12
2
TO PLAY BACK MESSAGES
Press the REC/STOP button and the REC
indicator will light and the elapsed time will
appear. Speak into the built-in microphone or
insert a microphone into the MIC jack and when
the unit picks up sound, it will record. When
not recording, the REC indicator will blink and
PAUSE will blink in the display until sound is
detected. Press the REC/STOP button again to
stop recording.
3
3
NOTES:
• The first few sounds activate the recorder and
may not be recorded.
• A variation in voice level during recording will
not stop the unit, two seconds of silence is
required to stop the recording.
• For constant recording, see page 16.
• To pause, press the MODE/PAUSE button.
• The built-in audio level automatically sets the
recording level.
• For normal voice levels, a distance of 5-9
inches is appropriate.
OPERATIONOPERATION

21 22
REPEAT MESSAGE: While playing back a
message, press the DEL/REPEAT button 1
once; “REPEAT” will appear in the display and
the message playing will repeat over and over
until the PLAY/STOP button 2 is pressed.
1
21
1
REPEAT ALL MESSAGES IN THE SELECTED
FILE FOLDER: While playing back a message,
press the DEL/REPEAT button 1 twice; “REPEAT
ALL” will appear in the display and all messages
in the selected file folder will repeat over and over
until the PLAY/STOP button 2 is pressed.
1
21
2
TO REPEATEDLY PLAY BACK MESSAGES
You can set the unit to repeat 1 or repeat all
messages in the selected file folder as follows:
Press the PLAY/STOP button 1; the unit will
play the currently selected message, then stop.
During playback, the Play indicator and the
elapsed time of the message will appear in the
display. You can check the message recording
time and date by pressing the REC/STOP button
2. The unit will return to the elapsed time after
five seconds.
2
3
1
1
3
NOTES:
• To adjust the volume, simply press the VOL+ or
VOL– button.
• To pause, press the MODE/PAUSE button; PAUSE
will blink in the display. To release pause, press the
MODE/PAUSE button again.
• For Cue and Review during playback, simply press
and hold the desired REV or FWD button. Release
the button when the desired point is reached.
• To skip or go back to messages, simply press
and release the desired REV or FWD button until
the desired message number is reached.
OPERATIONOPERATION

23 24
While in the Standby mode, select the desired
file folder using the FILE/TIME button 1, and
the desired message to delete using the REV 2
or FWD 3 button; the message number and the
message length will appear in the display.
1
23
1
Press the DEL/REPEAT button; DEL will appear
in the display. To erase, press the DEL/REPEAT
button while it is playing and the rest of the
messages will be renumbered. If you do not want
to erase, do not press the DEL/REPEAT button
while it is playing. (You can also press the PLAY/
STOP button to cancel and stop playback.)
1
2
ERASING A SINGLE MESSAGE
OPERATION
To pause Recording or Playback, press the MODE/
PAUSE button; PAUSE will blink in the display.
1
1
Press the MODE/PAUSE button again to resume
recording or playback.
1
2
TO CANCEL REPEAT PLAYBACK:
To cancel repeat playback, press the DEL/REPEAT
button once or twice until the REPEAT indicator
disappears from the display.
TO PAUSE A MESSAGE
OPERATION

25 26
CARE AND MAINTENANCE
RESETTING THE UNIT
If the unit is exposed to a strong static electrical
charge, the unit may lock up, or the display may
dim. This is very rare, but if it does happen,
remove the batteries and then reinstall. All settings
will return to their preset values, but the previous
messages are saved.
TRAFFIC SAFETY
• Do not use while operating a motorized vehicle.
It may create a traffic hazard and is illegal in
many areas.
• Even if your earphone is an open air type
designed to let you hear outside sounds, do not
turn the volume up so high that you cannot hear
what is around you.
• Use extreme caution or temporarily discontinue
use in potentially hazardous situations.
While in the Standby mode, press and hold the
DEL/REPEAT button for two seconds; ALL and
ERASE will appear in the display.
1
1
To erase all the messages, press the DEL/
REPEAT button again within five seconds. If the
DEL/REPEAT button is not pressed again within
the five seconds, the messages will not erase.
1
2
ERASING ALL MESSAGES
IMPORTANT NOTES:
• Once message(s) are deleted, they cannot be
recovered.
• If the memory is full, FULL will appear in the
display when you press the REC/STOP button to
start recording. The recording will be disabled.
OPERATION

27 28
SPECIFICATIONS
Recording System............... Built-in Flash Memory
Recording Time...................288 hours in LP mode
Speaker ............................................ 0.2W (8 Ohm)
Output Power ............................................... 80mW
Power Source............................3V, “AAA” size x 2
........................................... batteries (not Included)
Battery Life ..................................Approx. 20 hours
...................................................at recording mode
.........................................Approx. 30 hours at play
.........mode at medium volume level (by earphone)
Dimensions......... 4.4 (H) x 1.4 (W) x 0.7 (D) inches
Weight ...........................1.62 oz (without batteries)
Specications are subject to change without notice.
CARE AND MAINTENANCE
CARE
• Keep the unit dry. If it gets wet, wipe it
immediately. Liquids may contain minerals
that can corrode the circuits.
• Use and store the unit only in normal temperature
environments. Extreme temperatures can shorten
the life of electronic devices, damage batteries
and/or melt plastic parts.
• Keep the unit away from dirt and dust.
• Handle the unit gently and carefully. Dropping
it can cause damage and may cause the unit to
work improperly.
• To clean, wipe the unit with a damp cloth
occasionally to keep it looking new. Do not use
harsh chemicals, cleaning solvents or strong
detergents.
PLEASE MAKE SURE TO KEEP ALL PACKAGING MATERIAL
FOR AT LEAST 90 DAYS
IN CASE YOU NEED TO RETURN THIS PRODUCT TO YOUR
PLACE OF PURCHASE OR MEM-CE, LLC.
For additional SET-UP or OPERATING ASSISTANCE,
contact CUSTOMER SERVICE:
1-877-363-6673
(For customers calling within the United States and Canada)
or visit our website at: memorex-ce.com
Memorex and the Memorex logo are trademarks of Imation Corp and its afliates.

1 2
MEDIDAS DE SEGURIDAD
Este dispositivo cumple con la parte 15 de las Reglas de
FCC. El funcionamiento depende de las dos condiciones que
se mencionan a continuación: (1) Este dispositivo no causa
interferencia nociva y (2) este dispositivo debe aceptar toda
interferencia recibida, incluida interferencia que pueda ocasionar
un funcionamiento indeseable.
INFORMACIÓN:
Este equipo cumple con los reglamentos de un aparato
digital de Clase B. Este equipo genera, usa y puede irradiar
energía de radiofrecuencia y, si no se instala y usa conforme a
las instrucciones, puede generar interferencia dañina con las
radiocomunicaciones. Sin embargo, no hay garantía de que no
habrá interferencia en una instalación particular. Si este equipo
llegara a causar interferencia dañina con la recepción de radio o
televisión, lo cual se puede determinar encendiendo y apagando
el equipo, le pedimos que intente corregir la interferencia con las
siguientes medidas:
• Cambie la orientación o ubicación de la antena receptora.
• Incremente la distancia entre el equipo y el receptor.
• Consulte al vendedor o a un técnico de radio y televisióncon
experiencia.
Este equipo puede generar o utilizar energía de radio frecuencia.
Los cambios omodificaciones en el equipo pueden producir
interferencia dañina a menos quedichas modificaciones estén
expresamente aprobadas en el manual de instrucciones. El
usuario puede perder la autoridad para hacer funcionar este
equipo si realiza algún cambio o modificación no autorizados.
Gracias por comprar este sistema de audio Memorex.
El número de serie de su unidad se encuentra en una etiqueta
en la parte posterior del gabinete. Le sugerimos que registre el
número de serie en el espacio provisto a continuación por si en
algún momento futuro necesita esta información.
Número de modelo: MB2059 “D”
Número de serie: _________________________________
IMPORTANTES INSTRUCCIONES DE SEGURIDAD
1. Lea las instrucciones.
2. Conserve las instrucciones.
3. Haga caso omiso a todas las advertencias.
4. Siga las instrucciones.
5. No utilice este aparato cerca del agua.
6. Limpie solamente con un paño seco.
7. No instale cerca de ninguna fuente de calor como
radiadores, calentadores, hornos u otros aparatos
(incluyendo amplificadores) que producen calor.
8. Utilice sólo adjuntos/accesorios especificados por
el fabricante.
9. PRECAUCIÓN: Para reducir el riesgo de incendio o
explosión, no exponga las baterías al calor excesivo,
como la luz solar directa, el fuego u otras fuentes de calor.

3 4
UBICACIÓN DE LOS CONTROLES
19
3
4
6
7
8
5
2
10
11
12
13
14
15
FRENTE
1. Conector para MIC
(Micrófono)
2. Micrófono integrado
3. Pantalla
4. Botón REBOBINAR (REV)
5. Botón MODO/PAUSA
(MODE/PAUSE)
6. Botón REPRODUCIR/
DETENER (PLAY/STOP)
7. Botón GRABAR/
DETENER (REC/STOP)
8. Altavoz
9. Entrada para auriculares
(EAR)
10. Indicador de GRABAR
(REC)
11. Botón de aumento del
volumen (VOLUME UP)
12. Botón de disminución
del volumen (VOLUME
DOWN)
13. Botón ADELANTAR
(FWD)
14. Botón BORRAR/REPETIR
(DEL/REPEAT)
15. Botón ARCHIVO/HORA
(FILE/TIME)
UBICACIÓN DE LOS INDICADORES
A. Indicador de Reproducir (Play)
B. Indicadores de calidad de grabación
C. Indicadores de mensaje/año
D. Indicadores de REPETIR 1/TODO
(REPEAT 1/ALL)
E. Indicador de grabación
F. Indicador de las pilas
G. Indicadores de Fecha/Volumen/Tiempo
permanecer horas
H. Indicadores de minuto/segundo (temporizador)
I. Indicador de PERMANECER (REMAIN)
J. Indicador R (Grabar, Record) FECHA
K. Indicador de VOX (Transmisor activado
por la voz)
L. Indicador de carpeta de archivos de mensajes
L
C
F
E
D
LP MP
HP
A
H
K
J
I
A
B
C
D
B
G
R DATE
REMAIN
REPEAT ALL
M D
AM
PM
Y

5 6
INSTALACIÓN DE LAS PILAS
Abra el compartimiento de las pilas deslizándolo
hacia la parte inferior de la unidad.
1
Introduzca dos (2) pilas tamaño “AAA” (no
incluidas) respetando el diagrama de polaridad.
Deslice el compatimiento para las pilas
nuevamente en su lugar.
2
NOTA: Cuando cambie las pilas, se guardarán los
mensajes grabados, pero la hora debe volver a
configurarse.
UBICACIÓN DE LOS CONTROLES (CONTINÚA)
1
3
2
4
POSTERIOR
1. Interruptor de SENSIBILIDAD DEL MICRÓFONO
(MIC SENS)
2. Interruptor VOX (Transmisor activado por voz)
3. Interruptor para BLOQUEO DE TECLAS (HOLD)
4. Compartimiento de las pilas
(TAPA DE LAS PILAS. PIEZA N.º
217-04240106-30*)
*Pieza remplazable por el consumidor
(Ver página 28 para ordenar)

7 8
INSTALACIÓN DE LAS PILAS (CONTINUACIÓN)
CUIDADO DE LAS PILAS
Cuando use pilas, tome las siguientes precauciones:
1. Advertencia: Peligro de explosión si se
colocan las pilas incorrectamente. Reemplace sólo con
pilas equivalentes o del mismo tipo.
2. Utilice sólo el tamaño y tipo de pilas especificados.
3. Cuando instale las pilas en su compartimiento,
asegúrese de respetar la polaridad correcta, como se
indica. Una pila colocada al revés puede provocar daños
en el dispositivo.
4. No mezcle distintos tipos de pilas (por ejemplo,
alcalinas, recargables y de carbono-zinc) ni mezcle pilas
viejas con nuevas.
5. Si no va a utilizar el equipo por un largo período de
tiempo, extraiga las pilas para evitar daños o lesiones
con posibles fugas.
6. No intente recargar una pila que no sea recargable,
ya que ésta puede sobrecalentarse y romperse. (Siga las
instrucciones del fabricante de la pila).
7. Cuando las pilas se agoten, extráigalas lo antes posible.
8. Antes de instalar las pilas, limpie los dos contactos de
la pila y también los del dispositivo.
INDICADORES DE LAS PILAS:
: Las pilas son nuevas.
: Las pilas tienen poca carga o
estás descargadas; reemplácelas.
FUNCIONAMIENTO (CONTINUACIÓN)
Para encender la unidad, oprima REPRODUCIR/
DETENER (PLAY/STOP) 1, a continuación,
muestra la fecha y la hora (modo de tiempo).
Para apagar la unidad, simplemente no toque
ningún botón durante 60 segundos, la unidad se
apagará automáticamente o mantenga pulsada
la tecla REPRODUCIR/DETENER (PLAY/STOP)
1 durante 3 segundos para apagarlo.
1
1
ENCENDIDO/APAGADO (ON/OFF) DE LA UNIDAD
Para entrar al modo en espera, oprima
REPRODUCIR/DETENER (PLAY/STOP) 1
mientras esté en el modo Hora (Time). Para
entrar al modo Hora (Time), oprima MODO/
PAUSA (MODE/PAUSE) 2 una vez mientras
esté en el modo en espera.
3
2
1
1
PARA CAMBIAR ENTRE MODOS

9 10
FUNCIONAMIENTO
Oprima REPRODUCIR/DETENER (PLAY/STOP) 1
para confirmar, el año destellará. Configure el año
con los botones REBOBINAR (REV) 2 y
ADELANTAR (FWD) 3, luego oprima
REPRODUCIR/DETENER (PLAY/STOP) 1
nuevamente para confirmar.
3
1
1
2
3
Configure el mes con los botones ADELANTAR
(FWD) 1 y REBOBINAR (REV) 2 , luego oprima
REPRODUCIR/DETENER (PLAY/STOP) 3
nuevamente para confirmar. Repita este paso
para configurar día, hora y minuto. Oprima el
botón de MODO/PAUSA (MODE/PAUSE) 4 o
botón GRABAR/DETENER (REC/STOP) para volver
al modo de espera.
1
34
2
5
4
FUNCIONAMIENTO
Mientras la unidad se encuentra en el modo Hora,
fecha y hora aparezcan en la pantalla, oprima
ARCHIVO/HORA (FILE/TIME) para seleccionar
la hora de la pantalla en el modo 12 o 24 horas.
1
1
Mientras esté en el modo de espera, oprima y
mantenga presionado MODO/PAUSA (MODE/
PAUSE) durante dos segundos y suéltelo. En
la pantalla aparecerá “CONFIGURAR” (SET).
Oprima MODO/PAUSA (MODE/ PAUSE) una vez
más para entrar al modo de configuración
de fecha.
1
2
AJUSTE DE LA FECHA Y HORA
Table of contents
Languages:
Other Memorex Voice Recorder manuals

Memorex
Memorex MB2059B - Digital Voice Recorder User manual

Memorex
Memorex MB-2052-2054 User manual

Memorex
Memorex MB002 User manual

Memorex
Memorex MB-003 User manual

Memorex
Memorex MB2059B - Digital Voice Recorder Owner's manual

Memorex
Memorex MB1055 User manual

Memorex
Memorex MB2059B - Digital Voice Recorder User manual

Memorex
Memorex MB2059 User manual