Menumaster UM2000C Series User manual

Commercial
Combination Oven
Owner's Manual
UM2000C*
230 Volt
50 Hertz
*Additionalalphanumericcharactersrepresentingother
models in the series may follow each model number.
Keepthese instructions forfuture reference. If theequipment
changes ownership, be sure this manual accompanies
equipment.
Menumaster

2
Contents ModelIdentification
Model Identification .................................................2
Important Safety Instructions
Warnings ............................................................3
Cautions .............................................................4
Precautions to Avoid Possible Exposure
to Excessive Microwave Energy...........................5
Installation..............................................................6
Earthing Instructions ...........................................6
Unpacking Equipment .........................................6
Equipment Placement .........................................6
RadioInterference ...............................................6
Cooking Methods
Microwave...........................................................7
Convection ..........................................................7
Combination........................................................7
OvenOperation
OvenFan ............................................................7
Ready Mode .......................................................7
Standby Mode.....................................................7
Preheat ...............................................................7
Cooking ..............................................................7
ProgrammableMenus .........................................7
ProgrammablePads............................................7
Microwave...........................................................7
Convection ..........................................................7
Combination........................................................7
User Options.......................................................7
Cooking Displays
DefaultCookingTime ..........................................8
DefaultPreheatTemperature ...............................8
DefaultCookingTemperature ...............................8
Preheat/ConvectionIndicator ...............................8
Microwave Indicator .............................................8
Flashing Items........................................................8
Pads ....................................................................10
Operation
Preheat Entry.................................................... 11
ProgrammableMenuEntry ................................12
Manual Microwave Entry....................................13
Manual Convection Entry ...................................14
ManualCombinationEntry.................................15
Programming
Programming Pads (1–8) ...................................16
Programming User Options................................17
CareandCleaning
RecommendedMaintenanceSchedule ..............19
RecommendedCleaningSchedule ....................19
CleaningOvenExterior ......................................19
CleaningOvenCavity.........................................19
Oven Racks and Rack Hooks ............................19
Air Filter............................................................19
Discharge Air Vents ..........................................19
ReplacingOvenLightBulb ....................................20
ServiceCodes ......................................................20
BeforeCallingfor Service ......................................21
Whencontactingsupplier,provide product information.
Product information is located on equipment serial plate.
Recordthefollowing information:
Model Number: ______________________________
ManufacturingNumber: ________________________
SerialorS/N Number: _________________________
Date of purchase: ____________________________
Supplier’s name and address:
____________________________________
____________________________________
____________________________________
Keep a copy of sales receipt for future reference or in
casewarranty service is required.
Warrantyservicemustbeperformedby an authorized
servicer.Amana Refrigeration, Inc. alsorecommends
contactinganauthorizedservicerifservice is required
afterwarrantyexpires.

3
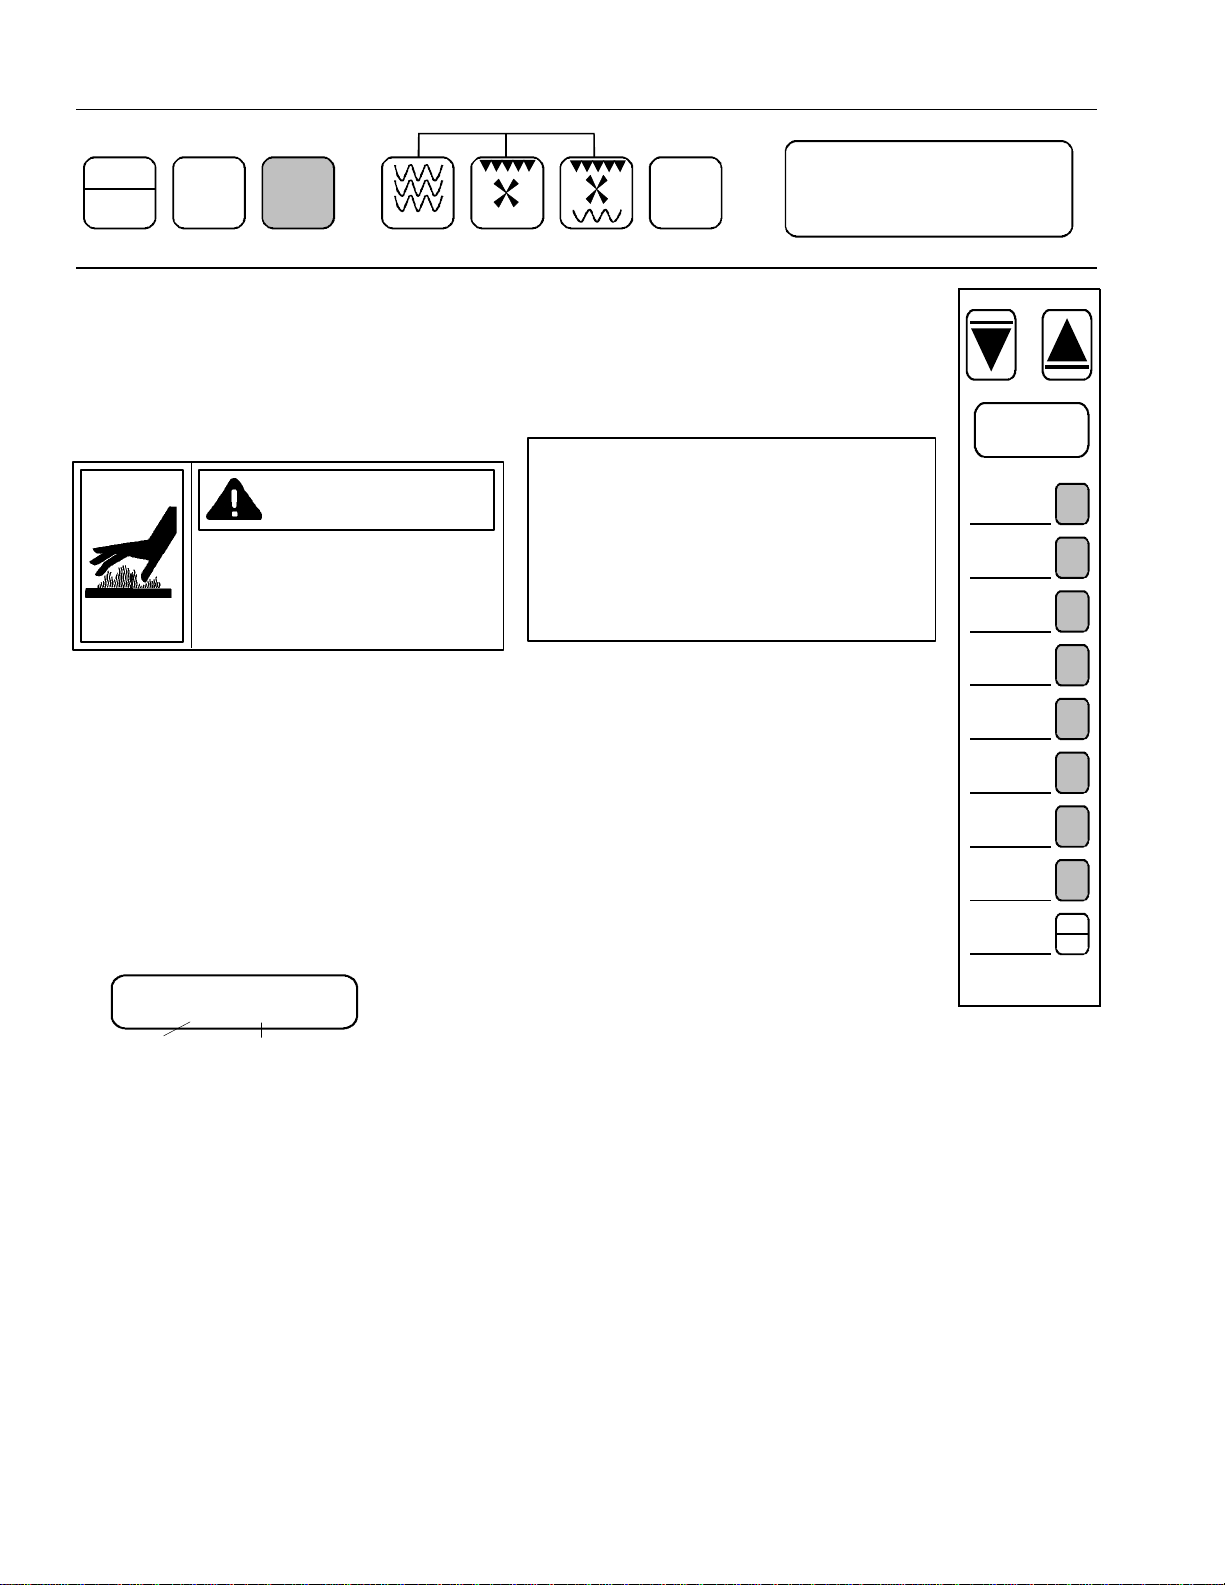
IMPORTANTSAFETYINSTRUCTIONS
Recognize this symbol as a SAFETY message
Recognize this symbol as a HOT SURFACE warning
SAVETHESEINSTRUCTIONS
Warning
WHENUSINGELECTRICALEQUIPMENT,BASICSAFETYPRECAUTIONSSHOULDBE FOLLOWEDTO
REDUCETHERISKOFBURNS,ELECTRICALSHOCK,FIRE,INJURYTOPERSONS,OREXPOSURETO
EXCESSIVEMICROWAVEENERGY:
1. READ all instructionsbeforeusingequipment.
2. READ AND FOLLOW the specific PRECAUTIONS
TO AVOID POSSIBLE EXPOSURE TO EXCESSIVE
MICROWAVE ENERGY on page 5.
3. This equipment MUST BE EARTHED. Connect only
to properly grounded outlet. See EARTHING
INSTRUCTIONSonpage6.
4. Install or locate this equipment ONLY in accordance
with the installation instructions in this manual.
5. Some products such as whole eggs and sealed
containers – for example, closed glass jars – may
explode and SHOULD NOT be HEATED inthisoven.
6. Use this equipment ONLY for its intended use as
described in this manual. Do not use corrosive
chemicals or vapors in this equipment. This type of
oven is specifically designed to heat or cook. It is not
designed for industrial or laboratory use.
7. As with any equipment, CLOSE SUPERVISION is
necessary when used by CHILDREN.
8. DO NOT operate this equipment if it has a damaged
cord or plug, if it is not working properly, or if it has
beendamagedor dropped.
9. This equipment, including power cord, must be
serviced ONLY byqualifiedservice personnel.
Specialtoolsare required to service equipment.
Contact nearest authorized service facility for
examination,repair,or adjustment.
10. DO NOT cover or block any openings on the
equipment.
11. DO NOT store this equipment outdoors. DO NOT
use this product near water – for example, near a
kitchen sink, in a wet basement, or near a swimming
pool, and the like.
12. DO NOT immerse cord or plug in water.
13. KeepcordAWAYfrom HEATED surfaces.
14. DO NOT let cord hang over edge of table or counter.
15. See door cleaning instructions in Care and Cleaning
section of manual under Cleaning Oven Exterior
on page 19.
16. For commercial use only.
17. DO NOT insert oversized foods or oversized utensils
in a microwave/convection oven as they may create a
fire, an electrical arc, or risk of electrical shock.
18. DO NOT clean with metal scouring pads. Pieces can
breakoff the padand touch electrical partsinvolving
risk of electrical shock.
19.DO NOT use paper products not intended for cooking
whenequipmentis operated in convection or
combinationmode.
20. DO NOT store any materials, other than
manufacturer's recommended accessories, in this
equipment when not in use.
21. DO NOT cover racks or any other part of the oven
with metal foil. Airflow restriction will cause
overheatingoftheoven.

4
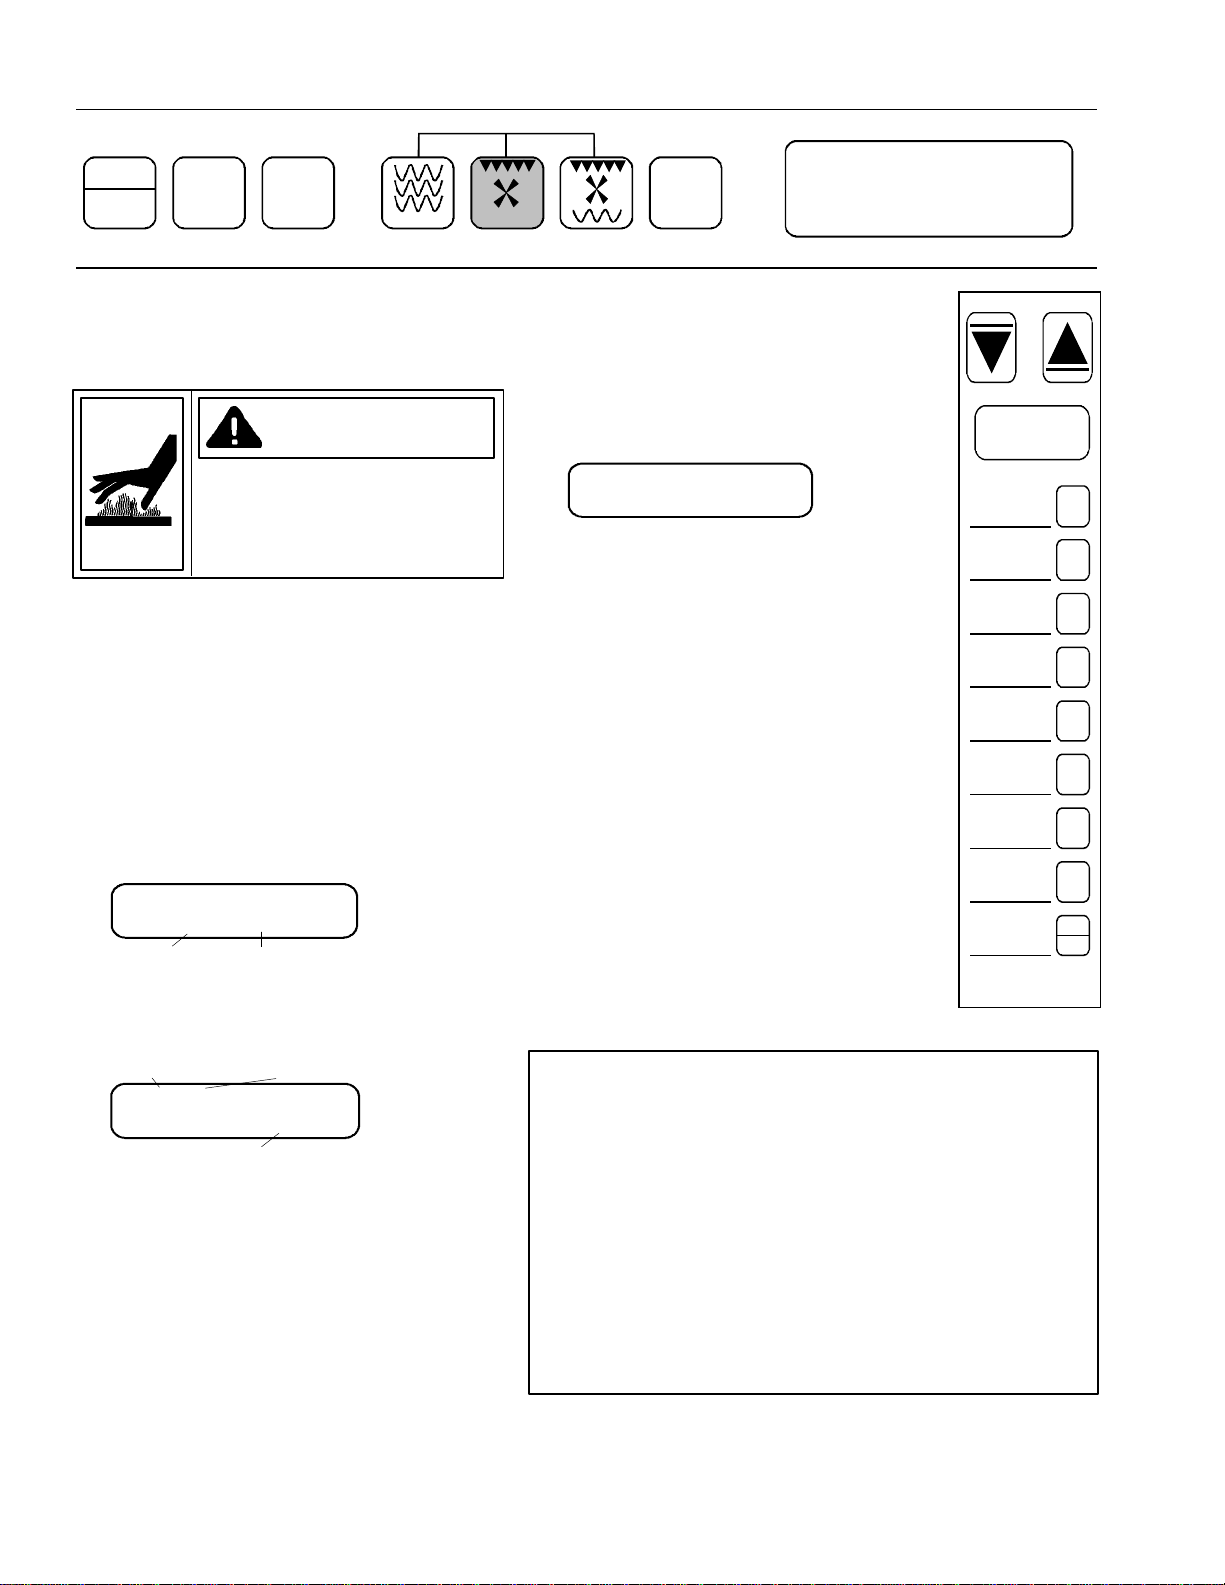
IMPORTANTSAFETYINSTRUCTIONS
SAVETHESEINSTRUCTIONS
9. Do not use metal utensils in oven except when
recommendedbymicrowavefoodmanufacturersor
recipe requires metal utensils in convection or
combination mode. Heat food in containers made of
glass or china if possible.
10. Never use paper, plastic, or other combustible
materialsthatarenotintendedforcooking.Ifoven
temperature is high, material may ignite.
11. When cooking with paper, plastic, or other
combustible materials, follow manufacturer's
recommendations on product use.
12. Do not use paper towels which contain nylon or other
synthetic fibers. Heated synthetics could melt and
cause paper to ignite.
13. Do not heat sealed containers or plastic bags
in oven. Food or liquid could expand quickly and
cause container or bag to break. Pierce or open
container or bag before heating.
14. Racks, utensils, and oven surfaces may become hot
during or after use. Use utensils or protective clothing,
like pan grips or dry oven mitts, when necessary to
avoidburns.
15. Do not use rack position if rack hook breaks.
Replace broken hooks immediately.
16. Donotunplugovenimmediatelyafteruse.Internal
fanmust cool ovento avoid damageof electrical
components.
17. To avoidpacemaker malfunction, consult physicianor
pacemakermanufactureabouteffectsof
microwaveenergyon pacemaker.
1. Briskly stir or pour liquids before heating with
microwaveenergytopreventspontaneousboilingor
eruption. Do not overheat. If air is not mixed into a
liquid,liquidcanerupt in oven or after removal
fromoven.
2. Do not deep fat fry in oven.Fat could overheatand
be hazardous to handle.
3. Do not cook or reheat eggs in shell or with an
unbroken yolk using microwave energy. Pressure
may build up and erupt. Pierce yolk with fork or knife
before cooking.
4. Pierce skin of potatoes, tomatoes, and similar foods
before cooking with microwave energy. When skin is
pierced, steam escapes evenly.
5. Pop popcorn in microwave mode only. If oven is
preheatedor hot, allow oven tocool before popping
popcorn or bag may ignite.
6. Use only popcorn in packages designed and labeled
formicrowave use. Popping time varies depending
on oven wattage. Do not continue to heat after
popping has stopped. Popcorn will scorch or burn.
Donotleaveovenunattended.
7. Do not use regular cooking thermometers in oven
whencooking in microwave or combination mode.
Most cooking thermometers contain mercury and
may cause an electrical arc, malfunction, or damage
tooven.
8. Do not heat baby bottles in oven.
Caution
TOAVOID PERSONAL INJURYORPROPERTYDAMAGE,OBSERVE THE FOLLOWING:

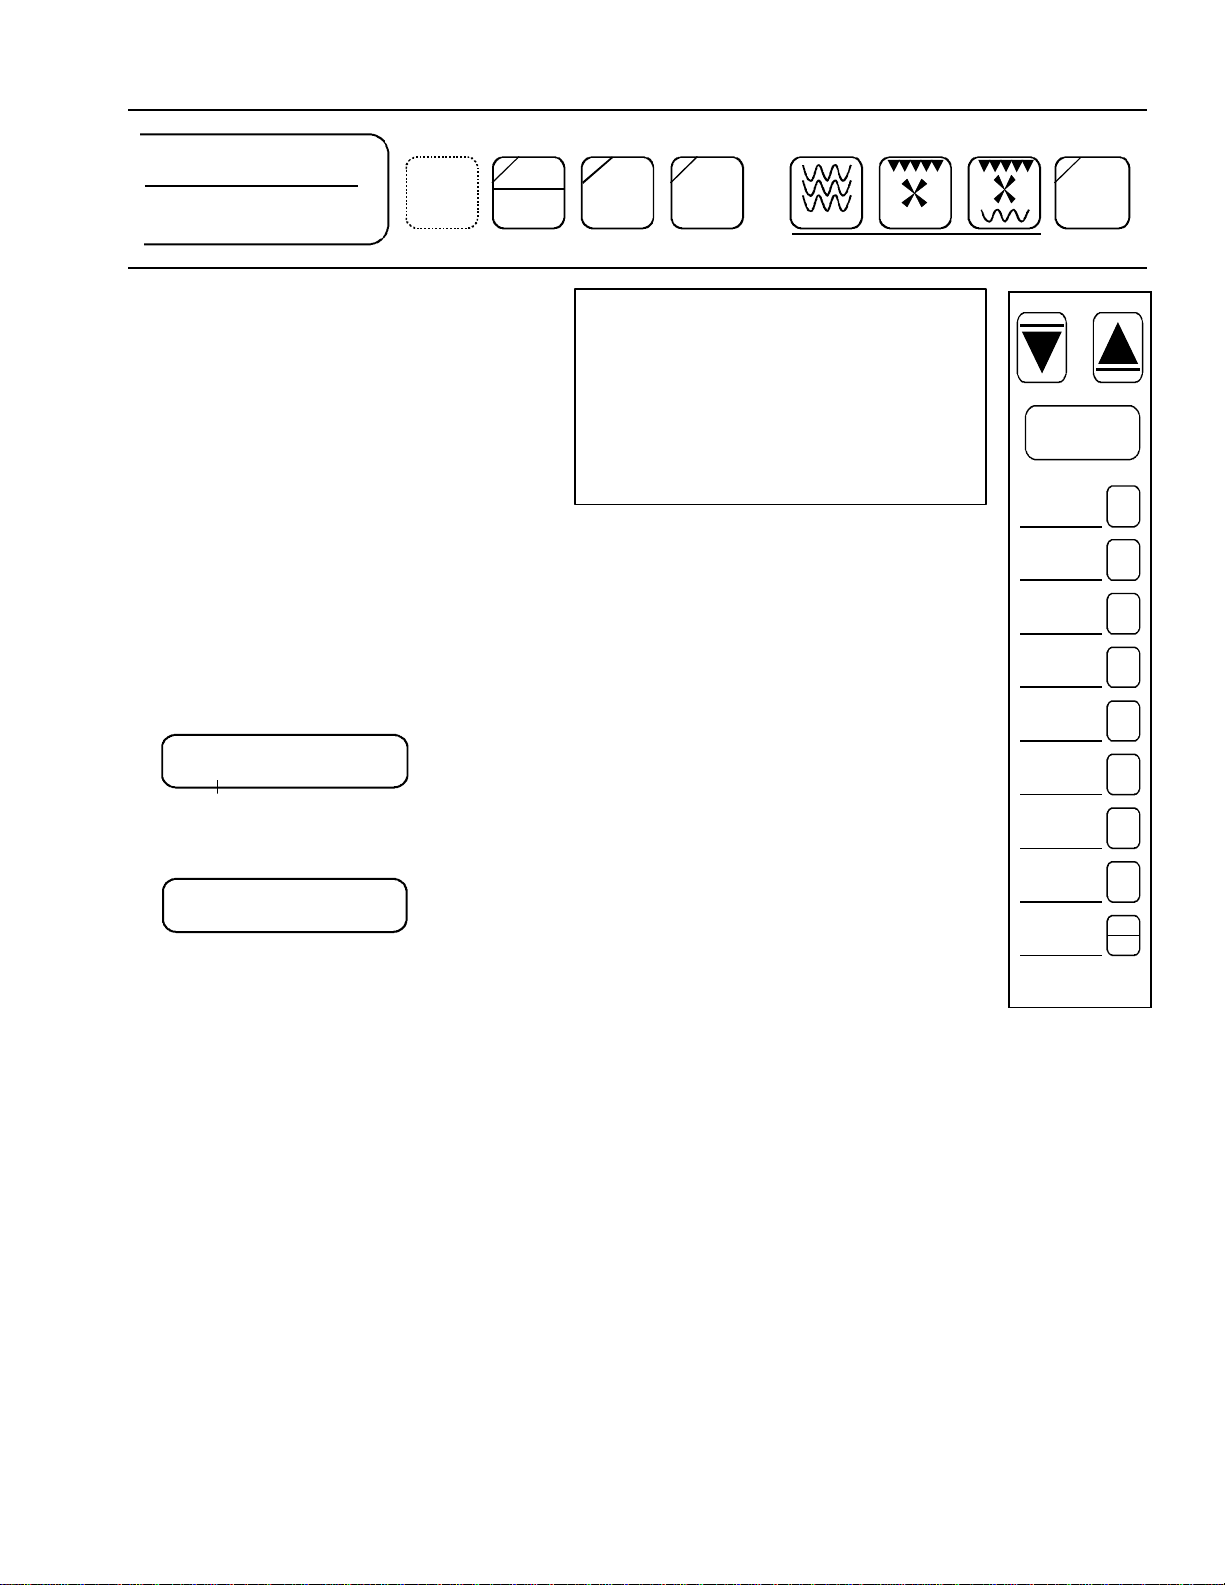
5
IMPORTANTSAFETYINSTRUCTIONS
SAVETHESEINSTRUCTIONS
a. DO NOT overcook food. Carefully attend equipment if paper, plastic, or other combustible materials are placed
inside the oven to facilitate cooking.
b. Remove wire twist-ties from paperor plastic bags before placing bag inoven.
c. KEEP oven DOOR CLOSED,turn oven off,and disconnect thepower cord, orshut off powerat the fuseor circuit
breaker panel, if materials inside the oven should ignite. Fire may spread if door is opened.
d. DO NOT use the cavity for storage purposes. DO NOT leave paper products, cooking utensils, or food in the
cavity when not in use.
Caution
TOREDUCETHERISKOFFIREINTHEOVENCAVITY:
PRECAUTIONS TO AVOID POSSIBLE EXPOSURE
TO EXCESSIVE MICROWAVE ENERGY
c. DO NOT operate the oven if it is damaged. It
is particularly important that the oven door close
properly and that there is no damage to the: (1)
door (bent), (2) hinges and latches (broken or
loosened), (3) door seals and sealing surfaces.
d. Theovenshould NOT be adjusted or repaired
byanyoneexceptproperly qualified service
personnel.
a. DO NOT attempt to operate this oven with the
door open since open-door operation can result
inharmful exposure to microwave energy. Itis
important not to defeat or tamper with the
safety interlocks.
b. DO NOT place any object between the oven
front face and the door or allow soil or cleaner
residue to accumulate on sealing surfaces.

6
Installation
Unpacking Equipment
•Removepackingand printed material fromoven
cavity.
•Report any dents or breakage to source of
purchaseimmediately.
•Inspect equipment for damage such as dents in
door or inside oven cavity.
Equipment Placement
•Do not install equipment over or under another
microwave,convection, or combinationoven.
•Do not install equipment next to or above source of
heat, such as pizza oven or deep fat fryer.
Excessive heat may cause equipment to operate
improperly and shorten life of electrical parts.
•Install combination oven so oven bottom is at least
91.5centimeters / 3 feet above floor.
•Allowair flow aroundequipment. Leave at least
3.18 centimeters / 1¼ inch between air discharge
on back of equipment and back wall. Lift handle on
back of equipment ensures 3.18 centimeters / 1¼
inch spacing. Restricted airflow may cause
equipment to operate improperly and shorten life of
electrical parts.
•Equipment requires a minimum of 3.81
centemeters/1½inch clearance above equipment.
•Install according to all local building codes and
ordinances.
Radio Interference
Microwave or combination mode operation may cause
interference to radio, television, or similar equipment.
Reduceor eliminate interference by doingthefollowing:
•Cleandoor and sealing surfaces ofovenaccording
to instructions in Care and Cleaning section.
•Place radio, television, etc. as far as possible from
equipment.
•Use a properly installed antenna on radio,
television, etc. to obtain stronger signal reception.
Earthing Instructions
Warning
To avoid the risk of electrical shock or death,
this equipment must be earthed.
Warning
To avoid the risk of electrical shock or death, do not
alter the plug.
This equipment MUST be earthed. In the event of an
electrical short circuit, earthing reduces the risk of
electric shock by providing an escape wire for the electric
current. This oven is equipped with a cord having a
earthing wire with a earthing plug. The plug must be
plugged into an outlet that is properly installed and
earthed.
Consult a qualified electrician or servicer if earthing
instructions are not completely understood, or if doubt
exists as to whether the equipment is properly earthed.
Do not use an extension cord. If the product power cord
is too short, have a qualified electrician install a three-slot
receptacle. This oven should be plugged into a separate
50 hertz, 230 volt circuit with the electrical rating as
shownin the drawing. When a microwave oven is on a
circuit with other equipment, an increase in cooking
times may be required and fuses can be blown.
230V-13AMP

7
Cooking Methods
Microwave
Microwavemode uses highfrequency energy waves to
heatfood. When cooking,microwave energy causes food
molecules to move rapidly. This rapid movement between
foodmolecules creates heat. Because microwave
energywaves are attractedtofood,microwaveovens
cook quickly and efficiently.
Allow equipment to cool after cooking with combination
mode,convectionmode, or preheating equipment before
cookingwith microwave for best results.Highoven
temperatureseffect microwave cookingtimes.
When cooking with only microwave energy, use
microwave-safedishes or utensils. Ifoven cavity is hotor
preheated, do not use paper products or plastic wrap not
intendedforcooking.
Convection
Convection mode uses a fan to circulate hot air around
food. The circulating air creates a more consistent oven
temperature around the food. Baked foods cook and
brownevenly when prepared in aconvectionoven.
Metal, glass, and ceramic cookware is safe for
convection cooking. Do not use plastic, paper products,
orcombustible materials not intended for cooking.
Combination
Combinationmodeusesmicrowave energy and
convectionheat to cook.This oven combines microwave
cooking speed and convection cooking browning
capabilities to create excellent results.
Glass and ceramic cookware is safe for combination
cooking. Do not use plastic, paper products, or
combustiblematerials not intended for cooking. Metal
cookware can be used in combination cooking when
necessary. Place utensils or cookware on racks for best
results.
To avoid an electrical arc between metal cookware,
utensils,and oven interiorfollow the guidelines listed
below.
•Do not allow utensils or cookware to touch oven
walls.
•Use caution when cooking with metal pizza
screens or similar cookware.
•Do not use metal lids.
•Do not use oversized pans or utensils when
cooking small food items.
Oven Operation
Oven Fan
Oven fan operates while oven cooks. Fan may operate at
any time to cool internal oven components.
Ready Mode
Oven display shows “READY” to indicate ready mode. If
oven shows “STANDBY”, pressing ON/STANDBY pad
sets oven to ready mode. Once in ready mode, “R” in
“READY” flashes for 2 minutes. While “R” flashes, pads
are active. When “R” stops flashing, pads are not active.
Ovendoor must beopened and closedto reactivate
pads.
Standby Mode
Oven shows “STANDBY” in display to indicate standby
mode. If oven is in ready mode, pressing ON/STANDBY
pad resets oven to standby mode. In standby mode, pads
are inactive. Press STANDBY pad at end of day to
disable pads.
Preheat
Preheatovenbeforecookingwithconvectionor
combination mode for best results. Preheat temperatures
rangefrom70°C/150°Fto 250°C/475°F in increments of
10°C/25°F.
Whenoven heats toreach preheat temperature, oven
display shows “WARMUP” with “W” flashing. While “W”
flashes, pads are active. After 2 minutes, “W” stops
flashingand pads becomeinactive. Oven doormust be
opened and closed, or preheat temperature reached to
reactivate pads.
Ovenmaintainspreheat temperature for 2 consecutive
hours. If door is opened or pad is pressed during preheat
cycle, oven resets 2 hour preheat timer. Oven resets to
ready mode after 2 hours if not used.
Cooking
Choose programmable menus (A, B, or C) or manual
cookingfunctions (MICROWAVE, CONVECTION,or
COMBINATION).Programmablemenusandmanual
cooking functions have up to 4 cooking stages.
Settime,temperature,and/or microwave power level after
manual cooking function is selected. If manual cooking
function is selected and START pad pushed, oven cooks
accordingtodefaulttime,temperature,andmicrowave
power level. See Cooking Displays section for
explanationofdefault settings.
Programmable Menus
Oven has 3 programmable menus (A, B, and C). Each
menu contains 8 programmable pads. Oven cooks
according to how each pad is programed.

8
CookingDisplays
Default Cooking Time
Oven is factory preset to cook for 2 minutes, “2:00”, when
cookingfunction(MICROWAVE, CONVECTION,or
COMBINATION) is selected. To change default cooking
time, see Programming User Options section of manual.
Default Preheat Temperature
When power is connected to oven, oven sets preheat
temperature to 250°C/475°F. If preheat has been set
before,ovenresetstopreviouspreheat temperature when
PREHEAT pad is selected.
Default Cooking Temperature
Ifovenwas preheated oven sets cookingtemperatureto
previouspreheattemperature.Ifovenwas not preheated
temperature sets to 250°C/475°F.
Preheat/Convection Indicator
When oven preheats or cooks, oven shows “c” in display.
“c” indicates heating element is on. While oven is in
preheat or convection mode, “c” disappears as heating
element cycles off to maintain temperature. To indicate
warmingofoven cavity, “c” may appear when door is
openorinmicrowave mode.
Microwave Indicator
When oven cooks using microwave energy, oven shows
“m” in display. While oven uses power levels other than
100 percent, “m” disappears as oven cycles off.
Flashing Items
When programming oven to cook, items in display flash
indicating what needs to be set. For example, when
setting the time, colon (:) flashes. When setting cooking
temperature,“F”or“C”flashes.When setting microwave
power levels, percent (%) flashes.
When oven is in ready mode, “R” in ready flashes
indicatingoven is readyfor next entry.“R” in “READY”
flashes for 2 minutes.
Whenoven heats toreach preheat temperature, oven
display shows “WARMUP” with “W” flashing. While “W”
flashes, pads are active and oven accepts entries.
“W” in “WARMUP” flashes for 2 minutes.
Programmable Pads
Pads do not come programmed from factory. Pads 1–8
can be programmed to cook according to frequently used
sequences. When a pad is pressed, oven begins cooking
withmicrowave,convection,or combination function
accordingtoprevious programming.
Microwave
Microwave mode cooks using 1000 watts I.E.C. 705
microwave power. Place items to be cooked on rack. If
only 1 rack is required for cooking, remove extra rack for
best results. Use microwave-safe containers while
cooking in microwave mode.
Whencooking in microwave mode, ovencavity warms to
70°C/150°F to reduce condensation. A warm oven cavity
may affect cooking times. When oven cavity is warming,
“c” appears in oven display.
Microwave cooking times range from 1 second (00:01) to
a total of 20 minutes (20:00) over 4 stages. If more than
20 minutes of total microwave cooking time is required,
opendoor and inspectfood before beginningnew cooking
cycle.Microwavepowerlevels range from “10%” to “HI”.
“HI” is 100 percent power. If cooking time is set and
START pad pressed, oven cooks at 100 percent power.
Convection
Convection mode cooks by circulating hot air around
food.Preheatovenbeforeusingconvectionmodeforbest
results. Place items to be cooked on rack for best
results.
Cooking time ranges from 1 second (00:01) to a total of
60minutes (60:00) over4 stages. Cooking temperatures
rangefrom70°C/150°Fto 250°C/475°F in increments of
10°C/25°F.
Combination
Combinationmode cooks using microwave energy and
convectionheat. Preheat oven before using combination
mode for best results. Metal utensils may be used in
combination mode when necessary. Use heat-resistant,
microwave-safe utensils when possible. Place items to
be cooked on rack for best results.
Cooking times range from 1 second (00:01) to a total of
20 minutes (20:00) over 4 stages. Temperature and power
level settings combination mode are same as convection
andmicrowavemode.
User Options
Useroptions allow oven to operateaccording to individual
preferences. See ProgrammingUserOptions section.

9
c,m,orcm"c"indicatesconvection elementisproducing heat. "m"indicatesoven is
producing microwaveenergy."cm"indicatesoven isproducing microwave
energyand convection heat. Indicatorsarelocated inlowerrightcornerof
oven display.
CLOSE DOOR Displayswhen oven doorisopen.Elementisno longeractivebecause
doorhasbeen open morethan 15 seconds.Oven isinconvection,
combination,orpreheatmode.
DOOROPEN Displayswhen oven doorisopen.
FINISHEDREMOVE FOOD
(A,B,C)PAD(1-8)Displaysatend ofcooking cycle.
MANUALCOOKINGShowswhilecooking withmanualcooking function.
MANUALCOOKINGPAUSE Displayswhen cooking isinterrupted byopening doororpushing
STOP/RESETpad.
MAXIMUMALLOWABLE
DEFAULTCOOKTIMEDisplaysinuseroption mode when greatestdefaultcooktimeisreached.
(Maximum=10:00)
MAXIMUMALLOWABLE
MICROWAVE COOKTIMEDisplayswhen no additionalmicrowavecooking timecan be added.
(Maximum=20:00)
MAXIMUMALLOWABLE
TOTALCOOKTIMEDisplayswhen no additionalcooking timecan be added.
(Maximum=60:00)
MENU (A,B,orC)Indicateswhichmenu isselected forprogramming.
MICRO(10%-HI)Indicatesmicrowavepowerlevel.
(A,B,C)PAD(1-8)COOKINGDisplayswhilecooking withprogrammablepad.
(A,B,C)PAD(1-8)PAUSE Displayswhen cooking isinterrupted byopening doororpushing
STOP/RESETpad.
(0,150-475F)PREHEAT(0,70-250C)Indicatestemperaturewhen preheatisselected.
PROGRAMNOTFOUND
PROGRAMPAD(1-8)TOUSE Indicatesselected programmablepad hasnotbeen programmed.
PROGRAMMINGSTAGE(1-4)Indicatesbeginning ofanewprogramming stage.
PUSHRESETTODELETE
STARTTOSTARTOVERDisplayswhen STOP/RESETpad ispressed whileoven isbeing
programmed.
READYDisplayswhen oven isinreadymode.If"R"isflashing,padsareactive.
READYcDisplaysafteroven hasreached preheattemperature.If"R"isflashing,
padsareactive.
SELECTCOOKFUNCTION Displaysafterbeginning ofanewstage whileprogramming.
STAGE(1-4)Indicatespresentcooking stage.
STANDBY Displayswhen oven isinstandbymode.
WARMUPcDisplayswhen oven ispreheating.
WELCOME
STANDBY Displayswhen oven receivespower.

10
Pads
START
1
2
3
4
5
6
7
STOP
8
RESET
START
STOP
RESET
18
OPTION
MENU
A B C
PRE-
HEAT
ON
STANDBY
HIDDEN
ENABLE
PAD
HIDDEN ENABLE PAD Accesses programming for user options
mode.
ON/STANDBY Enables and disables pads. If oven shows
"STANDBY", press ON/STANDBY pad to
set oven to ready mode. Oven sets to
standby mode if oven display shows
"READY" and ON/STANDBY pad is
pressed.
PREHEAT Sets oven to preheat mode.
MENU A B C Selects programmable cooking menus.
MICROWAVE Selects microwave function.
CONVECTION Selects convection function.
COMBINATION Selects combination function.
OPTION Advances programming. Advances time to
oven temperature, oven temperature to
power level, and then to next cooking stage.
Up and Down Arrows Adjusts time, oven temperature, and power
levels.
PADS 1-8 Starts programmed cooking sequences.
START Begins operation of manual cooking
functions. Saves programming and enters
preheat temperature.
STOP/RESET Pauses cooking and resets oven program.
ON
STANDBY MENU
A B C
PRE-
HEAT OPTION
MICROWAVE CONVECTION COMBINATION
HIDDEN
ENABLE
PAD
ENUMASTER
ETWAVE III
J

11
Operation
ON
STANDBY MENU
A B C
PRE-
HEAT OPTION
MICROWAVE CONVECTION COMBINATION
Preheat Entry
Preheatusesconvection heat to bring oven
temperature to desired cooking temperature.
Preheat before convection or combination
cooking for best results.
Operating Preheat Function
1. Verify oven display shows “READY”.
•Ifovendisplayshows“STANDBY”,
press ON/STANDBY pad.
•If“R” in “READY” is notflashing,open
andcloseoven door.
2. Press PREHEAT pad to enter preheat
mode.“C” flashes after temperature.
250C PREHEAT
Temperature Mode
3. Press arrow pads to increase or decrease
preheat temperature.
4. Press START pad to begin preheat mode.
Ovenheatsuntiloven reaches preheat
temperature.“WARMUP”appears.
250C PREHEAT
WARMUP c
MENU A
Current Menu Status
5. Oven signalswhenovenreachespreheat
temperature.“READY” appears. Oven is
ready to accept next entry if “R” is
flashing.
250C PREHEAT
READY c
MENU A
Status
Current Menu
Reset or Cancel
1. Press PREHEAT pad. Oven display
showspreheattemperature,flashing“C”
and “PREHEAT”.
2. Press arrow pads to adjust preheat
temperature. To cancel preheat mode,
press down arrow pad until oven display
shows “0C”.
3. Press START pad.
Summary of Preheat Entry
1. Verify oven display shows “READY”.
2. Press PREHEAT pad.
3. Press arrows to select temperature.
4. Press START pad.
5. Ovensignals when oven reaches
preheat temperature.
START
1
2
3
4
5
6
7
STOP
8
RESET
Caution
To prevent personal injury, handle
utensils, racks, and door with
care. Utensils, racks, and door
may become hot during operation.
12
ON
STANDBY MENU
A B C
PRE-
HEAT OPTION
MICROWAVE CONVECTION COMBINATION
Pause or Cancel
1. Press STOP/RESETpad or open oven
door to pause cooking sequence.
2. Press STOP/RESET pad.
Programmable Menu Entry
Oven contains 3 programmable menus with 8
programmablenumberpads. Program
programmablenumber pads to form menus. To
set programmable pads, see Programming Pads
(1–8) section.
Operating Programmable Menu Items
1. Verify Oven shows “READY” in display.
•Ifoven display shows “STANDBY”, press
ON/STANDBY pad.
•If “R” in “READY” is not flashing, open and
close oven door.
•Preheattemperatureand “PREHEAT”
appearin display if oven isinpreheat
mode.
2. Close oven door. “R” in “READY” flashes.
Preheattemperatureand“PREHEAT”appear
in display if oven is in preheat mode.
READY
MENU A
Status
Current Menu
3. Press MENU A B C pad to select
programmablemenu.
4. Press numbered pad (1–8) to begin cooking.
Ovendisplay reflects programming. If pad is
notprogrammed, see “Programming Pads
(1–8)” section.
Oven stops and signals at end of cooking
sequence.
5. Remove foodtoavoidovercooking.
START
1
2
3
4
5
6
7
STOP
8
RESET
Summary of Programmable Menu
1. Verify oven display shows “READY”.
2. Openovendoor,placefoodinoven,
andcloseoven door.
3. Select menu (A, B, or C).
4. Press numbered pad.
5. Removefood.
Caution
To prevent personal injury, handle
utensils, racks, and door with
care. Utensils, racks, and door
may become hot during operation.

13
ON
STANDBY MENU
A B C
PRE-
HEAT OPTION
MICROWAVE CONVECTION COMBINATION
Manual Microwave Entry
Microwave function cooks using microwave
energy. Set cooking time and power levels.
Operating Microwave Function
1. Verify Oven shows “READY” in display.
•Ifoven display shows “STANDBY”,
press ON/STANDBY pad.
•If “R” in “READY” is not flashing, open
andcloseoven door.
•Preheattemperatureand “PREHEAT”
appearin display if oven isinpreheat
mode.
READY
MENU A
Status
Current Menu
2. Press MICROWAVE pad to select microwave
cooking function. Colon (:) in cooking time
flashes.
Cooking Time Microwave Power Level
Current Stage
2:00 MICRO HI
MANUAL STAGE 1
3. Press arrow pads to add or subtract cooking
time.
4. Press OPTION pad.
5. Press arrow pads to increase or decrease
microwavepowerlevel.For example, press
the down arrow once for “90%”. “HI” is 100
percentmicrowavepower level.
•If no additional cooking stages are
required, go to step 7.
6. Press OPTION pad. Oven display shows
“PROGRAMMINGSTAGE (2–4)” for2
seconds, and then display shown below.
•Repeat steps 3–7 if additional cooking
stages are required. See Oven
Operation section under Cooking for
explanation of stages.
SELECT COOK FUNCTION
MANUAL STAGE 2
7. Open ovendoor, place food in oven,and
close door.
8. Press START pad. Total time for each
stage selected counts down. Oven stops
and signals at end of cooking sequence.
9. Remove food toavoidovercooking
Pause or Cancel
1. Press STOP/RESETpad or open oven
door to pause cooking sequence.
2. Press STOP/RESET pad again to
cancel cooking sequence.
START
1
2
3
4
5
6
7
STOP
8
RESET
Summary of Microwave Entry
1. Verify oven display shows “READY”.
2. Press MICROWAVE pad.
3. Press arrow pads to add or subtract cooking time.
4. Press OPTION pad.
5. Press arrow pads to increase or decrease
microwavepowerlevel.
6. Press OPTION pad. Repeat steps 2–7 for additional
stages.
7. Openoven door, place foodin oven, and closedoor.
8. Press START pad.
9. Removefood.
Caution
To prevent personal injury, handle
utensils, racks, and door with
care. Utensils, racks, and door
may become hot during operation.
14
ON
STANDBY MENU
A B C
PRE-
HEAT OPTION
MICROWAVE CONVECTION COMBINATION
Manual Convection Entry
Preheatovenbefore using convection function for
best results. Set time and temperature.
Operating Convection Function
1. Set preheat mode. See “Preheat Entry”
section to set preheat mode.
2. Verify Oven shows “READY” in display.
•Ifoven display shows “STANDBY”,
press ON/STANDBY pad.
•If“R” in “READY” is notflashing,open
andcloseoven door.
•Preheattemperatureand “PREHEAT”
appearin display if oven isinpreheat
mode.
250C PREHEAT
READY c
MENU A
Status
Current Menu
3. Press CONVECTION pad to select
convection cooking function. Colon (:) in
cooking time flashes.
Cooking Time
Current Stage
2:00
Cooking Temperature
250C
MANUAL STAGE 1 c
4. Press arrow pads to add or subtract cooking
time.
5. Press OPTION pad. “C” flashes after
temperature.
6. Press arrow pads to increase or decrease
cooking temperature. Cooking temperature
should equal preheat temperature for best
results.
•If no additional cooking stages are
required, go to step 8.
7. Press OPTION pad. Oven display shows
“PROGRAMMINGSTAGE (2–4)” for2
seconds, and then display shown below.
•Repeat steps 3–7 if additional cooking
stages are required. See Oven
Operation section under Cooking for
explanation of stages.
SELECT COOK FUNCTION
MANUAL STAGE 2
8. Open ovendoor, place food in oven,and
close door.
9. Press START pad. Total time for each
stage selected counts down. Oven stops
and signals at end of cooking sequence.
10. Removefoodtoavoid overcooking.
Pause or Cancel
1. Press STOP/RESETpad or open oven
door to pause cooking sequence.
2. Press STOP/RESET pad again to cancel
cooking sequence.
START
1
2
3
4
5
6
7
STOP
8
RESET
Summary of Convection Entry
1. Set preheatmode
2. Verify oven display shows “READY”.
3. Press CONVECTION pad.
4. Press arrow pads to add or subtract cooking time.
5. Press OPTION pad.
6. Press arrow pads increase or decrease cooking
temperature.
7. Press OPTION pad. Repeat steps 3–7 for additional
stages.
8. Open ovendoor, place food inoven, and close door.
9. Press START pad.
10. Removefood.
Caution
To prevent personal injury, handle
utensils, racks, and door with
care. Utensils, racks, and door
may become hot during operation.

15
ON
STANDBY MENU
A B C
PRE-
HEAT OPTION
MICROWAVE CONVECTION COMBINATION
Manual Combination Entry
Combination function cooks using a
combinationofconvectionheat and microwave
energy.Preheatovenbefore using combination
function for best results. Set time, temperature,
andmicrowavepowerlevel.
Operating Combination Function
1. Set preheat mode. See “Preheat Entry”
section to set preheat mode.
2. Verify oven shows “READY” in display.
•Ifoven display shows “STANDBY”,
press ON/STANDBY pad.
•If“R” in “READY” is notflashing,open
andcloseoven door.
•Preheattemperatureand “PREHEAT”
appearin display if oven isinpreheat
mode.
250C PREHEAT
READY c
MENU A
Status
Current Menu
3. Press COMBINATION pad to select
combination function. Colon (:) in cooking
time flashes.
Cooking Time Microwave Power Level
Current Stage
2:00
Cooking Temperature
250C MICRO HI
MANUAL STAGE 1 c
4. Press arrow keys to add or subtract
cooking time.
5. Press OPTION pad. “C” flashes after
temperature.
6. Press arrow pads to increase or decrease
oventemperature.Cooking temperature
should equal preheat temperature for best
results.
7. Press OPTION pad.
8. Press arrow pads to increase or
decreasemicrowavepowerlevel.For
example, press the down arrow once for
“90%”.
•If no additional cooking stages are
required go to step 8.
9. Press OPTION pad. Oven display shows
“PROGRAMMINGSTAGE (2–4)” for2
seconds, and then display shown below.
•Repeat steps 3–7 if additional cooking
stages are required. See Oven
Operation section under Cooking for
explanation of stages.
SELECT COOK FUNCTION
MANUAL STAGE 2
10. Openoven door, place food inoven,and
close door.
11. Press START pad. Total time for each
stage selected counts down. Oven stops
and signals at end of cooking sequence.
12. Removefoodtoavoid overcooking.
Pause or Cancel
1. Press STOP/RESETpad or open oven
door to pause cooking sequence.
2. Press STOP/RESET pad again to
cancel cooking program.
START
1
2
3
4
5
6
7
STOP
8
RESET
Summary of Combination Entry
1. Preheat oven.
2. Verify oven display shows “READY”.
3. Press COMBINATION pad.
4. Press arrow pads to add or subtract cooking time.
5. Press OPTION pad.
6. Press arrow pads increase or decrease cooking
temperature.
7. Press OPTION pad.
8. Press arrow pads increase or decrease microwave
powerlevel.
9. Press OPTION pad. Repeat steps 3–7 for additional
stages.
10. Openoven door, place foodin oven, and closedoor.
11. Press START pad.
12. Removefood.
Caution
To prevent personal injury, handle
utensils, racks, and door with
care. Utensils, racks, and door
may become hot during operation.

16
Programming
ON
STANDBY MENU
A B C
PRE-
HEAT OPTION
MICROWAVE CONVECTION COMBINATION
Programming Pads (1–8)
Pads (1–8)activate a programmed cooking
sequence when pressed. Program each pad
individuallytoformmenus. Programming remains
in memory until reprogrammed.
Programming Mode
1. Verify Oven shows “READY” in display.
•Ifoven display shows “STANDBY”,
press ON/STANDBY pad.
•If“R” in “READY” is notflashing,open
andcloseoven door.
•Preheattemperatureand “PREHEAT”
appearin display if oven isinpreheat
mode.
2. Open oven door. Oven door must remain
openduringprogramming.
3. Press and hold 1 pad for approximately 3-5
seconds.
SELECT MENU AND PAD
A PAD ?
Current Menu
4. Press MENU A B C pad, if necessary, to
select menu.
5. Press desired (1–8) pad.
SELECT COOK FUNCTION
STAGE 1
A PAD 1
6. Press MICROWAVE, CONVECTION, or
COMBINATION pad to select cooking
function.
7. Set time, temperature, and/or power levels.
•If MICROWAVE pad is chosen, see
“Manual Microwave Entry” steps 3–6.
•If CONVECTION pad is chosen, see
“ManualConvection Entry” steps 4–7.
•If COMBINATION pad is chosen, see
“Manual Combination Entry” steps 4–9.
8. Press OPTION pad after setting time,
temperature,and/orpowerlevelsto
advancetonext stage.
•Repeat steps 4–6 up to 4 times to
create a maximum of 4 cooking stages.
If no additional cooking stages are
required, go to next step.
SELECT COOK FUNCTION
STAGE 2
A PAD 1
9. Press START pad to save cooking
sequences. Oven display shows “SELECT
MENU AND PAD” and
“(A, B, or C) PAD ?”.
•Repeatsteps 4-8 to programadditional
pads
10. Closeovendoorto exit programming
mode.
START
1
2
3
4
5
6
7
STOP
8
RESET
Summary of Programming Preset Pads
1. Openovendoor.
2. Press and hold “1” pad.
3. Press MENU A B C pad to select menu.
4. Press (1–8)pad to be programmed.
5. Press MICROWAVE, CONVECTION, or
COMBINATION pad.
6. Settime,temperature,andmicrowavepowerlevel
according to instructions.
7. Press OPTION pad to set second stage or START pad
to save entry. Repeat 4-8 to program additional pads.
8. Closeovendoor.
17
Programming User Options
User options change oven features to meet
specific needs. See table on next page for
options.
Setting User Options
1. Verify Oven shows “READY” in display.
•Ifoven display shows “STANDBY”,
press ON/STANDBY pad.
•If“R” in “READY” is notflashing,open
andcloseoven door.
•Preheattemperatureand “PREHEAT”
appearin display if oven isinpreheat
mode.
2. Open oven door. Oven door must remain
openduringprogramming.
3. Press and hold 1 pad for approximately
3–5 seconds.
SELECT MENU AND PAD
A PAD ?
Current Menu
4. Press hiddenenable pad located left of ON/
STANDBYpad.
USER OPTIONS: PRESS
DIGIT PADS TO REVIEW
5. Press (1–8) pads to review options. See
table on next page for descriptions.
6. Press arrow pads to select option.
7. Press START pad to enter option.
8. Close door to exit user options programming
mode.
START
1
2
3
4
5
6
7
STOP
8
RESET
Summary of Setting User Options
1. Openovendoor.
2. Press and hold 1pad.
3. Press hidden enable pad.
4. Press (1–8) pads.
5. Press arrow pads.
6. Press START pad to save.
7. Close door to exit.
ON
STANDBY MENU
A B C
PRE-
HEAT OPTION
MICROWAVE CONVECTION COMBINATION
HIDDEN
ENABLE
PAD
ENUMASTER
ETWAVE III
J
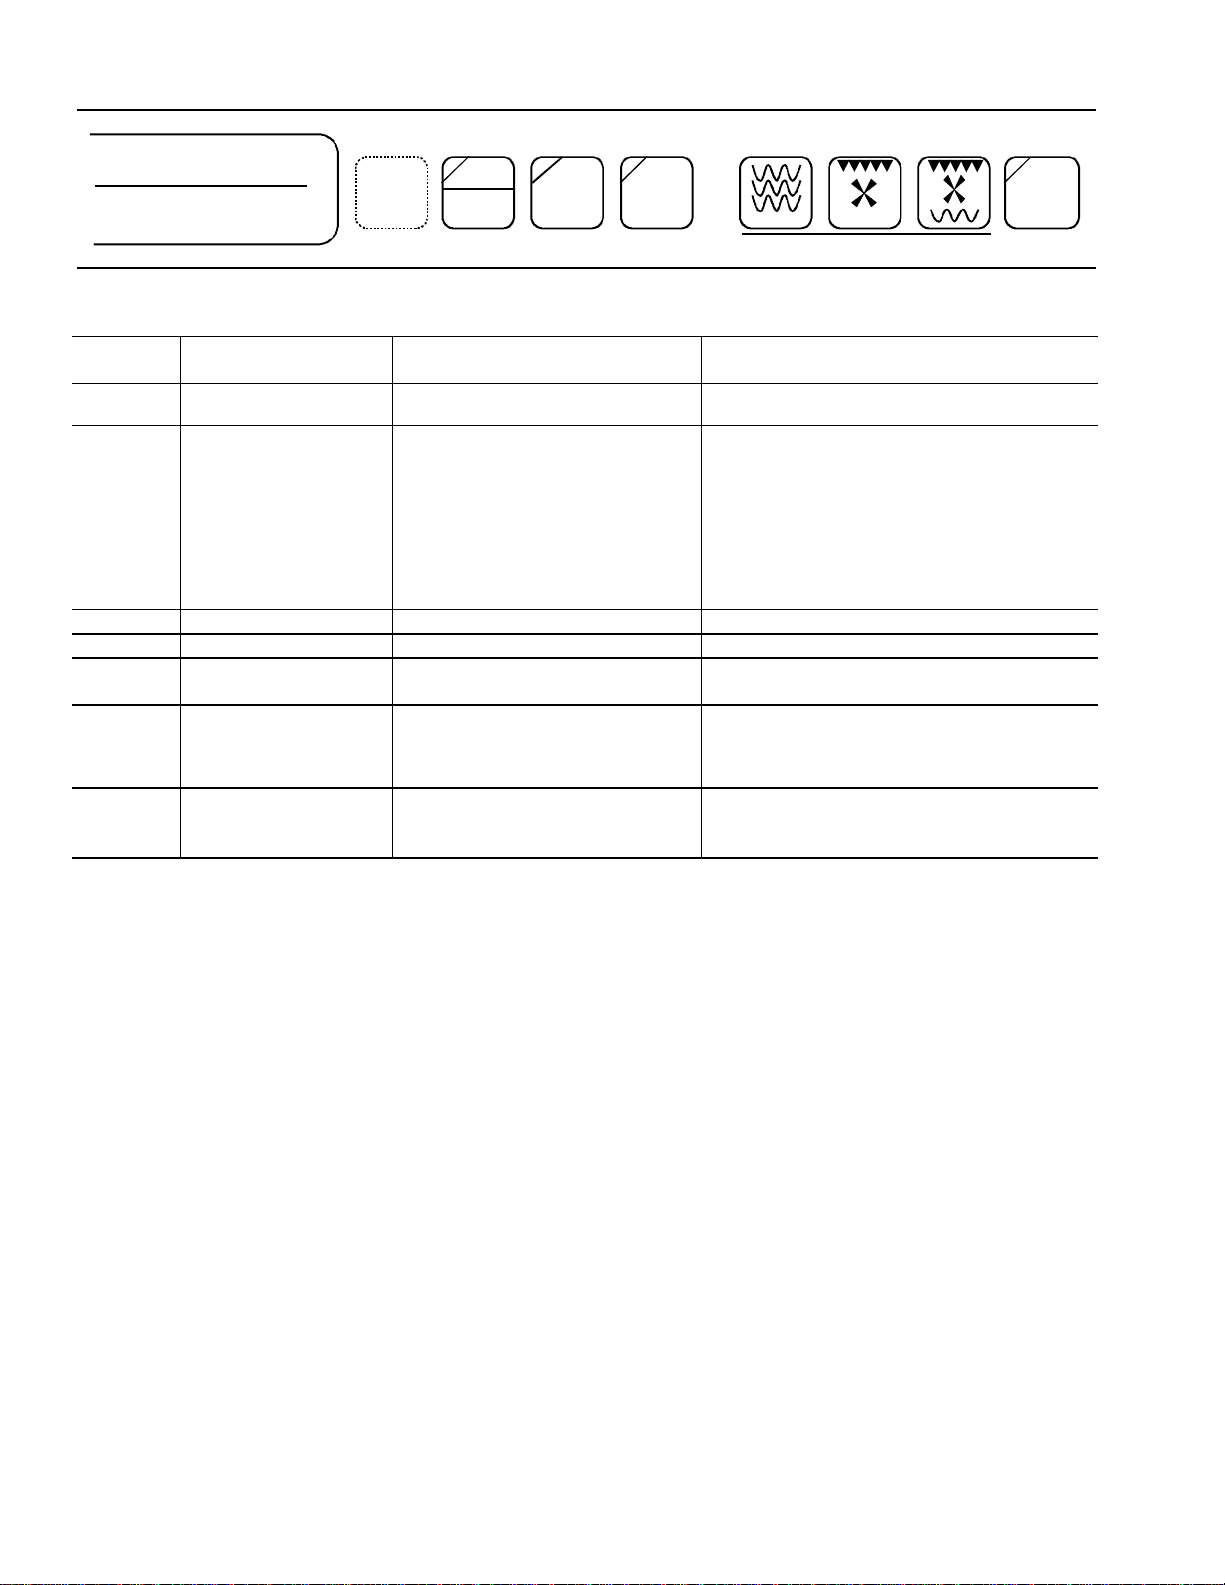
18
Number
Pads
Display Titles
Options
( ) = Factory Setting
Description
1
MANUAL
PROGRAMMING
(ENABLE) or DISABLE
Allows or prevents manual programming
of oven.
2
SLEW RATE
SLOW, MEDIUM, (MEDIUM-FAST),
or FAST
Controls speed of arrow pads.
3
TEMP SCALE
DEGREES
F or (C)
Displays temperatures in Fahrenheit or
Celsius. When oven converts
preprogrammed and default temperatures
from Fahrenheit to Celsius, temperatures
set to the next lowest factor of 10 degrees
Celsius. From Celsius to Fahrenheit,
temperatures set to the next lowest factor
of 25 degrees Fahrenheit.
4
DEFAULT COOK TIME
(2:00) 00:00-10:00
Sets default cooking time.
5
SPEAKER VOLUME
LOW, (MEDIUM), HIGH, or OFF
Controls oven signal volume.
6
KEYBEEPS
ON or OFF
Controls whether pads signal when
pressed.
7
END OF CYCLE TONE
CONTINUOUS TONE,
CONTINUOUS BEEP,
(4 CYCLES OF BEEP),
or 3 SECOND TONE
Determines how oven signals at end of
cycle.
8
MAGNETRON HOURS
DOOR CYCLES
MAGNETRON HOURS
and DOOR CYCLES
Displays how many hours magnetron tube
has operated and how many times door
has been opened and closed.
ON
STANDBY MENU
A B C
PRE-
HEAT OPTION
MICROWAVE CONVECTION COMBINATION
HIDDEN
ENABLE
PAD
ENUMASTER
ETWAVE III
J

19
Caution
Toprevent personal injury,handle
utensils, racks, and door with care.
Utensils, racks, and door may
becomehotduring operation.
Cleaning Oven Exterior
Cleandoor and other exteriorsurfaces with a cleancloth,
sponge,or nylon pad,and mild detergentdiluted in warm
water.Usecommercialdegreasersifheavilysoiled.
•Do not use harsh or abrasive cleaners, or cleaners
containingammonia.
•Do not use water pressure type cleaning systems.
•Removeexcesswater from cloth before wiping
oven.
Cleaning Oven Cavity
Remove racks and rack hooks for best results. Clean
ovencavity with ovenand grill cleaner.Repeat cleaning
several times if necessary. Wipe interior with damp,
clean cloth or sponge thoroughly and dry after cleaning.
•Spray on damp cloth or sponge before applying
tooven surfaces. Ifcleaners are sprayedinto oven
cavity,cleaner can become trapped behind rear
walland create unpleasant odor.
•Wearlong rubber gloves when cleaning equipment.
•Followmanufacturer's instructions on useof
cleaners.
•Do not use knife, metal utensil, or abrasive
cleaning pad to remove baked on material.
Oven Racks and Rack Hooks
Cleanoven racks and rackhooks with detergent dilutedin
warm water or in dishwasher. Scrub with soft nylon pad to
remove baked on material. Do not soak rack hooks for an
extendedperiodof time.
Important
If oven rack hook breaks, do not use rack position.
Replacebroken ovenrackhookimmediately.
Air Filter
Air filter is located directly below oven door.
1. Removeairfilterbyremovingfilter retaining screws,
locatedon outside edgesof filter. Remove screws
with fingers.
2. Wash filter with mild detergent diluted in warm
water. Rinse and dry thoroughly.
3. Replace filter by reversing step 1.
Important
Cleanair filter regularly to preventoverheating, which may
damageoven.
Discharge Air Vents
Check for a buildup of cooking vapors along discharge
louvers in back of oven. Clean air vent with damp cloth to
ensure proper airflow. Dry thoroughly.
Cleanovenfrequentlyto maximize oven life, performance,
andefficiency. A dirty oven cooksinefficientlybecause
moisture,spills,and grease absorb convection and
microwaveenergy.
Recommended Maintenance Schedule
ScheduleMaintenance Cleaning (Not CoveredUnder
Warranty)
•Contactanauthorizedservicertoremove and clean
heaterbox.
•Scheduleappointment every 6 months or when
heavygreasebuildupisapparentonbackofoven
cavity.
Recommended Cleaning Schedule
ScheduleSeveralDaily Cleanings
•Cleaninterior, exterior, door,and racks according to
Cleaning Oven Exterior instructions.
•If possible, clean spills immediately.
•Wipedryafter cleaning.
CleanAfterUse
•Removeoven racks andrack hooks, and clean
according to Oven Racks and Rack Hooks
instructions.
•Clean exterior according to Cleaning Oven Exterior
section.
•Cleanoven cavity according to Cleaning Oven Cavity
section.
•Wipedryafter cleaning.
Care and Cleaning
Warning
Toavoidelectricalshockwhichcancausesevere
personalinjury ordeath, unplugpowercordoropen
circuitbreakertoovenbeforecleaning.
20
Service Codes
Replacing Oven Light Bulb
During operation, oven display may show the following
service codes:
SERVICE
1
SERVICE
2
SERVICE
3
SERVICE
4
SERVICE
4P
SERVICE
5
SERVICE
6
SERVICE
7
SERVICE
8
HOT
PLEASE WAIT
Important
Contact an authorized servicer if oven display shows any
code.Servicemustbeperformedbeforeusing
equipment.
*Ifdisplay shows "HOT PLEASE WAIT" equipment
isoverheated. Equipment automatically interrupts
cooking sequence and turns on cooling fan until
normaltemperature is reached. When oven cools
tonormaltemperature,oven resumes normal
operation.
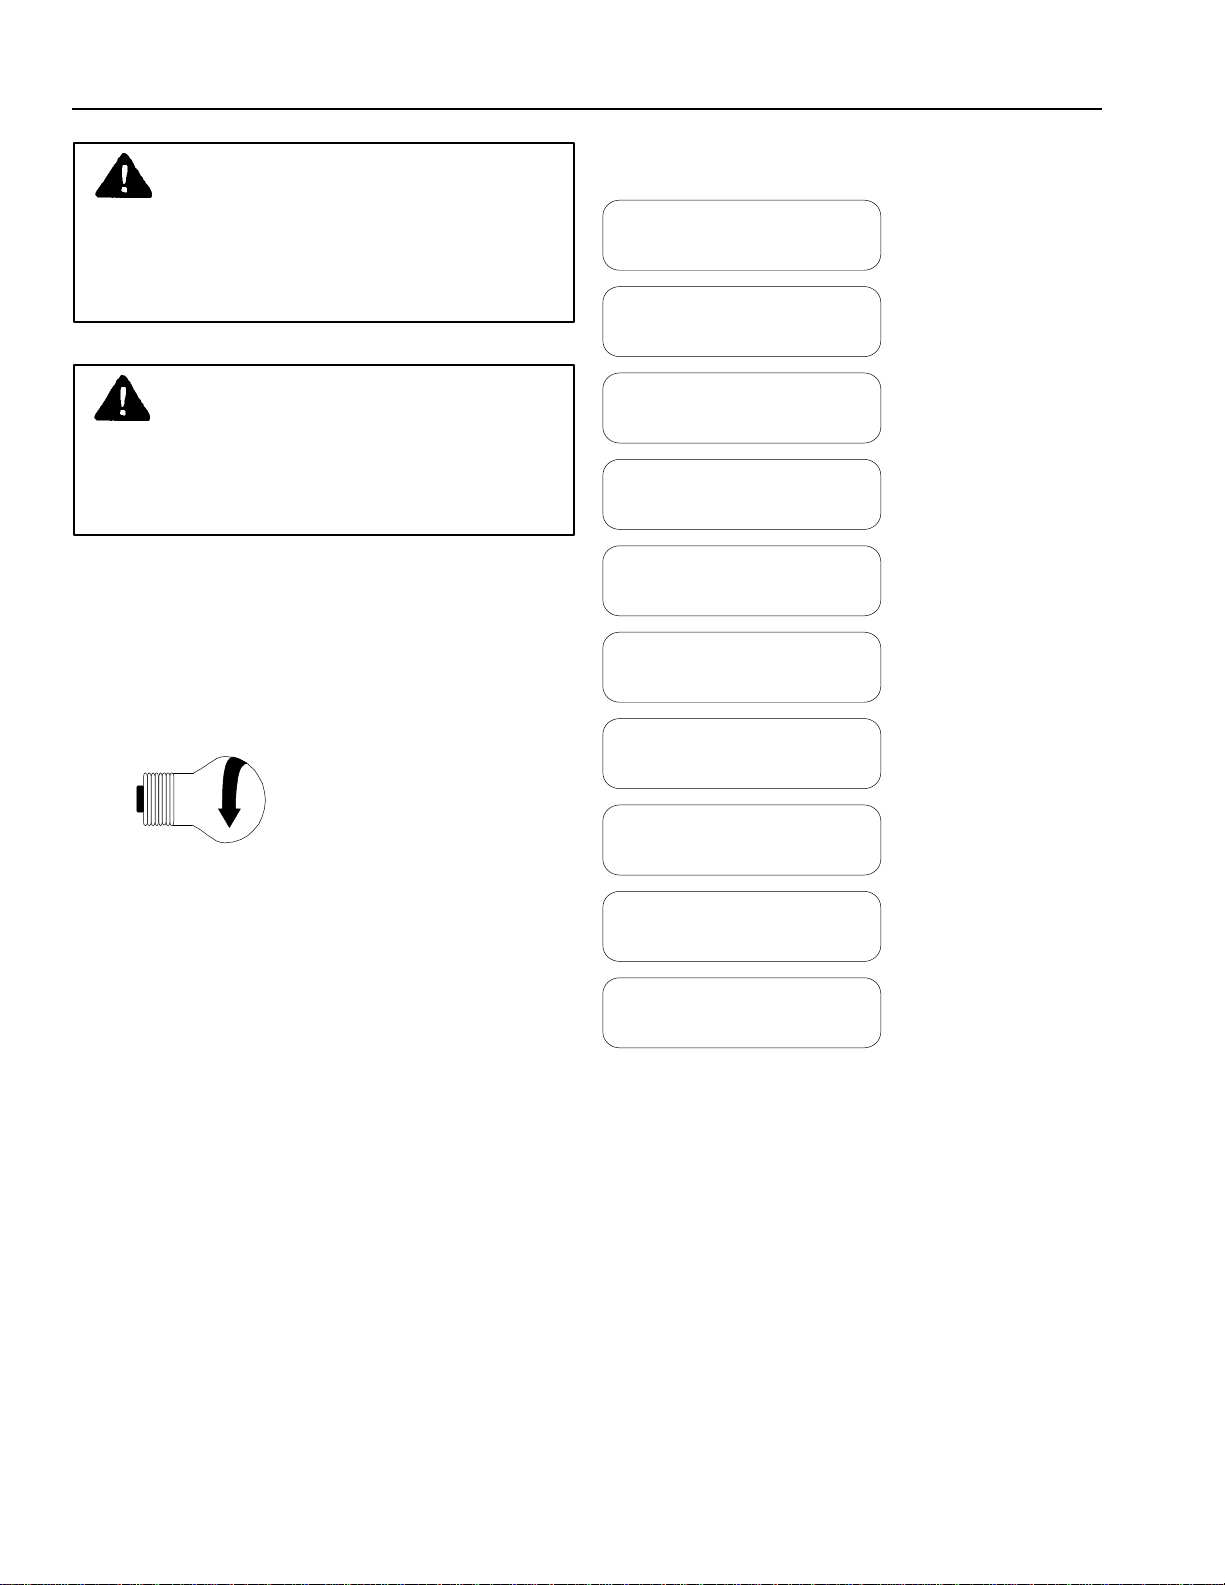
Toremovebulb,
turn in direction
shown.
Warning
Toavoidelectricalshockwhichcancausesevere
personalinjury ordeath, unplugpowercordoropen
circuitbreakertoovenbeforereplacinglightbulb.
Afterreplacinglightbulb,restorepower.
Caution
Toavoidpersonalinjuryorpropertydamage,observe
thefollowing:
1. Allow oven and light bulb to cool.
2. Weargloves when replacing lightbulb.
ToolsNeeded
• Protectivegloves
• Phillipsscrewdriver
• 40-watt,230-250voltappliancebulb(available
fromauthorizeddistributororservicer)
1. Removescrew from accesscover on top left
wallofovenexterior. Removeaccesscover.
2. Removeold bulb andreplace with new bulb.
3. Replaceaccess cover and screw by reversing
procedure in step 1.
Table of contents
Other Menumaster Oven manuals


