Mercedes-Benz E55 1996 User manual

Mercedes E55, E430,
E420, and E320 (W210)
1996 - 2002
Front Big Brake
Upgrade
98-560-1450-03 12/14/09

2
Mercedes E-Class Big Brake Kit
This is a representative photograph. The actual components
in your kit may appear slightly dierent.
1 pair of ST-40, 4 piston calipers sized specically for the Mercedes E-Class
1 set of high performance brake pads
1 pair of either 332 X 32mm rotors or 355 X 32mm rotors, mounted to anodized billet 7075-T6
aluminum hats, using oating drive pins and Inconel®anti-rattle hardware
1 pair of 6061-T6 aluminum caliper adapter brackets, with stainless steel mounting studs pre-
installed using thread locker.
4ea. 7/16-20 Jet Nuts
4ea. 12mm washers
1 pair of stainless steel covered Teon brake lines
1 pair of Banjo Bolts
2 pair of copper washers
1 pair of rubber end caps
1 Caplet of Loctite 262
This kit contains the following:

3
The customer is responsible for any squeal related problems due to pad
selection.
APPLICATION DISCLAMER
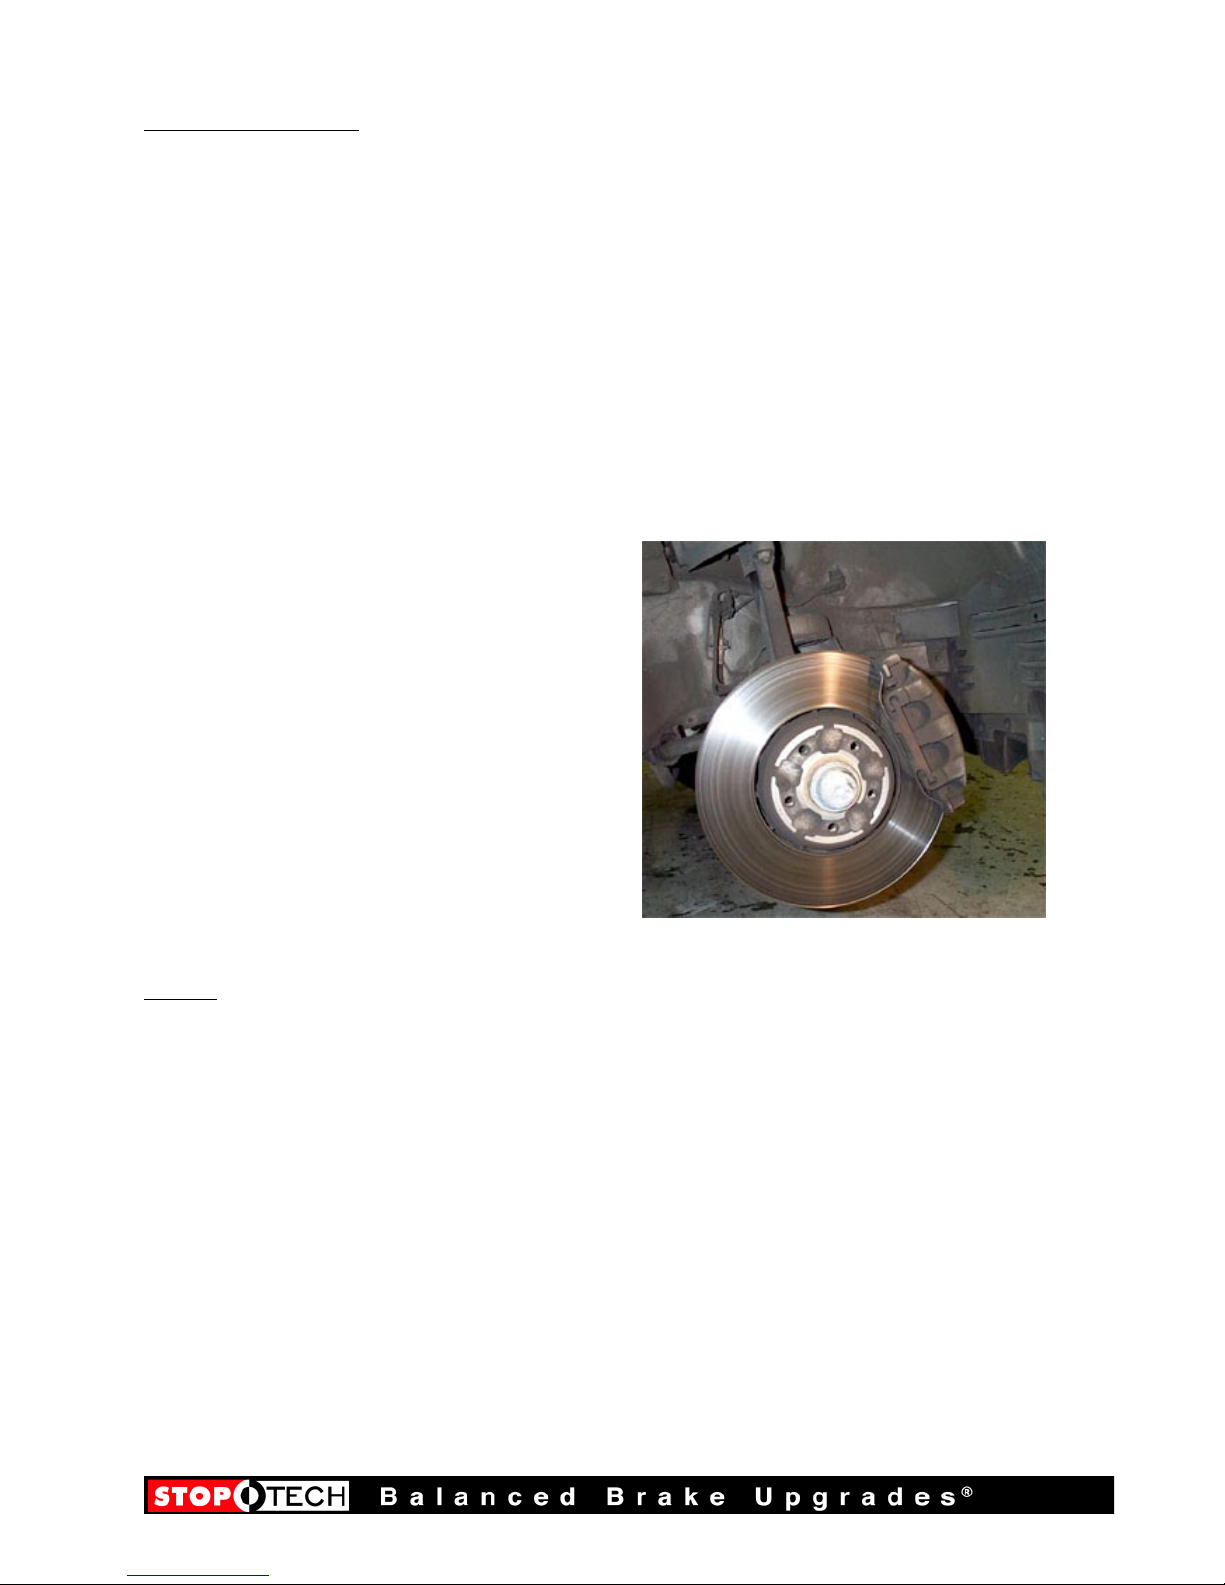
Most 17” wheels will clear the outer diameter of the caliper of the 332mm kit and most 18” wheels
will clear the 355mm kit. However, the more critical clearance is the gap between the spokes of the
wheel and the face of the caliper. Do not assume a 19, 20 or even 24 inch wheel will clear the face
of the caliper. A minimum distance of 60.3 mm, measured from the rotor face to the inside face of
the wheel spokes is needed for the 332mm kit and 60.3 mm for the 355mm kit. We recommend at
least 2mm of additional clearance. See the Brake Outline Drawing page on our website for more
specic measurements at www.stoptech.com.
Final tment of the wheel to the caliper is the responsibility of the customer.
Wheel Spacers
Wheel spacers can provide extra clearance to the outer face of the caliper. This will also space out
the entire wheel, widening the track width of the vehicle. Fender clearances should be checked on
lowered cars, and longer lug studs or wheel bolts are usually required. Note: The Wheel Industry
Council has issued guidelines advising wheel spacers not be used.
It is the responsibility of the customer to insure wheel spacers are properly
specied and installed.
Brake Vibration - THIS IS IMPORTANT!
The most common cause of brake vibration is improper bedding of pads and rotors or improper pad
selection for the specic driving environment. Rotor runout may also cause vibration, but precision
manufacturing and inspection typically means runout is not an issue. Double disc grinding insures
the rotor runout is within +/- 0.002” when installed on our aluminum hat and controls thickness
variation within 0.0003”. Under the most extreme conditions, any rotor may warp, but uneven pad
deposition is a more typical vibration cause. If the system is not properly bedded in, or street pads
are run on an open track, uneven pad deposits will occur causing an ever worsening vibration. Fail-
ure to immediately address a pad deposition/vibration issue may lead to permanent damage to the
rotors. Please read and understand the bed-in procedures included with this manual. If you have
any questions, please contact the StopTech Customer Service Department for assistance.
STOPTECH is not liable for vibrations caused by extreme usage or improper break-in
procedures.
Brake Noise
Certain brake pad compounds make more noise than others. Proper anti-squeal shim plates between
the caliper pistons and backing plate of the pad help reduce the problem. Anti-squeal lubricants
are also available to reduce some of the noise. The reality is, performance pads are more prone to
brake squeal.
Caliper Clearance

4
Important Notices
The AeroRotors supplied with this kit are coated with a water soluable, environmen-
tally friendly rust inhibitor. This coating MUST BE WASHED OFF WITH SOAP AND
WATER before installation. Brake cleaner is not as eective as soap and water. Even
if it doesn’t look as if anything is coming o the rotor, the rust inhibitor is there and
must be entirely cleaned. Rotors will quickly rust without protection. If the rotor is
not rusty, it’s still coated. After cleaning, you will see the rotor immediately start to
develop a slight rust color. This is normal and desirable as it indicates all the rust in-
hibitor has been removed.
Proper rotor and pad break-in is essential to the performance of your new brake system.
Failure to properly break-in the brakes will seriously impact how well they work and
how long they last. The number one cause of brake vibration is uneven pad material
deposition on the rotor. Proper break-in will greatly minimize such problems.
Follow the break-in procedures listed later in this manual as closely as possible.
Cleaning of Rotors:
Rotor and Pad Break-in:
Wheel Fitment:
Do not assume your wheels will t. An outline drawing of your StopTech Big Brake
kit is available on our website at http://www.stoptech.com. Measure the distance
from the outer face of your stock caliper to the inner face of your wheel spokes, or
make a template according to the instructions on the website and determine if a
wheel spacer may be necessary. DO THIS BEFORE YOU INSTALL YOUR KIT!
If you have any questions about wheel tment, rotor cleaning or
break-in of a particular pad type, please call our Customer Service
Department @ 310-218-1091 or you can e-mail directly to support@
stoptech.com

5
Mercedes E-Class Front Axle Kit
Safety Notice
Improper handling of a vehicle, especially while raised and supported by jack stands, ramps or other
mechanical means can cause serious bodily injury or even death. It is strongly recommended that
a trained, experienced mechanic, with proper equipment, install the Big Brake Kit as supplied by
StopTech . StopTech assumes no liability expressed or implied for the improper installation or use
of this product or its components.
Liability No Warranty
Automobile racing and performance driving, whether sanctioned or not, on or o the street, is dan-
gerous. Products used in such environments / applications are subject to stresses and conditions
outside of normal use, wear and tear. All equipment sold or provided by StopTech is sold WITHOUT
WARRANTY, EXPRESSED OR IMPLIED. No warranty or representation is made to the product’s ability
to protect the user from injury or death. The user assumes all risk. StopTech is NOT responsible for
any damage, consequential or otherwise for equipment failure or mal-performance after installa-
tion. Under no circumstance are we liable for labor charges or loss of use.
Tools and Equipment Required
Note: Some dierent models or years may use dierent size fasteners. Every eort has been taken
to
correctly identify the proper size tool for each job. Occasionally, the manufacturer may use an alter-
nate fastener. Check that each tool correctly ts the fastener before loosening or tightening.
18mm and 19mm sockets, 1/2”drive suggested
17mm wrench
14mm wrench or socket
12mm wrench or deep well socket
11mm wrench, are wrench suggested
11/16” wrench
1/2” socket
Torque wrenches capable of 10-85 ft/lb settings
5mm Allen (hex) wrench
T-40 Torx wrench
Needle nose or small regular pliers
Small drip tray or several rags
Small funnel
Brake bleed bottle
1 pair of jack stands or means of supporting vehicle
Plastic or non-marring mallet
Anti-seize
Please, believe us, it will be better to read and understand this ENTIRE Installation Manual,
including the included Break-in Procedures before starting the installation.
This manual suits for next models
26
Table of contents