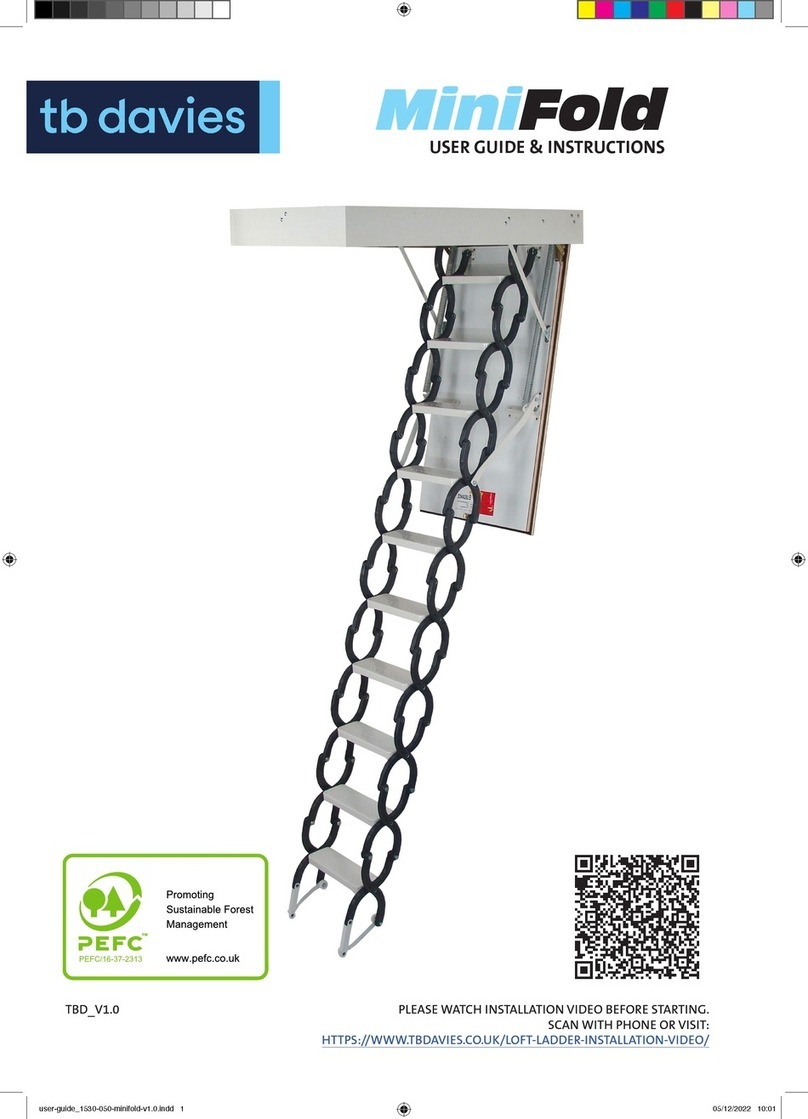
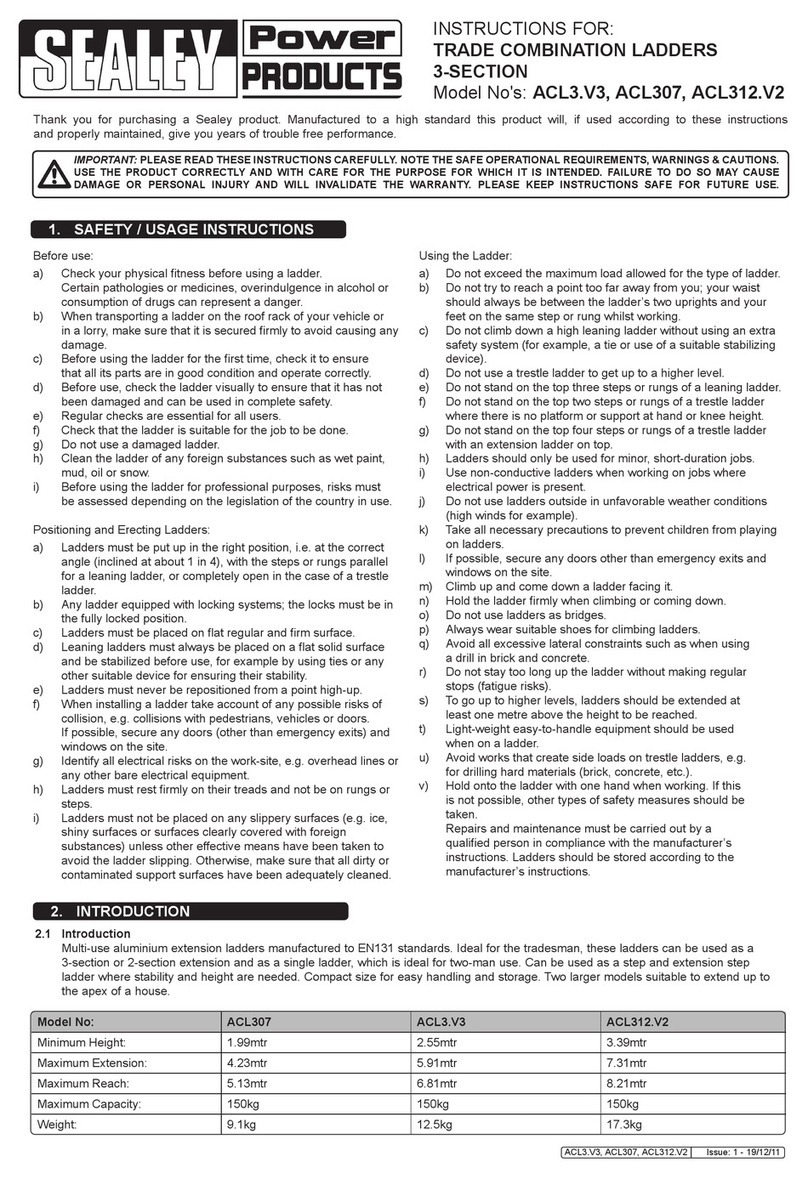
MetalTech E-LAD8T2 Jobsite series Guide

OPERATIONAL, SAFETY AND
MAINTENANCE INSTRUCTIONS
MODELS: E-LAD8T2 / E-LAD12T2 / E-LAD12SQ / E-LAD15T1
ENGLISH
FRANÇAIS
1YEAR
WARRANTY
READ THESE INSTRUCTIONS CAREFULLY BEFORE USING THIS PRODUCT.
KEEP THIS MANUAL HANDY FOR FUTURE REFERENCE.
Ladder may differ from actual product
IN-LAD-NA-03

2
All photos and drawings in this booklet are for reference purposes only. Refer to applicable codes and regulations for the proper use of this equipment.
OPERATIONAL AND SAFETY INSTRUCTIONS
FAILURE TO UNDERSTAND AND FOLLOW ALL SAFETY RULES AND OPERATIONAL
INSTRUCTIONS COULD RESULT IN SERIOUS INJURY OR DEATH.
METAL CONDUCTS ELECTRICITY:
Do not use this equipment where contact may be made with power lines or other live electrical circuits.
STEP 1: EXTENDING THE LADDER
1. Release the securing strap.
2. Extend ladder with latches facing user.
3. The ladder extends and locks in 1 ft (30 cm) increments.
4. Place ladder on firm and level surface.
5. Place your foot on the bottom rung to hold ladder in place.
6. With both hands, pull up on the couplings of the 3rd rung from the bottom.
7. Make sure that each rung is pulled up to its full extension and locks before attempting
to extend the next rung.
8. Extend desired number of rungs to achieve required height.
9. When the ladder is fully extended, do not stand or step on last top three rung
of the ladder.
TIP: To extend the ladder to its fullest height, pull-up on the top rung first, raising the rung to its full
extension, making sure it locks in place. Then continue with each remaining rung. Again making
sure that each rung locks in place before extending the next rung.
STEP 2: CLOSING THE LADDER
GREAT CARE SHOULD BE USED WHEN CLOSING LADDER. Do not place any part of your body
including hands, fingers or thumbs on, or between rungs or couplings above the closing rung.
1. The ladder closes and locks in 1 ft (30 cm) increments.
2. Grasp the ladder by the couplings below the rung that you are activating the latches.
3. Place thumbs on latches that you wish to disengage.
4. Place the rest of your hand below the coupling.
5. Simultaneously, push latches inward (towards each other) until the above
rung is lowered.
6. Repeat this operation with each rung.
STEP 3: CARRYING THE LADDER
Replace the “securing strap”. Grab the ladder by the grip handle located underneath the
2nd rung. Do not lift the ladder by the rungs. It may open and cause injury to the user and
damage the ladder as well.
SAFETY INSTRUCTIONS
Read all safety instructions before using the ladder.
When extending the ladder, make sure that the ladder is securely standing
on level, solid, slip free surface.
Improper hand or finger position may cause injury.
Lean ladder only with the top end of rungs against a firm structure, never against
the stiles. Doing this may cause stile damage and void the warranty.
Do not attempt to extend the ladder while climbing or standing on the ladder.
For your security group unused section at top for safe climbing.
If ladder becomes damaged, it may malfunction and should not be used.
Do not carry or use the ladder near electrical lines or equipments. The ladder
does conduct electricity.
Store ladder in a dry place to avoid moisture.
Do not use as a sawhorse.
Ladder is not designed for use in water or in the rain.
If ladder becomes wet, wipe immediately with a clean dry towel.
Attention: Winter condition may affect the retracting mechanisms.
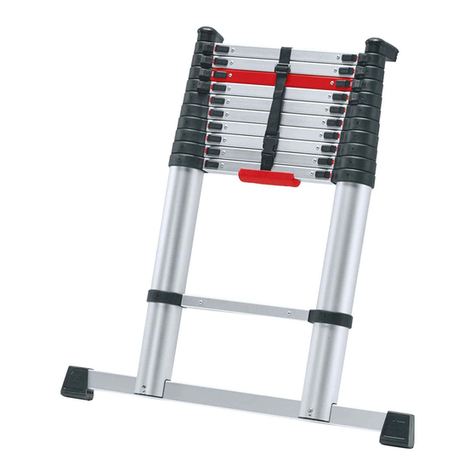
COMPONENTS OF A
TELESCOPIC LADDER
RUNG
STILE
LATCHES
GRIP HANDLE
RUBBER FOOT
SECURING STRAP
PLASTIC
COUPLING
IMPROPER HAND
OR FINGER
POSITION MAY
CAUSE INJURY.
FOR YOUR SECURITY
GROUP UNUSED
SECTION AT TOP FOR
SAFE CLIMBING.
OPERATIONAL INSTRUCTIONS

3
MAINTENANCE TIPS
HARD TO PUSH LATCHES
If the latches are hard to push, use a compressor or a compressed air duster to properly clean
the latches. Then, lubricate the latches (with a silicone based lubricant) with a forward/backward
movement. Dry lubricant with a dry cloth.
CLEAN LUBRICATE DRY
AIR
LUB
WET LADDER
If the ladder is wet or if there is water on the ladder, open the ladder to the maximum and, with a dry
cloth, absorb the water. It is recommended to let the ladder dry fully opened, on one side and then
on the other, with the ladder leaning against a wall.
DRY LET DRY TURN
OXIDIZED LADDER
If the ladder is oxidized (due to previous poor drying), there will be white residue on the stiles.
First, remove the spots with a dry cloth. Then, to ensure the ladder deploys and retracts correctly,
use a silicone based lubricant once the ladder is fully opened and dry it correctly. Wait a few minutes
and close the ladder. Never use a cleaner such at WD-40 – it will dry the internal mechanism
of your ladder.
CLEAN LUBRICATEEXTEND WD-40
WD-40
PAINT OR OTHER SUBTANCES STICKING TO STILES
If paint residues were left on the ladder, they must be removed using a slightly abrasive sponge.
Do not use steel wool since it might damage the opening/closing mechanism. After all residues have
been removed from the stiles, apply a lubricant as indicated in above section “Oxidized ladder”.
CLEAN LUBRICATE STEEL WOOL
ENGLISH

4
WWW.METALTECH.CO
1 800 363-7587
LAVAL, QUEBEC, CANADA H7L 3N6
EXTEND LUBRICATE OPEN & CLOSECLEAN
DIFFICULTY IN OPENING OR CLOSING THE LADDER
If it becomes hard to open or close the ladder. Fully extend the ladder, clean it, and lubricate the
stiles with a silicone based lubricant. If the rungs are jammed, use lubricant on every rung and close
the ladder for 15 to 20 minutes to let the lubricant penetrate the ladder. Then, open and close the
ladder to ensure the lubricant reaches every area of the ladder. Before storing the ladder, apply
lubricant to the stiles.
EXTEND DRY LUBRICATE
WINTER CONDITIONS
If the opening/closing of the ladder are affected by winter conditions, open the ladder in a dry area
until the stiles reach room temperature i.e. 18 to 21˚C. Ensure there is no humidity left on the stiles
and couplings. (if there is humidity or oxidation, please refer to section “Wet ladder” or “Oxidized
ladder”). Finally, with the ladder opened, lubricate all the stiles.
MAINTENANCE TIPS (CONTINUATION)
Metaltech is a registered trademark of Metaltech-Omega inc.
MADE IN CHINA
One Year Limited Warranty
Metaltech-Omega Inc. guarantees this product against any material defect. Please return this product, freight prepaid, to Metaltech-Omega
Inc.At its own discretion, Metaltech-Omega Inc. will replace or repair this product and return it within a reasonable time.This warranty does
not cover any damage(s) caused by any incorrect or inappropriate use, care or maintenance. Proof of purchase must accompany the return.
Customer Service: 1 800 363-7587
Our customer service staff is available to help you. For any help with the product, to report damaged or missing parts, or for any other
information about this product, please call our toll-free number.
KEEP THIS MANUAL FOR FUTURE REFERENCE
Keep this manual and the original sales invoice in a safe, dry place for future reference.

INSTRUCTIONS D’UTILISATION,
DE SÉCURITÉ ET D’ENTRETIEN
MODÈLES : E-LAD8T2 / E-LAD12T2 / E-LAD12SQ / E-LAD15T1
FRANÇAIS
ENGLISH
1AN
DE GARANTIE
LIRE SOIGNEUSEMENT CES INSTRUCTIONS AVANT D’UTILISER CE PRODUIT.
CONSERVER CE MANUEL À PORTÉE DE MAIN POUR RÉFÉRENCE ULTÉRIEURE.
L’échelle peut différer du produit réel

6
Toutes les photos et dessins de cette brochure sont à titre indicatif seulement. Reportez-vous aux codes et règlements applicables concernant l’utilisation correcte de cet équipement.
INSTRUCTIONS D’UTILISATION ET CONSIGNES DE SÉCURITÉ
LA NON-COMPRÉHENSION ET LE NON-RESPECT DE TOUTES LES RÈGLES DE SÉCURITÉ
ET D’UTILISATIONS PEUVENT ENTRAÎNER DES BLESSURES GRAVES OU MORTELLES.
LE MÉTAL EST CONDUCTEUR D’ÉLECTRICITÉ :
Ne pas utiliser cet équipement où il pourrait entrer en contact avec une ligne électrique ou une source de courant.
ÉTAPE 1: DÉPLOIEMENT DE L’ÉCHELLE
1. Détacher la courroie de sécurité.
2. Lors du déploiement de l’échelle, les loquets doivent faire face à l’utilisateur.
3. L’échelle se déploie et se vérouille par incrémentations de 1 pi (30 cm).
4. Placer l’échelle de niveau sur une surface dure et horizontale.
5. Placer un pied sur l’échelon du bas pour maintenir l’échelle en place.
6. Déployer l’échelle à partir du troisième échelon du bas.
7. S’assurer que chaque échelon est bien déployé et qu’il est bien verrouillé avant de
déployer l’échelon suivant.
8. Déployer le nombre d’échelons désirés afin de parvenir à la hauteur requise.
9. Une fois l’échelle déployée au maximum, ne vous placez pas ou ne montez pas sur les
3 échelons supérieurs de l’échelle.
ASTUCE: Pour déployer l’échelle au maximum, commencer par déployer l’échelle par le haut en vous
assurant que chaque échelon est verrouillé et en place avant d’enclencher le suivant.
ÉTAPE 2 : RÉTRACTER L’ÉCHELLE
FAIRE ATTENTION EN RÉTRACTANT L’ÉCHELLE. Prenez garde à vos doigts, ne laissez aucune
partie de votre corps, y compris les doigts ou les mains, entre les échelons lorsque vous
rétractez l’échelle.
1. L’échelle se rétracte et se vérouille par incrémentations de 1 pi (30 cm).
2. Saisir l’échelle par les couplages au-dessous de l’échelon dont vous activez
les loquets.
3. Placer les pouces sur les loquets que vous désirez dégager.
4. Placer le reste de votre main sous le couplage de plastique de l’échelon.
5. Pousser simultanément les loquets vers l’intérieur (l’un vers l’autre) jusqu’à
ce que l’échelon supérieur s’abaisse.
6. Répéter cette opération avec chaque échelon.
ÉTAPE 3: TRANSPORT DE L’ÉCHELLE
Replacer la courroie de sécurité. Prendre l’échelle par la poignée de saisie située sur le
deuxième échelon. Ne pas soulever l’échelle par les échelons, elle pourrait s’ouvrir et
s’endommager ou causer des blessures.
CONSIGNES DE SÉCURITÉ
Lire toutes les instructions de sécurité figurant sur l’échelle ainsi que le présent document
avant d’utiliser l’échelle.
En déployant l’échelle, s’assurer qu’elle est posée de niveau sur une surface horizontale,
dure et sans risque de dérapage.
Un mauvais positionnement des mains ou des doigts peut entraîner des blessures.
Ne pas déployer l’échelle par effet de gravité.Cette action pourrait endommager le mécanisme.
Afin d’éviter tout bris du mécanisme de déploiement de l’échelle, celle-ci doit être appuyée
contre une structure ferme au niveau d’un échelon, jamais contre les montants. Une telle
opération pourrait endommager le montant.
Ne cherchez pas à déployer l’échelle en montant ou en étant dans l’échelle,.
Pour votre sécurité, groupez les barreaux inutilisés dans la section supérieure de l’échelle.
Ne pas utiliser une échelle endommagée.
Ne pas transporter ou utiliser une échelle près de câbles ou de matériel électrique;
cette échelle est conductrice d’électricité.
Ranger l’échelle dans un lieu sec afin d’éviter la détérioration des mécanismes.
Ne pas utiliser l’échelle comme chevalet ou plateforme.
Cette échelle n’est pas conçue pour être utilisée dans l’eau ou sous la pluie.
Attention: La fermeture de l’échelle peut être affectée lors de conditions hivernales.
COMPOSANTES D’UNE
ÉCHELLE TÉLESCOPIQUE
ÉCHELON
MONTANT
LOQUETS
POIGNÉE DE SAISIE
PIED EN CAOUTCHOUC
COURROIE
DE SÉCURITÉ
COUPLAGE
DE PLASTIQUE
UN MAUVAIS
POSITIONNEMENT
DES MAINS OU
DES DOIGTS PEUT
ENTRAÎNER
DES BLESSURES.
POUR VOTRE
SÉCURITÉ, GROUPEZ
LES BARREAUX
INUTILISÉS DANS
LA SECTION
SUPÉRIEURE
DE L’ÉCHELLE.
INSTRUCTIONS D’UTILISATION

7
CONSEILS D’ENTRETIEN
LOQUETS DIFFICILES À POUSSER
Si les loquets sont difciles à pousser, nettoyez-les à l’aide d’un compresseur ou d’un dépoussiéreur
à gas comprimé. Lubrier ensuite les loquets (lubriant à base de silicone) en exécutant un mouvement
de va et vient. Essuyer l’excédent avec un linge sec.
NETTOYER LUBRIFIER ESSUYER
AIR
LUB
ÉCHELLE MOUILLÉE
Si l’échelle a été mouillée ou partiellement mouillée, déployez l’échelle entièrement et à l’aide
d’un linge sec, essuyez les parties humides. Par la suite, il est recommandé de laisser sécher
l’échelle déployée, contre un mur, à l’endroit et à l’envers.
ESSUYER SÉCHER TOURNER
ÉCHELLE OXYDÉE
Si l’échelle est oxydée (l’oxydation résultant d’un mauvais séchage), il y aura des résidus blanchâtres
sur les montants. Éliminez les résidus en frottant vigoureusement les montants avec un linge sec.
Pour assurer la rétractabilité et le déploiement de l’échelle, appliquer généreusement un lubriant
à base de silicone une fois l’échelle complètement déployée et essuyer l’excédent. Attendre quelques
minutes et refermer l’échelle. Ne jamais utiliser un nettoyant de type WD-40 car celui-ci aurait pour
effet d’assécher le mécanisme interne de votre échelle télescopique.
NETTOYER LUBRIFIERDÉPLOYER WD-40
WD-40
RÉSIDUS DE PEINTURE OU SUBSTANCE ADHÉRANT AUX MONTANTS
Si des résidus de peinture ont été laissés sur l’échelle, ils doivent être enlevés à l’aide d’une éponge
légèrement abrasive. La laine d’acier n’est pas recommandée puisqu’elle laissera des résidus d’acier
qui risque d’endommager le mécanisme interne lors de la fermeture de l’échelle. Après avoir enlevé
tous résidus de peinture sur les tubes verticaux, appliquer du lubriant comme indiqué dans la section
«Échelle oxydée ».
NETTOYER LUBRIFIER LAINE D’ACIER
FRANÇAIS

8
IN-LAD-NA-03
Metaltech est une marque déposée de Metaltech-Omega inc.
FABRIQUÉ EN CHINE
Garantie limitée de 1 an
Metaltech-Omega inc. garantit ce produit contre toute défectuosité matérielle ou de fabrication. Retourner ce produit à Metaltech-Omega
inc. port payé. Metaltech-Omega inc. s’engage à réparer ou à remplacer, à sa discrétion, ce produit gratuitement et vous le retourner dans
un délai raisonnable. Cette garantie ne couvre pas les dommages causés par un entretien incorrect ou inadéquat ou un usage abusif. Une
preuve d’achat doit accompagner le retour.
Service à la clientèle: 1 800 363-7587
Notre personnel du service à la clientèle est disponible pour vous assister. Que ce soit pour signaler une pièce manquante ou
endommagée, ou pour toute autre information à propos de ce produit, s’il vous plaît, composez notre numéro sans frais.
CONSERVER CE MANUEL POUR RÉFÉRENCE ULTÉRIEURE
Gardez ce manuel et la facture d’achat originale dans un endroit sec et sûr pour référence ultérieure.
DÉPLOYER LUBRIFIER OUVRIR & FERMERNETTOYER
OUVERTURE ET FERMETURE DIFFICILE
Si l’ouverture et la fermeture sont difciles. Ouvrir l’échelle au complet et lubrier tous les montants
avec un lubriant à base de silicone. Si les échelons demeurent coincés, appliquer du lubriant entre
chaque échelon et refermer l’échelle de 15 à 20 minutes le temps de laisser pénétrer le produit. En-
suite, ouvrir et fermer l’échelle pour faire circuler le produit entre tous les échelons. Avant de refermer
l’échelle jusqu’à sa prochaine utilisation, appliquer un peu de lubriant sur tous les montants.
DÉPLOYER SÉCHER LUBRIFIER
MÉCANISME AFFECTÉ LORS DE CONDITIONS HIVERNALES
Si la fermeture ou l’ouverture de l’échelle sont affectés par l’utilisation en condition hivernale, mettre
l’échelle complètement déployée dans un endroit sec jusqu’à ce que les montants soient de la même
température que la pièce (18 à 21°C). S’assurer qu’il ne reste plus d’humidité sur les montants
et dans les couplages. S’il y a trace d’humidité ou d’oxydation, se référer à la section « Échelle
mouillée et ou Échelle oxydée». Finalement, lubrier l’échelle déployée sur chacun des montants.
CONSEILS D’ENTRETIEN (SUITE)
WWW.METALTECH.CO
1 800 363-7587
LAVAL, QUEBEC, CANADA H7L 3N6
This manual suits for next models
3
Table of contents
Languages:
Other MetalTech Ladder manuals
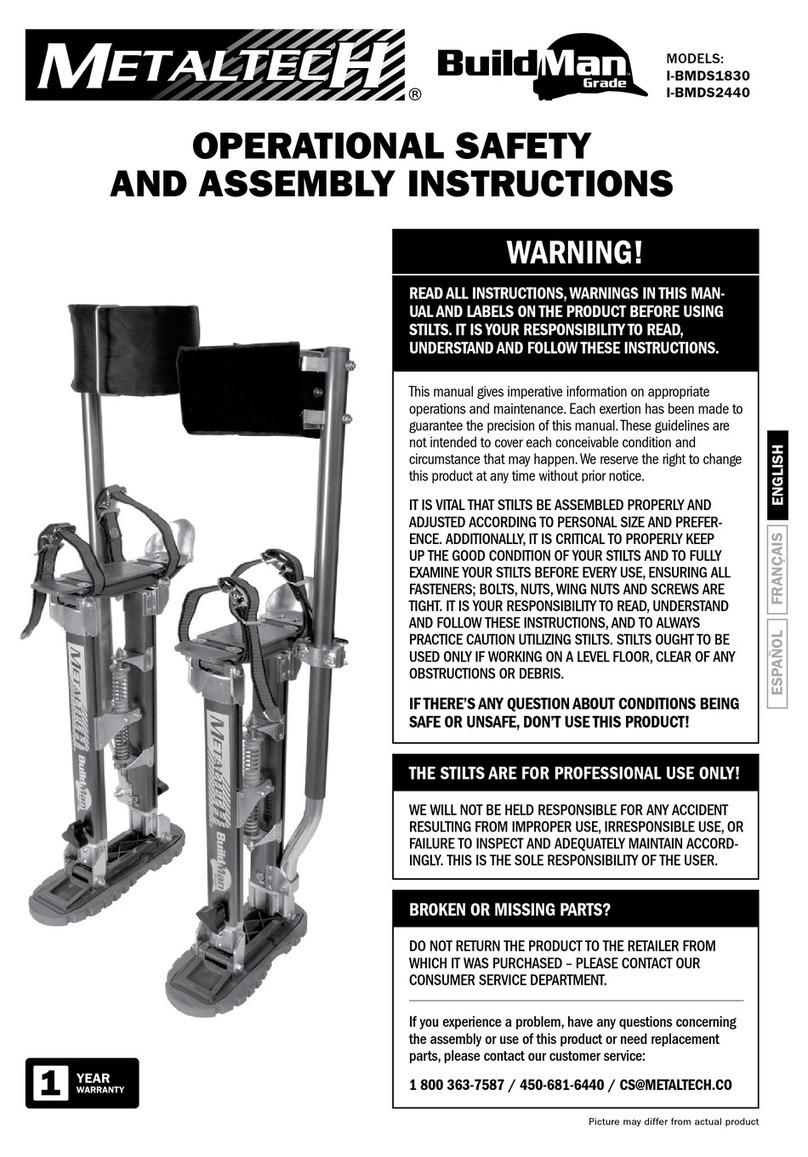
MetalTech
MetalTech BuildMan I-BMDS1830 User manual
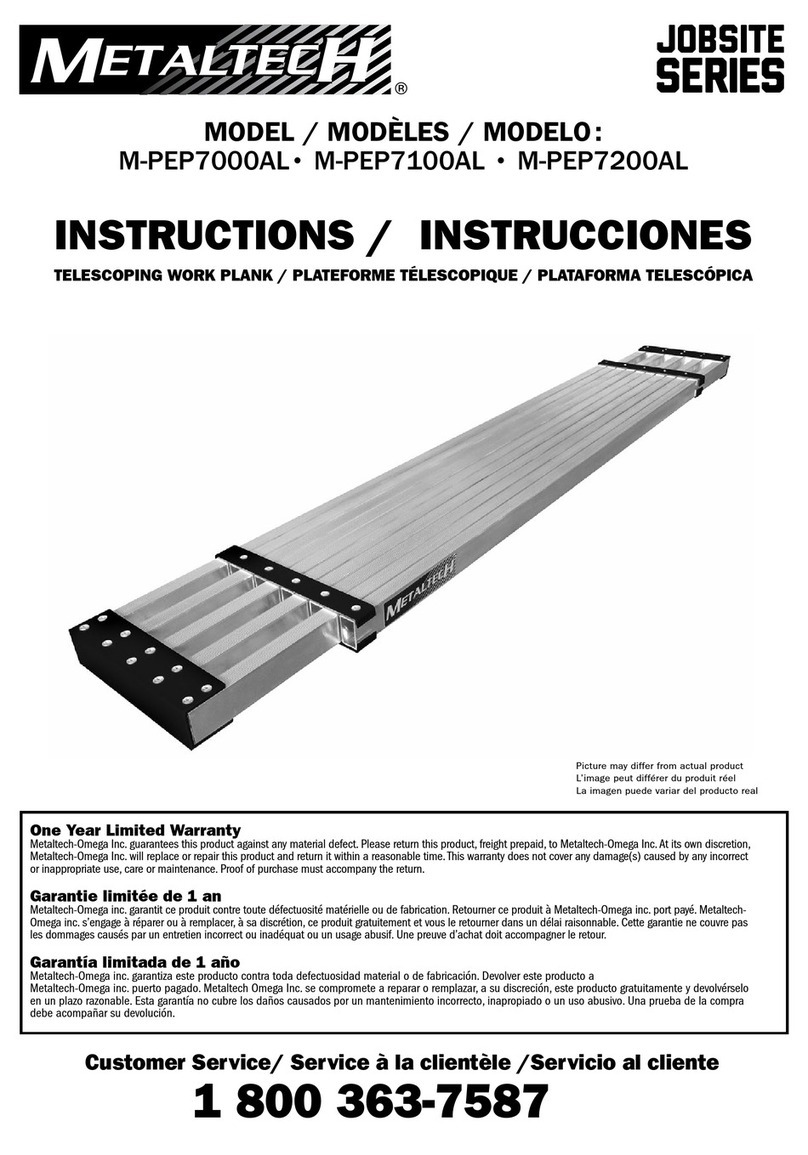
MetalTech
MetalTech Jobsite series User manual
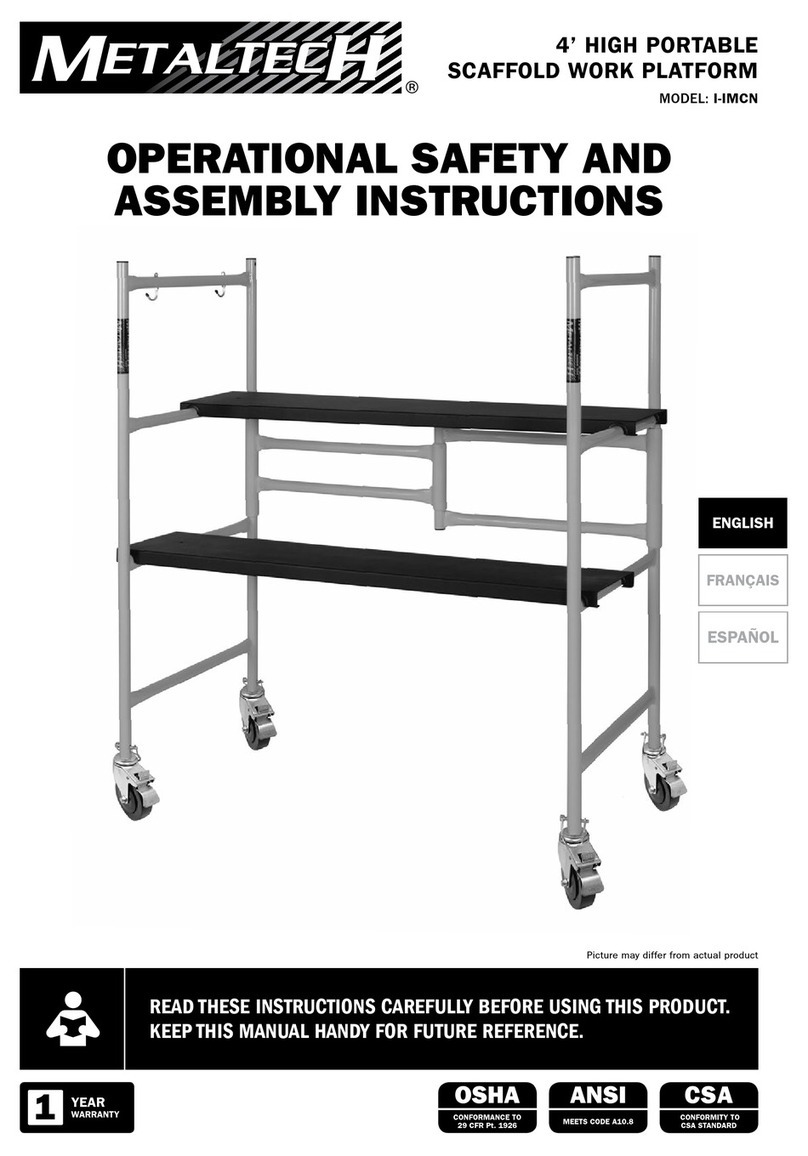
MetalTech
MetalTech I-IMCN User manual
MetalTech
MetalTech I-IMAC Alu series User manual

MetalTech
MetalTech I-IMCNAT Jobsite Series User manual
MetalTech
MetalTech I-IBBF4 Jobsite Series User manual
MetalTech
MetalTech ScaffLock I-ISL User manual
MetalTech
MetalTech I-IREX3 User manual
MetalTech
MetalTech I-CAIRC Alu series User manual
MetalTech
MetalTech I-SBC User manual


