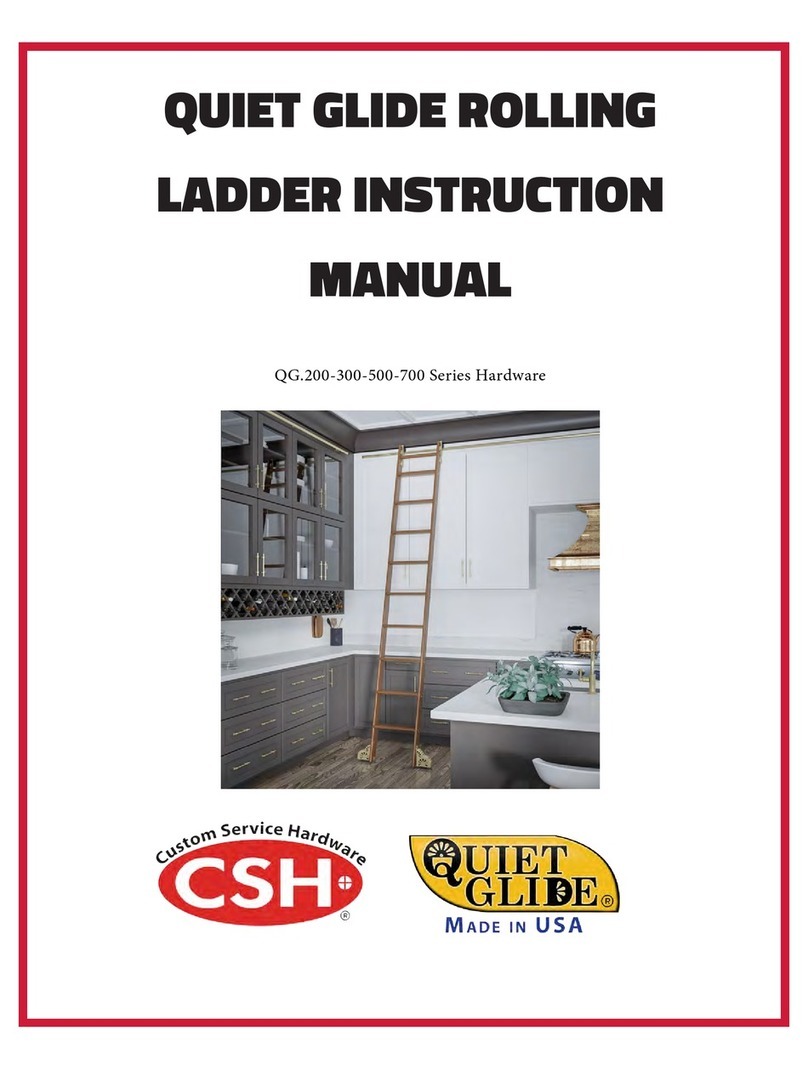
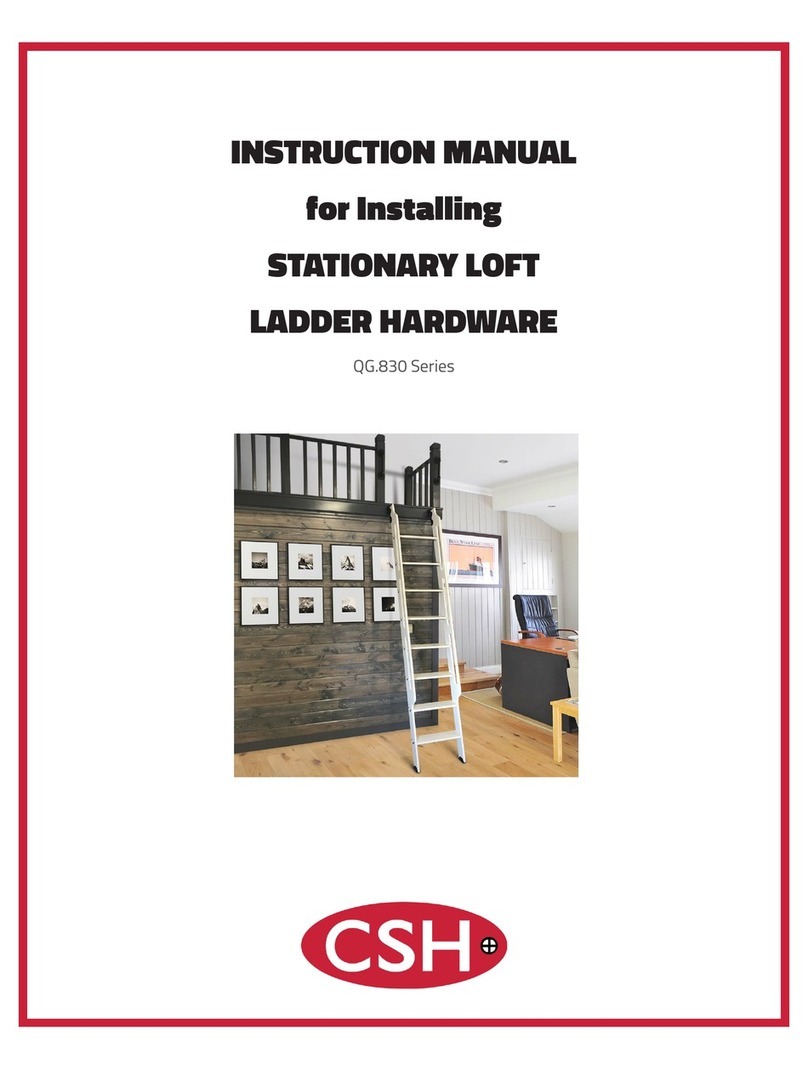
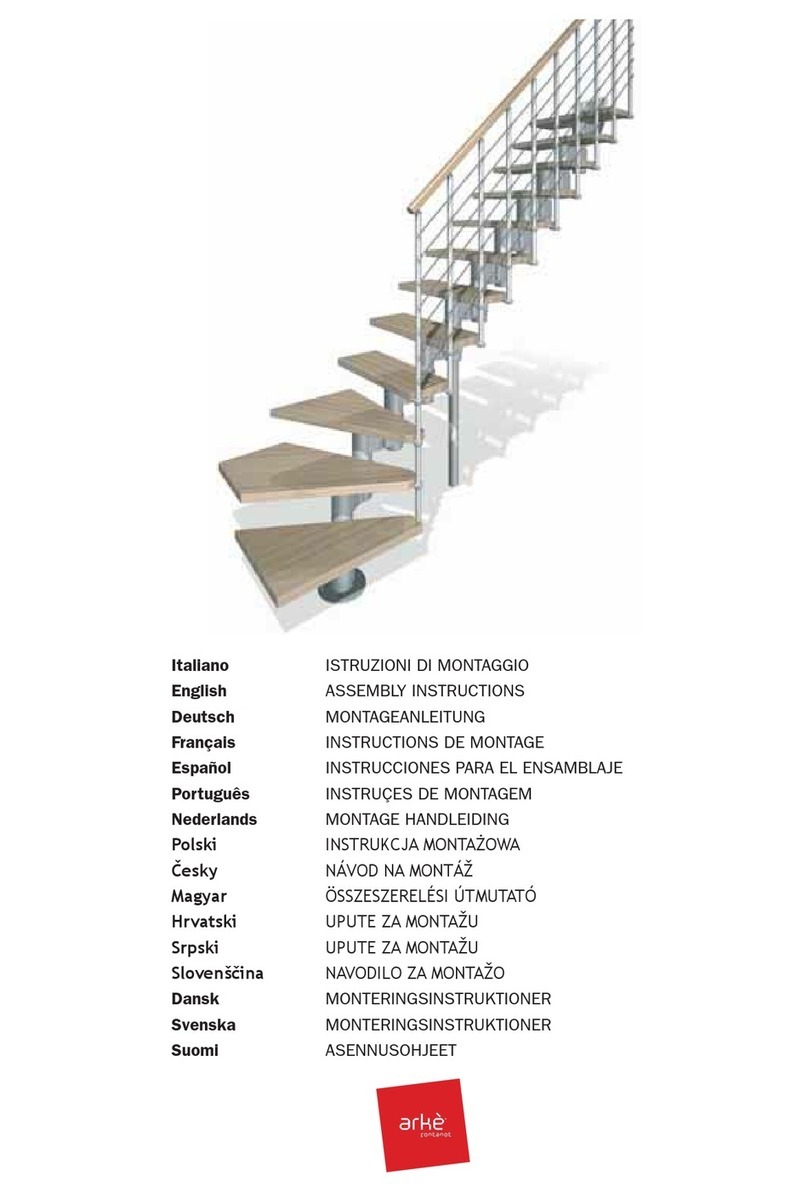
CSH PUTNAM User manual

INSTRUCTION MANUAL
for Installing
NO.1 PUTNAM ROLLING
LADDERS AND HARDWARE
PL.210, PL.230 (Top Guide Assemblies)
PL.270-S, PL.270-C (Bottom Wheel Assemblies)

Hardware Kits vary. See Page 10 for different hardware components.
2
Instruction Manual for No.1 Putnam Rolling
Ladders and Hardware
Step 1: Rail Installation
Special application notes/cautions:
• Leave at least 7” of clearance between
the center of the rail and the ceiling, crown
molding or other overhanging protrusions
when the ladder is in the stored position
(close to the wall/cabinet/bookshelf). In the
climbing position, a minimum 3” clearance
between the center of the rail and any upper
cabinet doors is required to be able to open
the upper cabinet doors (see figure 1).
• Do not mount rail brackets directly onto a
drywall surface. Always mount these brackets
to solid wood, pre-drilling the holes in the
wood is advisable to avoid splitting the wood.
• Do not use rail brackets as a splice between
2 rails (instead, use the supplied wooden
dowels for this purpose)
• Do not use hook-style ladder hardware with
curved rails.
1. Establish the height where the center of the rail is to be installed, then mark the
location where the mounting bracket will be located. Verify with a quality leveling
device that the horizontal locations of the brackets are level and true.
Figure 1
2
Instruction Manual for Installing E-Glide Ladder Hardware
Hardware Included:
Step 1: Rail Installation
Special application notes:
• Do not mount rail brackets directly onto a drywall
surface. Always mount these brackets to solid
wood, predrilling the holes is advisable to avoid
splitting the wood.
• Clearance requirements:
• Ladder in the stored position (close to the
wall/cabinet/bookshelf). Leave at least
2 ½” of clearance between the top of the
rail and the ceiling, crown molding or other
overhanging protrusions (figure 1).
• Ladder in the climbing position, a minimum 1”
clearance between the top of the rail and any
upper cabinet doors is required to be able to
open these doors (figure 2).
Figure 1 Figure 2
Installation Tools Needed:
Pre installation-
TOOLS REQUIRED
2
x4
x4
x1 x7
x28
H
x1 x1
x1
x14
x2 x2
M5x18
x2
M6x30
(x1)
2mm 4mm
(x1)
3mm
A
x2
B
x1
C
DEF
G
x2
x7
x4
HARDWARE INCLUDED
1. Rail height determination: Distance from the floor to the location on the header board
where the screw for the rail bracket will be fastened.
• For the 92” ladder = 88 1/4” to 89 1/4”
• For the 107” ladder = 103 1/4” to 104 1/4”
5/16” Drill Bit
10mm Wrench
Drill
Tape
Measure
Level
#2 Phillips
Screwdriver
Stored Position Climbing Position
Pre installation-
TOOLS REQUIRED
2
x4
x4
x1 x7
x28
H
x1 x1
x1
x14
x2 x2
M5x18
x2
M6x30
(x1)
2mm 4mm
(x1)
3mm
A
x2
B
x1
C
DEF
G
x2
x7
x4
HARDWARE INCLUDED
Pre installation-
TOOLS REQUIRED
2
x4
x4
x1 x7
x28
H
x1 x1
x1
x14
x2 x2
M5x18
x2
M6x30
(x1)
2mm 4mm
(x1)
3mm
A
x2
B
x1
C
DEF
G
x2
x7
x4
HARDWARE INCLUDED
Pre installation-
TOOLS REQUIRED
2
x4
x4
x1 x7
x28
H
x1 x1
x1
x14
x2 x2
M5x18
x2
M6x30
(x1)
2mm 4mm
(x1)
3mm
A
x2
B
x1
C
DEF
G
x2
x7
x4
HARDWARE INCLUDED
Pre installation-
TOOLS REQUIRED
2
x4
x4
x1 x7
x28
H
x1 x1
x1
x14
x2 x2
M5x18
x2
M6x30
(x1)
2mm 4mm
(x1)
3mm
A
x2
B
x1
C
DEF
G
x2
x7
x4
HARDWARE INCLUDED
Pre installation-
TOOLS REQUIRED
2
x4
x4
x1 x7
x28
H
x1 x1
x1
x14
x2 x2
M5x18
x2
M6x30
(x1)
2mm 4mm
(x1)
3mm
A
x2
B
x1
C
DEF
G
x2
x7
x4
HARDWARE INCLUDED
Pre installation-
TOOLS REQUIRED
2
x4
x4
x1 x7
x28
H
x1 x1
x1
x14
x2 x2
M5x18
x2
M6x30
(x1)
2mm 4mm
(x1)
3mm
A
x2
B
x1
C
DEF
G
x2
x7
x4
HARDWARE INCLUDED
Pre installation-
TOOLS REQUIRED
2
x4
x4
x1 x7
x28
H
x1 x1
x1
x14
x2 x2
M5x18
x2
M6x30
(x1)
2mm 4mm
(x1)
3mm
A
x2
B
x1
C
DEF
G
x2
x7
x4
HARDWARE INCLUDED
Pre installation-
TOOLS REQUIRED
2
x4
x4
x1 x7
x28
H
x1 x1
x1
x14
x2 x2
M5x18
x2
M6x30
(x1)
2mm 4mm
(x1)
3mm
A
x2
B
x1
C
DEF
G
x2
x7
x4
HARDWARE INCLUDED
Pre installation-
TOOLS REQUIRED
2
x4
x4
x1 x7
x28
H
x1 x1
x1
x14
x2 x2
M5x18
x2
M6x30
(x1)
2mm 4mm
(x1)
3mm
A
x2
B
x1
C
DEF
G
x2
x7
x4
HARDWARE INCLUDED
Pre installation-
TOOLS REQUIRED
2
x4
x4
x1 x7
x28
H
x1 x1
x1
x14
x2 x2
M5x18
x2
M6x30
(x1)
2mm 4mm
(x1)
3mm
A
x2
B
x1
C
DEF
G
x2
x7
x4
HARDWARE INCLUDED
x2 x2
3/8”
#3 Philips bit
8
114-116”
(10’ ladder)
102-104”
(9’ ladder)
Distance from wall
(ladder in climbing position)
31”
90-92”
(8’ ladder)
47”
7”
45°angle
(approximately)
5” radius
Stock
= 1-1/4” x 1-1/4”
with 3/16” radius corners
5/8” radius ends
2- Predrilled holes 17/64”
2-1/8”CC on each end
located 3/4” from end
47”
7”
2-1/8”CC
3/4”
6-1/2”
4” CC
5-1/2”
5-1/2”
1-3/4”
2-1/8” dia
Top Roller
7/8”
6-1/2”
4” CC
5-1/2”
4” 1-3/4”
Rolling Hook
2-1/2” 2” dia
7/8”
8-1/4”
6-1/8”
Brake Wheel 1-3/4”
7/8”
8-1/4”
6-1/8”
Brake Wheel
1-3/4”
7/8”
8”
5-7/8”
Standard Wheel 1-3/8”
7/8”
8”
5-7/8”
Standard Wheel 1-3/8”
7/8”
5”
5-3/8”
Contemporary Wheel
1-7/16”
7/8”
5”
5-3/8”
Contemporary Wheel
1-7/16”
7/8”
3”
Non - Skid Foot
1-1/4
6-1/2”
4” CC
5-1/2”
5-1/2” 1-3/4”
Top Swivel Roller
7/8”
Top Ladder Clearance
Rail Height and Distance for 8’, 9’, 10’ standard ladders
Hand Rail Dimensions
TOP LADDER HARDWARE BOTTOM LADDER HARDWARE
* Designed For Loft Applications
6-1/2”
4” CC
5-1/2”
3-7/8”
1-3/4”
Adjustable Hook
7/8”
*
4-13/16”
1-3/16”
4-13/64”
3-5/16”
27/32”
Double Hook 53/64”
*
*also comes
available as a
Brake Wheel
(measurements
are the same)
*

3
3. Install rail brackets
a. For vertical brackets (PL.14 series): Drive the brackets into the slotted rail and
align them with the vertical uprights/stiles on the shelving unit. Mark the fastener
locations and pre-drill the holes in the wood to avoid splitting. Secure the brackets
using the supplied screws (be sure to use the tapped and threaded brackets for
the ends of the rails,
(see vertical brackets below
).
Wooden dowel Rail
2. Splice the sections of rails
together using the supplied
wooden dowels. Do not put
rail brackets in the area where
the splices will be located
(see
figure 2)
.
b. For horizontal brackets (PL.27 series): Separate the bracket and fasten the back
plate to the shelving unit or horizontal trim board in the desired location, no more
than 36” from center to center (pre-drill the holes in the wood to avoid splitting).
Drive the bracket fronts into the track and align with the mounted backs, then
reassemble the brackets with the rail attached (use the left and right brackets
with the attached end caps for the ends of the rails).
To install a PL.210 roller type ladder onto the rail when using the horizontal brackets:
• Separate one of the outside brackets with end cap attached.
• Slide the front portion of the bracket off the rail.
• Install ladder onto the rail and reinstall the end bracket.
PL.14
PL.27
Vertical Brackets
PL.14H
PL.27H
Figure 2
Horizontal Brackets
Left/Right
End Bracket
(Non-handed)
Left and Right
End Brackets
(Handed)
Adjustable
Bracket
Adjustable
Bracket
Vertical Hook
Bracket
Horizontal
Hook Bracket

4
Step 2: Ladder Assembly (if applicable)
It is recommended that the unfinished ladder rail sides and steps are lightly hand sanded with a
220 grit sanding pad just prior to finishing the ladder (stain, paint, clear coat sealer).
It is also much easier to finish the ladder prior to assembly.
1. Stand on edge one of the ladder side rails on a flat surface, dados facing away from you.
2. Insert one of the steps into the dado, aligning the compound miter of the step flush with
the dadoed surface of the side rail. If not flush, flip and/or rotate the step until it lines up
properly with the side rail
(see the following page)
.
c. For the Corner Brace/Bracket (PL.40CRVBKT series) used in conjunction with the 90º, 30” radius curved rails
(see diagrams below)
• Install the Corner Brace/Bracket by measuring from the inside corner of the 90-degree trim boards out 23 ¼” for
both sides.
• Attach the brace to the shelving unit at the desired height from the floor.
• Remove the top piece on the horizontal rail bracket that is attached to the Corner Brace.
• On the curved rail, mark the halfway point on the rail, this is where the horizontal bracket on the corner brace will
be located.
• On the trim, measure from the inside corner out approximately 42” on both sides, this will be the location of the
two additional rail brackets.
• Follow Steps 3a or 3b above to install these additional rail brackets.
• Reattach the center rail bracket and add two additional brackets towards each end of the curved rail, secure
these brackets to the shelving unit.
• Additional rails can then be added to the curved rail as needed by using the wooden dowel to connect them.
PUTNAM
ROLLING LADDER CO. INC
CORNER BRACE ASSEMBLY
No. 27
Bracket
MACHINE
SCREW
MACHINE
SCREW
WOOD
SCREW
WOOD
SCREW
NUT
NUT
WASHER
WASHER
PUTNAM
ROLLING LADDER CO. INC
CORNER BRACE INSTALLED W/ 90° CURVED RAIL
BRACKET
BRACKET
WALL/SHELVING
UNIT
CORNER
BRACE
ASSEMBLY
EQUAL
(APPROX.
23-1/4”)
EQUAL
(APPROX.
23-1/4”)
APPROX.
45-1/2”
TO END OF
CURVED RAIL
APPROX. 45-1/2”
TO END OF
CURVED RAIL
APPROX.
42” TO
CENTER OF
BRACKET
APPROX.
42” TO CENTER OF
BRACKET

5
6. Install the Truss Rods
a. Drive in the threaded insert using a rubber mallet
(see figure 4)
.
b. Slide the threaded rod through the hole in the ladder side rail and tighten with a
⅜” socket or open-end wrench.
3. Using the supplied #14 x 2½” round-head screws, secure the step to the side rail
through the predrilled holes on the side rails. Assemble the remaining steps in the
same manner
(see figure 3a)
.
4. Once all the steps are assembled onto one of the side rails, position the side rail on
its side with the steps pointing up and insert the top turned rung
(see figure 3b)
.
5. Properly align each step as well as the top turned rail into its corresponding dado/
hole, use the supplied screws to fasten the steps into place
(see figure 3c)
.
Incorrect Correct
Figure 4a
Figure 3a
Figure 4b
Figure 3b
Figure 4c
Figure 3c

6
Step 3: Attaching the Hardware to the Ladder
1. Install the upper roller and hook assemblies (Straight Side Rails).
a. Center the upper assembly around the top turned dowel. Measure down from the
top of the ladder to the top of the Upper Assembly hardware (approx. 1½”). This
measurement should be the same on both wood side rails
(see figure 5)
.
PLEASE NOTE:
Pre-drilling is essential to prevent splitting the wood.
~1½”~1½”
2. Install the upper roller and hook
assemblies (Top Bent Side Rails).
a. See diagram for location of the
upper assembly hardware.
1. Using a Vix bit or similar self-
centering drill guide, drill a pilot hole
into the edge of the ladder for the
(2) #10 x ¾” Flat-head, Phillips-
drive screws and secure each Upper
Assembly to the top of the ladder
(see figure 6)
.
Figure 6a Figure 6b Figure 6c
Figure 5a Figure 5b

7
b. Mark the location of the “U” bracket on the bottom of the ladder, this will be
approximately 2” in from the front of the rail. At the same time, mark the location
on the side of the ladder for the top and middle mounting holes of the bottom
wheel assembly. Measure these marks and transfer these measurements to the
other ladder side rail so that the hardware will mount identically on both ladder
side rails
(see figure 8)
.
c. Using a ¼” drill bit, drill through holes in the ladder side rail for the ¼-20 pan-
head bolts
(see figure 8).
2. Install the bottom wheel assemblies
a. Place the bottom wheel assembly onto
the bottom of the ladder using the “U”
bracket portion of the housing. Verify
that the bracket is flush with the bottom
of the ladder. (Because of the 12-degree
angle of the bottom of the ladder, this will
align the housing diagonally across the
ladder side rail).
2. Using a ¼” drill bit, drill out the through holes for the ¼-20 Phillips, pan-head 1 ⅜”
long bolts. We recommend this procedure:
• Using the holes in the upper assembly as a drill guide, drill a ¼” hole halfway
through the thickness of the ladder slide rail.
• Drill the same hole on the opposite side of the Upper Assembly, producing a
straight ¼” through hole in the ladder side rail.
• Follow this same procedure for all 4 through holes and finish by securing the upper
assemblies with the supplied ¼-20 Phillips drive, pan-head bolts and acorn nuts.
Note: For the PL.210 series Upper Roller Assembly, the larger diameter wheel is on
the top (see figure 7).
Figure 7a Figure 7cFigure 7b Figure 7d

8
d. Pre-drill the ladder side rail for the #10 Flat-head, Phillips drive ¾” screw
(see
figure 9)
. PLEASE NOTE:
Pre-drilling is essential to prevent splitting the wood.
e. Install the bottom wheel assemblies using the included screws, bolts, and
acorn nuts.
...and your Putnam Ladder
is complete!
Figure 9a Figure 9c
Figure 9b
Figure 8b
Figure 8c Figure 8d
Figure 8a

9
Putnam Ladder Application Images

Hardware Dimensions
10
•Length - 2 1⁄4”
• Width - 3 3⁄8”
• Height - 3⁄4”
Corner Bracket Measurements
3⁄4”
11 1⁄4”
16”
1”
2 3⁄4”
6 1⁄8”
8 1⁄8”
2 1⁄4”
7⁄8”
• Length - 6 1⁄8”
• Width - 2 1⁄4”
• Height - 8 1⁄8”
Bottom Wheel Measurements
PL.270-C
• Length - 6 3⁄16”
• Width - 2 1⁄2”
• Height - 8 1⁄4”
Bottom Wheel Measurements
6 3⁄16”
8 1⁄4”
2 1⁄2”
7⁄8”
PL.270-S
• Length - 4”
• Width - 1 3⁄4”
• Height - 6”
Upper Hook Measurements
4”
6”
1 3⁄4”
1 3⁄4”7⁄8”
PL.230
• Length - 3 1⁄4”
• Width - 1 3⁄4”
• Height - 6”
Upper Wheel Measurements
7⁄8”
3 1⁄4”
6”
1 3⁄4”
2
3
⁄
4
”
PL.210
PL.40CRVBKT

Hardware Dimensions
11
• ¼-20 Partially Threaded Rod, 15.875”long
• Hex Head with Flat to Flat ⁄” wide, ¼”Dia. Shaft
• Last ⁄” of bolt threaded
Truss Rod
• ¼-20 x ½” Propel nut
Nut
• ¼” x ⁄” Dia. Flat Washer
Washer
15.875”
⁄”
¼”
⁄8”
⁄”
⁄”
7⁄8”
• Length - 1 5⁄8”
• Width - 1 1⁄4”
• Height - 3 3⁄4”
Vertical Hook Bracket Measurements
3 3⁄4”
1 5⁄8”1 1⁄4”
PL.14H
3 1⁄2”
2 1⁄8”
3 1⁄2”
• Length - 3 1⁄2”
• Width - 2 1⁄8”
• Height - 3 1⁄2”
Horizontal Hook Bracket Measurements
PL.27H
• Length - 1 5⁄8”
• Width - 1 1⁄4”
• Height - 5”
Vertical Bracket Measurements
5”
1 5⁄8”1 1⁄4”
PL.14
3 3⁄8”
3⁄4”
2 1⁄4”
• Length - 2 1⁄4”
• Width - 3 3⁄8”
• Height - 3⁄4”
Horizontal Bracket Measurements
PL.27

Also available from CSH:
REV. 5.26.21
1170 Wauwatosa Rd.
Cedarburg, WI 53012
cshardware.com
(262) 365-7960
Mini Barn Door Hardware Rolling Barn Door Hardware
InvisiDoor
Table of contents
Other CSH Ladder manuals
Popular Ladder manuals by other brands

Centaure
Centaure 203 1 Series instruction manual
Colombo
Colombo S107 Use and Operating Instructions
Vorel
Vorel 17730 instructions

Westfalia
Westfalia 67 87 89 instruction manual

SCALANT
SCALANT SCARLO 1000 Assembly instructions

Piristeel
Piristeel Pisko SafeLine Instructions for installation, use and maintenance manual
