manuals.online logo
Brands
  1. Home
  2. •
  3. Brands
  4. •
  5. Meyer
  6. •
  7. Outdoor Light
  8. •
  9. Meyer 8 730 1 Series User manual

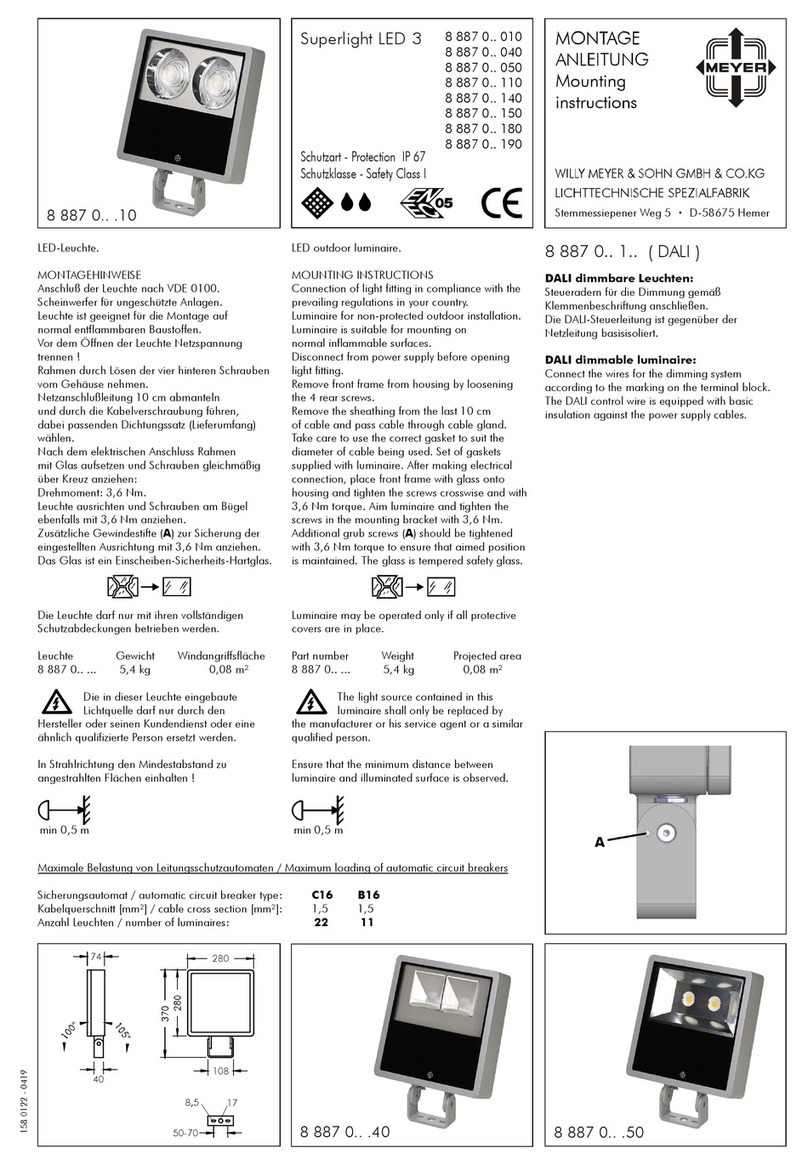
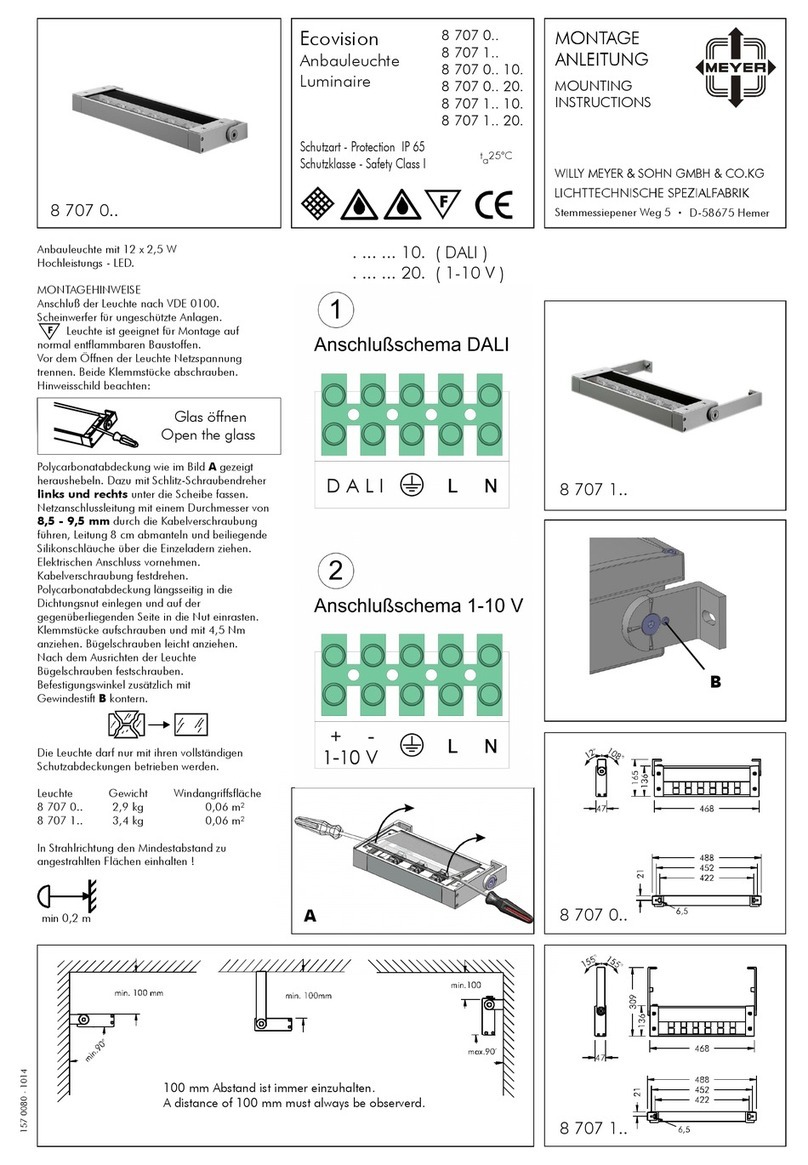
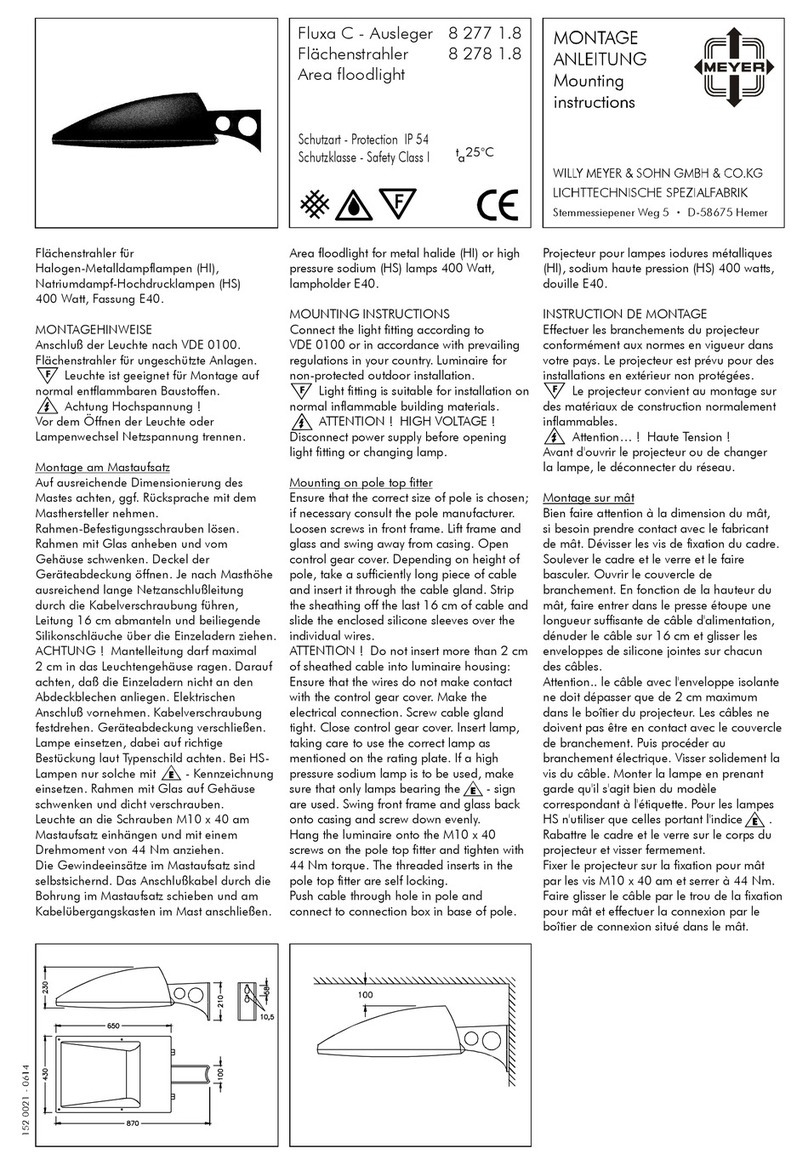
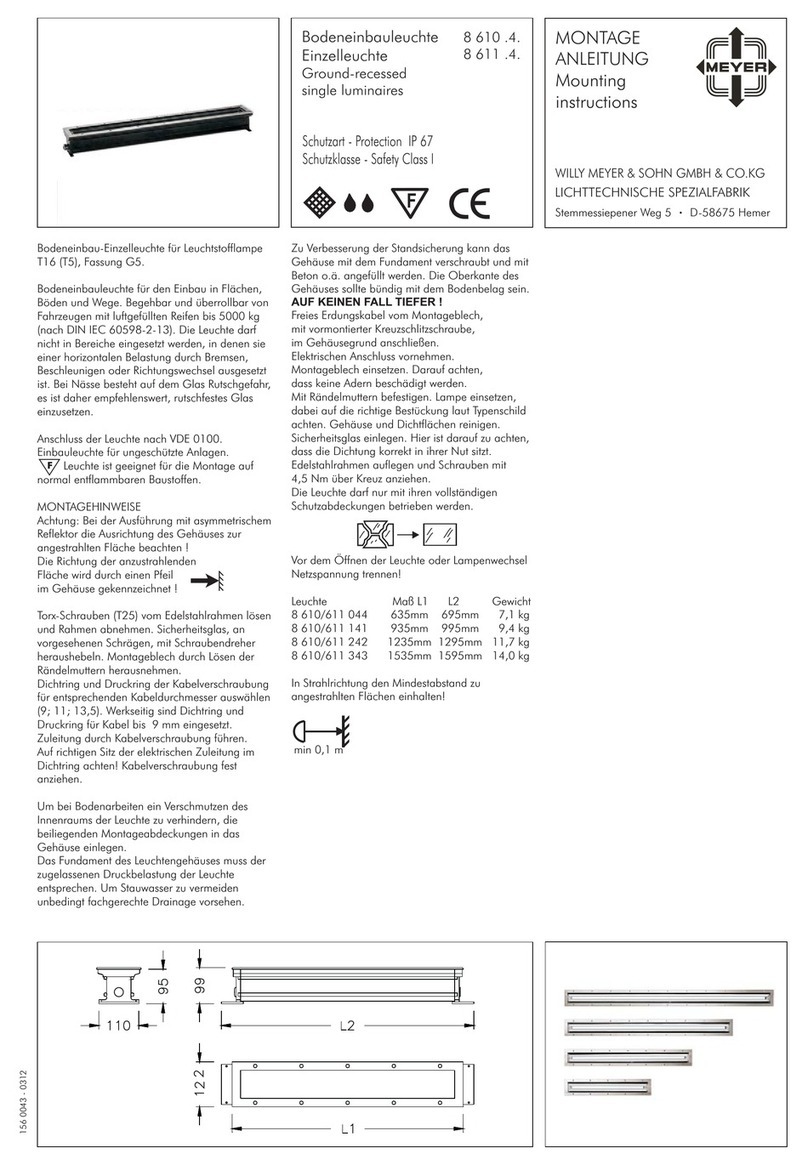
Meyer 8 730 1 Series User manual

r
Highline
Scheinwerfer
Floodlight
Schutzart –Protection IP 67
Schutzklasse –Safety Class I
MONTAGE
ANLEITUNG
MOUNTING
INSTRUCTIONS
WILLY MEYER & SOHN GMBH &CO.KG
LICHTECHNISCHE SPEZIALFARIK
Stemmessiepener Weg 5 • D-58675 Hemer
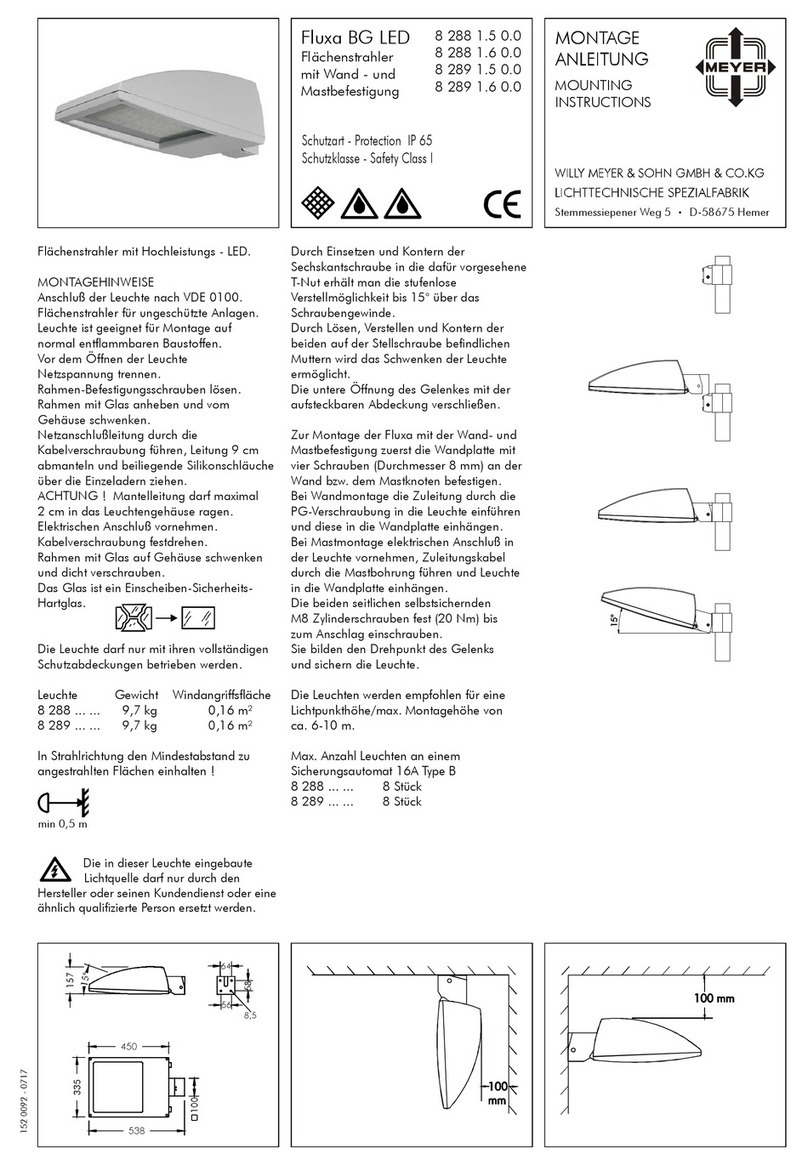
Scheinwerfer mit 9 x 2,5 W LED.
MONTAGEHINWEISE
Anschluß der Leuchte nach VDE 0100.
Scheinwerfer für ungeschützte Anlagen.
Leuchte ist geeignet für Montage auf normal
entflammbaren Baustoffen.
Vor dem Öffnen der Leuchte Netzspannung
trennen.
Schrauben (A) lösen und Wandbefestigung/
Wandplatte mit beiliegendem Befestigungsmaterial
befestigen. Rahmen öffnen.
Anschlussleitung 10cm abmanteln und durch die
Kabelverschraubung führen, dabei passenden
Dichtungssatz (Lieferumfang) wählen.
Elektrischen Anschluss vornehmen. Rahmen
aufsetzen und Schrauben gleichmäßig anziehen.
Leuchtenkopf ausrichten, mit Schrauben (A)
fixieren und mit Madenschraube (B) sichern.
Das Glas ist ein Einscheiben-Sicherheits-
Hartglas.
Die Leuchte darf nur mit ihren vollständigen
Schutzabdeckungen betrieben werden.
Bei Lichtpunkthöhen über 3 m mindestens
zwei Befestigungsschrauben verwenden.
Bei Leuchten mit Anschlusskabel darf dieses nur in
einen Anschlusskasten mit entsprechender
Schutzart und Schutzklasse angeschlossen werden.
Zur Vermeidung von Gefährdungen darf eine
beschädigte äußere flexible Leitung dieser Leuchte
ausschließlich vom Hersteller, seinem
Servicevertreter oder einer vergleichbaren
Fachkraft ausgetauscht werden.
Die Leuchte ist so zu positionieren, dass längeres
in die Leuchte starren in einem geringeren Abstand
als 5,45 Meter nicht zu erwarten ist.
Outdoor luminaire with 9 x 2,5 W LED.
MOUNTING INSTRUCTIONS
Connect the light fitting in compliance with
prevailing regulations in your country.
Luminaire for non-protected outdoor installation.
Light fitting is suitable for mounting on normal
inflammable surfaces.
Disconnect from power supply before opening
light fitting.
Loosen screws (A) and mount wall fastening/
wall plate to the surface with enclosed assembly
material. Open frame. Strip the sheathing off the
last 10cm of the cable and insert through the
cable entry, making sure that the correct cable
entry gasket is used for the diameter of the cable
(gaskets are supplied with luminaire).
Connect the wiring. Place the frame and fasten
screws evenly. Adjust the luminaire, tighten screws
(A) and secure the luminaire with grub screw (B).
The glass is tempered safety glass.
The light fitting may be operated only if all
protective covers are in place.
When installed at more than 3 metres height, be
sure to use at least two fixing screws.
The power supply cable may only be connected to
a connection box which has the correct degree of
protection and safety class. If the external flexible
cable or cord of this luminaire is damaged, it shall
be exclusively replaced by the manufacturer or his
service agent or a similar qualified person in order
to avoid a hazard.
The luminaire should be positioned so that
prolonged staring into the luminaire at a distance
closer than 5,45 metres is not expected.
8 730 0.. ...
8 730 1.. ...
8 730 7.. ...
8 730 0.. ...
8 730 1.. ...
8 730 7.. ...
157 0120 - 0920
8 730 1.. ...
8 730 7.. ...
Nicht in die Lichtquelle schauen !
Do not stare at the light source !
Leuchte Gewicht Windangriffsfläche
8 730 0.. ... 1,7 kg 0,029 m²
8 730 1.. ... 1,7 kg 0,029 m²
8 730 7.. ... 2,0 kg 0,035 m²
Einschaltstrom 5A / 50µs
Max. Anzahl Leuchten an einem
Sicherungsautomat 16A Type B: 50 Stück
Dimmbare Leuchten:
Steueradern für die Dimmung gemäß Klemmen-
beschriftung anschließen. Die Steuerleitungen sind
gegenüber der Netzleitung basisisoliert.
In Strahlrichtung den Mindestabstand zu
angestrahlten Flächen einhalten!
Type Weight Projected area
8 730 0.. ... 1,7 kg 0,029 m²
8 730 1.. ... 1,7 kg 0,029 m²
8 730 7.. ... 2,0 kg 0,035 m²
Inrush current 5A / 50µs
Max. Number of fittings per circuit breaker
16A Type B at 230V: 50 pieces
Dimmable luminaires:
Connect the wires for the dimming system
according to the marking on the terminal block.
The control wire is equipped with basic insulation
against the power supply cables.
Ensure that the minimum spacing between
luminaire and illuminated surface is observed.
Die in dieser Leuchte eingebaute
Lichtquelle darf nur durch den
Hersteller oder seinen
Kundendienst oder eine ähnlich
qualifizierte Person ersetzt werden.
The light source contained in this
luminaire shall only be replaced by
the manufacturer or his service
agent or a similar qualified person.

This manual suits for next models

2

Other Meyer Outdoor Light manuals

Meyer Fluxa C 8 277 1.8 User manual

Meyer

Meyer Fluxa C 8 277 1.8 User manual

Meyer 8 610 4 Series User manual

Meyer

Meyer 8 610 4 Series User manual

Meyer Fluxa BG LED User manual

Meyer

Meyer Fluxa BG LED User manual

Meyer 8 707 0 Series User manual

Meyer

Meyer 8 707 0 Series User manual

Meyer Superlight LED 3 User manual

Meyer

Meyer Superlight LED 3 User manual

Popular Outdoor Light manuals by other brands

RH NATURAL ANTLER quick start guide

RH

RH NATURAL ANTLER quick start guide

Maretti VIBE M quick start guide

Maretti

Maretti VIBE M quick start guide

WAC Lighting dweLED 578 Series installation instructions

WAC Lighting

WAC Lighting dweLED 578 Series installation instructions

Philips 40769/**/16 Series user manual

Philips

Philips 40769/**/16 Series user manual

Inspire Ugo instruction manual

Inspire

Inspire Ugo instruction manual

Lowel Fluo-Tec Studio 250DM instructions

Lowel

Lowel Fluo-Tec Studio 250DM instructions

nordlux FOLD 15 Mounting instruction

nordlux

nordlux FOLD 15 Mounting instruction

Inspire Cardea OS1959-3 instruction manual

Inspire

Inspire Cardea OS1959-3 instruction manual

PLG SHARP user manual

PLG

PLG SHARP user manual

Gifas-electric INOX42 installation instructions

Gifas-electric

Gifas-electric INOX42 installation instructions

Allen + Roth RDY1740-01-ORB manual

Allen + Roth

Allen + Roth RDY1740-01-ORB manual

RAB Lighting WP1FC FULL CUT-OFF installation instructions

RAB Lighting

RAB Lighting WP1FC FULL CUT-OFF installation instructions

LIGMAN ROBUST 1 installation manual

LIGMAN

LIGMAN ROBUST 1 installation manual

planeo Nodin Manual and safety instructions

planeo

planeo Nodin Manual and safety instructions

Inspire DAROCA instruction manual

Inspire

Inspire DAROCA instruction manual

Wolf HL-95 Operation and maintenance instruction

Wolf

Wolf HL-95 Operation and maintenance instruction

Urban Barn CALLAN FLOOR LAMP Use and care guide

Urban Barn

Urban Barn CALLAN FLOOR LAMP Use and care guide

DoorHan LAMP installation manual

DoorHan

DoorHan LAMP installation manual

manuals.online logo
manuals.online logoBrands
  • About & Mission
  • Contact us
  • Privacy Policy
  • Terms and Conditions

Copyright 2025 Manuals.Online. All Rights Reserved.