12
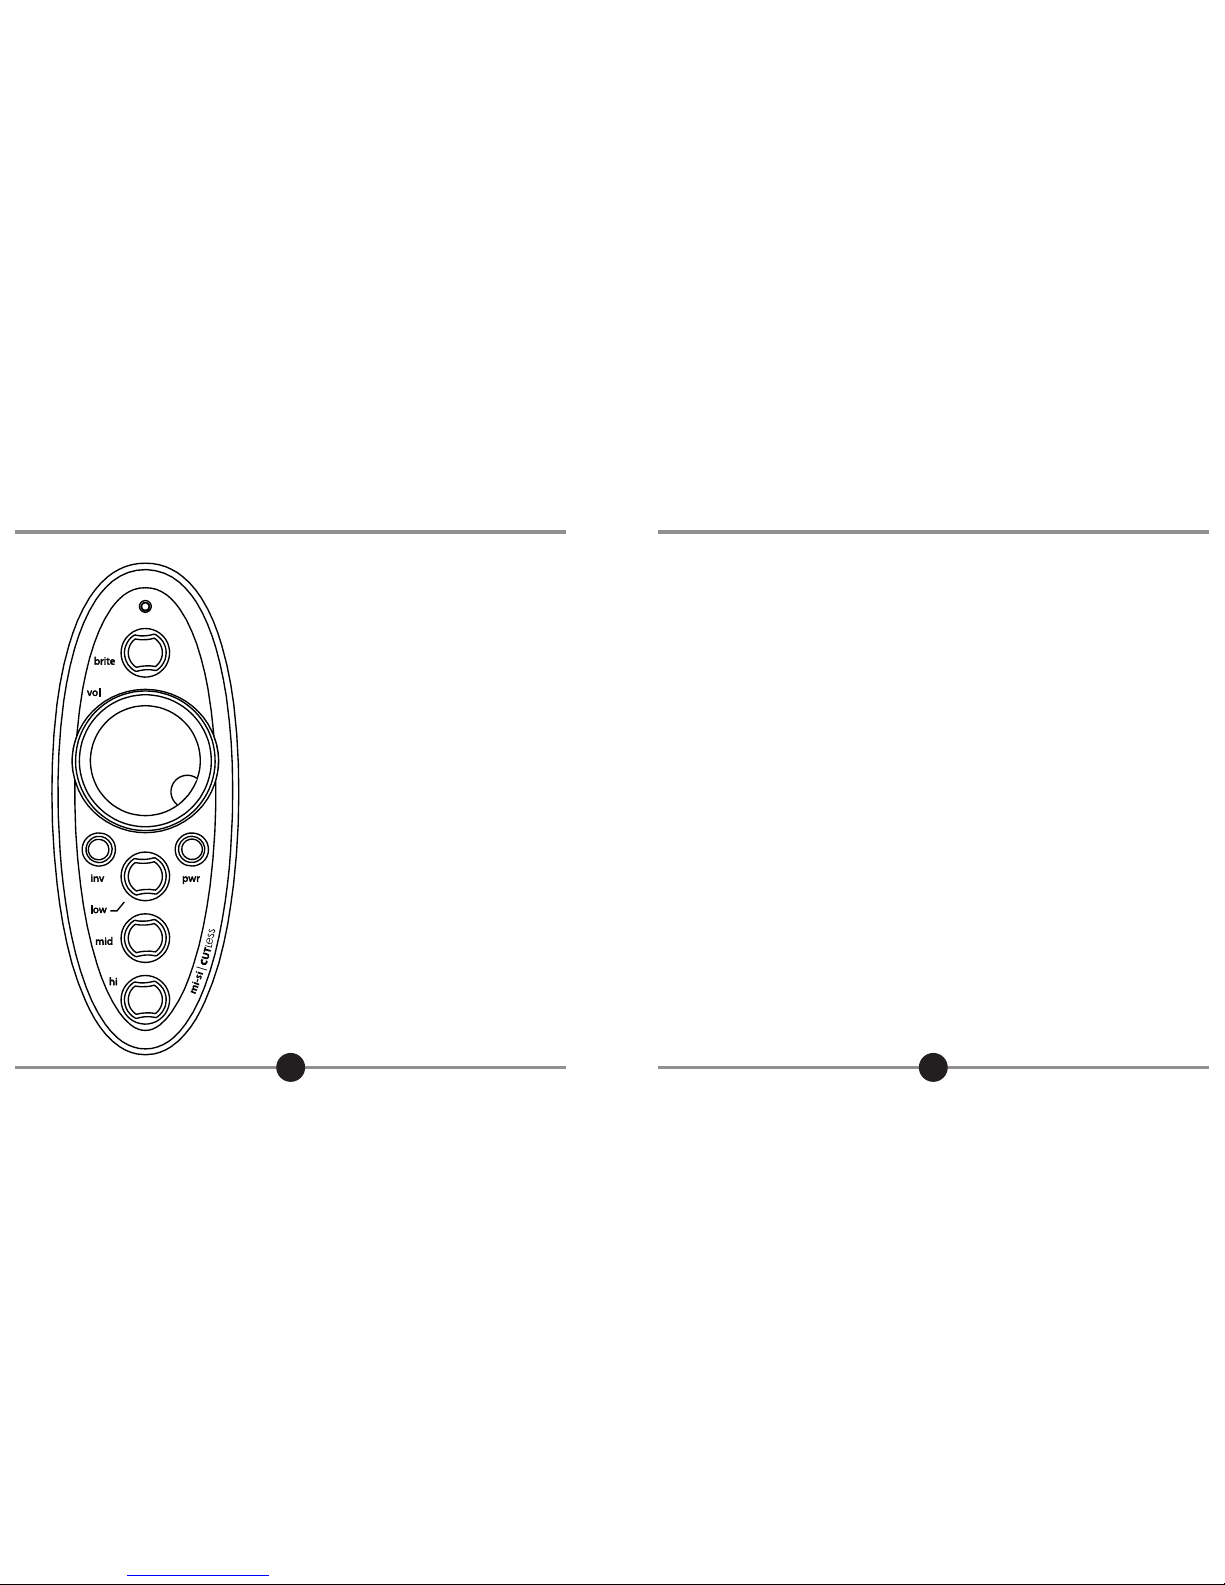
THE REMOTE
Controls
LED: Flashes green for one second when Remote is
turned on, as well as to indicate when controls are
in use. Check battery if LED does not ash (use a 3V
2032 Type Li battery).
Brite: Boosts and cuts ultra-high frequencies for
added brilliance.
Volume: Increases or decreases overall volume of
your Preamp.
Invert: Reverses the phase of your signal to help
control feedback in live settings.
Power: Push in to turn Remote on. Push out to turn
Remote o. Remote will “remember” your most
recent EQ setting when it is turned o.
Low: Boosts and cuts bass frequencies for added
low end response or to control“howling”feedback.
Mid: Boosts and cuts mid-range frequencies to
help you nd your voice.
Hi: Boosts and cuts treble frequencies.
13
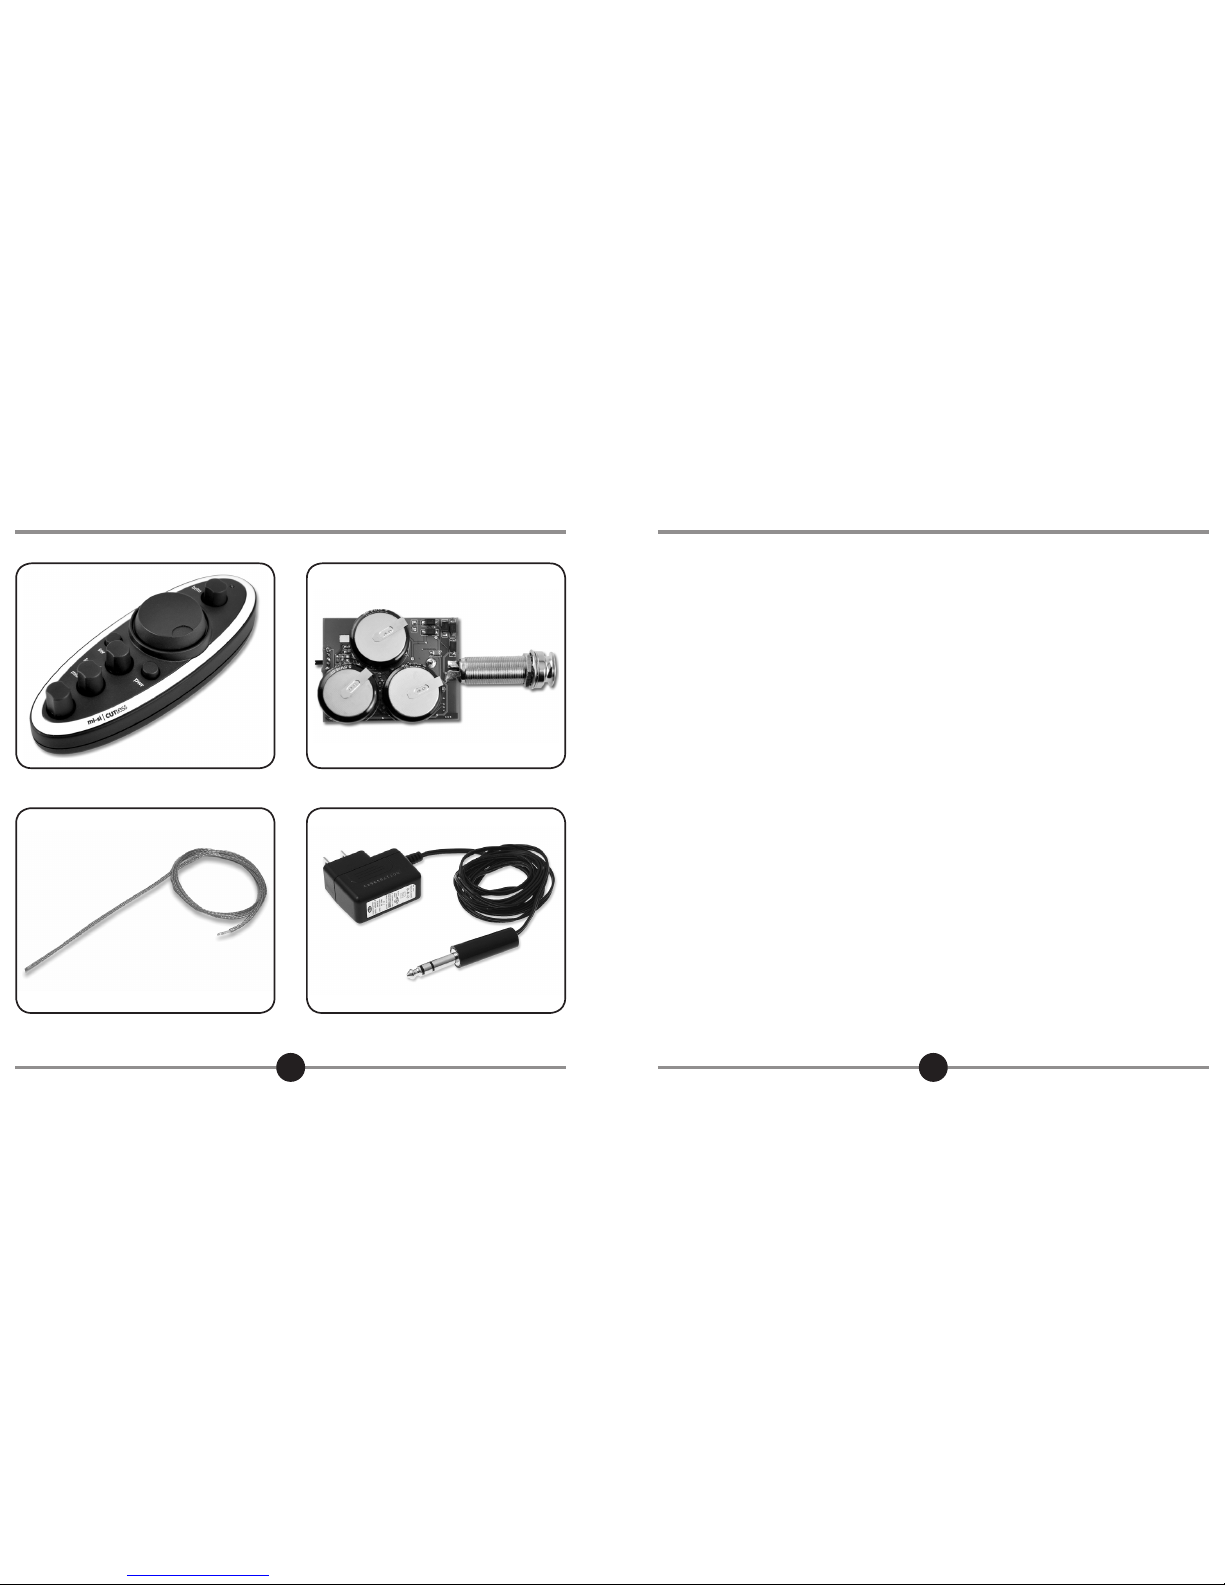
Pairing the Remote
The CUTLESS Remote can work with your guitar’s
Preamp as well as other CUTLESS Preamps.
1. Charge the CUTLESS Preamp installed in your
guitar by connecting the endpin jack to any
120/220 V AC outlet with the Power Charger.
Wait 120 seconds before disconnecting the
Charger. You are now powered up for 4 hours
of playing time.
2. Make sure the Remote has a fresh 3V 2032
Type Li battery (found at most Convenient
Stores).
3. Turn on the Remote.
4. Connect the endpin jack to your amplier.
5. The CUTLESS Preamp will now wirelessly
receive the Remote’s unique identication
code.
6. Once your Preamp is paired with your Remote,
it will respond only to your Remote’s controls.
Notes
Turning o the Remote will“remember”your most
recent EQ setting in your Preamp.
After unplugging your guitar, the CUTLESS Preamp
will“remember”your last EQ setting until you turn
your Remote back on and make adjustments.
If you forget or lose your Remote, and would like
to bypass your “remembered” EQ settings, simply
ip the Bypass Switch located on the back of the
Preamp (see page 10).
Important: Be sure to ip the Bypass Switch
back to its original position before using your
Remote again.
If two or more players are using CUTLESS Systems
less than 30 feet (10 meters) apart from each
other, turn o and unplug one system while the
other pairs its Remote with its Preamp. Then turn
the Remote of the rst system o, and pair the
second before playing.
THE REMOTE