3
2 x pre-assembled wheels
1 x 2mm x 50mm dia. carbon bre tube (for axles)
4 x piano wire control rods
2 x 1mm dia. carbon bre tube (control rods)
1 x 3.0mm x 0.4mm x 165mm carbon bre strip (elevator reinforcement)
4 x 4mm x 1mm neodymium magnets
8 x 3mm x 1mm neodymium magnets
Sheet Parts 2 x 2mm Laser cut foam airframe
2 x 1mm printed & laser cut foam wings
3 x Tyvek© printed and laser cut fuselage
1 x laser cut polyprop. parts
1 x polyester stickers
1 x 0.8mm laser cut plywood
Loose Parts
Knife or Scalpel with fresh blade
Steel Rule or straight edge
Sanding Stick or sand paper (180 grit recommended)
Tweezers
Needle nose pliers & wire cutters
UHU por foam safe adhesive (For foam & plastic)
Aliphatic Resin or Foam safe cyano glue (for rigging & re-inforcement)
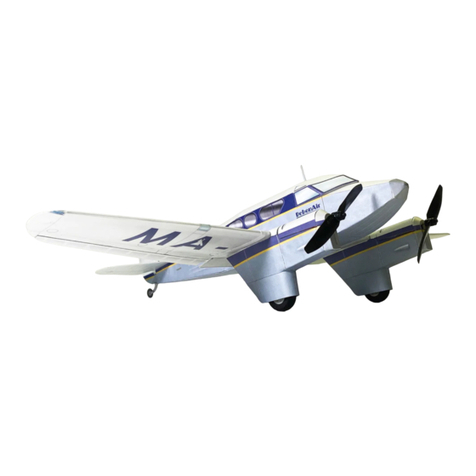
The Microaces Percee is designed around a Micro SR3X 5 channel 2.4GHz receiver, with twin
ESC for brushed motor operation AND 3 Axis Stabilization.
Recommended servos are 2 (for 3 channel operation) or 4 (for 4 channel operation) 1.7g low
voltage micro digital servos.
Recommended motors are 2 x Microaces Micro Motor/Gearbox LONG prop shaft
An entire ight pack for the Percee is available at www.microaces.com
Recommended battery: 180 - 400 mAh Lipo with ‘UM’ style connector.
Example: E-Flite EFLB3001S25 300mAh Lipo
Tyvek may distort when exposed to glues that use a petroleum or aliphatic solvents.
When assembling Tyvek parts & panels using UHU por or similar petroleum or aliphatic based
contact adhesives, allow the glue to thoroughly dry before assembling. When the glue is dry,
any eect on Tyvek is minimised.
Where possible, apply the glue to the material the Tyvek is to be stuck to and allow the glue to dry
on that surface.
When glue has to be applied directly to Tyvek, use sparingly and apply evenly. Any material
distortion should return to shape once the solvent has evaporated.
If using other glues, please test on a scrap piece of material before proceeding.
RECOMMENDED TOOLS/GLUES
RECOMMENDED ELECTRONICS
IMPORTANT INFORMATION ON GLUING TYVEK
KIT PARTS

