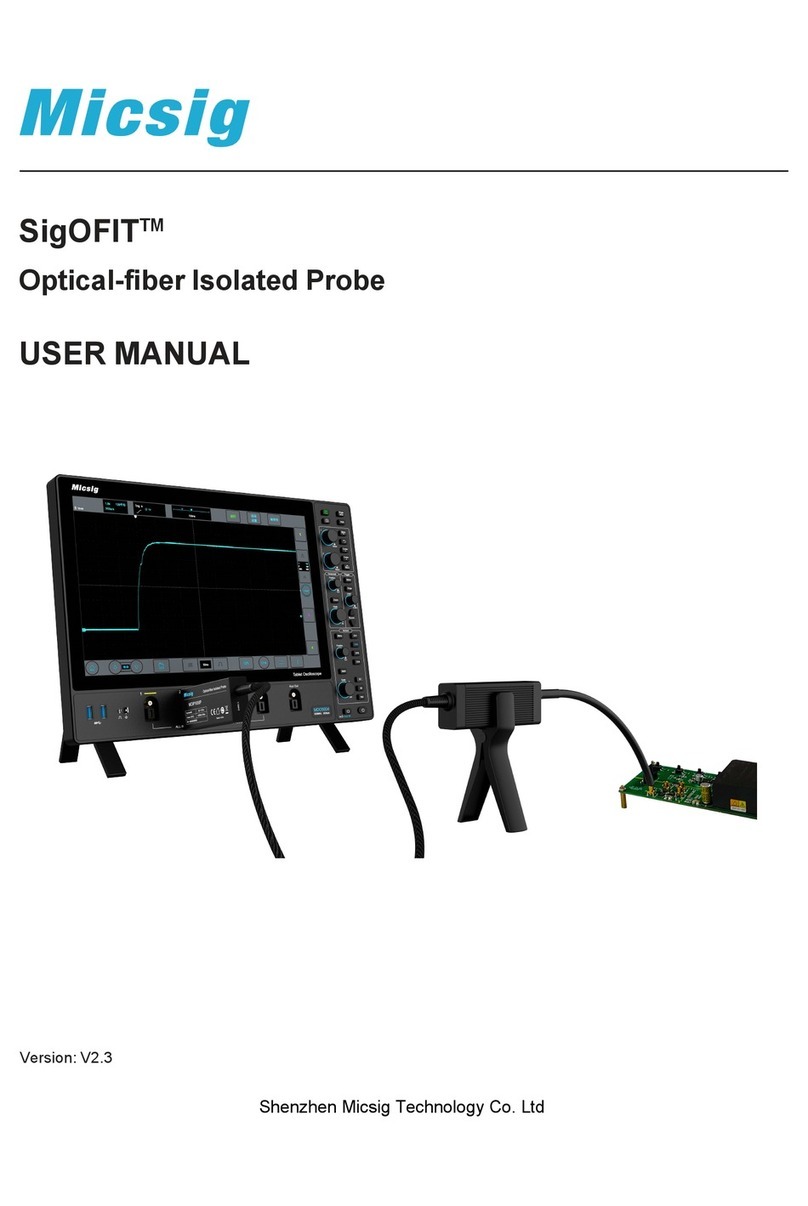
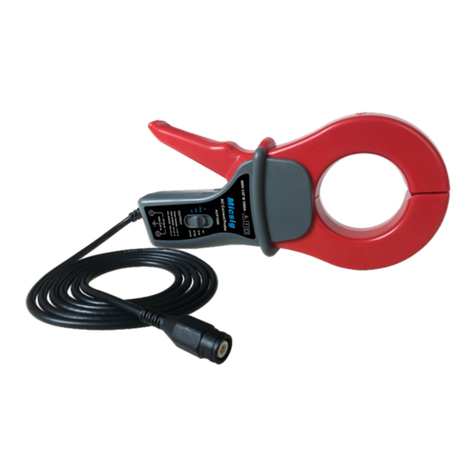
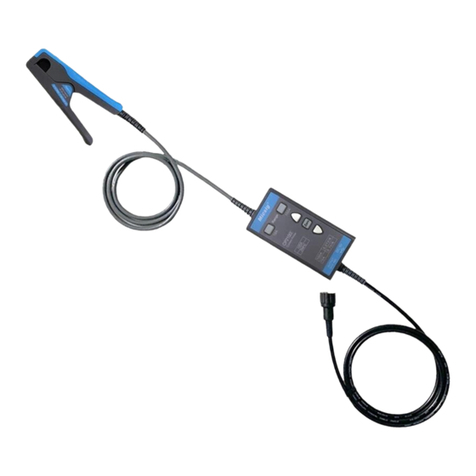
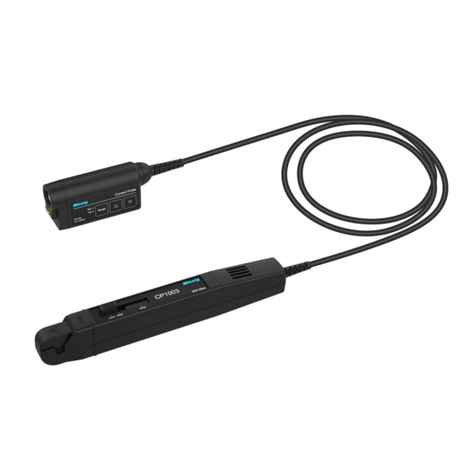
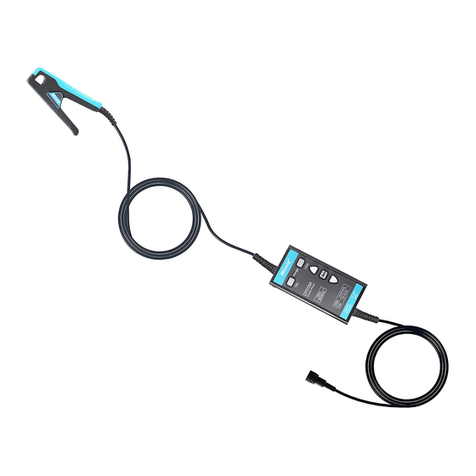
Micsig CP1003B User manual

The materials provided in this document are provided "as is" and are
subject to change in future editions without notice. Further, to the maximum
extent permitted by applicable law, Micsig disclaims all warranties, express or
implied, in this manual and any information contained herein, including, but not
limited to, the implied warranties of merchantability and fitness for a particular
purpose. Micsig shall not be liable for errors or incidental or consequential
damages arising out of the furnishing, use or application of this document or any
information contained herein.
Should a separate written agreement between Micsig and the user contain
warranty terms covering the material in this document that conflict with these terms,
the warranty terms in the separate agreement shall prevail.
Shenzhen Micsig Technology Co., Ltd
Tel: +86 755-88600880
Add: 1F, Bldg A, Huafeng International Robot Industrial Park, Hangcheng Rd,
Bao'an District, Shenzhen, Guangdong, China, 518126

Warranty
The current probe body is guaranteed for 1 year. During the warranty period of the product,
the company will be responsible for providing free maintenance for any faults caused by the
quality of the product itself under normal use and has not been dismantled or repaired.
The warranty is invalid in the following cases, but maintenance services are provided, labor
costs are waived, and only spare parts are charged:
a. Accessories damage due to improper use, maintenance or storage.
b. Damage caused by force majeure factors, such as natural disasters.
In the following cases, the company will refuse to provide maintenance services or
provide maintenance services for a fee:
a. Unable to provide product packaging or anti-counterfeiting labels on product
packaging.
b. The content of the anti-counterfeiting label has been altered, or is blurred and
unrecognizable.
c. It has been dismantled by unauthorized personnel by Micsig (eg: changing wires,
dismantling internal components).
d. There is no sales voucher or the content of the sales voucher does not match the
product.

i
Content
General Safety Summary ………………………………………………………….. ii
Maintenance Safety ………………………………………………………….. iv
Compliance Information ………………………………………………………….. v
Safety Compliance
Environmental Considerations
Preface ………………………………………………………………………………….. 1
Documentation
Conventions used in this manual
Factory Repair
Main Functions …………………………………………………………………………… 2
Probe Structures .………………………………………………………………………. 3
Probe Slider and Wire Grip
Probe Control Module
Installation ……………………………………………………………………………….. 5
Connect to an oscilloscope
Degaussing and Zeroing the Probe
Function Check and Basic Operation …………..…………………………………… 6
Applications ……………………… ………… ..………… ………… ………… …… 7
Inductance Measurement
Measuring Inductor Turns
Technical Specifications ………………………………………………………….. 10
Warranted Characteristics
Typical Characteristics
Nominal Characteristics
Maintenance …………………………………………………………………………… 15
Troubleshooting
Cleaning

General Safety Summary
Please read the following safety precautions carefully to avoid personal injury and
prevent damage to this product or any product connected to this product.
To avoid possible danger, be sure to use this product as prescribed.
Only qualified personnel should perform repair procedures.
Avoid fire or personal injury
Connect and disconnect devices properly.
*Do not plug or unplug probes or test leads while they are connected to a voltage source
*Power off the circuit under test before connecting or disconnecting the current probe.
*Before connecting the probe to the circuit under test, please connect the probe output to
the measuring instrument.
*Before connecting the probe input, please connect the probe reference lead to the circuit
under test.
*Before disconnecting the probe from the measuring instrument, please disconnect the probe
input end and the probe reference lead from the circuit under test.
Observe all terminal ratings. To avoid fire or electric shock, observe all product ratings and
markings. Before making connections to the product, please consult the product user manual
for details on ratings. Do not connect the current probe to any wire with a voltage exceeding
its rating.
Do not disassemble the machine. Do not use the product for measurements with covers
or panels open.
Do not operate the product when it is suspected that the product is malfunctioning.
Have it inspected by service personnel designated by Micsig.
Keep away from exposed circuits. Do not touch exposed wiring and components while
the power is on.
Do not operate in wet environments.
Do not operate in flammable and explosive environments.
Please keep the product surface clean and dry.
ii
Terms in this manual
WARNING: A "WARNING" statement identifies conditions or actions that could result
in personal injury or life-threatening conditions.
CAUTION: A “CAUTION”statement identifies conditions or actions that could
cause damage to this product or other property.

iii
Maintenance Safety
Summary
Only qualified service personnel with relevant qualifications should perform service
operations. Please read this "Maintenance Safety Summary" and "General Safety
Summary" before performing any repair operations.
Do Not Serve Alone: Do not make internal repairs or adjustments to this product
unless someone else is on site to provide first aid and resuscitation.
Disconnect Power: To avoid electrical shock, disconnect power to the instrument
before disconnecting the main power cord.
Pay attention when repairing with electricity: Hazardous voltages or currents
may be present in this product. Disconnect power and test leads before removing
protective panels, soldering, or replacing components.
To avoid electric shock, do not touch exposed connectors.
iv
Maintenance Safety

Compliance Information
This section lists the EMC (Electromagnetic Compatibility), safety and environmental
standards to which the instrument complies.
Safety Compliance
Equipment Type
Test and Measurement Equipment.
Pollution Degree
Description
The micro-environmental pollution levels used to determine clearances or creepage
distances can be classified into 4 levels.
Pollution degree 1: no pollution or only dry non-conductive pollution;
Pollution degree 2: In general, there is only non-conductive pollution, and occasional
temporary conduction caused by condensation occurs. typical office/home
environment. Temporary condensation occurs only when the product is not in use;
Pollution degree 3: There is conductive pollution, or dry non-conductive
pollution becomes conductive due to expected condensation;
Pollution degree 4: Causes persistent conductive pollution, such as pollution caused
by conductive dust or rain and snow.
Pollution Degree
Pollution Degree 2
v
Compliance Information

Overvoltage Class Description
The overvoltage level is divided according to the IEC60664 standard, which is
divided into four levels: CAT I, CAT II, CAT III, and CAT IV.
* CAT I is a low-voltage low-energy class with protective devices, generally
referring to the internal voltage of electronic equipment;
* CAT II is a low-voltage high-energy level, branched from the main power
supply circuit, and the 220V voltage of the home lighting circuit belongs to this
category;
* CAT III refers to the high voltage and high energy level, refers to the fixed
installation of the main power supply circuit, generally refers to 380V three-
phase voltage;
* CAT IV refers to three-phase lines at utility power connections, any outdoor
conductors.
Overvoltage Category
CAT II
vi
Compliance Information

Compliance Information
Environmental Considerations
This section provides information about the environmental impact of the product.
Product End-of-Life Handling
Observe the following guidelines when recycling an instrument or component:
Equipment Recycling: Production of this equipment required the extraction and
use of natural resources. The equipment may contain substances that could be
harmful to the environment or human health if improperly handled at the product’s
end of life. In order to avoid release of such substances into the environment and
to reduce the use of natural resources, we encourage you to recycle this product in
an appropriate system that will ensure that most of the materials are reused or
recycled appropriately.
This symbol indicates that this product complies with the relevant
requirements of European Union Directives 2002/96/EC and 2006/66/EC on
Waste Electronic and Electrical Equipment (WEEE) and Batteries.
vii

Preface
Preface
This user manual describes the use of the high frequency AC / DC current probe
CP1003B/CP503B, including basic probe operations and concepts. You can also
visit the Micsig website www.micsig.com for this document and other related
information.
Documentation
Conventions used in this user manual
The diagrams in this manual use the following symbols to indicate the sequence of steps:
①、②、③、④、⑤、⑥、⑦、⑧、⑨
Factory Repair
If the probe requires service, the probe must be returned to Micsig. If the
original packaging is unusable or missing, please follow the packaging guidelines
below:
Shipment Preparation
1. Use a corrugated cardboard shipping
container with internal dimensions at least
3 cm larger than the probe dimensions.
The cardboard test weight of the box
should be at least 90.72 kg.
2. Put the probe in an antistatic bag or
wrap it to protect it from moisture.
3. Place the probe in the case and secure it
with lightweight packing material.
4. Seal the box with shipping tape.
5. See Micsig Contact Information at the
beginning of this manual for shipping
addresses.
Information to be obtained
Documentation used
CP1003B/ CP503B probe: first operation,
functional check, basic operating
knowledge, technical specifications
Please read and use this manual
Oscilloscope related operations
Please obtain from corresponding
oscilloscope user manual
1

Main Functions
Main Functions
High frequency AC / DC current probes utilize Hall Effect technology to measure
both AC and DC currents. It has the characteristics of high bandwidth and high
precision, which can meet the needs of most test fields.
Key features:
*
*
*
*
*
*
*
*
>100 MHz bandwidth, ≤3.5ns rise time (CP1003B)
>50 MHz bandwidth, ≤7ns rise time (CP503B)
AC/DC measuring capability
Switchable Range 6A / 30A
1% DC accuracy (typ.)
One step to degaussing/auto-zeroing
Support manual and auto zero calibration
Overload indicator light
2

Probe Structure
3
Probe Structure
Probe Slider and Wire Grip
1. When the slider is in the "LOCK" position, you can degauss the probe and take
measurements.
2. Move the slider to the "OPEN" unlocked position to insert or remove the wire from
the wire clip.
3. The grip will accept wire diameters up to 5mm.
4. Place your finger behind the safe handling area (the area inside the dashed line in the
figure) when measuring.
WARNING: Do not force wires larger than 5 mm into the grips, it may damage the
probe.
WARNING: To avoid electric shock, do not touch areas within the safe handling area
(the area within the dashed line in the diagram) when taking measurements.
Warning: Do not drop the probe or subject it to strong shocks, as this may
result in damage to the probe.
Warning: Do not connect the current probe to any wire whose voltage or current
exceeds the probe rating.

Probe Structure
Probe Control Module
The CP1003B and CP503B function buttons and LED status indicators are located on
the probe control module and are described as below:
Function Button
The Range button is the range switching button, which can be selected between
6A and 30A, and switches each time by lightly pressed.
" △" and " ▽" are the degaussing and zero-calibration buttons. Press " △" and "
▽" to adjust the zero manually.
The "Zero □" button is the automatic zero-calibration button, single press will
automatically degauss and zero-calibration.
*
*
Button Status Indicator
The status indicator of the current range button will always be on to indicate the
selected current range.
"Zero □ " button long ON, the probe will be degaussed and zeroed, and will turn
off after completed, If the button flashes 5 times, it means zero calibration failed.
When the current is overloaded, the status indicator light of the corresponding
range button will flash
*
*
*
Note
The probe will automatically go through a degaussing and zeroing procedure
every time it is powered on.
Input current overload will magnetize the probe, please demagnetize the probe
after the overload occurs.
*
*
.
*
4

1. Connect the probe BNC cable to the channel interface of the oscilloscope;
2. Power the probe control module with the standard USB power adapter provided
with the probe.
Caution: Must use the adapter provided with the probe for power supply, DO NOT use
USB port on the oscilloscope.
Installation
Caution: The probe head is a precision part. Do not drop the probe or physically shock
it, twist it, or drastically alter its surroundings. Do not insert wires larger than 5.0 mm in
diameter into the probe grip, as this may damage the probe.
Connecting to an oscilloscope
Degaussing and Zero
Note: Before degaussing and zero the probe, be sure to verify that the probe head is
locked. When the oscilloscope recognizes the probe for the first time, the probe will
automatically degauss and zero.
To ensure accurate measurements, degauss the probe under following conditions:
* Turn on the measuring system and allow a 20-minute warm-up time
* Before connecting the probe to the wire
* Whenever there is a current or thermal overload
* Whenever the probe is placed in a strong external magnetic field
Press the button "Zero □", the button lights up, probe will conduct degaussing and zero
calibration. If the button light flashes 5 times, it means zero calibration failed.
Installation
5

Function Check and Basic Operation
CAUTION: Do not force wires larger than 5.0 mm in diameter into the probe jaws,
as this may damage the probe. The mating surface of the probe head transformer
is precisely polished and should be handled with care. Dirt on the mating surface
of the probe head transformer may reduce measurement accuracy.
Use the following steps to check if the probe is working properly:
Connect the probe to any channel of the oscilloscope.
Set the oscilloscope impedance to 1MΩ.
If the auto-zero calibration fails, press the Zero button, or press “△””▽”
to perform manual zero calibration.
Fix the probe into the circuit.
Adjust the oscilloscope settings or use the oscilloscope's auto-setup function to
display a stable waveform. After seeing a stable waveform, it means that the probe
is working normally.
1.
2.
3.
4.
5.
Here are some basic operations that should be noted:
Before connecting the oscilloscope, please slide the probe slider to the LOCK
position to lock the probe, otherwise it will affect the zero calibration accuracy.
Before connecting the probe to the lead, please check the oscilloscope, if there is
a DC offset, please degauss and zero the probe. (See related page)
Please do not touch the conductor under test and the sensor head of the
probe during measurement.
Close and lock the probe grip on the wire. For correct polarity readings, connect
the probe from positive to negative so that the direction of current flow matches
the arrow on the probe clip.
*
*
*
*
6

Application Reference
Application
Reference
The high-frequency AC / DC current probe can be used in many measurement fields,
such as new energy vehicle design, switching power supply design, electrical
engineering, semiconductor device design, avionics design, inverter/transformer
design, electronic ballast design, Industrial control/consumer electronics design,
engine drive digital design, power electronics and power transmission practical
design, etc. Below we introduce several common measurement applications:
Inductance Measurement
Use a current probe to measure the coil inductance of a low- or high-impedance pulse
source of known value:
Low impedance pulse source
Connect the sensor to the output of the pulse generator.
Keep the voltage on the inductor constant.
Clip the current probe to one of the current source leads.
Measure current sawtooth. Inductance is effectively defined by the slope of the
current sawtooth.
Calculate the inductance using the following formula
1.
2.
3.
4.
5.
The L is the inductance in Henries. E is the voltage of the pulse generator, dtis the time
change, and diis the current change.
Note: The probe impedance is a significant part of the overall circuit inductance, the
measurement accuracy will be affected. For information on probe insertion impedance,
see Probe Specifications.
Figure below shows a constant voltage pulse generator with very low output
impedance connected to a low resistance inductor.
7

Application Reference
High impedance pulse
source
If the pulse source has a higher impedance of known resistance, and the output voltage
drops as the current increases, the inductance of the coil can be calculated from the time
constant of the charging curve. The current ramp shows how to derive the formula value
for the inductance. Use this formula to calculate the inductance from the current
measurement:
L = τR
The L is the inductance in Henrys. τ is the time required for the current to rise or fall to
63.2% of the total current value, and R is the source resistance of the pulse generator.
Measuring Inductor Turns
To get the approximate number of turns for the inductor, follow these steps:
1. Connect the inductor to the current limited power supply, shown as below.
2. Measure the input current in one of the inductor leads.
3. Clip the current probe to the inductor and record the current value.
The number of turns is equal to the ratio of the coil current to the input current. The
accuracy of this method will be limited by the current measurement accuracy.
8

To get a more accurate number of turns, a coil with a known number of turns is
needed
as a reference. Do the following:
1. Repeat steps 1 and 2 above with the following changes:
2. Insert the reference coil into the current probe.
3. Insert the test coil into the current probe so that the currents are in opposite
directions to each other as shown. The polarity of the coil current must be
observed to determine whether the test coil has more or fewer turns than the
reference coil. The number of turns can be calculated using the following formula:
Application
Reference
N2= N1x ( Im÷I1)
N2is the number of turns of the test coil, N1is the number of turns of the reference
coil, Imis the measurement coil current, and I1is the input current.
9

Technical Specifications
The technical specifications in the tables in this section are valid under the
following conditions:
*
*
*
The probe has been calibrated at an ambient temperature of 23° C ±5° C.
The probe is connected to the host instrument using an input resistance of 1 MΩ.
The probe must have a warm-up time of at least 20 minutes in an environment
that does not exceed the stated limits.
Specifications for the HF AC / DC current probes are divided into three categories:
Warranted Characteristics, Typical Characteristics, Nominal Characteristics
Warranted Characteristics
Table 1: Warranted Electrical Characteristics
Warranted characteristics describe performance guaranteed to be achieved
within tolerances or required by a particular test type.
Typical Characteristics
Characteristics
Table 2: Typical Electrical Characteristics
Typical Characteristics describe typical but not guaranteed
performance.
Characteristics
Specifications
Delay
<30ns(6A )
<30ns(30A)
Measuring range
20mA~6Apk(6A)
50mA~30Apk(30A)
Max. measuring current
30Apk,60Apk-pk,21.21Arms
Max. working voltage
CAT II 300V
Max. floating voltage
CAT II 300V
Characteristics
CP1003B CP503B
Bandwidth
DC-100MHz DC-50MHz
Rise Time
≤3.5ns ≤7ns
DC Accuracy (Typical)
±1%±10mA(6A )
±1%±50mA(30A)
10

Technical Specifications
Specifications
Figure 1: Maximum Current VS Frequency Curve
Figure 2: Amplitude-frequency characteristic curve
11
Warning: When measuring high-frequency current, be careful not to exceed the current
value shown in the curve. Use of the maximum continuous current exceeding the curve
will cause the probe to burn.
CP1003B
CP503B
CP1003B
CP503B
This manual suits for next models
1
Table of contents
Other Micsig Measuring Instrument manuals