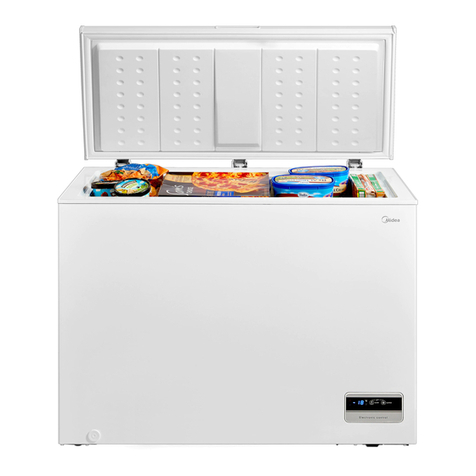
Midea FZ.411.SS User manual

Page 1of 16
Dear Customer,
Thank you for purchasing our Vogue Refrigerator. We are sure you will nd your new appliance a
pleasure to use. Before you use the appliance, we recommend that you read through this entire user
manual, which provides the description of the appliance and its functions.
To avoid the risks that are always present when you use an electrical appliance, it is important that
the appliance is installed correctly and that you read the safety instructions carefully to avoid misuse
and hazards.
We recommend that you keep this instruction booklet for future reference and pass it on to any future
owners. After unpacking the appliance, please check that it is not damaged. If in doubt, do not use the
appliance but contact your local customer care centre.
AFTER POSITIONING THE REFRIGERATOR DO NOT PLUG IN FOR A MINIMUM OF
6 HOURS TO ALLOW THE GAS TO SETTLE
1. IMPORTANT – CHECK FOR ANY DAMAGES OR MARKS
If you nd the refrigerator is damaged or marked, you must report it within 7 days if you wish to claim
for damage/marks under the manufacturer’s warranty. This does not affect your statutory rights.
2. CORRECT USE OF YOUR APPLIANCE
• Remove all packaging material before using the refrigerator. This includes the foam base and
all adhesive tape holding the accessories inside and outside.
• Clean the inside and outside of the refrigerator with a wet cloth (a little detergent can be added
to the water) and then wipe again with a clean cloth.
• The appliance needs to have an independent power socket.
• Screw on bottom cover
CONGRATULATIONS
FZ.411.SS

Page 2of 16
3. TRANSPORTING
• When moving do not tilt over more than 45 degrees.
4. WARNING
• Keep ventilation openings in the appliance or in the built-in-structure clear of obstruction.
• Do not use mechanical devices or other means to accelerate the defrosting process.
• Do not damage the refrigerant circuit.
• Do not use electrical appliances inside the appliance.
• The appliance needs to be unplugged before carrying out any maintenance.
• If the electrical cord is damaged it must be replaced by a service agent or similarly qualied
person.
• Please handle and dispose of the appliance according to local regulations as it uses
ammable gas and refrigerant.
• Do not store explosive substances such as aerosol cans with ammable propellants in this
appliance.
5. LOCATION
Ensure adequate air circulation around your appliance; do not place the unit near any heat source,
direct sunlight, moisture or water to avoid rust and damaging the insulation.
Space at top of unit should be at least 30cm, sides and back at least 10cm from wall to allow doors to
open and close easily.
Install the appliance on a solid level oor. (If not level adjust the leveler)
Do not allow the power cable to be compressed by the refrigerator or heavy object which could dam-
age it causing power surges.
Before connecting to the power check the voltage and power supply carefully.

Page 3of 16
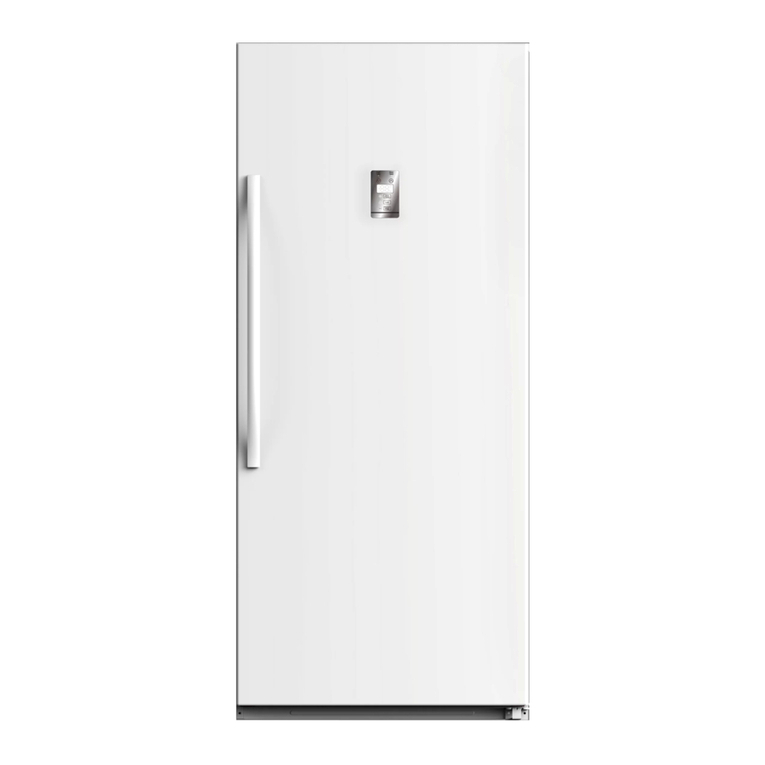
Upright Freezer
User’s Manual
Model: FZ.411.SS

Page 4of 16
This appliance is not intended for use by persons (including children) with reduced
physical, sensory or mental capabilities, or lack of experience and knowledge, unless
they have been given supervision or instruction concerning use of the appliance by a
person responsible for their safety.
Children should be supervised to ensure that they do not play with the appliance.
If the supply cord is damaged, it must be replaced by the manufacturer, its service
agent or similarly qualified persons in order to avoid a hazard.
WARNING:
-WARNING: Keep ventilation openings, in the appliance enclosure or in the built-in
structure, clear of obstruction.
-WARNING: Do not use mechanical devices or other means to accelerate the
defrosting process, other than those recommended by the manufacturer.
-WARNING: Do not damage the refrigerant circuit.
-WARNING: Do not use electrical appliances inside the food storage compartments
of the appliance, unless they are of the type recommended by the manufacturer.
-Do not store explosive substances such as aerosol cans with a flammable propellant
in this appliance.
This appliance is intended to be used in household and similar applications such as
staff kitchen areas in shops, offices and other working environments;
farm houses and by clients in hotels, motels and other residential type environments;
bed and breakfast type environments;
catering and similar non-retail applications.
Energy Saving Tips
· The appliance should be located in the coolest area of the room, away from heat
producing appliances or heating ducts, and out of the direct sunlight.
· Let hot foods cool to room temperature before placing in the appliance.
Overloading the appliance forces the compressor to run longer. Foods that freeze too
slowly may lose quality, or spoil.
· Be sure to wrap foods properly, and wipe containers dry before placing them in the
appliance. This cuts down on frost build-up inside the appliance.
· Appliance storage bin should not be lined with aluminum foil, wax paper, or paper
toweling. Liners interfere with cold air circulation, making the appliance less
efficient.
· Organize and label food to reduce door openings and extended searches. Remove as
many items as needed at one time, and close the door as soon as possible.
1

Page 5of 16
PROPER USE OF REFRIGERATOR
The coming of new fridge
lBefore the use of the fridge, remove all packages, including bottom cushion and foam pads
and rubber belts in the fridge;
lClear the outside and inside of the fridge with a piece of warm wet rag (little detergent can
be added into the warm water. Clear the fridge with fresh water at last);
lPrepare a separate two-pole grounding receptacle.
Do not share a multi-socket with other electric appliances.
lThe ground wire must be well connected and the grounding pole of the receptacle should be
grounded reliably.
lOpen the door, take out the attachments (the bottom decorative cover), and three setscrews
in the bag of the instruction. And install it onto the bottom beam of the fridge. For operation
method, see the right diagram.
Transport and placement of fridge
Transport
lDo not invert, place horizontally, squeeze or shock the fridge. And the declination angle of
the fridge must be no more than 45° when moving.
lWhen moving, do not force too much on the door or top for fear of deformation.
Placement
lPlace the fridge at a well-ventilated place and keep it away from heat and direct sunshine.
Never put it at a damp or watery place, for fear of rusting or weakening the insulation.
lThe top clearance outside the fridge must be no less than 30cm, and the clearance from both
sides and back to the walls must be no less than 10cm for the convenience of opening and heat
emission.
lPut the fridge on the flat and solid ground. (adjust the adjustable legs to get balance if
unstable).
Standing
lDo not switch on the fridge immediately after vertical placement. Only switch it on after 6
hours' standing to ensure its proper operation.
Notice
To prevent damage to the power cord and any consequent incidents, the power cord should
not be covered by the fridge or other objects.
Before switching on the fridge, please check carefully whether the voltage range of the fridge
is the same as that of the power supply.
2

Page 6of 16
INSTALL THE DOOR HANDLE
Note: Figures in the user manual are only for reference. The actual product may
differ slightly.
The refrigerator must be disconnected from the source of electrical supply before
attempting the installation of accessory.
NOTE:the screws and wrench are in the plastic bag.
3
①
①
②
②
③
①take out the two crisscross-screw;and install them into the door holes;
turn the screws till to the bottom;
②aim at screws to install the handle;
③the screws in the hole at the side of the handle and turn the screws till
them very tight.
the hole
the scr ew
③

Page 7of 16
5 outlet airflow gap. 6. inlet airflow gap
9 steel wire door tray.
1. lamp switch 2 lamp cover.
3 temperature sensor gap .
Note: Figures in the user manual are only for reference. The actual
product may differ slightly.
4 steel wire freezer shelf.
8 door tray. 7 steel wire drawer.
4
PARTS LIST
10 lock.

Page 8of 16
INSTALL THE DECORATIVE COVER FOR BOTTOM BEAM
The coming of new refrigerator
lOpen the door, take out the attachments (the bottom decorative cover), and three
setscrews in the bag of the Instruction. And install it onto the bottom beam of the
fridge. For operation method, see the below diagram.
Screws
Decorative cover for bottom beam
Install the bottom decorative cover using screw as below pictures.
cover plate get rid of the cover plate on the side of
the hinge, and keep the one on the
other side.
The opposite side on the hinge
is kept and fixed to be level.
get rid of the cover plate on
the side of the hinge
The opposite side on the hinge
is kept and fixed to be level.
get rid of the cover plate on
the side of the hinge
5
①②

Page 9of 16
6
SAFETY PRECAUTION

Page 10 of 16
7
POSITIONING
>100mm
>100mm
>300mm
Install this appliance in an area where the
ambient temperature is between 110 ℉(43℃)
and 32 ℉(0℃).If the temperature around the
appliance is too low or high ,cooling ability may
be affected

Page 11 of 16
30 minutes later,open the freezer
compartment door ,feel the cold air,that means
the unit works properly.
After a period of time to set the freezer
temperature at the desired temperature.
(Set the range from -14 ~-22 ( ))℃ ℃ 7℉ ~ -8℉
8
OPERATION CHECK

Page 12 of 16
back side
air gap
9
FOOD STORAGE

Page 13 of 16
INTRODUCTION OF THE FUNCTIONS
1 2
FE
A B C D
1、Alarm lamp
1.Hi-Temp(High temperature alarm)
2.Door Open(Door keep open for 60 seconds alarm )
3、 Funtion
A.Quick Freeze button B.℃or ℉ temperature switch button
C.Alarm Reset button D.Lock/Unlock button
2、Button
E.Temperature / Quick Freeze time setting ( ) downsetting
F.Temperature / Freeze time setting ( ) upsetting Quick
●Refrigerator and Freezer temperature setting
G
Press button E or F can easily realize the switching function of Refrigerator and
Freezer.the temperature icon G flickering, set the temperature range as follows:
-24℃→-23℃→ -22℃……→ -13℃→ -12℃→2℃…… 6℃ →7℃→ 8℃or 8℃→
7℃→6℃…… 2℃→ -12℃→-13℃…… -22℃→ -23℃→ -24℃
-11℉→ -10 ℉→ -9 ℉…… 10℉→36℉ … … 44 ℉→ 45 ℉→ 46 ℉ or 46 ℉→45 ℉
→44 ℉…… 36 ℉→ 10℉ …… -9℉ → -10℉ → -11 ℉
Exits the setting state 10 seconds later and takes effect.(when the temperature adjust,
also can press button D to lock and the temperature setting effect).
WARNING:
Please remove the food from the cabinet before switching the function of
Refrigerator and Freezer.
When adjust the temperature, please pay attention to the real adjusted
temperature for avoiding a mistake that the function directly from
Refrigerator to Freezer or from Freezer to Refrigerator while not remove
the food.
10

Page 14 of 16
INTRODUCTION OF THE FUNCTIONS
●℉ ℃Temperature or mode
Press button B to switch the freezer temperature show; easily to switch
between and mode.℉ ℃
●Alarm cancel
Press button C to cancel buzzing alarm when freezer high temperature alarm.
●Lock/Unlock
Unlock mode:press button D for 3 seconds to lock; after lock all button are inefficacy
except button D.
Lock mode:press button D for 3 seconds to release ;
When setting temperature and quick freeze time,press button D to exit and setting effect.
Please contact the after-sales Service Department of the Company or
professionals to deal with the faults,while the fridge still can keep refrigeration..
Fault content
Freezer temperature sensor failure
Freezer defrosting sensor failure.
Communication failure
Ambient temperature sensor failure
Freezer high temperature.
Fault code
E2
E5
E6
E7
E9
visible code
YES
YES
YES
YES
YES
11
●Quick Freeze Funtion setting
Un-Quick freeze funtion mode :press button A to enter quick freeze mode,the temperature
icon G show“24℃”or“11℉” ,quick freeze time acquiesce in 6 hours.Press
button A again to exit.
Quick freeze funtion will not work when the cabinet as the Refrigerator
- -
Quick freeze funtion mode :press button A for 3 seconds to enter the state of quick freeze
time setting,quick freeze time icon G flickering; press button E or F to adjust the quick freeze
time, to choose 6 or 48 hours setting .To exit the setting state 10 seconds later and takes effect.
(also can press button D to lock or button A to exit and setting effect).
(If quick freeze time show 6 hours,press button F to choose 48 hours,while quick freeze
time show 48 hours,press button E to choose 6 hours.48 hours NOT be advised to choose)

Page 15 of 16
LEAVING THE UNIT POWER OFF
If the unit will be power off for a long time,
the plug should be pulled out, then clean
the unit thoroughly.Ensure that the door
cannot be fully closed(leave a suitable gap),
and place the unit in a well-ventilated area
to avoid any odour.
Risk of child entrapment. Before you throw away your old refrigerator or freezer:
1, Take off the doors
2, Leave the shelves in place so that children may not easily climb inside.
Danger
12
MAINTENANCE

Page 16 of 16
Please contact the after-sales Service Department of the Company or
professionals to deal with the trouble to avoid any risk.
Before calling for the service ,please check the following issues first.
POSSIBLE CAUSEPROBLEM POSSIBLE SOLUTION
1) Does not work.
●No power to unit.
●Power cord is unplugged.
● Wrong voltage is being used.
●Check connection of power
cord to power source.
●Plug in unit.
●Use proper voltage.
2) Refrigerator runs
continuously.
●Temperature set too low.
●Door is not closed.
● Hot food inserted.
● Door opened too long or too often.
● Close proximity to heat
source or direct sunlight.
●Something to plug up inlet
or outlet airflow gap
● Lower temperature control.
● Close door securely.
● Be sure food is at room
temperature before inserting.
● Minimize door openings/
duration.
● Do not place unit close to
heat sources or direct
sunlight.
13
TROUBLE SHOOTING
Table of contents
Other Midea Freezer manuals

Midea
Midea MRC07M5AWW User manual

Midea
Midea HS-625FWEN User manual

Midea
Midea MRU14B3ASL User manual

Midea
Midea COMPACT Series User manual

Midea
Midea MRC04M3AWW User manual

Midea
Midea MRU14F2AWW User manual

Midea
Midea Mru21F2AWW User manual

Midea
Midea UR-BD199-DQ User manual

Midea
Midea MD-RT468WEDMX02 User manual

Midea
Midea WF130 User manual

Midea
Midea MRC04M3AWW User manual

Midea
Midea MF172W User manual

Midea
Midea MU53DSWBR1RCM User manual

Midea
Midea MDRC282FZ Series User manual

Midea
Midea CHEST FREEZER Series User manual

Midea
Midea WHS-384C1 User manual

Midea
Midea 355418 Wiring diagram

Midea
Midea MRC07M3AWWC User manual

Midea
Midea MU138SWAR1RC1 User manual

Midea
Midea MECHANICAL CONTROL Series User manual