manuals.online logo
Brands
  1. Home
  2. •
  3. Brands
  4. •
  5. Millennia
  6. •
  7. Amplifier
  8. •
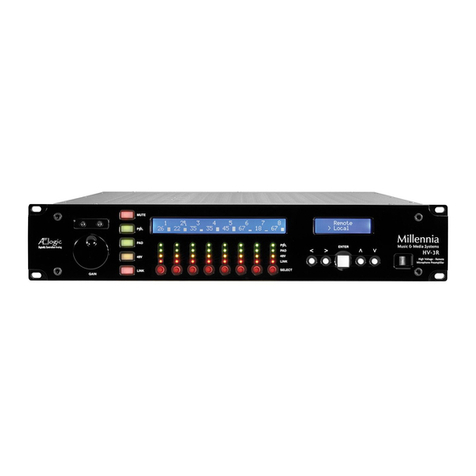
  9. Millennia HV-3R User manual

Millennia HV-3R User manual

Millennia
Media & Music Systems
HV-3R Quick Start Guide
1. LAN Remote Operation
a. Install ÆLogic Software (PC Only)
b. Set HV-3R to LAN Remote and Set Unit ID:
i. Choose Setup from the Main Menu.
ii. Choose MIDI, make sure it is set to OFF and
hit ENTER.
iii. Now Choose Unit ID, set it to 01 (or other
number. If using multiple units, each unit needs
a unique ID) and hit ENTER.
iv. Press the right arrow three times and choose IP
Address.
v. Press down arrow to set address to
192.168.1.201 (or other number, if multiple
units, each unit needs a unique IP address. Use
192.168.1.202 for Unit ID 02 etc)
vi. Press enter twice to save.
vii. Press the up arrow two times to return to the
Top of the Main Menu.
c. Save HV-3R Settings
i. Choose Save from the Main Menu.
ii. To Name the saved setup choose Name and
use the arrow buttons to choose the desired
title, hit ENTER. Otherwise choose Save and
continue to step iii.
iii. Choose the desired memory location and hit
ENTER.
iv. When prompted to Overwrite Setup? choose
Yes.
v. Hit the Up Arrow two times to return to the Top
of the Main Menu
d. Setting the HV-3R to Startup with these Settings
i. Choose Setup from the Main Menu.
ii. Scroll right to Startup and hit ENTER.
iii. Mode will choose to startup in Local or
Remote and Setup will choose the startup
memory location.
e. Plug the computer and HV-3R LAN Ports into the
same LAN Router and run the ÆLogic Software.
You must do steps c and d above to have the
unit remember and startup with the correct
settings after the HV-3R is powered down.
f. Lock in Remote Mode
i. When the HV3R is in Local mode and the cursor
is at the top of the menu tree; pressing the
keys < vplaces the unit in Remote mode.
Remote mode can only be exited to “Local”
mode by again pressing < vkeys
2. Local Operation
a. To operate the HV-3R manually, make sure
it is in Local Mode.
i. If the Edit Screen looks like this
ii. Hit ENTER to select Local Mode
b. If the HV-3R is regularly going to be used in
Local Mode, refer to Section 1, Subsection
c.
c. Operating the HV-3R Locally
i. To adjust a channel, press the channel’s
SELECT button and then change
parameters.
ii. The LINK function will group the MUTE
and GAIN functions of linked channels.
3. Pro Tools Remote Operation
a. Make sure Pro Tools is installed and all
hardware (Digidesign I/O, MIDI I/O) is set
up and working.
b. Set HV-3R to MIDI Remote:
i. From the Top of the Main Menu, scroll
right to Setup and hit ENTER.
ii. Choose MIDI, set the desired MIDI
channel number (If using multiple units,
each unit needs a unique channel) and
hit ENTER.
iii. Press the up arrow two times to return to
the top of the Main Menu.
iv. Hit ENTER on Remote to enter MIDI
Remote Operation.
c. If the HV-3R is regularly going to be
controlled by MIDI, refer to Section 1,
Subsection c.
d. Connect the MIDI IN and OUT ports of the
HV-3R to the desired ports on the MIDI I/O
and start Pro Tools. It is recommended
that the same port number on the MIDI I/O
be used for the output and input. When
connecting multiple units, be sure to daisy
chain them together, OUT to IN, so that
only one IN and one OUT port on the MIDI
I/O are used.
MIDI Remote ##
Local
More information available on our website at: www.mil-media.com/hv-3r.html#downloads
Go to the downloads section for the full manual and other documentation.
More information available on the web at http://www.mil-media.com/hv-3r.html#downloads Go to the downloads section for the full manual and other documentation. Revised 013008 V 1.3.1
ÆLogic Quick Start Guide
Enabling/Disabling multiple buttons quickly - In order to
quickly toggle multiple buttons of the same type (i.e. 48V), click
on the desired type of button and drag across other buttons.
Linking Channels as a Group - In order to control mute and
gain functions on multiple channels at the same time one or more
link groups need to be created.
Click the drop down menu next to “LINK” and choose the link
group for each channel.
OR use “Ctrl+L” to Bring up Link Matrix and choose the link group
for each channel. A channel can only be assigned to one link
group at a time.
Moving Gain Faders Independently in a LINK Group
Alt + Click-and-Drag fader in a LINK group
Independent MUTE of channels in a LINK Group
Under “Setup>Preferences” uncheck the “Mute linked channels”
box.
Naming a Unit - Right click “UNIT #” tab above each bank of 8
channels.
Naming a Channel - Right click “Channel #” scribble strip
directly below LINK function of each channel.
Using the Scene Window to Create, Save, and
Reorder Scenes - Before you can create, name, and
activate new scenes you must first save your project. If
you don’t, you will be prompted to anyways.
Go to “File>Save As” and choose a destination.
Creating a New Scene - Press “New” button underneath
Scene Window.
In order to change parameters of a newly created scene
you must first activate it.
To do this, highlight the scene in the Scene Window and
press “Recall”
Saving Changes to a Scene - “File>Save” or “Ctrl+S”
will save the changes made to a currently active scene.
Scenes are not saved until you save the
project.
Re-Ordering Scenes - To change the order of scenes,
click the scene you want to move and drag it to the
desired location in the Scene Window. The numbers will
automatically re-order themselves.
Keys Function
Alt Click-and-Drag fader of linked group Allows you to trim member of group
Alt E Edit Menu
Alt F File Menu
Alt F4 Close program
Alt S Setup Menu
Click and Drag on Link Matrix Drag across to link/unlink channels
Click and Drag POL or Pad or 48V or Mute or Link Drag across channel buttons to select or unselect
Click and Drag Scene name Drag to new place in list
Ctrl H Help Menu
Ctrl I Unit identity check
Ctrl L Brings up Link Matrix
Ctrl M Meter preferences
Ctrl N Create new project
Ctrl O Open project
Ctrl S Save
Ctrl Z Undo (10 levels)
Double Click Group Title in Link Matrix Lists channels that are members of the group
Double Click on unit icon in Unit Status box Gives voltage, temperature and network data of unit.
Double Click Scene name Loads Scene
F1 Help Menu
Left/Right keys (on controls) Move channels one over
Right Click Group title name in Link Matrix Edit name
Right Click link box in Link Matrix Edit channel name
Right Click on channel name below fader Edit channel name
Right Click on meter Edit meter settings
Right Click on unit name above faders Edit unit name
Right Click scene name Edit scene name
Shift Ctrl S Save as
Up/Down keys (on controls) Increment/Decrement gain by 1dB

Other manuals for HV-3R

2

Other Millennia Amplifier manuals

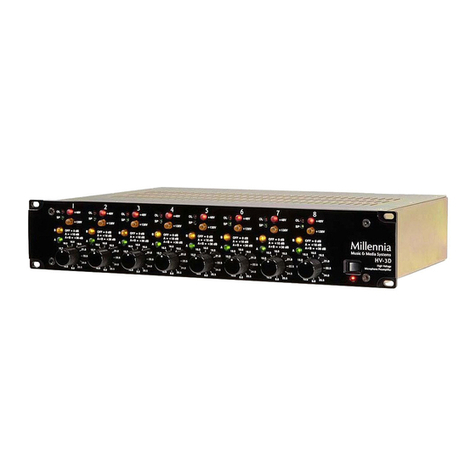
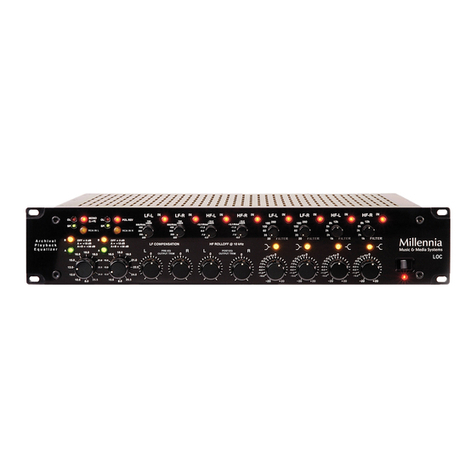
Millennia LOC Analog Legacy User manual

Millennia

Millennia LOC Analog Legacy User manual

Millennia M-2B User manual

Millennia

Millennia M-2B User manual

Millennia LPE-2 User manual

Millennia

Millennia LPE-2 User manual

Millennia STT-1 User manual

Millennia

Millennia STT-1 User manual

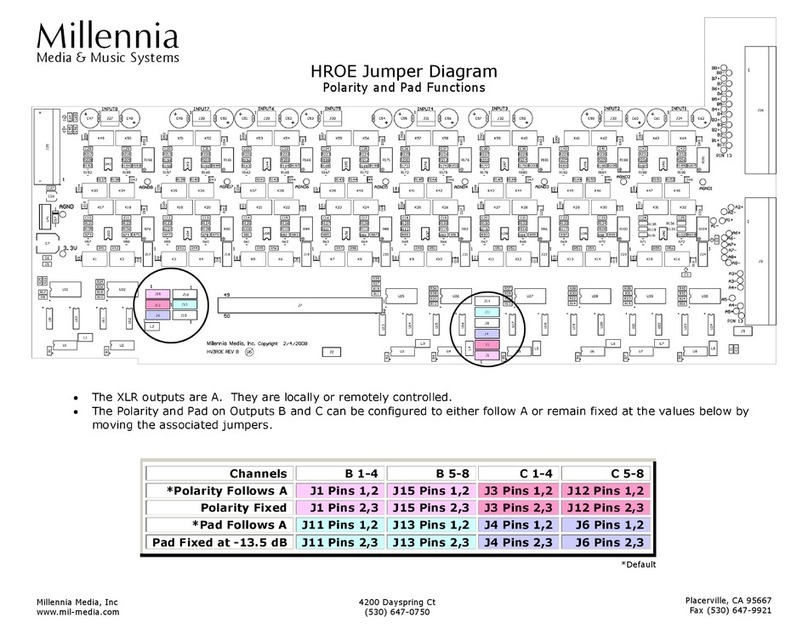
Millennia HROE Quick start guide

Millennia

Millennia HROE Quick start guide

Millennia HV-316 Series User manual

Millennia

Millennia HV-316 Series User manual

Millennia HV-35P User manual

Millennia

Millennia HV-35P User manual

Millennia HV-3B User manual

Millennia

Millennia HV-3B User manual

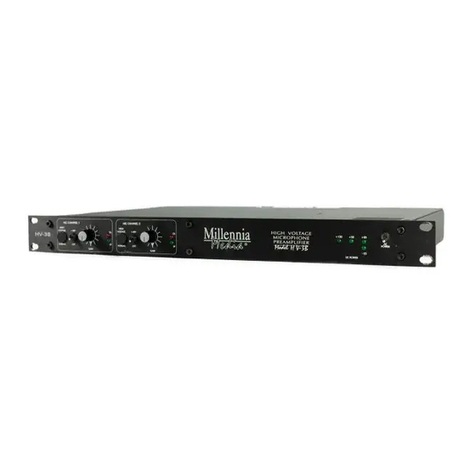
Millennia HV-3R User manual

Millennia

Millennia HV-3R User manual

Millennia M-2B User manual

Millennia

Millennia M-2B User manual

Millennia HV-3C User manual

Millennia

Millennia HV-3C User manual

Millennia HV-37 User manual

Millennia

Millennia HV-37 User manual

Millennia HV-32P User manual

Millennia

Millennia HV-32P User manual

Millennia HV32P User manual

Millennia

Millennia HV32P User manual

Millennia HV-3C User manual

Millennia

Millennia HV-3C User manual

Millennia NSEQ-2 User manual

Millennia

Millennia NSEQ-2 User manual

Millennia HV-3D User manual

Millennia

Millennia HV-3D User manual

Millennia TCL-2 User manual

Millennia

Millennia TCL-2 User manual

Millennia HV-32P User manual

Millennia

Millennia HV-32P User manual

Millennia HV-3R User manual

Millennia

Millennia HV-3R User manual

Popular Amplifier manuals by other brands

Fishman LOUDBOX PRO owner's manual

Fishman

Fishman LOUDBOX PRO owner's manual

DSPPA P.A.SERIES MP 1600 owner's manual

DSPPA

DSPPA P.A.SERIES MP 1600 owner's manual

RCA TVPRAMP1R user guide

RCA

RCA TVPRAMP1R user guide

Parasound ZoneMaster 2350 owner's manual

Parasound

Parasound ZoneMaster 2350 owner's manual

Extron electronics NetPA 502 AT user guide

Extron electronics

Extron electronics NetPA 502 AT user guide

poly-planar ME70BT manual

poly-planar

poly-planar ME70BT manual

Oppo HA-2 user guide

Oppo

Oppo HA-2 user guide

Bogen NYQUIST NQ-GA40P3 Installation and use guide

Bogen

Bogen NYQUIST NQ-GA40P3 Installation and use guide

Krell Industries Evolution Owner's reference

Krell Industries

Krell Industries Evolution Owner's reference

PS Audio Stellar M700 Owner's reference

PS Audio

PS Audio Stellar M700 Owner's reference

Pioneer A-P710 Service manual

Pioneer

Pioneer A-P710 Service manual

Rolls RA280 Specifications

Rolls

Rolls RA280 Specifications

Optimus AM-30U Installation and operating instructions

Optimus

Optimus AM-30U Installation and operating instructions

Sherwood Newcastle A-965 operating instructions

Sherwood

Sherwood Newcastle A-965 operating instructions

Denon PMA-2500NE owner's manual

Denon

Denon PMA-2500NE owner's manual

AMX Solecis AVB-DA-RGBHV-ST-0102 installation guide

AMX

AMX Solecis AVB-DA-RGBHV-ST-0102 installation guide

Marantz PM-17SA Service manual

Marantz

Marantz PM-17SA Service manual

Palstar Commander VHF-1200 owner's manual

Palstar

Palstar Commander VHF-1200 owner's manual

manuals.online logo
manuals.online logoBrands
  • About & Mission
  • Contact us
  • Privacy Policy
  • Terms and Conditions

Copyright 2025 Manuals.Online. All Rights Reserved.