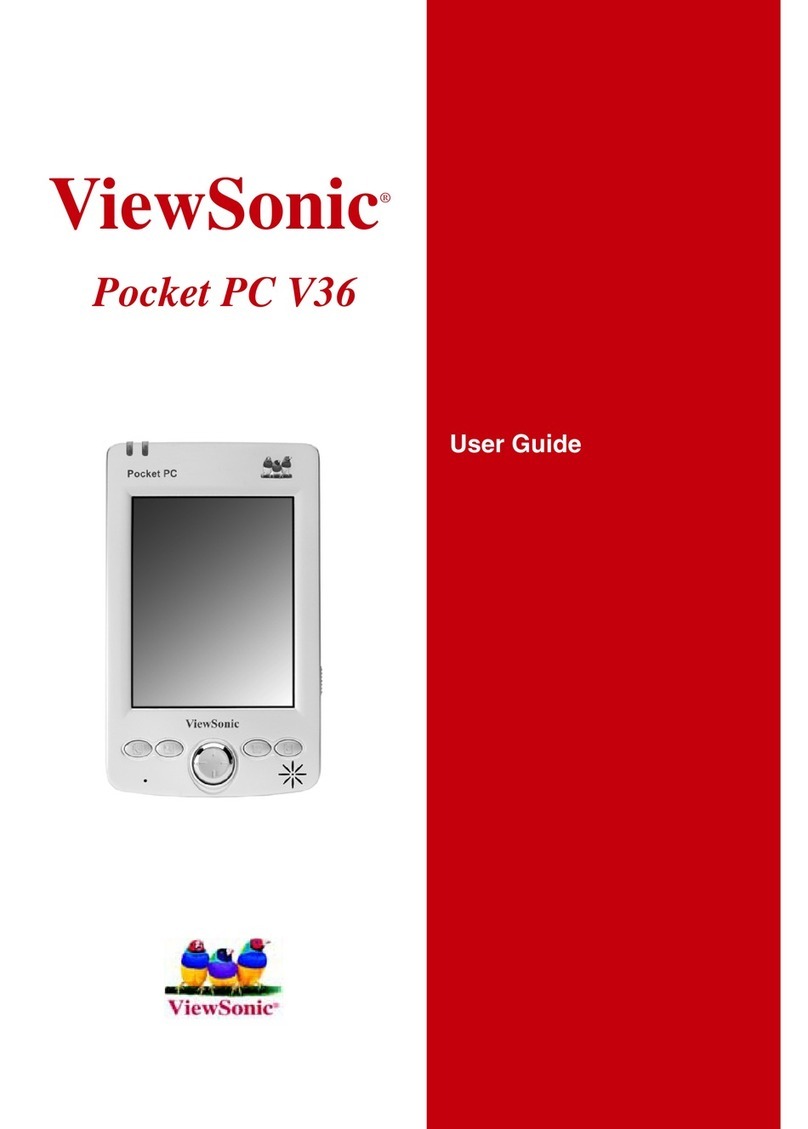
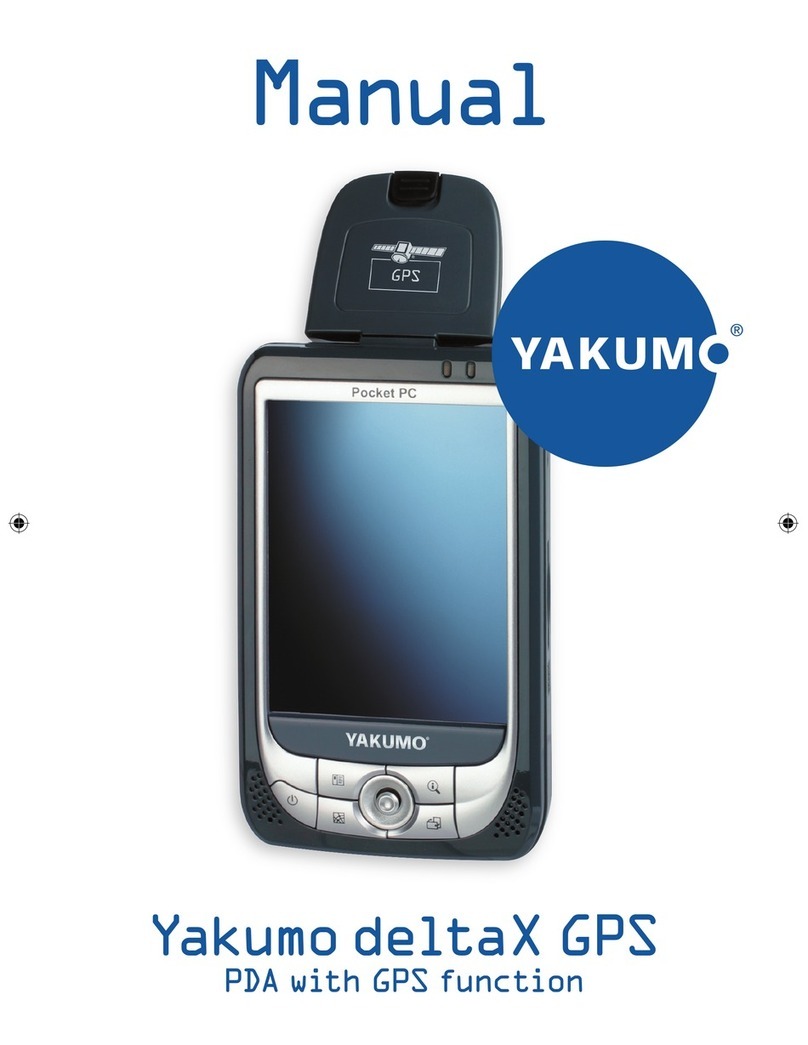
Milletech IO User manual

Notice
The information contained in this document is subject to change without notice.
Milletech makes no warranty of any kind with regard to this manual, including, but not
limited to, the implied warranties of merchantability and fitness for a particular purpose.
Milletech shall not be liable for any errors or for incidental or consequential damage in
connection with the furnishing, performance, or use of this manual.
All right reserved. Reproduction, adaptation, or translation of this manual is prohibited
without prior written consent of Milletech, except as allowed under the copyright laws.
Microsoft, Microsoft ActiveSync, Pocket PC, Outlook, Windows, and the Windows logo
are either registered trademarks or trademark of Microsoft Corporation in the United
States and/or other countries. Microsoft products are licensed to OEMs by Microsoft
Licensing, Inc., a wholly owned subsidiary of Microsoft Corporation.
All other brand names and product names used in this manual are the trade names,
service marks, trademarks, or registered trademarks of their respective owners.
Copyright©2003 Milletech Co., Ltd.
All rights reserved. Milletech, Io, Milletech logo and the Io logo are trademarks of
Milletech Co., Ltd., and may be registered in jurisdiction.
1

Using This User’ s Guide
Thank you for buying the IO, the Microsoft Windows CE-powered device. The IO lets
you keep well organized with managing your business and personal information. You
will notice that IO has many of the same characteristics with Microsoft Windows. So you
can become familiar with the functionality of your IO and benefit from quick access to
essential information, interface with your desktop PC applications. Enjoy the
convenience and portability of IO.
This User Guide provides you quick and effective introduction for use of IO. It
describes all you need to know about how to use your device and the programs on your
IO. For more information, see the online Help on your IO.
Conventions Explanation
Some conventions may be used in this User’ s Guide that will help you get the
additional or highlight important information about the topic.
Warning( ): Caution or warning information about the topic. This is important
information that should be observed to prevent loss of data or damage to the IO.
Note( ) : Helpful information or a another way to do something about the topic.
2

Table of Contents
Chapter 1. Getting Started
1.1.Introducing the Io
1.2.Io Hardware Features
1.3.Charging the Battery
1.4. Using the Stylus
1.5. Entering Data
1.6. Taskbar and Command bars
1.7. Configuring Settings Options
1.8. Using PC Cards
Chapter 2. Microsoft ActiveSync
2.1. Setting up Microsoft ActiveSync
2.2. Connecting to Your Desktop PC
2.3. Synchronizing Data
2.4. Browsing your Io on Your Desktop PC
2.5. Backing up and Restoring Data
2.6. Adding or Removing Programs
Chapter 3. Microsoft Outlook Applications
3.1. Calendar : Keeping Appointments and Meetings
3.2. Contacts : Managing Friends and Colleagues
3.3. Tasks : Keeping to Do List
3.4. Inbox : Sending and Receiving E-mail Message
Chapter 4. Companion Programs
4.1. Pocket Word
4.2. Spreadsheet
4.3. Microsoft File Viewers
4.4. Internet Explorer
4.5. Media Player
4.6. Inbox
4.7. Voice Recorder
4.8. Screen Rotation
4.9. IPSM
3

4.10. Game
Chapter 5. Remote Connections
5.1 Connecting to an ISP
5.2 Connecting to Your Network
5.3 Connecting Directly to an E-mail Server
Chapter 6. Tips & Troubleshooting
Appendix A: Hardware Specification
Appendix B : Limited Warranty
FCC Statement
4

Chapter 1. Getting Started
1.1. Introducing the Io
Here’ s what comes in the box. Before you start, check that your package contains the
following items.
5

1.2. Io Hardware Features
1. Flip Cover
The cover protects the LCD when it is not in use.
2. Antenna Hole
You can build CDMA module into your Io optionally, and then antenna will be
equipped in the hole.
3. Stylus and Stylus Slot
Allows you tap items or write on the screen.
4. Serial Port
Connect to your desktop PC to transfer files or synchronize data by serial
connection.
5. USB Port
Connect to your desktop PC to transfer files or synchronize data by USB connection.
6. Earphone Jack
Listen to the stereo sound using earphone.
7. CDMA LED
When you connected by optional CDMA module, a steady green light stays on
indicating connection in progress.
8. Charge LED
A red light indicates charging the battery while connected to AC adapter.
6

9. Hot Key
Allows you to quickly start 3 applications. Also you can change the functions of the
hot key to open different applications.
10. Infrared Port
Exchange data by infrared beam between your Io and other infrared-equipped
device.
11. Microphone
Allows you to record a sound files, such as voice memos.
12. Direction Button
Press it left and right to select the items.
13. Power Button
Turn on and turn off your Io. Just press power button to suspend operation, and
later when you turn it on, you can start working exactly where you left.
14. DC Jack
Connect to your Io to AC adapter to charge the battery.
15. PC Type II Card Slot
Insert a PC Card to expand memory or add other PC Card accessories.
16. PC type II Card Release Tab
7

Press it to eject a PC Card from the PC Card slot.
17. Battery Pack
Rechargeable Li-Ion battery that provides power to your Io.
18. Battery Latch
Slide the latch in the direction of the arrow to install or remove the battery.
19. Speaker
Allows you to listen to sound.
20. Reset Hole
Restart your Io with the touch of a hole.
1.3. Setting Up the IO
Turning the IO On and Off
Using the power button, you can start and stop the operation of your IO. You can start
working immediately by pressing the power button on the front of your IO. When you
are finished, turn off your IO by pressing the power button or taping Suspend on the
Start menu. Turning off IO means suspending system operations not closing the system.
When you power on your IO, you will resume at the same point as when you suspended
operation.
You can also set IO setting options to auto-suspend or to turn it off after a preset
period time of continuous idle time. It allows you to save battery power. Tap settings,
Control Panel, Power and then tap Power Off tab.
Resetting the system
If your IO responds slowly or freezes, try resetting it to restart the system. Unsaved
data in open windows may be lost. There are two ways of resetting ; soft reset and
hard reset. Soft reset is similar to rebooting your desktop PC. To perform a soft reset,
using the stylus press reset hole in the rear of IO, and then the system restarts.
8

One another way to reset is a hard reset. If you forget your password on your
documents or want to clear all information from your IO, you should hard reset your IO.
After you perform a hard reset, all the memory on your IO are cleared and IO returns
to the factory settings.
Perform a hard reset as follows ;
-Remove the battery from your IO and wait least 1 minute, and then install the battery
again.
-Press the power button and simultaneously press the reset hole.
: Hard Reset deletes all data and programs created on your IO, and restores the
IO to its default settings. So using an ActiveSync, backup copy and restore of your
data.
For more information, see ActiveSync Help on your desktop PC.
1.4. Charging the Battery
The IO comes with a rechargeable Li-Ion battery. When the battery charge are low, you
will see the low battery warning icon in the status area. If the battery level
becomes too low, the Io will automatically switch off and any information in progress
will not be saved. Recharge your battery immediately before you lose data on your Io.
9

: The battery is delivered partially charged. So before using the Io for the first
time, you must fully charge the battery.
Connecting the AC Adapter
To charge the battery, you must connect to the AC adapter that comes with your Io.
While your Io is connected to AC adapter, the LED stays on indicating the battery is
charged and the icon displays in the status area.
: To understand icons in the status area of your IO, select Help, Windows CE
Basics, Understanding Taskbar Icons.
To Connect to an AC Adapter
1. Plug the power cable to the one end of AC adapter.
2. Connect the AC adapter cable to the DC jack on the front of your Io.
3. Plug the end of power cable into a wall outlet, then you will see a red light on
the Charge LED indicating Io is being charged.
Removing and Installing the Battery Pack
To Remove the Battery, Perform the following Steps ;
1. Connect IO to the AC adapter
2. Save any active data and turn the IO off
3. Lift the cover down your IO.
4. Gently press the battery pack latch in direction of arrow and simultaneously hold the
battery pack and pull up.
10

: Before you remove the battery from your IO, connect the IO to AC adapter. If
not, you must lose all data on your IO.
To Install the Battery
1. Lift the cover down your Io.
2. Gently press the battery latch on the bottom of Io.
3. Place the battery in the battery slot on the bottom of your Io and push them
firmly until it drops into place.
4. Make sure that battery fits into the side of your Io.
: If the battery’s performance has degraded (e.g., the battery’s charge lasts
only half as long as when it was new), consider replacing your worn battery with a new
battery.
1.5. Using the Stylus
Use the stylus like using a mouse to select objects on the screen. You can tap and drag
objects on the Io screen and enter the information on the screen. These are the basic
actions to get things done on your Io.
The following actions are available with stylus :
- Tap : Touch the stylus once on the screen to select a item or activate a button.
- Double-tap : Double-tap on the screen like a double-clicking on a mouse.
11

- Drag : Hold the stylus on the screen and drag.
: Always use the point of stylus for tapping or making a select on the touch
screen, except actual pen, pencil or other sharp objects.
1.6. Entering Data
Using the Input Panel
Io includes the Input Panel to ender data on your documents. When you type using the
on-screen keyboard, the typed word appears at the insertion point. Tap the input panel
icon on the status area to open or hide the input panel.
12

To Type On-screen Keyboard
1. Open any programs.
2. Tap the Input Panel icon in the status area.
3. Tap the letter with your stylus on the soft keyboard that displays.
4. It is inserted in the documents.
5. After you finish, tap the close button.
The default writing mode for on-screen keyboard is lowercase mode including
numbers. Pressing the CAP tab, you can use the uppercase mode that displays capital
letters and special characters. When you want to return to the lowercase mode, tap
CAP tab again. And, also you can use the uppercase mode pressing the Shift tab, but it
automatically returns to lowercase mode immediately.
13

: you can use the CAP, Shift and Ctl tab like a left mouse button. While you tap
each them, the pop-up menu appears when you hold the stylus on the icon or on the
screen.
1.7. Taskbar and Command Bars
Taskbar contains Start menu and a status area. Use Start menu to open programs,
online Help, and recent documents you used. Just tap Start, and then the program or
item you want to open. To open programs using Start menu, copy the program button in
the Programs folder of Windows folder on your IO.
And also you have running programs are displayed in the taskbar. For information on
taskbar icons, On the Start menu on your Io, tap Help and select Understanding
Taskbar Icons.
14

The command bar located at the top of each program. It displays both menu name and
toolbar button names. Tap the slider and drag to switch between displaying toolbar
buttons only, menu names only, or menu names and toolbar buttons. You can also drag
the slider down to move the toolbar under the menus.
15

1.8. Configuring Settings
As on your desktop PC, you can adjust Io setting to suit the way you work. To see
available options, on the Start menu, tap Settings, and then Control Panel. Double-tap
the icon what you looking for. For more information, see the online Help on your Io.
Button
Configuring the hot keys applications to your favorite programs.
16

PC Connections
Type your device name and set options to establish a connection between your IO and
desktop PC. You can change the connection methods such as USB or Serial connection.
Date/Time
Change the time and date
Dialing
Create dialing locations and set dialing options for connecting to ISP or remote
17

computer.
Display
Set the background image of your MS Windows and adjust backlight brightness and
contrast to save the battery life.
Input Panel
Select the input method you want.
18

Network
Configure network interface cards, drivers, and your account for network connection.
To change the network driver settings, select the driver in the list and then tap
Properties button.
Owner
Enter your own information and add notes.
Password
Limit to your IO. The password can include both letters and numbers.
19

Power
Conserve battery life. You can monitor the battery charging and set the power off
options when the IO continues not in use.
Regional Settings
Customize the appearance of number, currency, time, date
Stylus
Recalibrate the stylus or adjust a speed of double tap.
20
Table of contents
