6
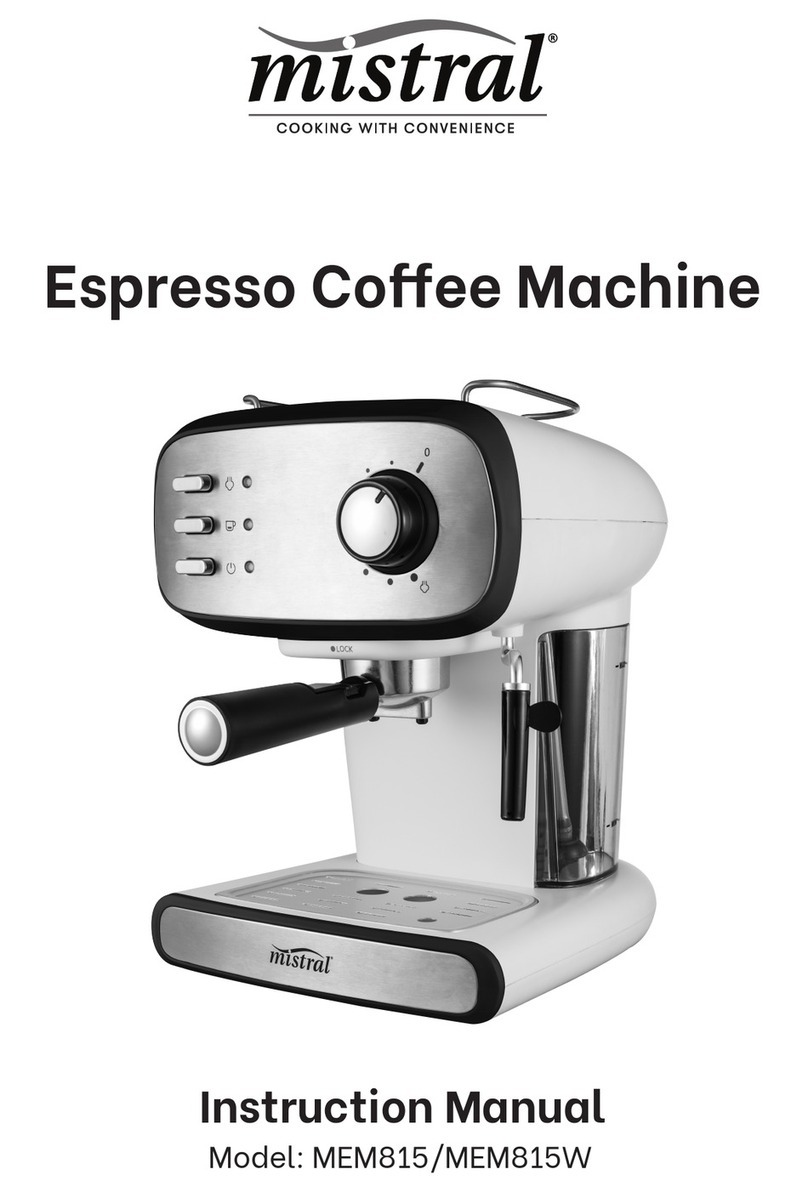
How To Use Your
Espresso Coffee
Machine
Pre-heating The machine
To make a good espresso coffee it is
recommended to preheat the coffee machine
before making the coffee. Pre-heating includes
the Coffee Filter Holder(5) and the cup(s) so that
the avor and temperature of the coffee is not
inuenced by the cold parts.
• Remove the Water Tank (7) at the rear of the
unit.
• Fill the Water Tank (7) with water making sure
you do not exceed the ‘max’ or not lower
than ‘min’ level and insert it back into the rear
of the unit.
Note: Insert the water pump suction hose
into the water tank prior to positioning
water tank into place.
• Insert the Coffee Filter (3) into the Coffee Filter
Holder (5), make sure you align the notch on
the lter with the groove on the Coffee Filter
Holder(5). Rotate the Coffee Filter (3) to the
left or right to lock it in Coffee Filter Holder(5).
• Without adding coffee place the Coffee Filter
Holder (5) (including the empty coffee lter)
into the dock (Fig 1), turn anti-clockwise until it
is xed tight (Fig 2 and 3).
• Check again to ensure the Steam Control
Knob (2) is set to ‘0’. Make sure the Steam
Button
(), and the Coffee Button( ) are in the
“Off” position (Not pressed in). Place an
espresso coffee cup(s) onto the Drip Tray
Plate (8).
If you need making two small cups of coffee,
place one cup under each nozzle of the
Coffee Filter Holder (5).
Connect the mains plug to the mains supply.
Press the On/Off Button( ) , the red Power
Indicator Light (F) will illuminate.
• Press the Coffee Button( ) , water will now
pump through. While water is owing out,
press the Coffee Button( ) again. This allows
the coffee machine to preheat. When the
coffee machine has heated, the Coffee
Indicator Light (E) will illuminate turn green,
press the Coffee Button( ) and hot water
will ow out. After about 20 seconds, press the
Coffee Button( ) , to stop the water owing.
• Your coffee machine and cup are now
preheated.
Making an Espresso Coffee
• Remove the Coffee Filter Holder (5).
• Using the Measuring spoon (6), add ground
coffee powder to the Coffee Filter (3) Only ll
half way for one small cup of coffee, ll it full
for two cups.
• Press the ground coffee powder tightly using
the Tamper (6) at the end of the Measuring
Spoon (6).
• Set the Coffee Filter (3) and Coffee Filter
Holder (5) under the dock (see Fig.1), and
turn it anti-clockwise until it is xed tight and
securely (see Fig.2 and Fig.3).
• Pour out the hot water in the cup(s) from
pre-heating, then place your hot cups on to
the Drip Tray Plate (8). Make sure the Steam
Control Knob (2) is at the ‘0’ position and the
Steam Button( ) is not pressed in.
• Once the Coffee Indicator Light(E) illuminates
green, press the Coffee Button( ) , after a
brief moment coffee will ow out.
• Press the Coffee Button( ) to stop when the
desired coffee is obtained, or the color of
coffee changes to a lighter color - indicating
it is weak.
• After your coffee is made, press the On/Off
Button( ) . The Power Indicator Light (F) and
Coffee Indicator (E) will go out. Your coffee is
ready now.
WARNING: Do not leave the coffee
machine unattended during coffee
making process, as you need operate it
manually.
Note: During coffee brewing or steam
making process, it is normal for the
Coffee Indicator Light (E) to go on and
off. This indicates that the thermostat
is controlling the heating element to
maintain correct temperature.
• On completion of coffee pouring process,
you can remove the Coffee Filter Holder (5)
by turning it clockwise and dispose of the
used coffee granules in the Coffee lter(3,
press the lter retention clip on the handle to
release the lter from the lter holder.
• Let them cool down completely, then rinse
under running water.


