Mitsubishi Electric Mr.Slim PSA-RP KA User manual
Other Mitsubishi Electric Air Conditioner manuals

Mitsubishi Electric
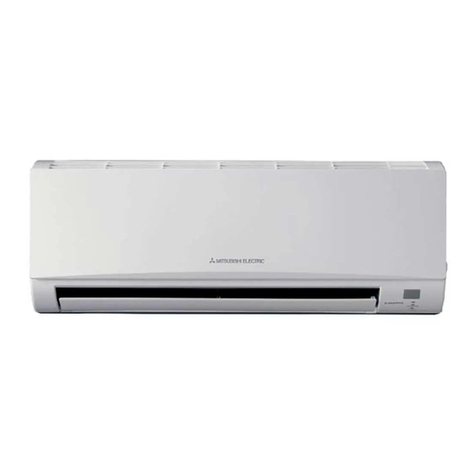
Mitsubishi Electric PLFY-P15VCM-E2 Operating manual
Mitsubishi Electric
Mitsubishi Electric MSZ-HA25VA-E1 User manual
Mitsubishi Electric
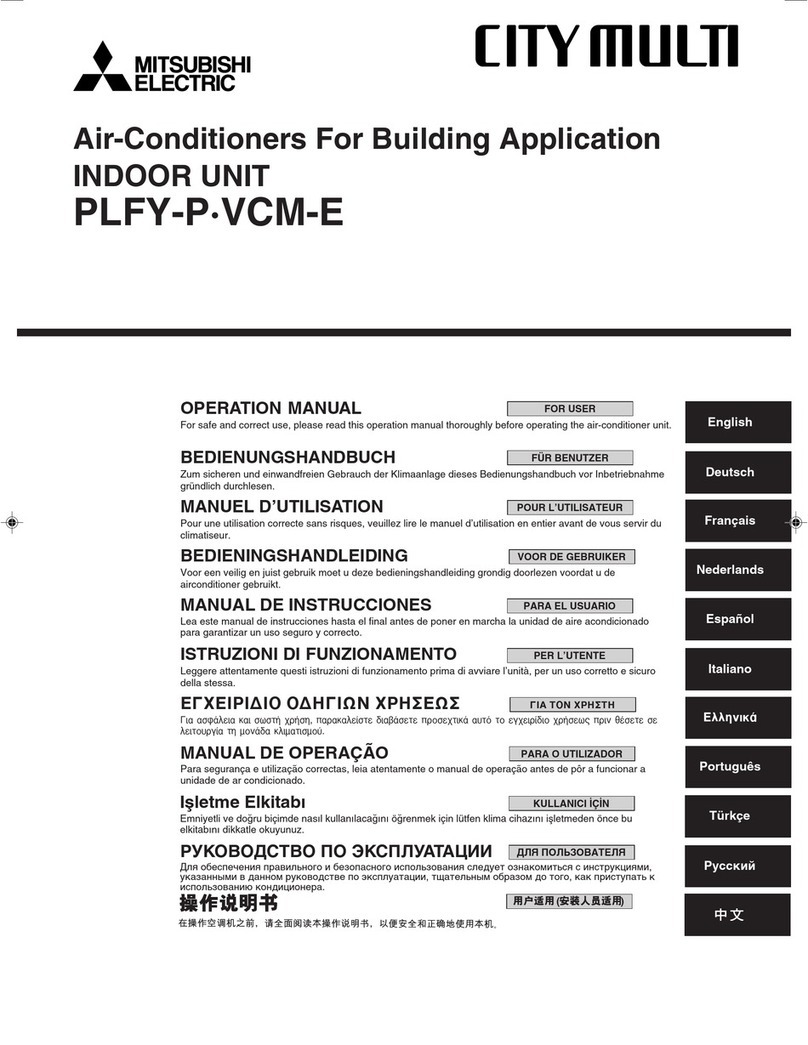
Mitsubishi Electric PLFY-P-VCM-E User manual
Mitsubishi Electric
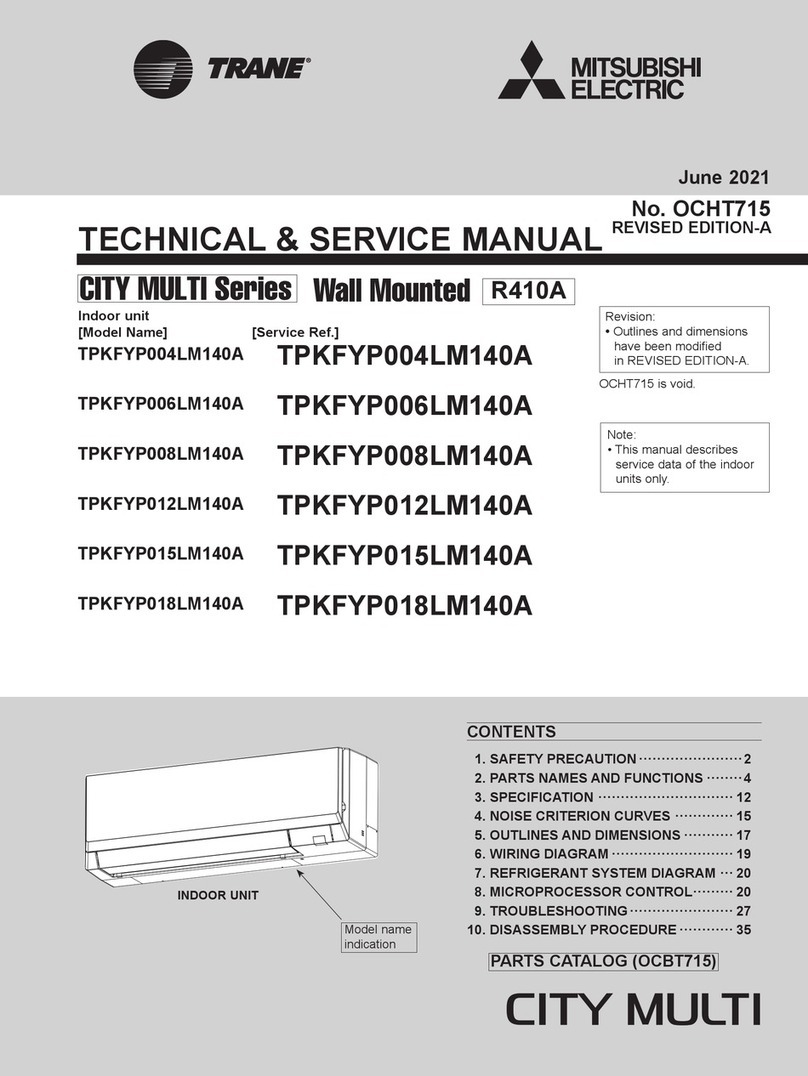
Mitsubishi Electric TRANE CITY MULTI TPKFYP004LM140A Operating manual

Mitsubishi Electric
Mitsubishi Electric MSZ-DM25VA User manual

Mitsubishi Electric
Mitsubishi Electric MSZ-AP25VG User manual
Mitsubishi Electric
Mitsubishi Electric PURY-P72TYJMU-A How to use
Mitsubishi Electric
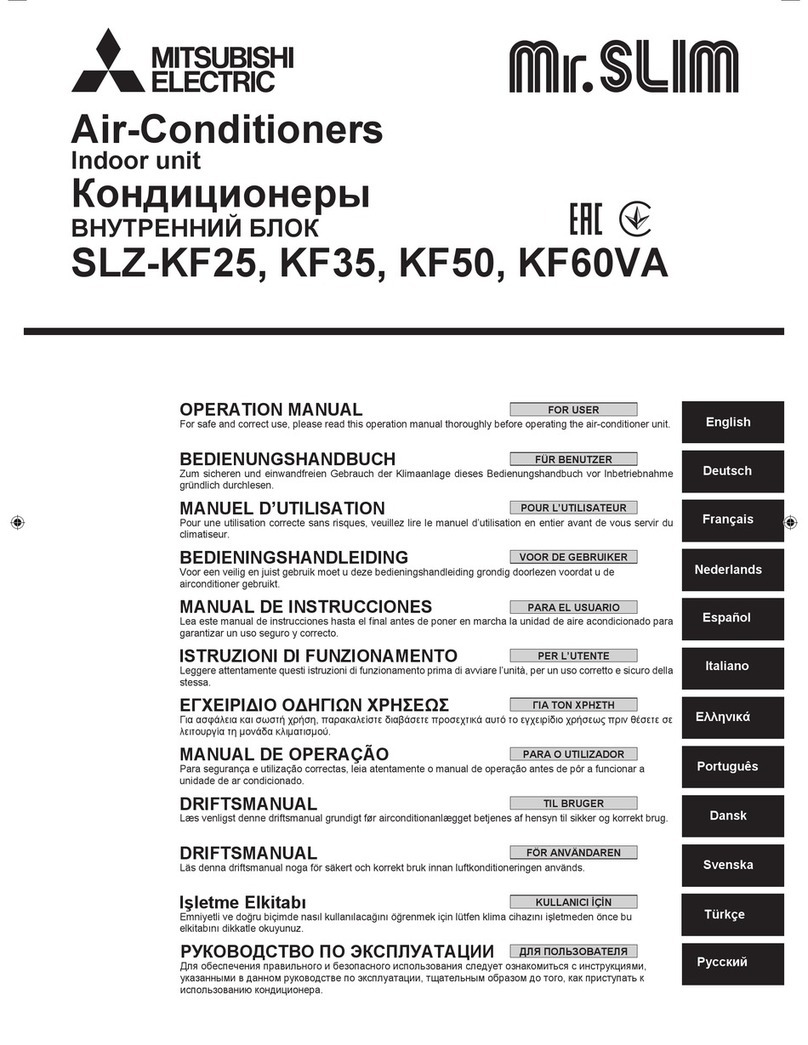
Mitsubishi Electric SLZ-KF25VA User manual

Mitsubishi Electric
Mitsubishi Electric Mr. Slim PKA-A24KA4 User manual
Mitsubishi Electric
Mitsubishi Electric PAA-A18AA1 User manual

Mitsubishi Electric
Mitsubishi Electric MSY-GL24NA User manual

Mitsubishi Electric
Mitsubishi Electric PEFY Series Operating manual
Mitsubishi Electric
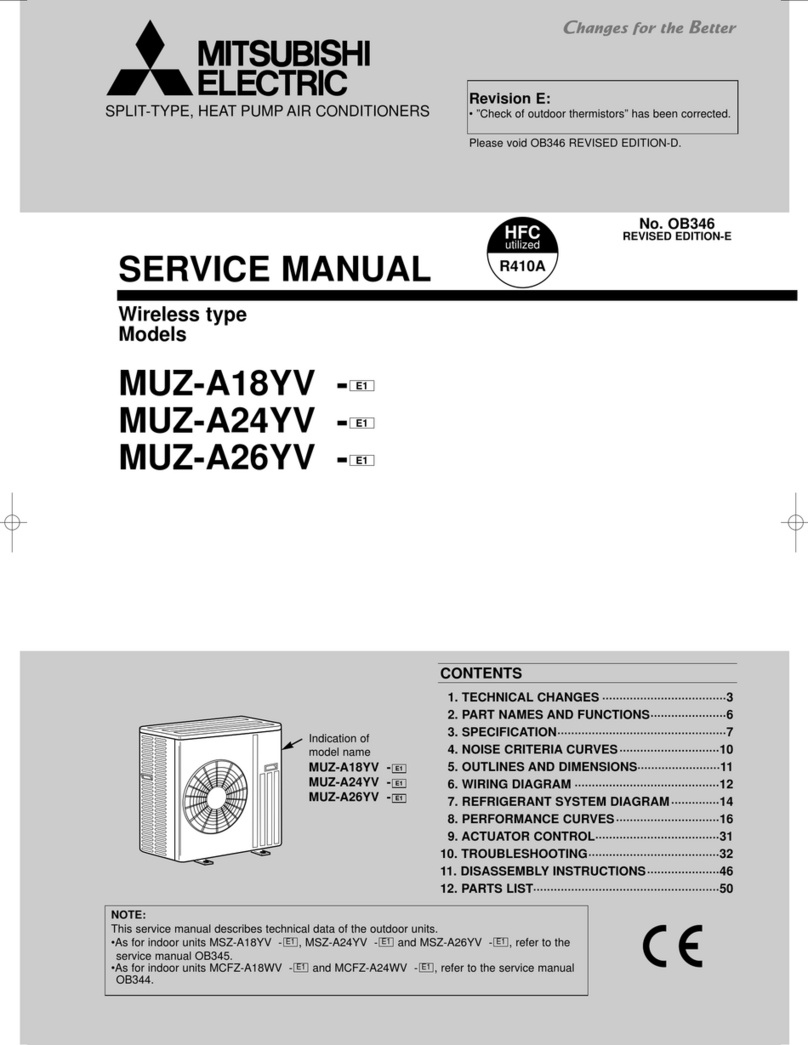
Mitsubishi Electric MUZ-A18YV User manual
Mitsubishi Electric
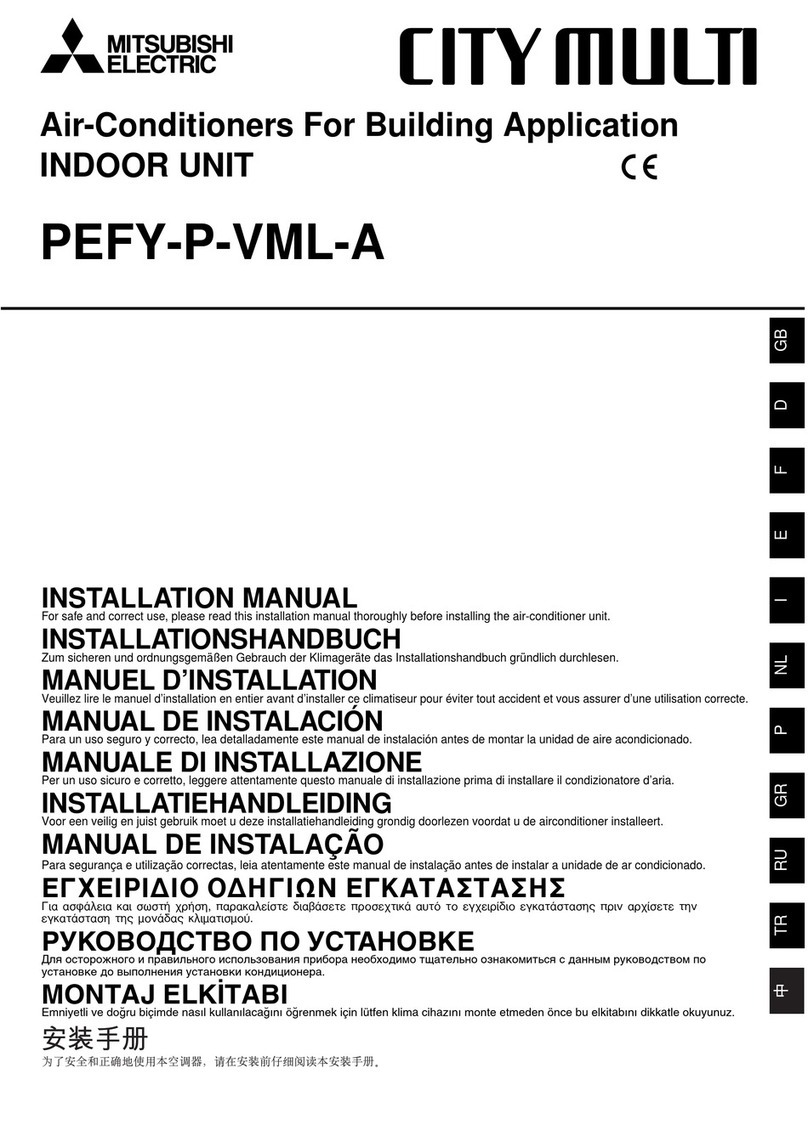
Mitsubishi Electric CITY MULTI PEFY-P-VML-A User manual

Mitsubishi Electric
Mitsubishi Electric Mr.Slim PUHZ-ZRP35VKA User manual

Mitsubishi Electric
Mitsubishi Electric Mr. Slim PUHZ-FRP71VHA2 User manual

Mitsubishi Electric
Mitsubishi Electric PFFY-P20VKM-E2 Operating manual
Mitsubishi Electric
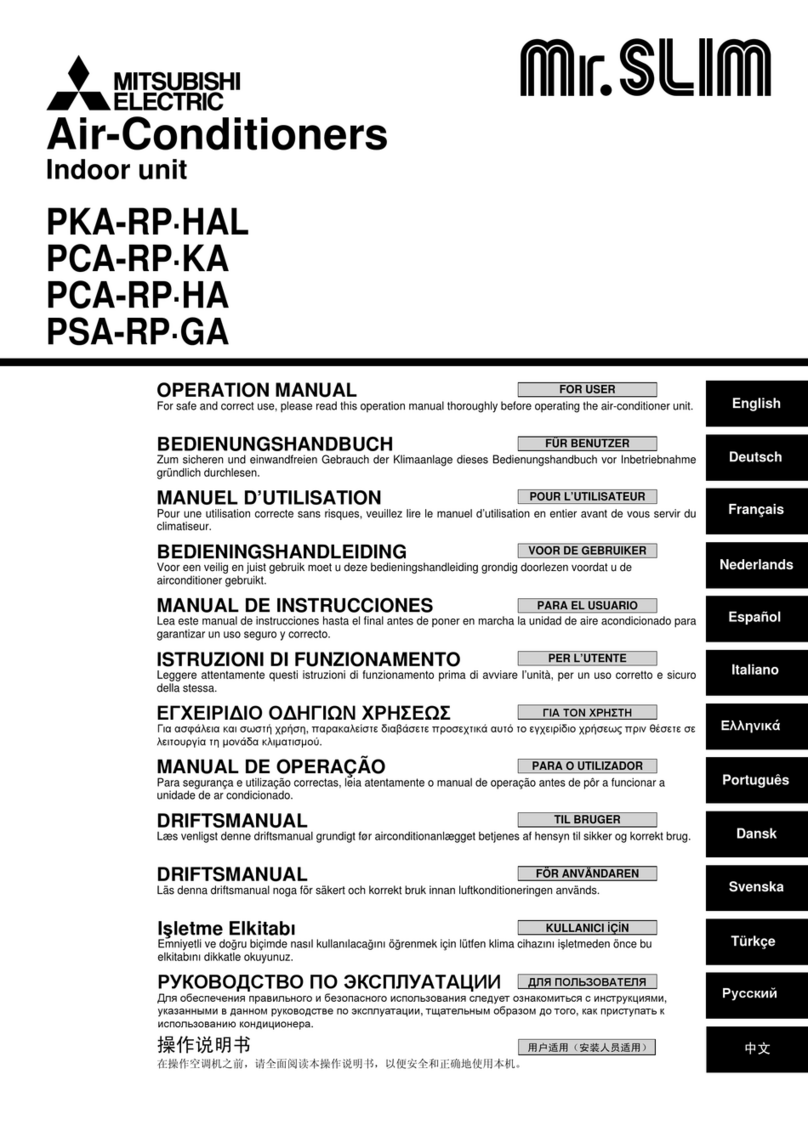
Mitsubishi Electric Mr.SLIM PKA-RP HAL Series User manual
Mitsubishi Electric
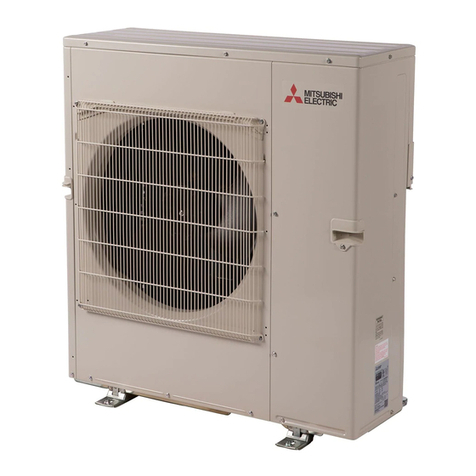
Mitsubishi Electric MXZ-2C20NA2-U1 User manual

Mitsubishi Electric
Mitsubishi Electric Mr.SLIM PSA-RP-KA User manual
Mitsubishi Electric
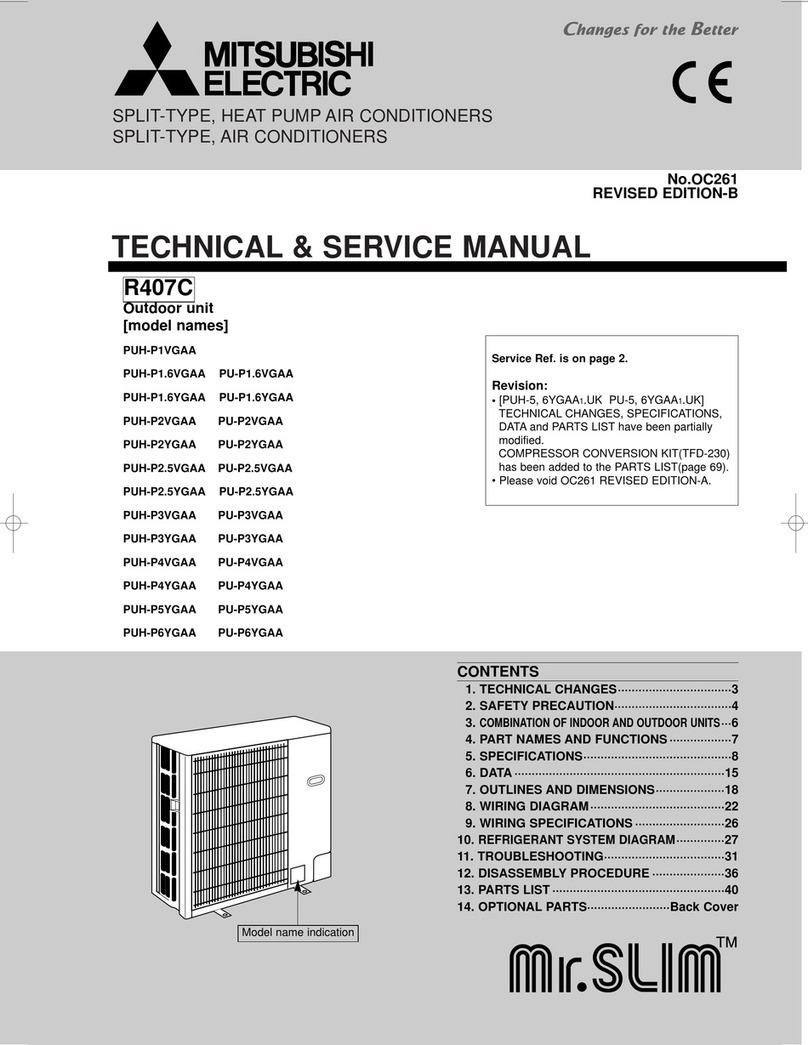
Mitsubishi Electric PU-P3VGAAPUH-P3YGAA PU-P3YGAAPUH-P4VGAA PU-P4VGAAPUH-P4YGAA PU-P4YGAAPUH-P5YGAA PU-P5YGAAPUH-P6YGAA... Operating manual
Mitsubishi Electric
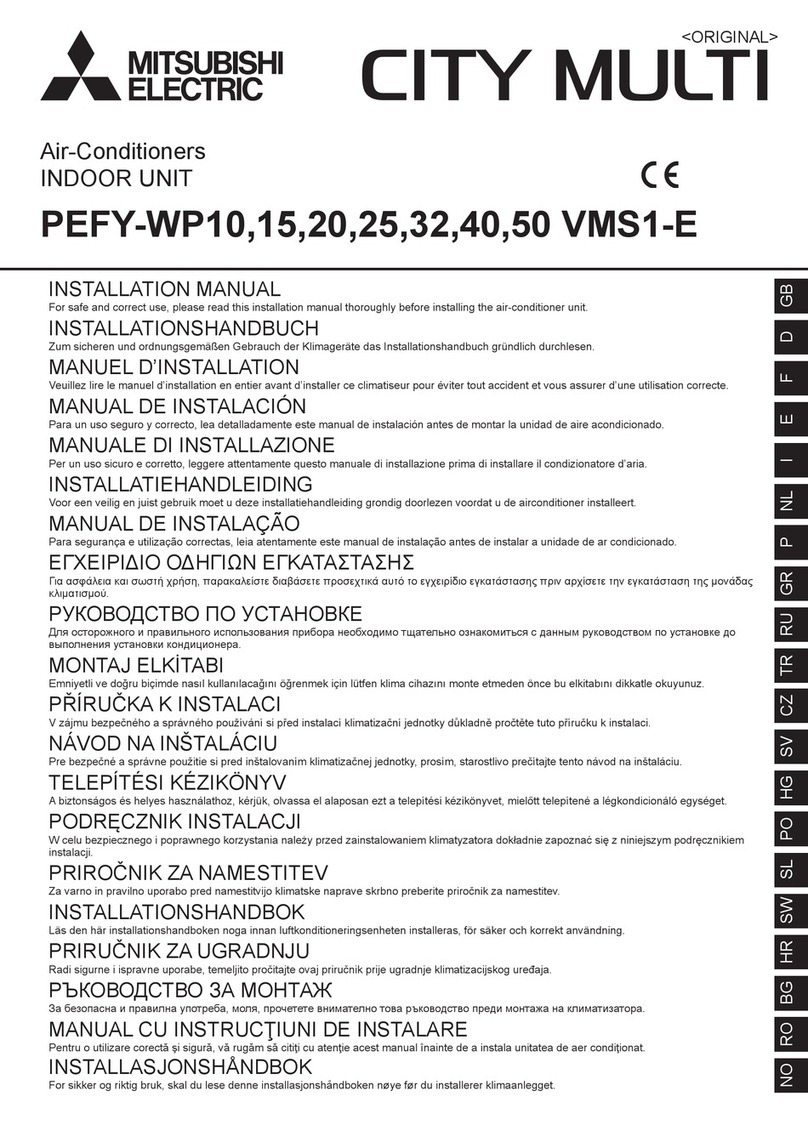
Mitsubishi Electric City Multi PEFY-WP25VMS1-E User manual
Mitsubishi Electric
Mitsubishi Electric PURY-P72 How to use

Mitsubishi Electric
Mitsubishi Electric SEZ-KC25VA.W Operating manual


