Mitsubishi Rockford User manual

CONFIDENTIAL
For Internal Use Only
ROCKFORD
Premium Sound System
Product Reference Manual
CONTENTS
Introduction
MainUnitAudioControls
SoundQuality Modes
OtherFunctions
DealershipDisplay
TheCustomer TestExperience
1-2
3
4
5
6
7-8

1 2
Introduction
1.860W/650W Hyper-AmpwithDigitalSignal Processing
M
itsubishi Motors has teamed up with Rockford to develop an exclusive sound system for
Mitsubishi vehicles. Rockford systems offer drivers a number of new features.
T
heprimaryfeatureofRockfordistheprecisionarrangementofspeakersandsubwoofers
throughoutthevehicle.InOutlanderandPajero/Montero,thesubwooferislocatedintheleft-
handsideoftherearcargospace.InLancer/LancerEX,itislocatedinthetrunkspace.These
individualizedlayoutsutilizethedesignofeachMitsubishivehicletoachieveoptimumperformance.
Delivering a clear, powerful sound, the Rockford Sound System experi-
ence begins here at the amplifier. Putting out up to 860 watts on 12 chan-
nels (650W on 8 or 9 channels), the Hyper-
Amp units utilize Digital Signal Processing
(DSP) to recreate a range of listening envir-
onments, letting drivers and passengers
choose the best fit for their ride.
Resin cover
Damping
Sheet metal
Speaker box
2.Speaker layouttailoredformaximum quality
By incorporating a powerful
subwoofer to the 12-speaker
system, the sound quality
gains a deep, enveloping
quality.The subwoofer cabi-
net occupies a large 20-liter
space, enabling it to signifi-
cantly boost the low ranges
for any genre of music.
3.Door mountedspeakerboxesand damping
designedforgreater sound clarity
In the doors, the entire unit has been
transformed into a speaker box, with
resin and sheet metal segments to
eliminate spaces that could lower
sound quality.The speakers are also
surrounded with damping material to
make the sound as clear as possible.
Mitsubishi has adopted premium sound systems for our new vehicles that provide, moving, high-quality sound
reproduction. In a survey of Mitsubishi buyers and customers who like Mitsubishi vehicles, this was the one feature that
was chosen most in a list of options they wanted to see.To meet this desire, our new vehicles now feature 2ch and 5.1ch
sound system upgrades.
Mitsubishi’s audio strategy
Achieving a quality car audio experience is far more complicated than simply purchasing a top-quality CD player and
amplifier and installing them into your car. Even knowledgeable audio salespeople won’t be able to know the precise
system and layout to match the exact acoustic qualities of every vehicle they encounter. Because the car makers
themselves know exactly how their vehicles are designed, they are in the best position to provide a sound system that
fits perfectly with the vehicle’s acoustics, using echoes and time delays to deliver the best possible listening experience.
What is premium audio?
Main Features of Rockford Premium Sound System
What is Rockford?
Foundedin1973byJimFosgateinTempeArizona,USA, Rockford
isrecognizedasatopdesignerandmakerofcaraudiosystems,
withexclusivedesignsalreadyadoptedbymanycarmakers.
16cm polypropylene
cone speaker 25cm subwoofer
3.5cm soft dome tweeter 16cm polypropylene coaxial
2-way speaker
650W 8-channel
high-power amplifier 16cm polypropylene
cone speaker
25cm dual voice coil
subwoofer
3.5cm soft dome tweeter
(front pillar)
8cm cone speaker
860W 11-channel
high-power amplifier
3.5cm soft dome tweeter
5
4
2
13
4
2
13
6
5
32
1
4
3
21
3
21 4
3
21
3
21 5
8-channel high-power
amplifier
650W
This 8-channel system uses a high-power amplifier that puts out a total of
650W. Installed on Lancer/Lancer EX and Outlander, the Rockford Fosgate
Sound System employs a 9-speaker, 7-position layout that provides power
and clarity with minimal distortion.The sound balance can be set for rock or
other types of music, and bass output can be set to any of six levels.
This 11-channel system with high-power amplifier puts out a total of 860W
for Pajero/Montero and 650W for Galant. The 12-speaker, 12-position layout
used in Pajero/Montero (8-speaker, 6-position, no subwoofer, in Galant) pro-
vides a rich sound balance without distortion.The RockfordAcoustic Sound
System is designed to provide flawless reproduction of classical music, but
fits other styles as well.
Outlander Pajero/Montero
Lancer/Lancer EX Galant
Maximum output: 650W
Speakers: 9
Subwoofer: 25cm
single cone
Maximum output: 650W
Speakers: 9
Subwoofer: 25cm
single cone
Maximum output: 860W
Speakers: 12
Subwoofer: 25cm
dual voice coil
Maximum output: 650W
Speakers: 8
Subwoofer: 6” x 9”
Coaxial 2-way
4
2
2
4
3
21
3
21 5
4
4
2
621
2 21
2 21
6 2 321
5
4
Let the customer know that the quality of the sound system
comes from the precise positioning of the speakers and woofers.
Be sure to point out where they are located.

3 4
Main Unit Audio Controls Sound Quality Modes
T
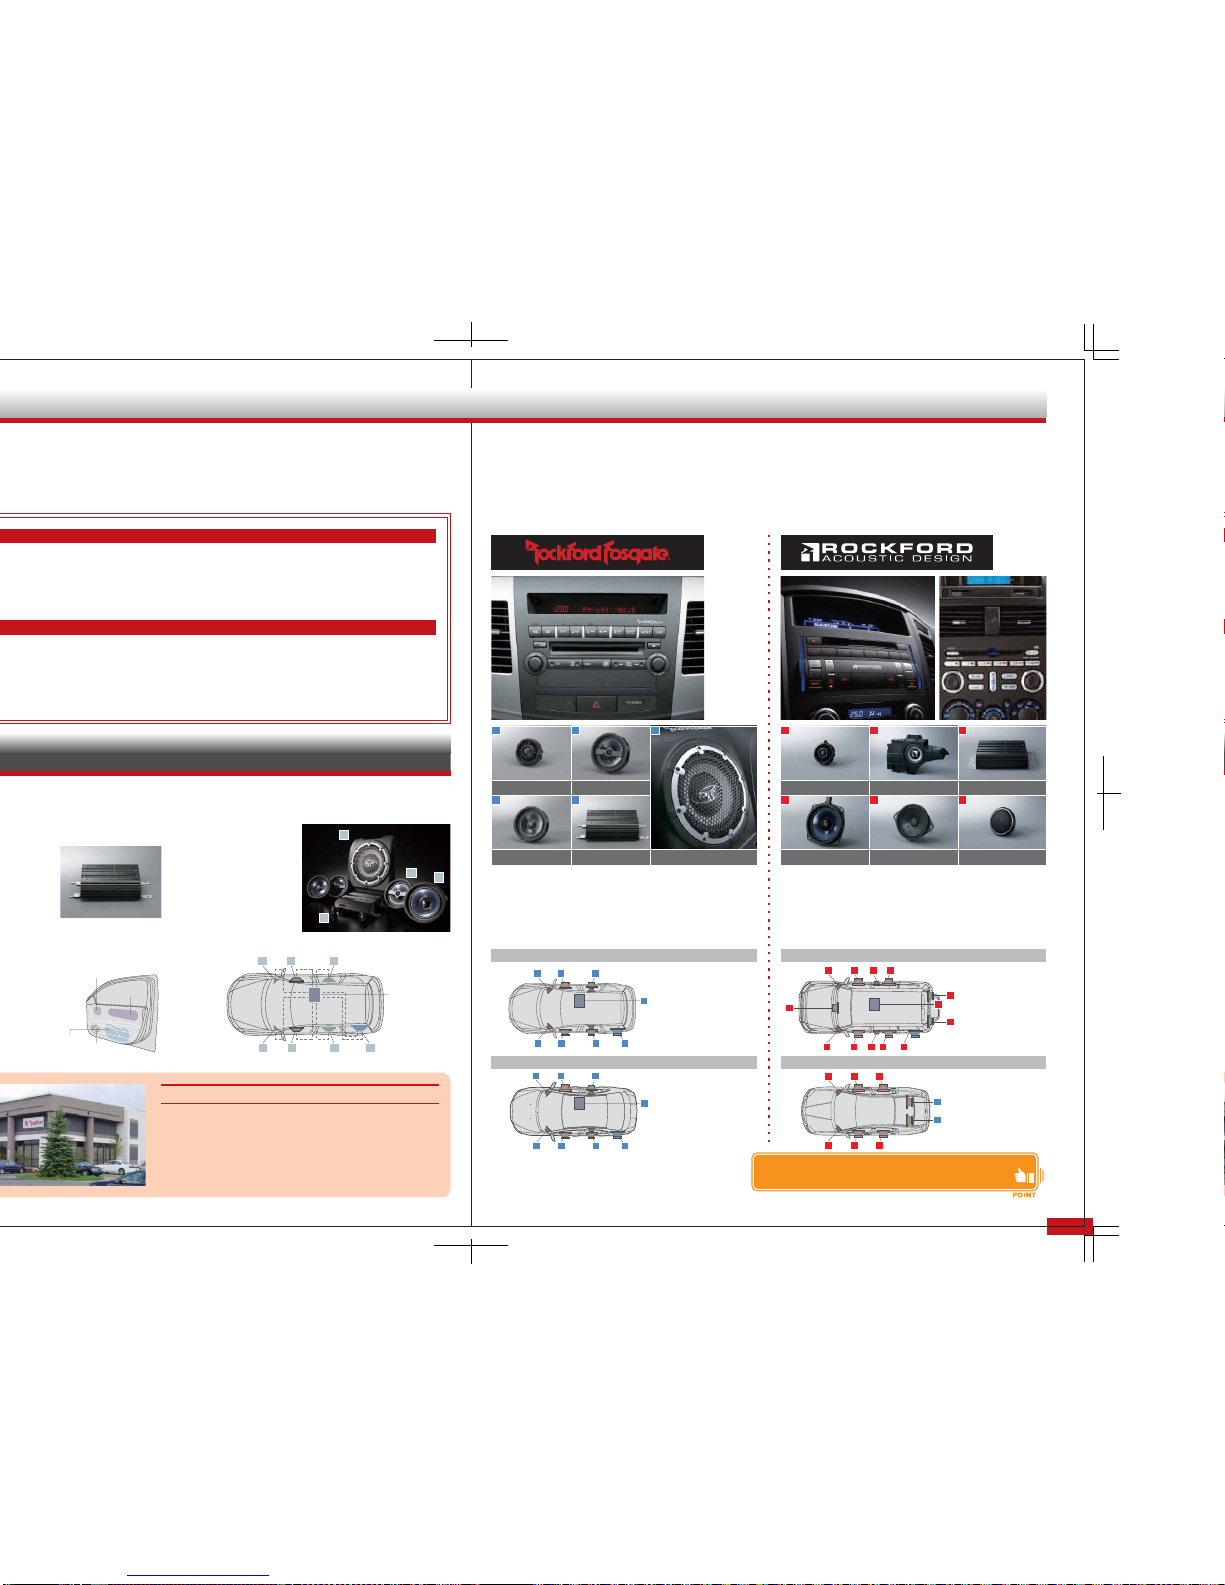
his unit includes an AM/FM radio, and a 6-disc CD changer. For ease of use, the control
layout has been kept similar to basic car audio systems.
O
ne of the most important features of the Rockford Sound System is the ability to control
frequency response when switching between different music genres. Introduce customers
to all the ways they can control the quality of their sound experience.
Page/Display
Power /
Volume Control
Pushing the DISP button will display disc ti-
tle, track title and disc status information,
in that order. If the selected information is
not available, NOTITLE will be shown. For
titles longer than twelve characters, press-
ing the PAGE button will display the rest of
the title in 12-character increments.
Press this knob to turn the
audio system power on and
off.Turning the knob adjusts
the volume.
Repeat
(when using the radio,
this functions as one of the
memory buttons)
[song repeat]
Pressing and releasing the RPT
button will cause the playback to
return to the beginning of the cur-
rent song.
[disc repeat]
Pressing and holding the RPT but-
ton will cause the playback to re-
turn to the beginning of the disc.
Display
CD slot
CD
CD mode selection switch
Random button
(when using the radio, these function
as memory buttons)
Pressing and releasing this button
while a CD is playing will cause the
playback to switch to playing random
songs on the current disc. Pressing
and holding this button will cause
the playback to switch to playing ran-
dom songs from all the loaded discs.
Rewind /
Fast Forward
(when using the radio, this functions
as one of the memory buttons)
Allows the user to rewind or
fast-forward a song.
Disc Selection
buttons
(when using the radio, these
function as memory buttons)
Shifts up and down be-
tween discs loaded in
the changer.
To load a CD into the
changer, press the LOAD
button.To eject a CD,
press the eject button
next to the CD changer.
Punch is one of Rockford’s best known features. It boosts the sub-
sonic music ranges to create a much greater feeling of power
CD Load / Eject
Auto-P
Scan
Automatically switches
to a pre-set station
SoundAdjustment /
ManualTuning
Pressing this once switches be-
tween sound modes.There are
eight total sound modes for users
to choose from.
Note:The SoundAdjustment
function is one of the main fea-
tures of the PremiumAudio
Sound System. Customers
should always be given the op-
portunity to experience it.
AM/FM
Switches betweenAM and FM
radio bands.
Note: Do not use this func-
tion when demonstrating
the audio system
Note:You cannot load a
CD into the changer with-
out pressing the LOAD but-
ton first.
Track Selection / Station Seek
When playing a CD, this allows the user to skip forward
or backward to other tracks.When using the radio, this
button automatically switches to the next radio station.
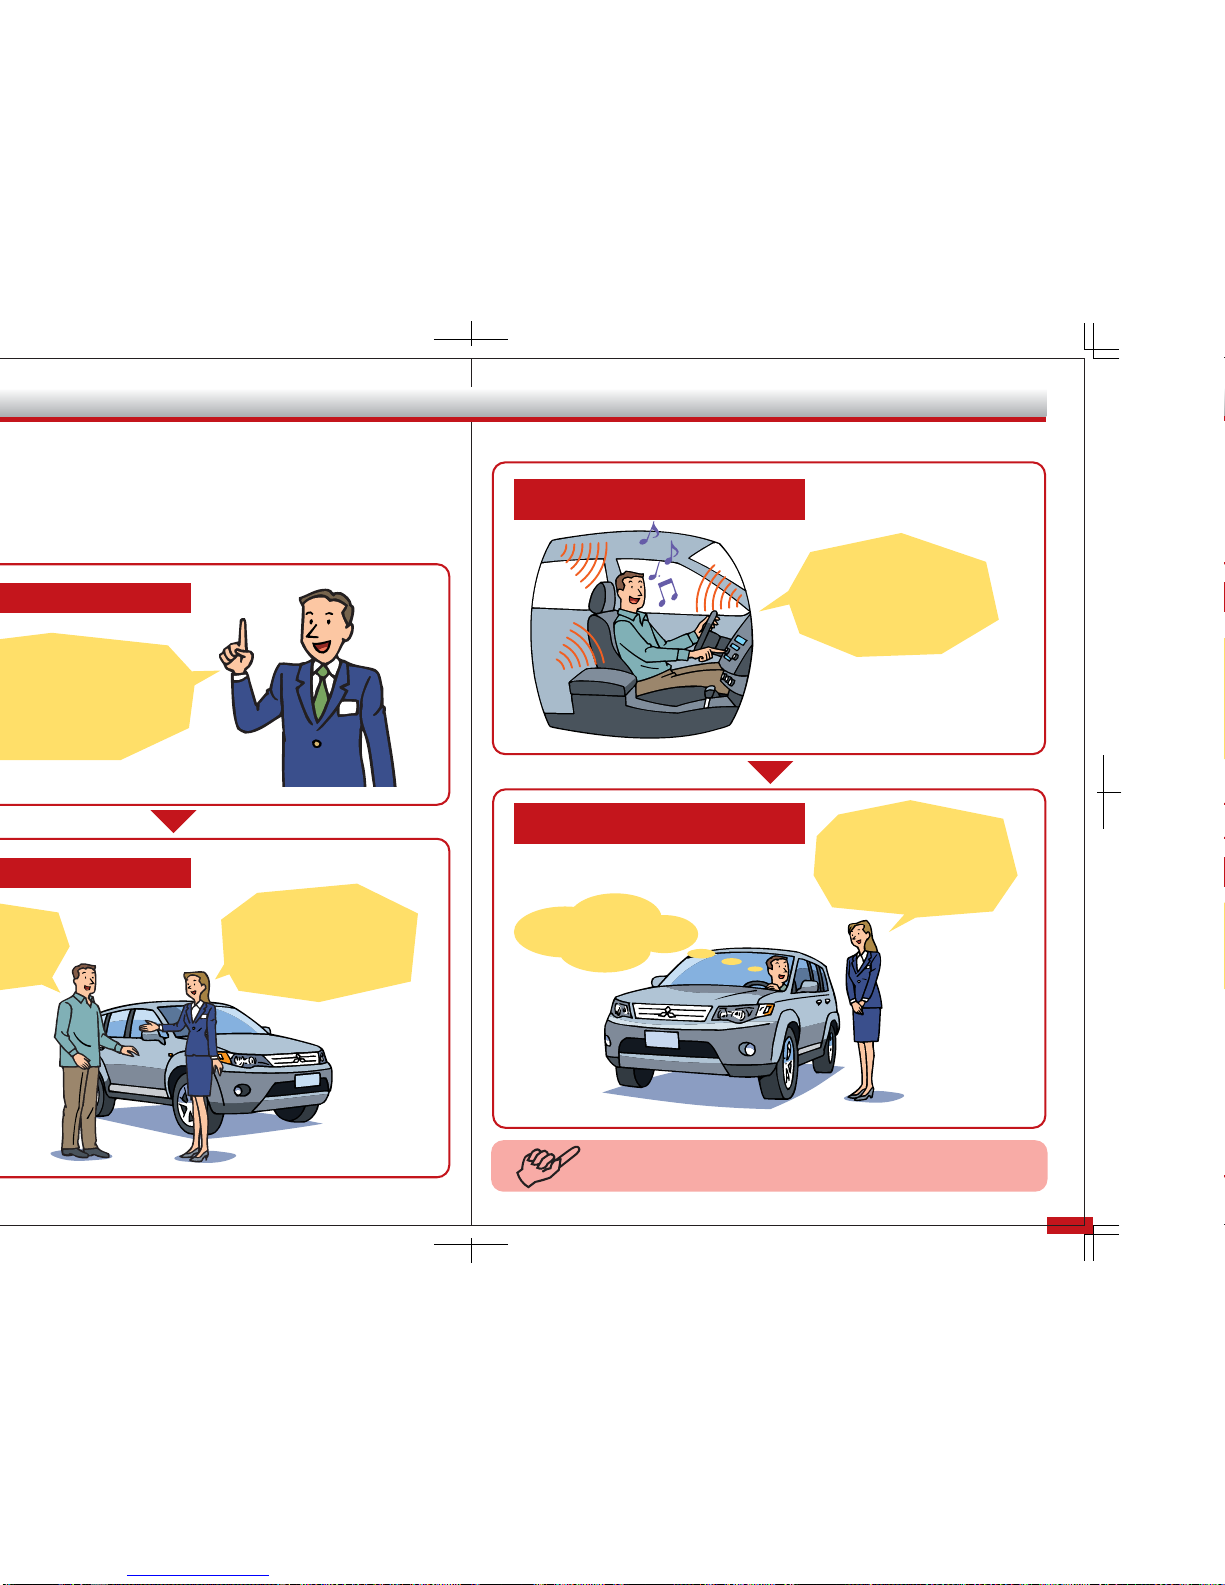
Show how simple the opera-
tion of the controls is.
Show how the control
panel has been inte-
grated into the design
of each vehicle.
Step 1Press the SoundAdjust knob to
go intoAudio Adjust Mode.
Step 2Select how you wish to adjust the
sound. Pushing the knob once will
cycle through each of the settings.
Adjusts the Punch sound level
to any of six different settings.
Adjusts the playback style to
match the genre of music being
played.
Adjusts the acoustic balance to
mimic the effects of different
types of listening environments.
Adjusts low-range sound from
–6 to +6, for 13 possible settings.
Adjusts mid-range sound from
–6 to +6, for 13 possible settings.
Adjusts high-range sound from
–6 to +6, for 13 possible settings.
Adjusts the balance between
front and rear speakers.
Adjusts the balance between
left- and right-side speakers.
Display screen
Each mode is adjusted by turning the Sound Adjust knob
Step 3Use the SoundAdjust knob to
select from five different music
styles on the MusicType menu.
The balance of the entire sound is
smoothed out.
This setting creates greater con-
trast between bass, mid-range and
treble sounds.
Greater contrast is created between
bass and treble notes, with empha-
sis placed on vocals
Mid-range sounds are given more
emphasis to create a feeling of
speed.
Bass notes are given greater em-
phasis to create a more powerful
feel.
Step 4Use the SoundAdjust knob to
select from four acoustic styles on
the Sound Field menu.
This setting positions the vocals di-
rectly in front of the listener, with
instrumentals surrounding them.
This setting gives the feeling that
the vocalist and instruments are
positioned in front of the driver.
This creates a full surround effect
of both vocals and instruments.
This setting also creates a full sur-
round effect, but with more of a
concert hall sound experience.
Vocal image Instrumental image
Ideal for front-row occupants
Ideal for the driver
Ideal for all occupants
The Hall setting builds further
on the Live setting
Please verify the starting sound levels of the SoundAd-
just knob.The default settings for Bass,Treble, Fader and
Balance are all 0, so find the appropriate level before giv-
ing a demonstration.
The default Punch setting is 3, with a maximum of
6. Please check beforehand what the customer likes
before turning the Punch level up higher.
Be sure to empha-
size these features!
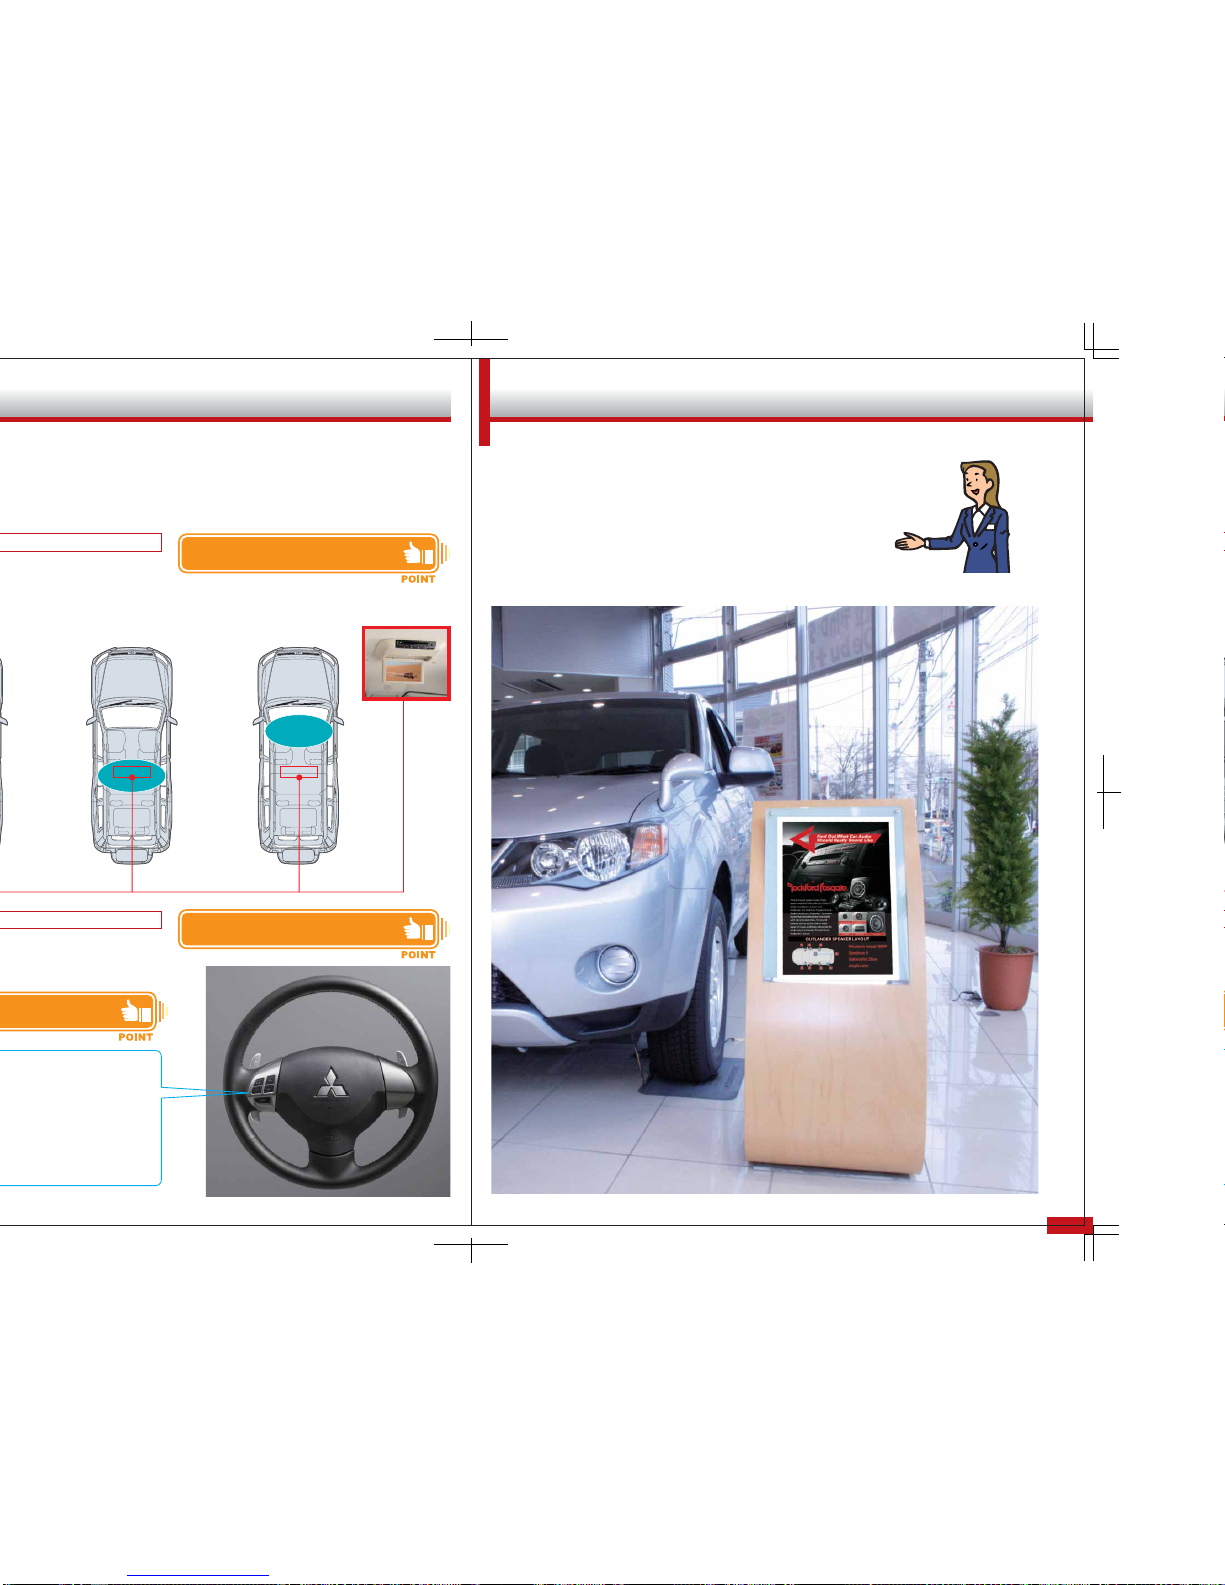
When there is only one customer, have the customer sit
in the drivers seat and set the sound field to Stage. Live
and Hall are also good.
If there are three or more
customers together, set
the sound field to Live.
When there are two cus-
tomers together, have
them sit in the front
seats and set the sound
field to Normal.Live
and Hall are acceptable,
but the sound balance
may not be as good for
the passenger seat.
The SoundAdjust knob provides eight different audio mode settings.
Note: Main unit audio controls will vary according to market.

5 6
+
–
><
MODE
Dealership DisplayOther Functions
I
n addition to the power, clarity and precision construction of the Rockford speakers,
Mitsubishi vehicles also offer drivers and passengers a number of features that will enhance
the enjoyment and convenience of the audio experience.
P
lease display the model car equipped with the Rockford
Sound System in the following way.
5.1chsurroundsound (Available for Pajero/Monteroonly)
When watching DVDs on the rear seat's 9-inch LCD screen, the 5.1ch
surround sound creates the sensation of being right in the middle of
the action.The cinema-quality audio fills the vehicle from all sides,
creating an immense, rich field of sound. Surround sound is only
available on Pajero/Montero.
Steeringwheelcontrols
For greater convenience when driving, basic audio controls are built
into the steering wheel, letting the driver adjust the sound without
letting go of the wheel.The controls available with this method are
channel switches, volume control and mode selection switch.
All seats 2nd-row seat Front seat
Volume Up/Down
Allows the driver to adjust the sound level,
either incrementally or continuously.
Channel Up/Down
Allows the driver to switch radio stations,
CD/MD tracks, or fast-forward and rewind with-
in CD/MD tracks.
Mode
Lets the driver change audio modes, or shut
off the sound system.
The new 5.1ch Surround Sound system lets passen-
gers enjoy movies while riding in Pajero.
When demonstrating the steering controls to the cus-
tomer, explain the function of each button.
Compared to standard audio systems, the Rockford
Sound System provides more functions.
Note: The above image is for illustration purposes.Actual equipment may vary according to market.

7 8
The Customer Test Experience
S
imply talking about sound systems and audio quality won’t make a strong impression on
the customer. To clearly show the advantages of the Rockford Sound System, you need to
let customers hear the results themselves. For example, let them compare the quality of a CD
played on a regular stereo with the same CD played inside the vehicle. Often customers do not
inquireabout thesound systemontheirown,but thisdoesnotmeanthat theyhavenointerestin it.
Verify the CD beforehand
To quickly demonstrate the benefits
of the Rockford Sound System while
showing a car.
Let the customer experience
the sound system’s quality
Invite the customer to
take a test drive
This is incredible! I feel like
I'm in a sound studio.
Trying out a CD
Sometimes I like
listening to CDs,
but...
Is there any CD you often
listen to?We can compare it
using this audio system.
If you enjoy listening to the
CD, why not trying driving
around a bit?
Caution: Usually, you should try the demonstration using one of the customer's CDs. If your dealership
supplies a CD for demonstration purposes, please make sure to observe all copyright laws.
I really want to try this out.
Table of contents
Popular Car Stereo System manuals by other brands

Kenwood
Kenwood KDC-8090R instruction manual

JVC
JVC KD SH1000 - Radio / CD Installation & connection manual

Sony
Sony MEX-BT4700U Installation/connections

Rockford Fosgate
Rockford Fosgate RFX9901DM instruction manual

Philips
Philips CED320/98 user manual

Metra Electronics
Metra Electronics 99-3043 installation instructions