Istruzioni di sicurezza
1. Leggere queste istruzioni.
2. Conservare queste istruzioni.
3. Prestare attenzione a tutte le avvertenza.
4. Seguire tutte le istruzioni.
5. Non utilizzare quest’apparecchiatura in prossimità di acqua.
6. Pulire solo con un panno asciutto.
7. Non ostruire le aperture di ventilazione. Eseguire l’installazione secondo le istruzioni del costruttore.
8. Non effettuare l’installazione in prossimità di fonti di calore come radiatori, regolatori di calore, stufe o
altre apparecchiature (compresi gli amplificatori) che producono calore.
9. Non inibire la funzione di sicurezza della spina polarizzata. La spina polarizzata ha due piedini, uno più
largo dell’altro. Il piedino più largo ha una funzione di sicurezza. Qualora la spina fornita non si inserisse
nella vostra presa, consultare un tecnico per la sostituzione della presa.
10. Assicurarsi che il cavo di alimentazione non possa essere calpestato o schiacciato, in particolare in
prossimità delle spine, delle
prese a muro e nei punti in cui esce dall’apparecchio.
11. Utilizzare solamente accessori specificati dal costruttore.
12. Utilizzare solamente con il carrello, il cavalletto, il treppiedi, la staffa o il piano specificati dal
costruttore
oppure forniti insieme all’apparecchio. Quando si utilizza un carrello, prestare attenzione nella
movimentazione del gruppo carrello/apparecchio per evitare lesioni provocate dal ribaltamento del
gruppo stesso.
13. Scollegare questo apparecchio in caso di tempeste di fulmini oppure di inutilizzo prolungato.
14. Affidare tutte le operazioni di manutenzione a personale qualificato. Gli interventi di manutenzione
sono necessari quando l’apparecchio viene danneggiato in qualunque modo, ad esempio in caso di danni
al cavo di alimentazione o alla spina, di fuoriuscita di liquido
o di caduta di oggetti all’interno dell’apparecchio stesso, o ancora qualora l’apparecchio, dopo esser stato
esposto a pioggia o umidità, non funzioni correttamente o qualora sia caduto.
15. AVVERTENZA: Per ridurre il rischio di incendio o di folgorazione, non esporre l’apparecchiatura alla
pioggia o all’umidità.
16. Poiché l’accoppiatore dell’apparecchio viene utilizzato come sezionatore, esso deve essere sempre
prontamente azionabile.
17. Non ostacolare la ventilazione coprendo le relative aperture con oggetti, giornali, tovaglie, tende o
altro.
18. Evitare di posizionare sull’apparecchiatura fonti di fiamme libere, come ad esempio candele accese.
19. L’apparecchiatura è progettata per essere utilizzata in ambienti con clima temperato.
20. L’apparecchiatura non deve essere esposta a gocciolamento o schizzi e pertanto nessun oggetto
contenente liquidi, come ad esempio vasi, dovrà essere posizionato sulla stessa.
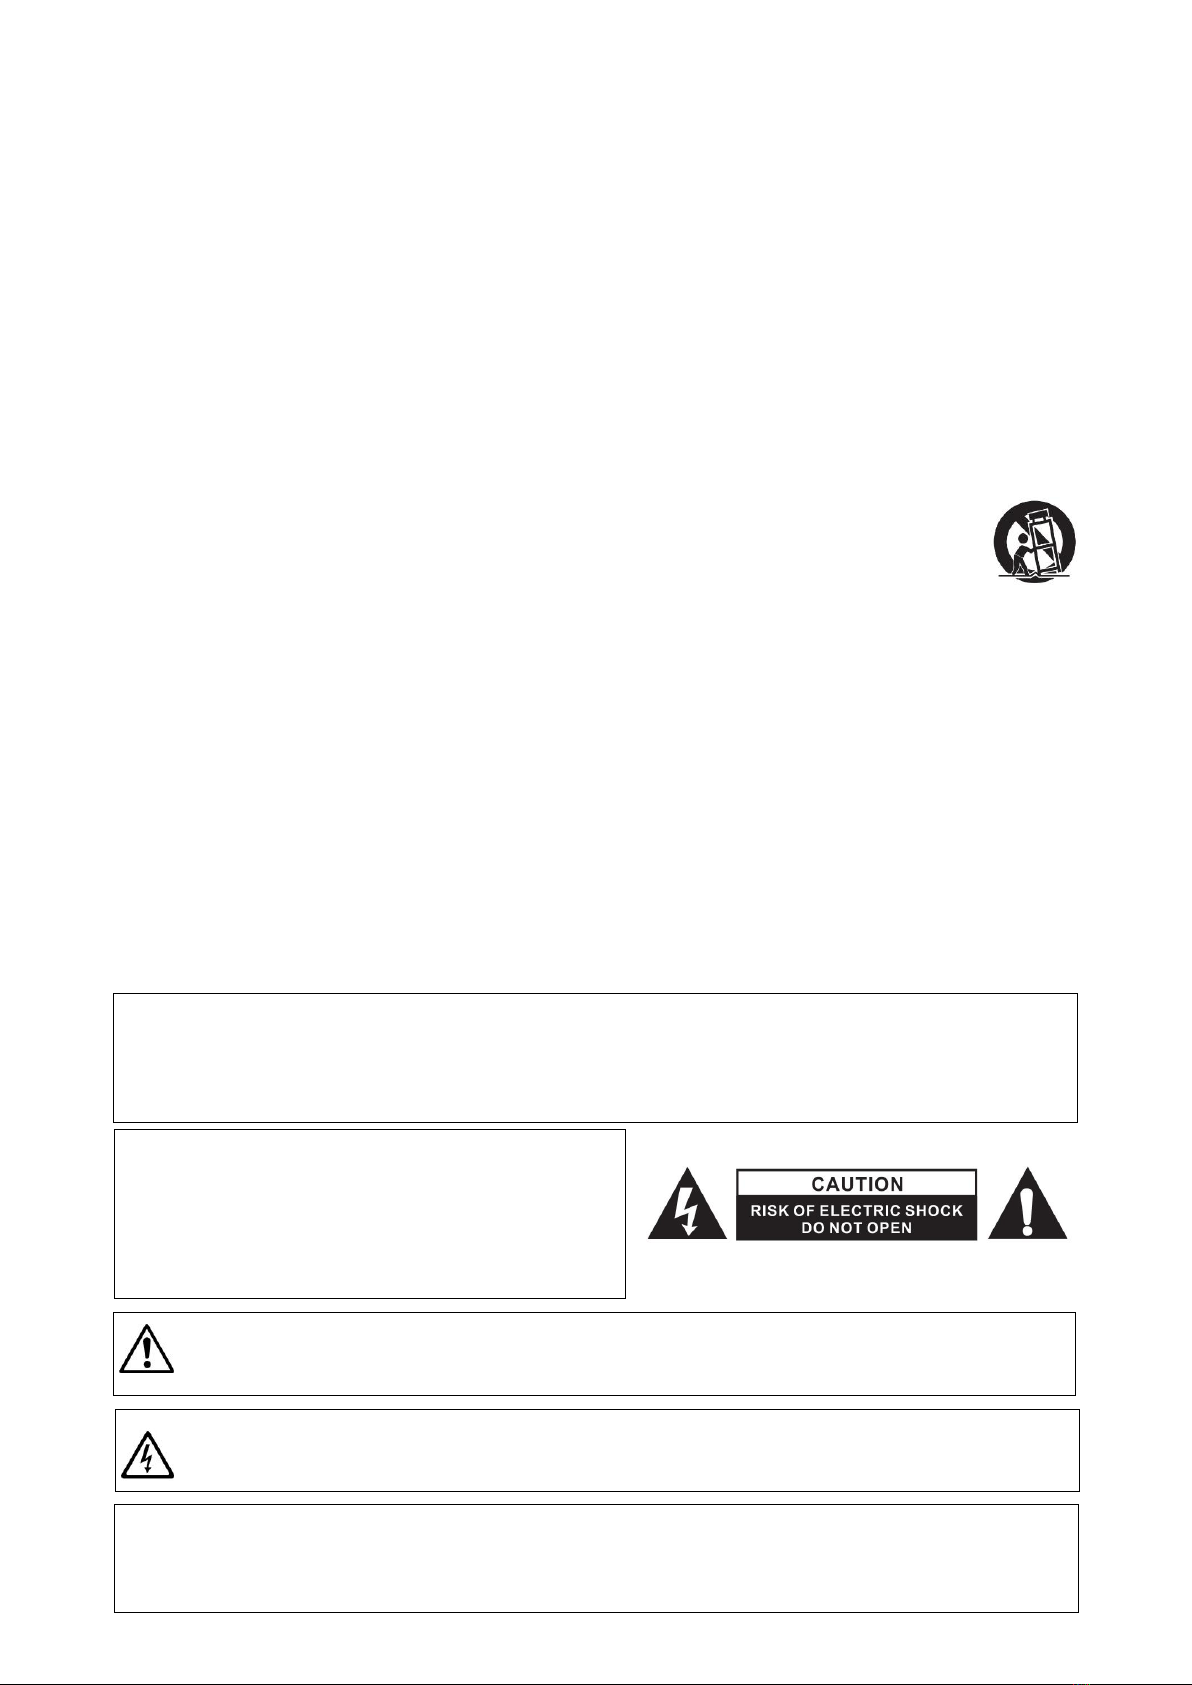
Il punto esclamativo all’interno del triangolo ha lo scopo di attirare l’attenzione dell’utente sulla
presenza di istruzioni di funzionamento e di manutenzione (assistenza) importanti riportate nella
documentazione fornita insieme all’apparecchiatura.
Il simbolo del lampo all’interno del triangolo ha lo scopo di attirare l’attenzione dell’utente sulla
presenza di “tensione pericolosa” non isolata nei ripari del prodotto, che potrebbe avere una
potenza sufficiente a costituire un rischio di scossa elettrica.
AVVERTENZA
Per ridurre il rischio di incendio o di folgorazione, non esporre l’apparecchiatura alla pioggia o
all’umidità.
L’apparecchiatura non deve essere esposta a gocciolamento o schizzi e pertanto nessun oggetto
contenente liquidi, come ad esempio vasi, dovrà essere posizionato sulla stessa.
ATTENZIONE
Per prevenire le scosse elettriche non utilizzare questa spina polarizzata con una prolunga, una presa a
muro o altre prese a meno che i piedini non possano essere inseriti completamente cosìda evitare
l’esposizione degli stessi.
ATTENZIONE
Per ridurre il rischio di scosse elettriche non
rimuovere i pannelli di copertura. Non sono presenti
all’interno componenti che prevedono una
manutenzione da parte dell’utente.
Affidare le operazioni di manutenzione solamente a
personale qualificato.