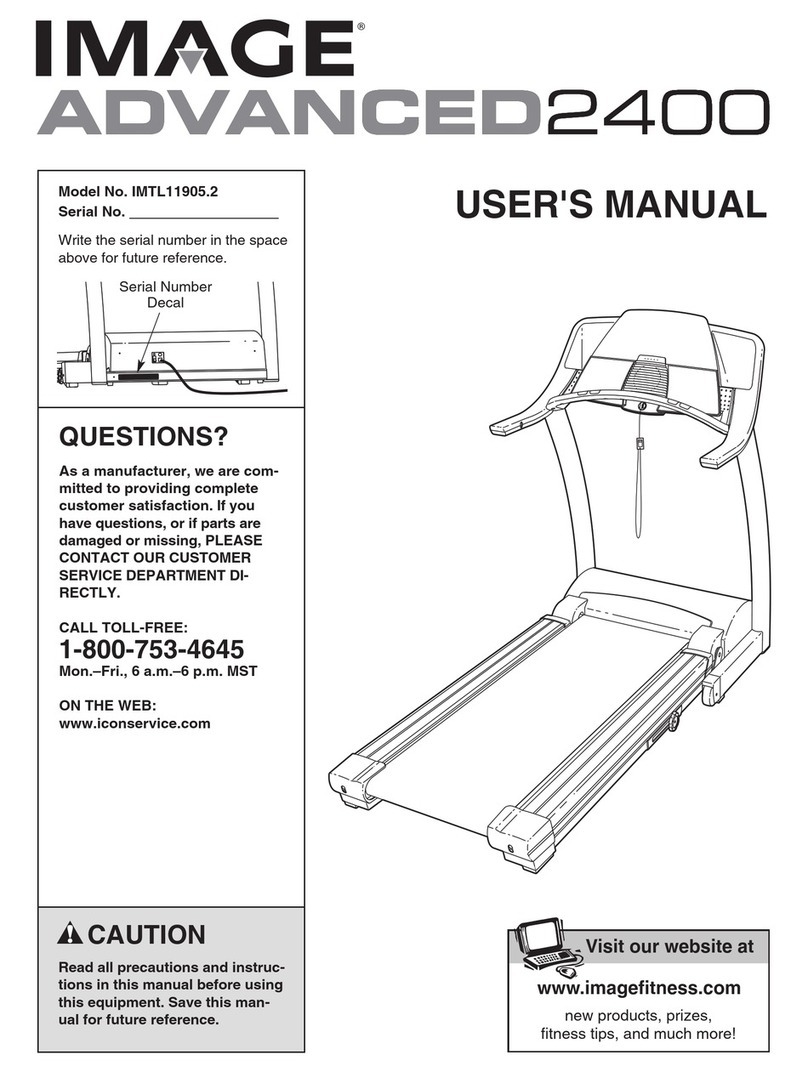
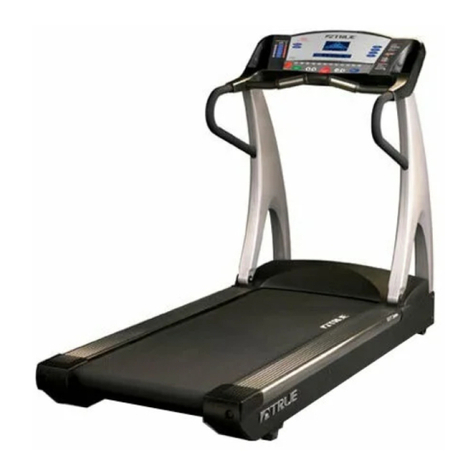
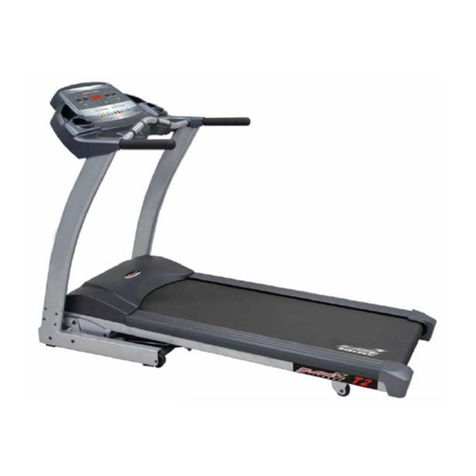
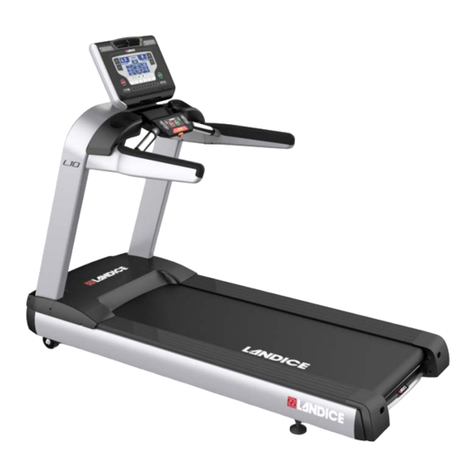
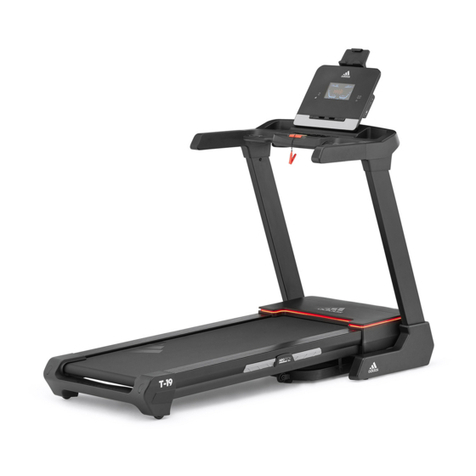
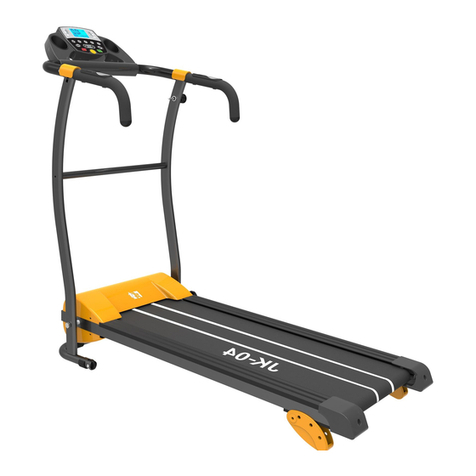
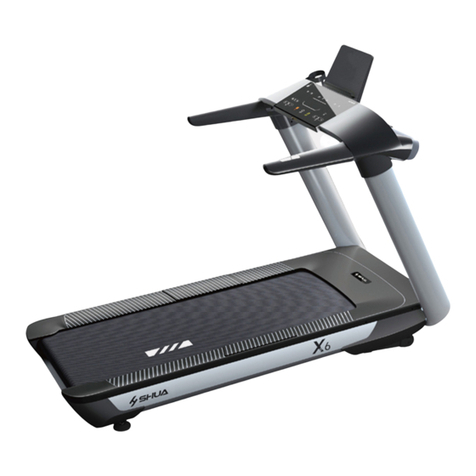
Mobiclinic TIBET QDF-00005/02 User manual

Treadmill
Cinta de correr
TIBET
INSTRUCCIONES EN ESPAÑOL
USER MANUAL IN ENGLISH
Última revisión: 29 de Octube 2021
Last revision: October 29 2021
Guarde este manual para futuras consulta
Safe this manual for future reference
ES
EN

2
ES
1. Partes
2. Piezas incluídas
3. Advertencias y precauciones
4. Montaje
5. Características técnicas
6. Funcionamiento
7. Mantenimiento
3
3
4
5
6
6
8
ÍNDICE

3
ES
1. PARTES
1
4
6
78
3
2
Llave de seguridad
Cubierta vertical
Tapa del motor
Oricio de lubricación
Pomo M10
Supercie de la cinta
Cubierta lateral
Cubierta posterior
Perno de ajuste
PARTES
59
2. PIEZAS INCLUÍDAS
1
2
3
4
5
6
7
8
9
M6*14
Cant.
2
2
1
1
1
1
1
Pomo M10
Aceite de silicona
Llave inglesa 5 mm
Llave inglesa 6 mm
Multi llave inglesa
Pieza principal

4
ES
3. ADVERTENCIAS Y PRECAUCIONES
◆Mantenga niños y mascotas alejados del equipo en todo momento.
◆Se recomienda realizar calentamiento previo antes de una práctica
deportiva.
◆ Coloque el aparato en una supercie plana.
◆Se recomienda colocar la unidad en un lugar ventilado.
◆Compruebe en el manual el peso máximo que puede soportar su
equipo.
◆Se recomienda no utilizar ropa suelta que pueda engancharse.
◆Los cables de alimentación deben estar alejados de supercies
calientes.
◆Asegúrese de utilizar la llave de seguridad. Ésta tiene un imán que
debe colocarse en la pantalla. En el extremo del cordón hay una
pinza que debe jarse a la ropa.
◆No deje el aparato desatendido.
◆Una vez plegado el equipo, asegúrese de que está bien ensamblado
al sistema de cierre.
◆No deje caer ningún objeto en las ranuras del equipo.
◆Asegúrese de quitar el cable de alimentación del equipo antes de
limpiarlo.
◆Se recomienda montar el equipo entre dos personas.
◆Esta unidad está diseñada para un uso doméstico.
Lea detenidamente el manual de instrucciones antes de hacer uso del
producto.

5
ES
Desembale el producto y
levante los postes verticales
en direccion de la flecha.
Paso 1
Paso 2
Fije los postes verticales con
2 unidades de pomos M10 en
ambos lados.
Utilice una llave de 6 mm para
fijar el soporte de la bandeja con
las 2 piezas M6x14 en la posición
indicada imagen.
M6*14
4. MONTAJE
Pomo M10
Paso 3
Paso 4
Para que aparezcan las ruedas
móviles, la cinta debe estar en
posición vertical como se muestra
en la imagen de la izquierda.
(Posición F).
Para plegar el producto tras
su uso, aoje la perilla M10
de ambos lados de los postes
verticales, luego levante la
máquina en la dirección de la
echa D hasta que quede en
posición vertical.
c

6
ES
6. FUNCIONAMIENTO DE LA CINTA DE CORRER
5. CARACTERÍSTICAS TÉCNICAS
Sistema de control
APLICACIONES COMPATIBLES
220V±10%
50/60 HZ
1210 x 410 mm
Voltaje
Frecuencia
Supercie
Funciones
1.0 - 10 KM/H
100 Kgs
1.5 CHP
Rango de velocidad
Peso máximo del usuario
Potencia maxima del motor
Tiempo, velocidad, distancia,
Bluetooh App
Funciones
Velocidad + Velocidad -
Programa Modo
Start Stop
Pantalla
Gt Zwift SPAX

7
ES
Pasos a seguir para poner en marcha el dispositivo
1. Encender 4. Seleccione la velocidad
5. Empiece a correr
6. Pulse STOP
2. Utilizar la llave de seguridad
3. Pulse START
1. Pulse MODE 1. Pulse PROG
2. Seleccione tiempo,
distancia y calorías
3. Pulse START
Selección del modo Selección de programa
MODE
+ - 2. Seleccione programa
y velocidad
4. Pulse START
PROG
Relaciones de programas
123 4 5 6 789 10 11 12 13 14 15 16 17 18 19 20
PROGRAMA
AJUSTE DE TIEMPO / 20 = TIEMPO DE OPERACIÓN DE SECCIÓN
SECCIÓN
DE
TIEMPO
VELOCIDAD
VELOCIDAD
VELOCIDAD
VELOCIDAD
VELOCIDAD
VELOCIDAD
VELOCIDAD
VELOCIDAD
VELOCIDAD
VELOCIDAD
VELOCIDAD
VELOCIDAD

8
ES
7. MANTENIMIENTO
ALMACENAMIENTO: Guarde su equipo en un lugar cerrado, alejado del
polvo y la humedad.
CABLE ELÉCTRICO: Asegúrese de que el cable y el enchufe están en perfectas
condiciones.
TORNILLOS Y CABLES DE CONEXIÓN: Supervise y apriete los tornillos
regularmente, ya que debido a la vibración los tornillos y tuercas tienden
a aflojarse. Revise periódicamente el estado de los cables.
LUBRICACIÓN: Es muy importante una correcta lubricación de la cinta
de correr con aceite de silicona o teflón. Esta lubricación debe realizarse
regularmente dependiendo de su uso, incluso antes del primer uso. Hay
un orificio para añadir aceite en la cubierta del motor. Se recomienda
añadir el aceite con la máquina programada a la velocidad más alta.
ALINEAR LA CORREA: Debido a su uso, la correa puede moverse fuera del
centro. Si la correa se ha movido hacia la izquierda, ponga en marcha la cinta
y aumente la velocidad a 3MPH. Utilice la llave de 5 mm para girar el perno jo
izquierdo en el sentido de las agujas del reloj o gire el perno jo derecho en
sentido contrario. No apriete demasiado la correa para poder caminar. Repita
este procedimiento hasta que la correa esté bien alineada. Si la correa se
desliza, utilice una llave de 6 mm y apriete los tornillos de ambos lados 1/4 en
el sentido de las agujas del reloj. Repita este procedimiento hasta que la correa
esté bien apretada.
LIMPIEZA: No utilice productos abrasivos. Un paño húmedo es suciente.
< 3 horas / semana
4 - 7 horas / semana
> 8 horas / semana
2 meses
1 mes
15 días

9
EN
1. Parts
2. Included components
3. Warnings and precautions
4. Assembly
5. Technical features
6. Treadmill Operation
7. Maintenance
3
4
5
5
6
7
9
INDEX

10
ES
1. PARTS
1
4
6
78
3
2
59
2. INCLUDED COMPONENTS
1
2
3
4
5
6
7
8
9
Security key
Vertical cover
Engine cover
Lubrication orice
M10 knob
Running belt
Side cover
Rear cover
Adjustment belt
PARTS
1
2
3
4
5
6
7
8
9
M6*14
Qty
2
2
1
1
1
1
1
M10 Knob
Silicone oil
5 mm wrench
6 mm wrench
Multi-wrench
Main frame

11
ES
3. WARNINGS AND PRECAUTIONS
◆Keep children and pets away at all times.
◆It is recommended to warm up before a workout.
◆ Place the appliance on a at surface.
◆It is recommeded to keep the unit in a well ventilated area.
◆Check the maximum weight your equipment can support in the
user manual.
◆It is recommended to not use clothes that can get stuck.
◆The power cords must be kept away from hot surfaces.
◆Make sure to use the security key. It has a magnet that must be
placed on the display. At the end of the cord there is a clamp that
must be fastened to the clothing.
◆Do not leave the appliance unattended.
◆Once the equipment is folded, ensure it is properly assembled to
the closing system.
◆Do not let objects fall in the gaps of the equipment.
◆Make sure to unplug the power cord from the equipment before
cleaning it.
◆It is recommended that two people assemble the equipment.
◆This unit is designed for domestic use.
Read the user manual carefully before using the product.

12
EN
3. TECHNICAL FEATURES
4. PARTS INCLUDED
M6*14
M10 knob
Silicone oil
5mm wrench
6mm wrench
Multi-wrench
Main frame
QTY
2
2
1
1
1
1
1
220V±10%
50/60 HZ
1210 x 410 mm
Voltage
Frequency
Surface
Functions
1.0 - 10 KM/H
100 Kgs
1.5 CHP
Speed range
Maximum user weight
Maximum engine weight
Time, speed, distance,
Bluetooh App
Functions

13
ES
Unpack the product and
lift the vertical posts in the
direction of the arrow A.
Step 1
Step 2
Attach the vertical posts with 2
M10 knobs on both sides.
Use a 6 mm wrench to x the tray
holder with two M6x14 screws in
the position shown in the picture.
M6*14
4. ASSEMBLY
M10 Knob
Step 3
Step 4
In order for the moving wheel to
be visible, the belt must be in a
vertical position, as shown in the
picture on the left (position F).
To fold the product after use,
loosen the M10 knobs on both
sides of the vertical posts,
afterwards lift the machine in
the direction of the arrow D
until it’ s in a vertical position.
c

14
ES
6. TREADMILL OPERATION
5. TECHNICAL FEATUREs
Control system
SUPPORTED APPS
220V±10%
50/60 HZ
1210 x 410 mm
Voltage
Frequency
Surface
Functions
1.0 - 10 KM/H
100 Kgs
1.5 CHP
Speed range
Maxiumum user weight
Maximum engine power
Time speed, distance,
Bluetooth app
Funciones
Speed + Speed -
Program Mode
Start Stop
Display
Gt Zwift SPAX

15
ES
Steps to follow to start up the device
1. Turn on 4. Select the speed
5. Start running
6. Press STOP
2. Use the security key
3. Press START
1. Press MODE 1. Press PROG
2. Select time, distance
and calories
3. Press START
Select a mode Select a program
MODE
+ - 2. Select a program
and the speed
4. Press START
PROG
List of programs
123 4 5 6 789 10 11 12 13 14 15 16 17 18 19 20
PROGRAMA
AJUSTE DE TIEMPO / 20 = TIEMPO DE OPERACIÓN DE SECCIÓN
SECCIÓN
DE
TIEMPO
VELOCIDAD
VELOCIDAD
VELOCIDAD
VELOCIDAD
VELOCIDAD
VELOCIDAD
VELOCIDAD
VELOCIDAD
VELOCIDAD
VELOCIDAD
VELOCIDAD
VELOCIDAD

16
ES
7. MAINTENANCE
STORAGE: Keep your equipment in a closed space, away from dust and
humidity.
POWER CORD: Ensure the cable and the plug are in good condition.
SCREWS AND CABLES: Check and tighten the screws often, as due to
the vibration screws and nuts tend to loosen. Check regularly that the
cables are in good condition.
LUBRICATION: It is very important to properly lubricate the running belt
with silicone or teflon oil. This lubrication must be applied regularly,
even before the first use. There is an orifice to add the oil in the engine
cover. It is recommeded to add the oil with the machine programmed at
the top speed.
BELT ALIGNMENT: Due to use, the belt might move off center. If the belt has
been displaced to the left, start the treadmill and turn the speed up to 3 MPH.
Use the 5 mm wrench to turn the xed left bolt clockwise or turn the right
bolt counter-clockwise. Do not tighten the belt too tautly to be able to walk.
Repeat the procedure until the belt is properly aligned. If the belt slips, use
a 6 mm wrench and tighten the screws on both sides, turning 1/4 clockwise.
Reapeat this procedure until the belt is rmly tightened.
CLEANING: Do not use abrasive products. A wet cloth is sufcient.
MADE IN P.R.C.
< 3 hours / week
4 - 7 hours / week
> 8 hours / week
2 months
1 month
15 days
Table of contents
Languages:

