Fit4Home JK-04 User manual

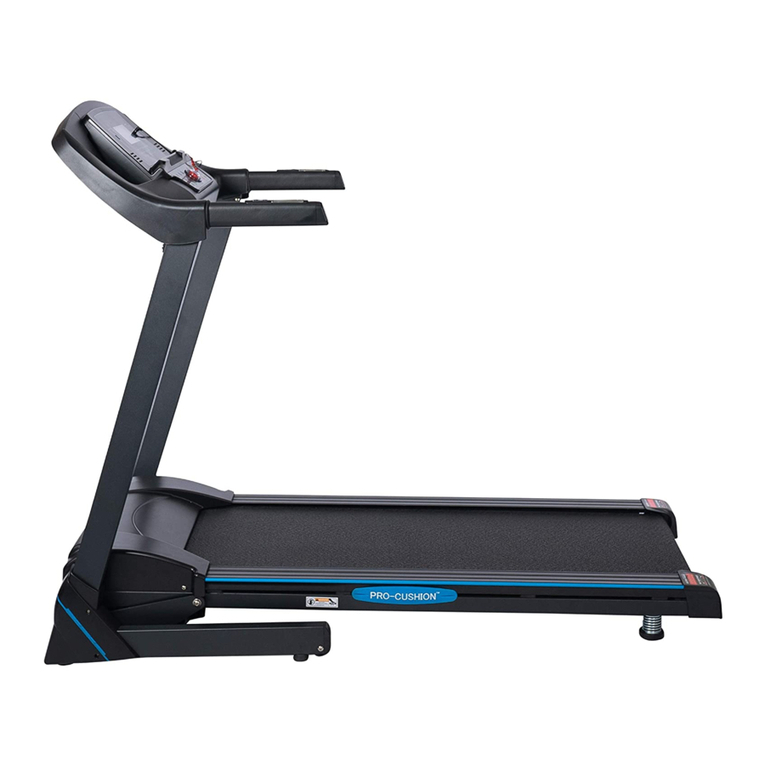
Motorized Treadmill
JK-04

Parts List
Accessories
Control Panel
Locking Pin Emergency Stop
Magnet
Hand Rail
Running Belt
Toe Cap
Locking Pin
Part Quantity Description
1
2
3
4
1
2
1
2
M12x50 Locking pin(Lower)
M6x40 screw
Red emergency stop magnet
Handrail screw covers
Part Quantity Description
5
6
2
4
#5 / #6 Hex Key
M8x50 Screws
7
8
1
1
Spring Bolt
Spanner
Technical Specifications
Product Name Fit4Home Electric Treadmill JK-04
Voltage Rate
Rated Frequency
Rated Power
Maximum User Weight
220-240V
50/60HZ
1000W
100KG
1 2
3 4
5 6
7 8
Accessories

Warning & Safety Information
1. Ensure that you read the manual carefully before attempting to assemble or use Power
Electric Treadmill.
2. The Power Electric Treadmill must be positioned on a firm flat surface.
3. The Power Electric Treadmill is designed for indoor use only. It is not to be used outdoors.
4. Do not position the Power Electric Treadmill on a deep thick carpet as air needs to be able
to circulate underneath.
5. Always wear the correct clothing when using the Power Electric Treadmill. Do not wear
loose or long clothing as this may get caught in the moving belt.
6. Always ensure that correct foot wear is worn.
7. Do not stand on the Power Electric Treadmill belt before operating. Position your feet on
either side of the Treadmill belt and as the motor starts step onto the treadmill. Do not step on
the belt if the Power Electric Treadmill is at full speed.
8. Before running on the Power Electric Treadmill make sure that the emergency cord is
attached to you. If the emergency magnet becomes detached from the control panel the
treadmill will then stop.
9. Do not allow children or pets near the Power Electric Treadmill when in use.
10. Children and elderly should only use the Power Electric Treadmill under adult supervision.
11. Always unplug the Power Electric Treadmill from the main power supply when not in use.
12. Regularly clean the Power Electric Treadmill after use. Remove any dust and sweat from
the handles and the running belt. Use a light soapy water mixture to clean the running belt.
NEVER USE A ROUGH CLEANING AGENT.
13. When the Power Electric Treadmill is not in use for an extended period fold away it away
and store in a clean dry place.
14. If any part of the electrical cable or plug is loose or becomes worn, do not use the Power
Electric Treadmill and have a qualified electrician inspect the problem.
15. The Power Electric Treadmill is not a toy and is not intended for use by persons (including
children) with any physical or mental conditions. The Power Electric Treadmill should not be
used by any person who has not read and understood the manual.
16. If the user has had any prior medical condition they should consult a doctor before use.

Assembly Instructions
1. Take all parts out off the package and place on a firm flat surface, make sure
all packing around taking out.
2. Firstly, Screw the locking screw into the position
by spanner(found in the accompanying bag) .
At the front of the belt, on the left side just below the
base of the handrail, to secure the treadmill.
Secondly, Screw the spring bolt into the position by
hand(found in the accompanying bag) .
At the front of the belt, on the left side just above
the base of the handrail, to secure the treadmill
when folding.
3. Mount the handrail on frame leg and tighten
screw with accompanying Allen key(found in the
accompanying bag) .

4. Fasten the Handrail decorative cover over the
screws on the handrail (found in the accompanying
bag) .
5. Mounting the control panel
Align the control panel with the screw hole,
screwing in place tightly by hand.
6. Put the Emergency Stop Magnet on the control
panel.
7. Perfect machine with finished assembly.

Control Panel
LED Display
Program
Start
Speed -
The emergency
stop switch
Speed +
Stop
Mode
Speed selecon area
1. Insert the plug, put the safety key into the control panel, open the power switch, full screen
display 1 second after the beep sound to enter standby.
2. In the manual standby mode initially: SPEED display 0.0;TIME display 0:00; DIST display
0.0; PLUSE display 000;
3. In the manual standby mode, press the MODE key, you can respectively selected the mode:
normal,preset time or preset distance. If choose count up timer, display “:” flash display; and
count down, display the static status.
A. According to the normal, the time and distance are both count up, when the time to 60 min-
utes, it's stop.
B. According to the preset time, the original time is 30:00, and the speed can be adjusted from
5:00---99:00,and the time count down until 0, the machine stop.
C. According to the preset distance, the original distance is 1.00, you can adjust the speed from
0.50-1.00-1.50---99.5,each additional distance is 0.5km, DIST is count down until 0.
4. In the standby mode, click the program key, its P1-P12 auto program for choice, the time will
show by count down, original time is 30:00, you can adjust the time from 5:00---99:00 by speed
+/- key.
5. In the standby mode, all of shortcut key are useless, if click the stop key, all will come back to
manual standby status.
6. When running all mode, it must be have 3 seconds count down (speed display), and buzzer
3seconds. In this mode, the mode key and program key is invalid.
7. In manual operation mode, you can adjust the speed from1.0---10.0. original is 1.0,you also
can choose speed (2KM,4KM,6KM,8KM) by speed shortcut key.
8. In automatic mode, the speed button “+/-” and the speed shortcut key are also effective, and

Unfolding/folding the machine
1.Unfolding the machine
Pull out the spring pin
put down the treadmill in the direc-
tion shown by the arrow, using the
lock nut to fix the treadmill
2.Folding the machine
Unlocked the lock nut
Folding up the machine, Fix it with
spring pin
all auto-mode is 20 sequence shot. The details of automatic mode are as addendum.
9. In automatic mode, the machine will buzz 3 seconds earlier to prompt the user.
10. In the running status, press the “stop” key, the motor will reduce the speed until stop, and the
mode into manual standby, every motion parameter keep remain show so that the user watch
conveniently.
11.When the safety key/device left the control panel, the window show"-", others all haven't show.
12.In any state, Press the “Pul/Cal” key to show Pulse or Calorie . The Initial Display is pulse
data, it will be shown the pulse data in time when have heartbeat.

Maintenance
1. Before moving or cleaning your Power Electric Treadmill unplug it from the main power
supply.
2. Always clean the Power Electric Treadmill with a damp cloth avoiding the control panel.
DO NOT USE ROUGH CLEANING AGENTS.
3. Clean the power switch and control panel with a soft dry cloth. DO NOT USE A WET
CLOTH IN THESE AREAS.
4. Do not use your treadmill in wet, damp conditions or high dust areas as this can cause
damage to the Power Electric Treadmill.
Adjusting the Running Belt
1. The running belt on the Confidence Power Electric Treadmill will shift slightly after continu-
ous use. This is normal for all treadmills.
2. To straighten/adjust the running belt turn the adjusting bolt on either side of the base, see
figure C and D.
3. Do not allow for the running belt to catch the sides of the Confidence Power Electric Tread-
mill as this will tear the belt.
SPECIALISTS IN HOMEN FITNESS QUIPMENT
Unit I Deveron Mill, Meadow st Great Harwood, BB6 7E
www.fit4home.co.uk
(0330)1240718
Table of contents
Other Fit4Home Treadmill manuals
Popular Treadmill manuals by other brands
NordicTrack
NordicTrack Incline Trainer X11i Interact Treadmill Manual Del Usuario
Leisure Works
Leisure Works 1610636-1 owner's manual
Vision Fitness
Vision Fitness Platform Treadmill T9700 Runne owner's guide

Sunny
Sunny SF-T7604 User manuals
Reebok
Reebok ASTRORIDE A6.0 user manual

Orbit
Orbit T944 owner's manual


