Modular Emotion User manual

emotion for professional people
ovens
emotion
emotion for professional people
ovens
emotion
user’s manual

dear customer,
we thank you and congratulate you for purchasing this equipment; we hope
this is the beginning of a positive and lasting collaboration.
This manual contains all the information necessary for the use and
maintenance of the equipment.
We therefore advise you to read it carefully and keep it with care for future
consultations.
Enjoy your work!

warnings...................................................................................................4
reminders for the user.......................................................................................4
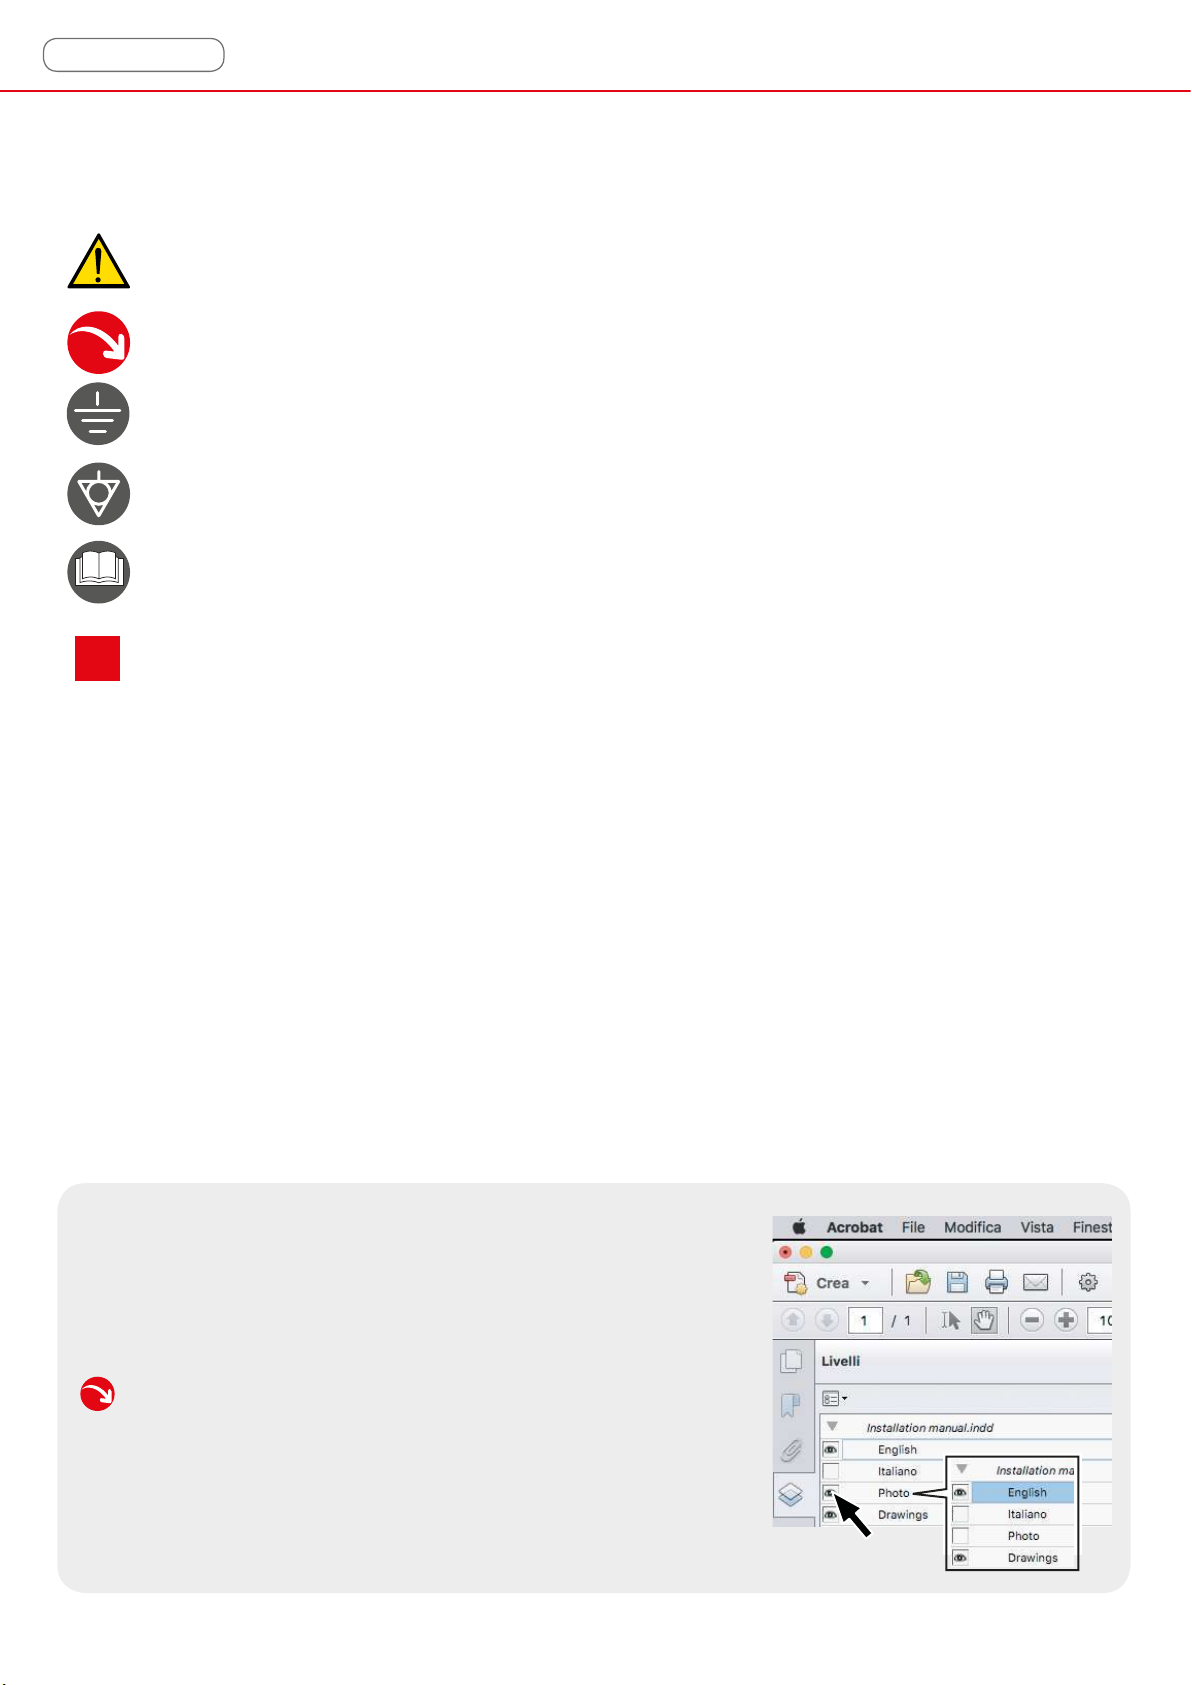
pictogram explanations ....................................................................................6
information............................................................................................8
some information..............................................................................................8
cooking advice ............................................................................................8
useful accessories .......................................................................................9
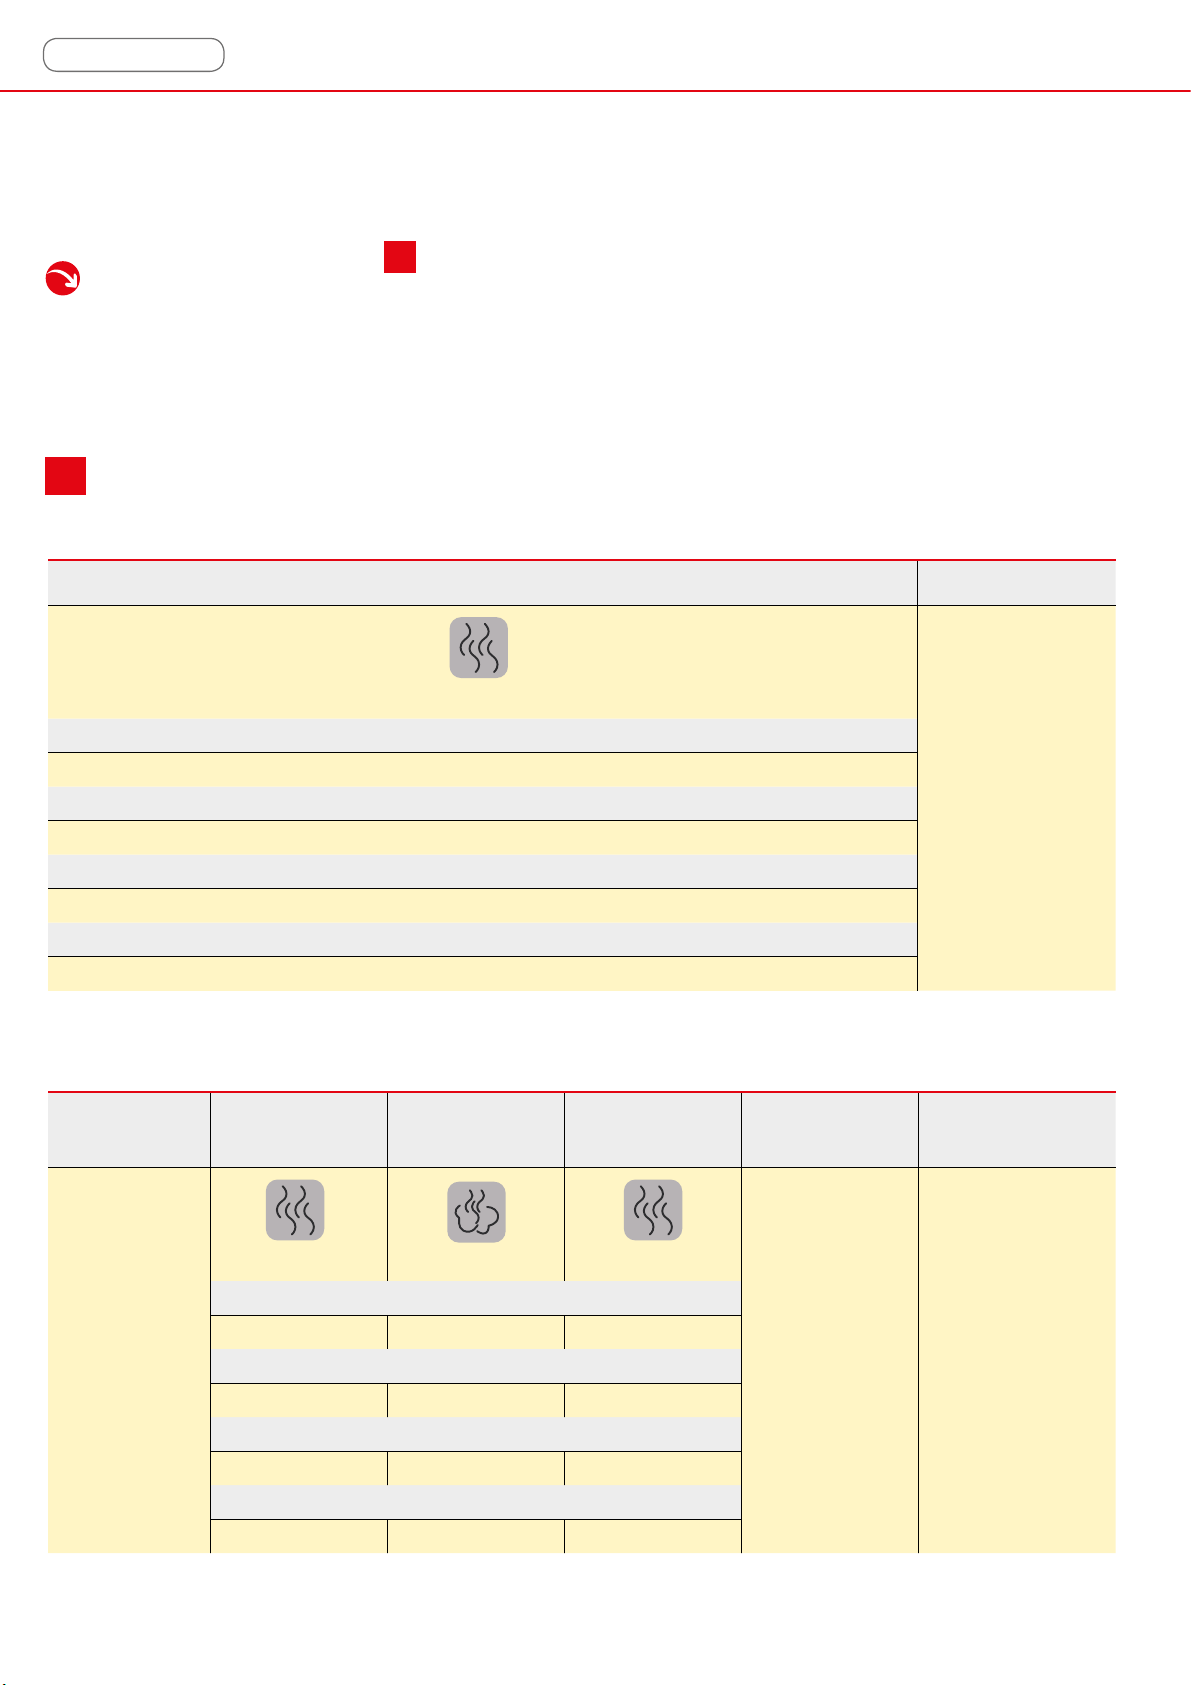
cooking phases: what they are and what they are used for...............................10
how to use the Multipoint core probe supplied .................................................11
sous-vide cooking ...........................................................................................12
how to use mobile ovens..................................................................................13
use ..............................................................................................................14
how to navigate between pages .......................................................................14
setting the initial settings (time, date, etc ...)......................................................16
setting the language ....................................................................................16
selecting the unit of measure .......................................................................17
setting the date ...........................................................................................17
selecting the time zone ................................................................................18
setting the time............................................................................................19
information ..................................................................................................19
managing programs (recipes) ......................................................................20
HACCP protocol..........................................................................................21
cooking! ...........................................................................................................22
manual cooking...........................................................................................24
automatic cooking with recipes (programs)..................................................35
multilevel .....................................................................................................39
Best Chef ....................................................................................................47
cooling ........................................................................................................48
recipes........................................................................................................50
maintenance........................................................................................56
routine cleaning ................................................................................................56
safety warnings ................................................................................................56
cleaning the cooking chamber..........................................................................58
Cleaning with manual shower ......................................................................59
Rinsing program ..........................................................................................59
MANUAL washing .......................................................................................60
Automatic washing......................................................................................61
How to load the detergent...........................................................................62
cleaning the external surfaces, glass and Touch Screen panel ..........................63
cleaning the internal seal...................................................................................63
cleaning the trolley............................................................................................63
cleaning the tray grid ........................................................................................63
managing the boiler (if any) ...............................................................................64
how to descale............................................................................................65
downtime .........................................................................................................66
end-of-life disposal ...........................................................................................66
service.........................................................................................................68
something is not working?................................................................................68

4
reminders for the user
Failure to comply with the following rules can
result in damage and injury, even death, will void
the warranty and relieves the Manufacturer from
all liability.
-Before use and ordinary maintenance of the equipment read
this manual carefully and take care to keep it for any further
future consultation by the various operators. Contact the
Manufacturer, if some parts cannot be understood.
-In case of transfer of the equipment, hand this booklet to
the new user.
-Use, cleaning and maintenance other than those indicated
in this manual are considered improper and may cause
damage, injury or fatal accidents, void the warranty and
relieve the Manufacturer from all liability.
-This appliance must only be used by qualied personnel to cook
food in professional kitchens: any other use is not compliant with
the intended use and therefore dangerous.
-The manufacturer has designed and built this equipment according
to the regulations in force and with the best safety systems with
the aim of reducing the risks, however a residual risk remains that
will be decreased further by the user who has to comply with the
rules in this use and maintenance manual.
-If the appliance does not work or you notice any functional
or structural anomalies, disconnect it from the power and
water supplies and contact a Service Centre authorized by
the Manufacturer without attempting to repair it yourself. For a
possible repair request the use of original spare parts.
-Do not obstruct the side vents.
- The equipment must be easily movable for any extraordinary
maintenance: make sure that any masonry work following the
installation (e.g. construction of walls, replacement of doors with
narrower ones, renovations, etc ...) does not hinder handling.
-The appliance may be used by children aged 8 or less and by
persons with reduced physical, sensory or mental abilities, or
lacking experience or the necessary knowledge, provided they
are monitored or after they have received instructions concerning
the safe use of the appliance and understand the dangers inherent
to it. Children must not play with the appliance. Cleaning and
maintenance must be carried out by the user and not by children
without supervision.
warnings
reminders for the user
4
pictogram explanations
6

5
-When cooking particularly fatty foods with grills (for example roasts or poultry), place a container
on the bottom of the cooking chamber to collect any fat.
-Before use, make sure that there are no non-conforming objects (instruction booklets, plastic bags
or anything else) or detergent residues inside the cooking chamber; in the same way make sure that
the smoke ue is free from obstructions and there are no ammable materials near it.
-On rst use, operate the appliance for 30-40 min. at 200°C in order to eliminate the processing
residues; wait for the chamber to cool and start a SHORT wash. Before each use, carefully clean
and dry accessories and trays too.
-To move containers, accessories and other objects inside the cooking chamber, always wear
protective thermal clothing (PPE) suitable for the use in question (e.g. thermal gloves).
-To prevent burns, do not use containers lled with liquids or food that turn into a liquid state when
cooked, at levels higher than those that can be seen.
-During cooking and until the food has cooled, the external and internal parts of the oven
could be very hot (temperature higher than 60°C / 140°F). To avoid the risk of burns, do
not touch the areas marked with this symbol.
-Pay the utmost attention when removing the trays from the oven chamber, especially if they contain
liquids.
-Pay particular attention when opening the door during and after cooking, especially if you used
steam: scalding hazard.
-Do not salt in the oven chamber.
-Do not use easily ammable food or liquids (e.g. alcohol) during cooking.
-Keep the cooking chamber always clean, performing a daily cleaning after each cooking: if not
removed from inside, fat or food residues could ignite!
-If used, remove the core probe from the food before removing the trays from the oven. Before
removing the trays, check that the probe cable is not obstructing the extraction of the trays.
Handle the probe carefully as it is very sharp and reaches high temperatures after use.
-Do not open the oven door during washing as there is a risk of injury due to the impeller movement,
hot vapours and the aggressiveness of the chemical detergents used.
-The replacement of the detergent and rinse aid packs must be carried out very carefully, avoiding
contact with eyes and skin. In case of contact with eyes, rinse thoroughly with running water and
contact a doctor.
-Do not place heat sources (e.g. grills, fryers, etc.) or easily ammable or combustible substances
near the appliance (e.g. diesel, petrol, bottles of spirits, etc ...).
-Only use the core probe supplied by the Manufacturer.
only for floor ovens with trolley
-Lock the parking brakes of the front wheels of the trolleys whenever you do not need to move
them.
-Always lock the trays inserted in the guides.
-Pay the utmost care when moving the trays because they can contain hot liquids that can
overow and the trolleys can tip over (for example when transporting them on uneven surfaces
or through doors).
-Do not overload the trays inserted in the trolley! The maximum allowed load is 90 kg.

6
warnings
pictogram explanations
The installation and use instructions are valid for all models unless otherwise specied by the following pictograms:
Danger! Situation of immediate danger or dangerous situation that might cause injury or death.
Useful tips and information
Grounding symbol
Equipotential symbol
Read the instruction manual
1Indicates the Figure or Table to which the text refers
digital version
The digital version of the booklet, available in PDF format, is interactive; for
example, a simple "click" on the written text or page numbers lets you access
the indicated contents.
If you need to print the booklet, we recommend deactivating the "Photo”
level of Acrobat.
Drawings, texts and contents will be printed but coloured photos will be
eliminated: in this way it will be possible to save a lot of printing ink and,
consequently, to protect the environment!

7
personal notes

8
information
some information
8
some information
Below are some tips and concepts that, combined with your experience, will allow you
to get excellent performance from your equipment and ensure maximum safety of use.
cooking advice
-During cooking, open the door as little as possible;
-1if the appliance is not used at full load, evenly distribute the trays over the whole
height of the chamber to ensure good air circulation between them: this will
improve the results and reduce cooking time;
-2use trays with low edges and distribute the food evenly in a single layer. For
optimal performance, the Manufacturer recommends its own trays;
-3during cooking and until cool, be careful when you touch the external and
internal parts of the oven as they may be very hot (temperature higher than
60°C/140°F).
-4do not use easily ammable food or liquids (e.g. alcohol) during cooking;
-when cooking particularly fatty foods with grills (for example roasts or poultry),
place a container on the bottom of the cooking chamber to collect any fat;
-preheating is always recommended to obtain better cooking results (except for
special cooking requiring a "cold” start). When the set preheating temperature has
been reached, the oven will beep and a window will be displayed to indicate that
it is time to put the dishes in the oven; when the door is closed, cooking will start
automatically according to the set parameters
-do not overload the equipment. Exceeding the expected load can lead to damage to
the equipment and to less than optimal cooking results;
-during the insertion or extraction of trays, be careful not to hit the Touch Screen with
them.
In the very rst uses, due to the evaporation of the humidity of the insulating
materials, the equipment will produce unpleasant fumes and odours that will
gradually disappear with the subsequent operating cycles.
When there is an interruption of the power supply (for example a blackout) and
cooking was in progress, when the supply is restored, the oven automatically
restarts from the point where it was interrupted.
Cooking takes place only when the door is closed, for safety reasons. When,
during a cooking operation, the door is opened, the oven stops temporarily and
signals the fact with a message on the display.
To resume cooking, simply close the door.
If, after cooking at high temperatures, you intend to cook food that require low
temperatures, the "Cooling - chamber cooling" function page 48 is available,
which quickly cools the cooking chamber to the desired temperature.
After cooking meat, let it rest wrapped in aluminium foil: for a few minutes cooking
will continue by thermal inertia ("Carry Over"). Wait until the temperature drops to
around 60°C ("Rest" phase); proceed then with cutting the meat which will be
particularly tasty and juicy.
Pay particular attention when opening the door during and after cooking,
especially if you used steam: scalding hazard.

9
1
==
2
==
5
3
4
useful accessories
Studied by catering professionals to be the right aid
for every chef:
-trays for all kinds of cooking: for fried foods,
omelettes, baguettes, of all possible sizes and in
the best materials;
-tray-holding complementary trestles and tray
trolley included in the EM E 20/11-D model;
-condensation hoods designed specically for
Emotion ovens;
-oven-dedicated detergents and cleaning materials.

10
A
information
cooking phases: what they are and what they are used for
Cooking can consist of a minimum of 1 cooking phase or, for better results, up to a maximum of 16 cooking phases, each
characterized by different cooking types and parameters (for example, some phases can be set according to time, others with
core probe). It is not necessary to use all the phases, for example only two or three can be used.
In the example shown in the table Ayou can see the difference between cooking a roast managed with a single phase
and with several phases (recommended).
Using the phases means being able to accurately control cooking at all times, modulating the temperature, humidity and fan
speed as required.
cooking phase table
cooking a roast using 1 phase
PHASE 1 (it is always necessary to set at least 1 phase) TOTAL TIME
convection
90 minutes
duration
90 minutes
temperature
200°C
fan speed
1
humidity/extraction
humidity 80%
cooking a roast using multiple phases (recommended mode)
PRE-HEATING
PHASE 1
(browning)
PHASE 2
(internal cooking)
PHASE 3
(final browning)
PHASES
from 4 to 16 TOTAL TIME
temperature
210°C
convection combined (Combi) convection
not used about 90 minutes
duration
15 minutes 75° in the core 7 minutes
temperature
190°C 130°C 190°C
fan speed
535
humidity/extraction
vent closed humidity 80% vent closed

11
6
OK
7
B
how to use the Multipoint core probe
supplied
The equipment is supplied with a Multipoint core probe.
When the probe reaches the temperature set by the user, it
means that, both on the surface and in the innermost part ("the
core”), the food is cooked and therefore cooking is stopped.
Traditional probes measure the temperature of the food
in which they are inserted, only on the tip of the probe,
while the Multipoint probe detects the temperature in
several points and provides the average value of these
detections. This allows more precise measurements as errors
are avoided; for example, in traditional probes, if the tip is very
close to the bones, the detected temperature may not reect
the real core temperature.
6To use the core probe, it is necessary to insert the
connector in the appropriate socket located in the lower
part of the appliance.
7The tip of the core probe must be inserted deeply into
the food to be cooked, paying attention that it does not
come out. Do not put it in very fatty places near the bones
(cooking may end too early).
At the end of cooking, take care to remove the core
probe before removing the tray or trolley from the oven.
The core probe is very sharp and, after cooking, reaches high
temperatures!!!
Do not pull the probe by the wire to remove it!
Do not insert the hot probe in frozen food: danger of thermal
shock and consequent failure!
Core temperature indicative table
dishes recommended core
temperature
Fillet 53-58°C
Roastbeef 53-58°C
Braised meat 80-85°C
Veal roast 72-78°C
Pork shank 80-85°C
Porchetta 68-75°C
Lamb loin 58-65°C
Chicken - Turkey (whole) 85-87°C
Salmon (slices) 58-65°C

12
8
information
sous-vide cooking
Sous-vide cooking ensures greater respect of the organoleptic
qualities, the preservation of vitamins contained in food and
allows cooking without added fats: it is particularly suitable for
cooking meat and vegetables, as it is more homogeneous
and preserves the softness and juiciness of the dishes.
Sous-vide cooking also allows to block the bacterial
proliferation inside the special sous-vide bags, keeping the
aromas, quality and nutritional values of your food much
longer.
For this type of cooking you need to have:
-an extremely thin single-point probe (to be requested as an
option from the manufacturer);
-specic bags for sous-vide oven cooking;
-neoprene gaskets.
procedure
-Insert the food to be cooked in the vacuum bag; if desired,
add oil and spices;
-create the vacuum in the bag and seal it;
-apply a piece of neoprene gasket on the bag: the latter is
essential to prevent the tightness of the bag from being lost
when the probe is inserted;
-insert the single-point probe into the bag where the neoprene
gasket was previously applied;
-insert the bag with the probe inserted into the oven chamber
and cook as desired.
Neoprene gasket
Single-point probe
(option to be requested
from the manufacturer)

13
9
10
11
A
B
C
12
how to use mobile ovens
Mobile ovens with 20 trays provide for the use of a wheeled
trolley for inserting the trays.
9Always lock the parking brakes of the front wheels of the
trolley whenever you do not need to move it.
10 Always lock the trays inserted in the guides: this will
prevent them from moving and causing possible burns.
11 After inserting the trolley into the oven chamber, remove
the handle by pulling it upwards
Pay the utmost care when moving the trays because
they can contain hot liquids that can overow and the
trolleys can tip over (for example when transporting them on
uneven surfaces or through doors).
Do not overload the trolleys: the maximum load allowed is 80
kg evenly distributed on the 20 GN 1/1 trays available.
12 The trolley door closure has two movements: this ensures
maximum safety of use.
unlocked locked

14
use
how to navigate between pages
14
setting the initial settings
16
cooking!
22
This section explains step by step how to best use your equipment.
Simply follow the numbers and let yourself be guided to discover all the potential of
your oven:
1. how to navigate between pages
2. setting the initial settings (time, date, etc ...)
3. cooking!
1. how to navigate between pages
OFF
ON
Turn on the display by pressing the ON button above the
control panel. The button beside (OFF) turns off the
equipment at the end of the working day.
The control panel is a large Touch Screen: this means it is
extremely easy to clean and use it.
It should be used only with your clean and dry ngers;
avoid using ladles, tools, etc ... as they could seriously
damage the display.
13
After a few moments after turning the power on, the display shows a main page
showing 6 icons on the rst screen and 2 icons on the second screen.
If there are multiple pages as in this case, they are scrolled by dragging the nger left
or right ("scroll" function), the red dots at the bottom indicate the page displayed and
those available:
= display of page 1 of two available
= display of page 2 of two available
Page 1/2
Pre-heating
manual p. 26 allows setting the oven preheating temperature
manually
Manual p. 24
according to his/her experience, the user must
set the desired cooking parameters for one or
more phases manually
Programs p. 35
collection of recipes preset at the factory or
previously stored by the user and divided into
categories to facilitate the search for the recipe
you need (e.g. starters, red meats, etc.)
Multilevel p.
39
cooking of multiple dishes at the same time
Washing p.
60
managing the automatic washing of the oven
chamber
Best Chef p. 47 collection of favourite or most used recipes
Page 2/2
Cooling p. 48 quickly cools the cooking chamber
Settings
p. 16 allows you to make settings (e.g. date/time, unit
of measurement, etc ...)

15
13/10/2016
13:00 100°c 13/10/2016
13:00 100°c
13
13/10/2016
13:00 100°c
13/10/2016
13:00 100°c
14
Manual
preheating
p. 26
Back to the
previous page
Back to the
main screen
(gure 13 )
Manual
p. 24
Time and date
p.
17
and p. 19
Current temperature
in the chamber
Settings
p. 16
Cooling
p. 48
Multilevel
p.
39
Best Chef
p. 47
Light ON/OFF
Light ON/OFF
Programs
p. 35
Washing
p.
60
Washing
p.
60
PAGE 1/2 PAGE 2/2
14 Touching an icon opens a further secondary page dedicated to the chosen topic (e.g. washing): on this you can dene
all the necessary settings or interventions.
In any secondary page, the symbol:
= brings you back to the previous page
= brings you back to the main screen
=starts a manual, automatic or multilevel
cooking cycle
HOME CLEANING
RINSING
AUTOMATIC
MANUAL
PREHEAT MANUAL
MULTILEVELRECIPE BOOK
CLEANING BEST CHEF
HOME HOME
PREHEAT COOLINGMANUAL SETTINGS
MULTILEVELRECIPE BOOK
BEST CHEFCLEANING

16
13/10/2016
13:00 100°c
13/10/2016
13:00 100°c
13/10/2016
13:00 100°c
IMPOSTAZIONI
13/10/2016
13:00 100°c
15
13/10/2016
13:00
HOME
100°c
COOLING IMPOSTAZIONI
use
2. setting the initial settings (time, date, etc ...)
setting the language
settings
If your equipment does not include the correct date, time or language, we recommend you set them
before using the oven; the main page provides all this information at the top, so it is easy to see if
some adjustment is needed.
The primary settings to dene are:
-language g. 15
-unit of measurement g. 17
-date g. 16
-time g. 18
-time zones g. 19
In the same screen you can:
-manage programs (recipes) g. 21
-display the HACCP procedure g. 22
The menus marked with the symbol are protected by a password provided only by the
Manufacturer to specialized personnel to prevent the programming of parameters that, if set
incorrectly, might compromise the use of the oven.
COOLING
HOME LANGUAGES
SETTINGS
PREHEATED
HOME
RECIPE BOOK
CLEANING
MANUAL
MULTILEVEL
BEST CHEF
SETTINGS
DATE
LANGUAGES
°C/°F
12h/24h
xx/xx/xx
TIME
TIME ZONE
INFO

17
13/10/2016
13:00 100°c
13/10/2016
13:00 100°c
13/10/2016
13:00 100°c
123
456
7 8
0
9
13/10/2016
13:00 100°c
13/10/2016
13:00 100°c
123
456
7 8
0
9
13/10/2016
13:00 100°c
123
456
7 8
0
9
13/10/2016
13:00 100°c
2018________
____
16
17
13/10/2016
13:00 100°c
13/10/2016
13:00 100°c
13/10/2016
13:00 100°c
12h 24h
°C °F
dd/mm/yyyy
mm/dd/yyyy
yyyy/mm/ddd
13/10/2016
13:00 100°c
if necessary,
delete the last
digit entered
setting the date
set the temperature unit of
measurement:
C°= degrees centigrade
F°= degrees Fahrenheit
set the date format
example: 24 May 2018
dd/mm/yyyy= 24 / 05 / 2018
(day/month/year)
mm/dd/yyyy= 05 / 24 / 2018
(month/day/year)
yyyy/mm/dd= 2018 / 05 / 24
(year/month/day)
set the time to 12 or 24 hours
example: three in the
afternoon
12h= 3:00 pm is displayed
24h= 15:00 is displayed
selecting the unit of measure
HOME
COOLING
PREHEATED
HOME
RECIPE BOOK
CLEANING
MANUAL
MULTILEVEL
BEST CHEF
SETTINGS
SETTING SETTING
DATE
LANGUAGES
°C/°F
12h/24h
xx/xx/xx
TIME
TIME ZONE
INFO
HOME SETTINGS SETTINGS
COOLING SETTINGS
PREHEATED
HOME
RECIPE BOOK
CLEANING
MANUAL
MULTILEVEL
BEST CHEF
DATE
LANGUAGES
°C/°F
12h/24h
xx/xx/xx
TIME
TIME ZONE
INFO
DAY
15
SETTINGS SETTINGS SETTINGS
YEARYEARMONTH
JAN
15 OCT 15 OCT 15 OCT
APR
JULY
OCT
FEB
MAY
AUG
NOV
MAR
JUNE
SEPT
DEC

18
13/10/2016
13:00 100°c
13/10/2016
13:00 100°c
13/10/2016
13:00 100°c 13/10/2016
13:00 100°c
Europe/Moscow
Europe/Nicosia
Europe/Oslo
Europe/Podgorica
Europe/Prague
Europe/Riga
Europe/Samara
Europe/San Marino
Europe/Sarajevo
Europe/Simferopol
Europe/Skopje
Europe/Soa
Europe/Rome
18
NEW YORK UTC-5 ROMA UTC+1
GREENWICH UTC 0
use
select the country/town of
the oven installation (e.g. if
the oven is installed in an
English town, select London)
selecting the time zone
time zones
The earth makes a complete rotation on its axis in 24 hours.
By dividing the 360 degrees of complete rotation by 24 hours we get regular segments: all the countries that are
located within that area will adopt the same time (the borders of the "segments" are not net but follow the countries’
borders). It has been agreed that "zero" time (UTC0) is the "segment" where Greenwich is located (London).
At this point it is 12 o'clock when the sun is exactly at the peak of meridian line 0 (longitudinal zenith). As you move
eastward the hours increase, to the west they decrease, for example:
if in Greenwich it is 12:00 in Rome (UTC + 1) it is 13:00
if in Greenwich it is 12:00 in New York (UTC-5) it is 7:00
SETTINGSHOME SETTINGS
DATE
LANGUAGES
°C/°F
12h/24h
xx/xx/xx
TIME
TIME ZONE
INFO
COOLING SETTINGS
PREHEATED
HOME
RECIPE BOOK
CLEANING
MANUAL
MULTILEVEL
BEST CHEF
Time zone

19
13/10/2016
13:00 100°c
13/10/2016
13:00 100°c
13/10/2016
13:00 100°c
13/10/2016
13:00 100°c
123
456
7 8
0
9
am pm
13/10/2016
13:00 100°c
- -:- -
123
456
7 8
0
9
:00 :30
13/10/2016
13:00 100°c
- -:- -
123
456
7 8
0
9
am pm
13/10/2016
13:00 100°c
10:30
123
456
7 8
0
9
am pm
13/10/2016
13:00 100°c
10:30
19
13/10/2016
13:00 100°c
13/10/2016
13:00 100°c
13/10/2016
13:00 100°c 13/10/2016
13:00 100°c
0.1.2
0.0.0.0
0.3.5
0.1.2
20
if the time has been set to 12 hours
gure 17 , you can only enter
hours from 1 to 12, specifying, at
the following step, if it is pm (post
meridiem - after midday) or am (ante
meridiem - before midday)
if the time has been set to 24 hours
gure 17 , it will be possible to
enter numbers from 1 to 24
setting the time
step to perform only if the time
has been set to 12 hours
information
the page provides information on the rmware
installed on the appliance
SETTINGS
INTERFACE VERSION
BASE CARD VERSION
SERVICE VERSION
MANUFACTURER’S RECIPES VERSION
HOME
COOLING SETTINGS
PREHEATED
HOME
RECIPE BOOK
CLEANING
MANUAL
MULTILEVEL
BEST CHEF
SETTINGS
DATE
LANGUAGES
°C/°F
12h/24h
xx/xx/xx
TIME
TIME ZONE
INFO
SETTINGSHOME
DATE
LANGUAGES
°C/°F
12h/24h
xx/xx/xx
TIME
TIME ZONE
INFO
COOLING SETTINGS
PREHEATED
HOME
SETTINGS
SETTINGS
RECIPE BOOK
CLEANING
MANUAL
MULTILEVEL
BEST CHEF
time
SETTINGS SETTINGS SETTINGS
DATE
LANGUAGES
°C/°F
12h/24h
xx/xx/xx
TIME
TIME ZONE
INFO
time time

20
21
13/10/2016
13:00 100°c
13/10/2016
13:00 100°c
13/10/2016
13:00 100°c 13/10/2016
13:00 100°c
HACCP
13/10/2016
13:00 100°c
use
managing programs (recipes)
import Manufacturer’s
recipes from the USB stick
to the oven memory
import personal recipes
(created with other Emotion
ovens) from the USB stick to
the oven memory
export the user’s or the
Manufacturer’s recipes to a
USB stick
Programs are recipes:
-the user’s, saved after setting them manually;
-stored by the Manufacturer’s in the oven’s memory.
Inserting a memory stick into the USB socket in the bottom
of the appliance, you can:
-import personal recipes (created with other Emotion
ovens) or the Manufacturer’s recipes from the USB stick to
the oven memory
or
-export new recipes from the oven memory to the USB
stick.
The USB stick must be formatted FAT32.
HOME SETTINGS SETTINGS
COOLING PROGRAM
MANAGEMENT
SETTINGS FIRMWARE
UPDATE
SERVICE
PREHEATED
HOME
RECIPE BOOK
CLEANING
MANUAL
MULTILEVEL
BEST CHEF
SETTINGS
DATE TIME
LANGUAGES TIME ZONE
INFO
°C/°F
12h/24h
xx/xx/xx
IMPORT
MANUFACTURER
EXPORT MY
RECIPES
IMPORT RECIPES
Table of contents
Other Modular Oven manuals
Popular Oven manuals by other brands

Cooke & Lewis
Cooke & Lewis EFA60BKL User handbook

Wido
Wido MO23L user manual

Fisher & Paykel
Fisher & Paykel OB60 Series Installation instructions and user guide

Beko
Beko BE66 FS Installation & operating instructions

Hotpoint
Hotpoint SX 1038LS P 0 X operating instructions

Bosch
Bosch HBA 21B3.0 J Instructions for use