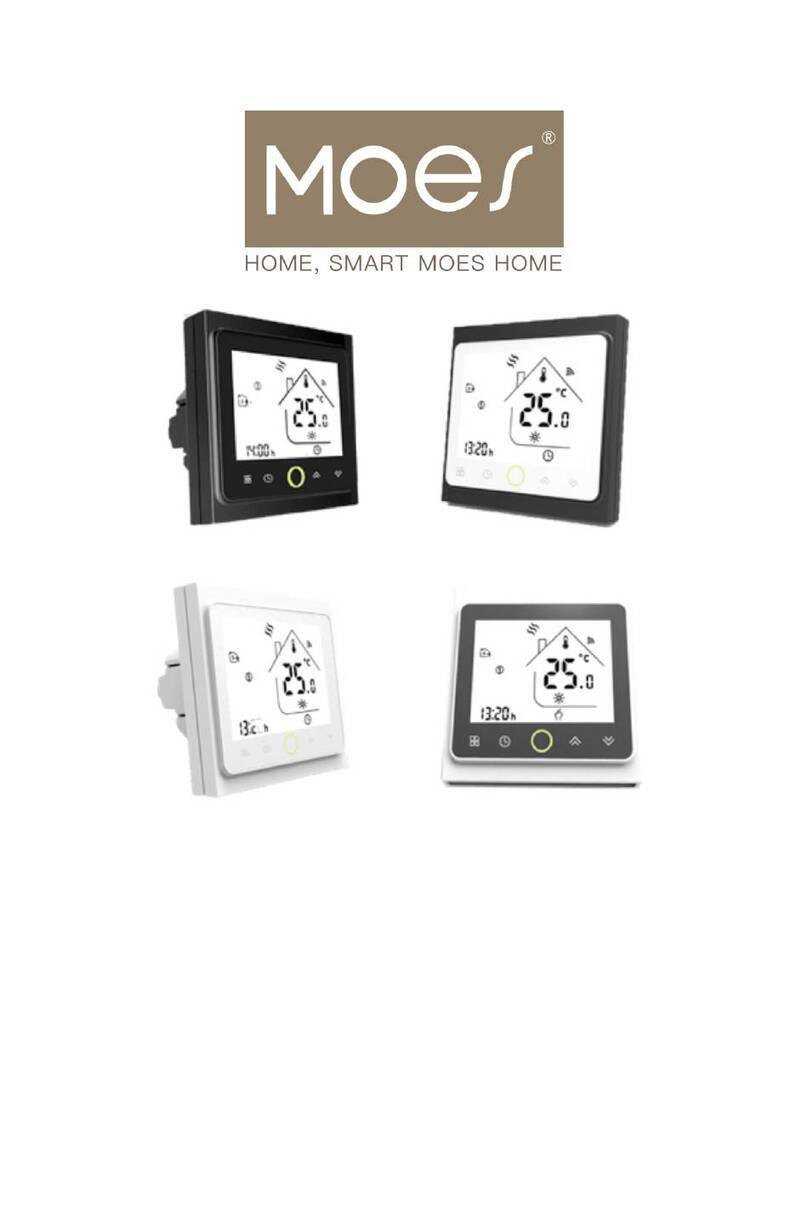
Moe's 002FB User manual

Wi-Fi Thermostat
User Manual • Uživatelský manuál •
Užívateľský manuál • Használati utasítás •
Benutzerhandbuch

2
English
3 –23
Čeština
24 –44
Slovenčina
45 –65
Magyar
66 –86
Deutsch
87 –107

3
Dear customer,
Thank you for purchasing our product. Please read the following instructions carefully
before first use and keep this user manual for future reference. Pay particular attention
to the safety instructions. If you have any questions or comments about the device,
please contact the customer line.
www.alza.co.uk/kontakt
✆+44 (0)203 514 4411
Importer Alza.cz a.s., Jankovcova 1522/53, Holešovice, 170 00 Praha 7, www.alza.cz

4
Introduction
With your new thermostat, you can expect consistent and pleasant temperature control
in every corner of your home. We've seamlessly integrated cutting-edge technology,
expert craftsmanship, and premium materials to offer you a product that's not only safe
and dependable but also boasts a modern and elegant design.
Please make sure to engage a qualified professional for the installation, and adhere to
all local regulations for a seamless experience.
We appreciate your trust in our product, and we're confident it will enhance your
home's comfort and efficiency.
Available Colors
•002FB: Black
•002FW: White
•002BW: Black and white
•002WB: White and black
Packaging
•1× Thermostat
•1× Instruction manual
•2× Screws
•1× Floor sensor (2,5 meters)
Note: GB Compatibility - Accessory Not Included in Package, Available for Separate
Purchase

5
About the Thermostat
The 002 series is meticulously engineered to regulate electric underfloor heating, water
heating, or water/gas boiler systems. These units are meticulously designed for
applications in commercial, industrial, residential, and civic properties, ensuring optimal
performance across diverse settings.
Features
Enhanced Convenience in Design:
1. Streamlined Operation for Effortless Living: Enjoy a life of ease with a user-
friendly interface that simplifies your daily routines.
2. Chic Options: Select from sophisticated black and pristine white housing to
seamlessly complement any interior decor.
3. Fashionable Design that Blends In: Its stylish design effortlessly integrates into
any setting, enhancing the aesthetic appeal of your space.
4. Easy-to-Read Touch Screen: The touch screen display, complete with a
backlight, ensures effortless readability, even in the darkest environments.
5. Illuminated Buttons for Constant Awareness: Brightly lit buttons serve as a
constant reminder of the vibrant world around you, enhancing your awareness.
6. Intuitive UI Suitable for All Ages: The intuitive user interface is so simple that
even a child can navigate it with ease.

6
Advanced Functionality:
1. Precision Temperature Control: Maintain your desired temperature level with
an accuracy of 0,5 degrees Celsius, ensuring optimum comfort.
2. Versatile Connectivity Options: Explore a range of powerful functions,
including Modbus and Wi-Fi connectivity, offering you versatile control
possibilities.
3. Persistent Data Memory: Benefit from data memory capabilities, preserving
your settings even during power outages for uninterrupted convenience.
4. Customizable Programmable Settings: Utilize the 5+1+1 six-period
programmable feature, maximizing both comfort and economy tailored to your
lifestyle.
5. Centralized Thermostat Grouping: Create thermostat groups for centralized
control, enhancing the efficiency of your heating and cooling systems.
6. Smart Home Integration: Seamlessly integrate with Amazon Echo, Google
Home, and Tmall Genie, enhancing your home automation experience.
7. Global Settings Synchronization: Automatically synchronize settings, including
time zone, address, and language, providing a hassle-free experience across
languages and regions.
8. Expandable and Smart Scene Compatible: Enjoy limitless room additions with
no restrictions and full support for Smart Scene configurations, giving you the
flexibility to customize your environment.

7
Dimensions
Side
Back
Front
Unit: Millimeters

8
Specifications
Power Supply
95 - 240 VAC, 50 - 60 Hz
Current Load
5 A (applicable for water heating, water
boiler, and gas boiler), 16 A (suitable for
electric heating)
Sensor
NTC3950, 10K
Accuracy
± 0,5° C
Set Temperature Range
5 –35 °C
Display Temperature Range
5 –99 °C
Ambient Temperature
0 –45 °C
Ambient Humidity
5 - 95% RH (Non-Condensing)
Storage Temperature
- 5 –45 °C
Power Consumption
Less than 1,5 W
Timing Error
Less than 1%
Shell Material
PC + ABS (flame retardant)
Installation Box
86 × 86 mm Square or European 60 mm
Round Box
Wire Terminals
Supports 2 × 1,5 mm² wires or 1 × 2,5
mm² wire
Protection Class
IP 20
Buttons
Capacitive Touch Buttons
Before Wiring and Installing
1. Please thoroughly review these instructions. Neglecting to do so may result in
product damage or create hazardous situations.
2. Verify the ratings stated in both the instructions and on the product to ensure it is
appropriate for your intended use.
3. Installation should be conducted by a skilled and experienced service technician.
4. Once installation is finished, carefully assess the product's operation according to
the guidelines provided herein.
Caution: Danger of Electrical Shock and Equipment Damage. May cause
harm to individuals or result in short-circuiting of equipment. Disconnect
power supply before installation.

9
Wiring
GA is designed for water heating systems, GB for electric heating, and GC for water/gas
boilers. If your boiler has more than three wires, kindly reach out to us, and we will
provide you with the correct installation method. NTC and Modbus features are optional
and can be included upon request.
No Actuator
No Actuator
RED
RED
WHITE
WHITE
Modbus
Modbus

10
Installation
Your thermostat is designed for installation within a standard 86 mm pattress box or
European 60 mm pattress box.
Step 1: Ensure power is switched off. Refer to Fig 1 for guidance.
Step 2: Slide the LCD assembly downward to detach the mounting plate. Consult Fig 2
for reference.
RED
RED
WHITE
WHITE
Modbus
Modbus
Electric Floor
Dry Contact
Dry Contact
Power off
Slide

11
Step 3: Connect the power supply and load into the appropriate terminals (refer to
"Wiring your thermostat" for detailed instructions and Fig 3 for visual guidance).
Step 4: Secure the mounting plate onto the wall inside the box using screws.
Step 5: Attach the thermostat body to the mounting plate by rotating it into place. Refer
to Fig 5 for assistance.
Step 6: Installation is now complete. Consult Fig 6 for the finished setup.

12
Home Screen Guide
Heating on
Mode
Clock
Power
Up
Down
Week
Period
Time
Timing On
and Off
Manual
Programmable
Energy saving
Set temperature
Floor temperature
Network
Lock
Press and hold the
arrow button for 8
seconds to reset the
device while it is
powered off.

13
Thermostat Control
During Power On
1. Power Control: Press to switch the thermostat on or off.
2. Manual & Programmable Modes: Touch to toggle between manual mode
(indicated by in the bottom left of the screen) and programmable mode
(indicated by the period icon on the right side).
3. Setting the Temperature: In programmable mode, time and set-point adjustments
are disabled. To modify, switch to manual mode or programmable settings. In
manual mode, press to set your desired temperature.
4. Adjusting the Clock: Tap the icon to set the minute, hour, and weekday (1=
Monday, 2=Tuesday, etc.) using the arrows. Press again to confirm and exit.
5. Thermostat Lock Feature: Hold the buttons for 5 seconds to lock or unlock
your thermostat. In item 3 of high sensor options, you can choose between full lock
or half lock.
6. Program Schedule Adjustments: When your thermostat is connected to Wi-Fi, it
automatically syncs with the program schedule configured through the companion
app on your device (refer to detailed instructions below). However, if you prefer
setting the schedules directly on your thermostat, please follow these steps:
Note: You can only set the program schedule on your thermostat when there is no Wi-Fi
connection established between your thermostat and your smartphone/tablet.

14
1. Touch to switch between manual mode and program mode. In manual
mode, will be displayed at the bottom of the screen. In program mode, touch
and hold the clock icon until the weekday schedule settings appear (numbers 1 to
6 will show along the left of the screen).
2. Use the left and right arrow icons to adjust the time.
3. Press the clock icon and use the up and down arrows to set the temperature for
the first period.
4. Press the clock icon again and use the up and down arrows to set the time for the
2nd period. Repeat this process for periods 3, 4, and 5,6.
5. Press the clock icon once more to enter the Saturday schedule settings (number
6 will show along the left of the screen).
6. Repeat the above process to set the period, temperature, and Sunday schedule.
Press the clock icon once more to confirm and exit.
Default Settings for Program Schedule
Time
Display
Weekday (Monday –
Friday) (1 2 3 4 5 shows
on screen)
Weekend (Saturday) (6
shows on screen)
Weekend (Sunday) (7
shows on screen)
Time
Temperature
Time
Temperature
Time
Temperature
Period 1
6:00
20 °C
6:00
20 °C
6:00
20 °C
Period 2
8:00
15 °C
8:00
20 °C
8:00
20 °C
Period 3
11:30
15 °C
11:30
20 °C
11:30
20 °C
Period 4
13:30
15 °C
13:30
20 °C
13:30
20 °C
Period 5
17:00
22 °C
17:00
20 °C
17:00
20 °C
Period 6
22:00
15 °C
22:00
15 °C
22:00
15 °C
Distinct schedules can be established for weekdays (Monday to Friday) and weekends
(Saturday or Sunday).
7. Monitoring Floor Sensor Temperature: Hold down the down arrow for 5 seconds
to view the temperature of the floor sensor.
8. Configuring Functions and Options: To access system functions, switch off the
thermostat. Simultaneously press and hold and the time icon for 5 seconds.
Then, use to navigate through available functions. Utilize the up and down arrow
icons to modify the options. All changes are automatically confirmed.

15
Code
Function
Settings and options
Default
1
Temperature
compensation
-9 - 9 °C (for internal sensor)
-3
2
Deadzone temperature
1 –5 °C
1
3
Button locking
00: All buttons are locked except power
button
01: All buttons are locked
01
4
Sensor types
In: Internal sensor (to control the temperature)
Ou: External sensor (to control the
temperature)
AL: Internal/external sensor (internal sensor to
control the temperature, external sensor to
limit the temperature)
AL
5
Minimal set
temperature
5 –15 °C
05
6
Maximal set
temperature
15 –45 °C
35
7
Display mode
00: Display both set temperature and room
temperature
01: Display set temperature only
00
8
Low temperature
protection settings
0 –10 °C
00
9
High temperature
protection settings
25 –70 °C
45
A
Economy mode
00: Non-energy saving mode
01: Energy saving mode
0
B
Economy temperature
0 –30 °C
20

16
Getting Ready for Use
1. Downloading the MOES App
The MOES App offers enhanced compatibility compared to the
Tuya Smart/Smart Life App. It functions seamlessly with Siri for
scene control, provides widgets, and offers scene
recommendations as part of its brand-new, customized service.
(Please note: While the Tuya Smart/Smart Life App still works,
we highly recommend using the MOES App.)
2. Account Registration or Login:
•Download the "MOES" Application from the respective app store.
•Access the Register/Login interface; select "Register" to create an account. Enter
your phone number to receive a verification code and set your password.
•If you already have a MOES account, choose "Log in" to proceed.
3. Connect to the Thermostat
Refer to the tutorial below to finalize the connection and setup process.
•Method 1: Scan the QR code to access the network configuration guide.
Scan this QR code
Thermostat
Add

17
•Method 2: Follow the standard network setup instructions provided.
1. Make sure your phone is connected to
2.4 G Wi-Fi and the Bluetooth is
enabled.
2. Open the MOES App, click on the
plus button in the upper right
corner.
3. Click on “Small Home Appliances”
and find “Thermostat”.
3. Select network distribution mode:

18
Network Distribution Mode
1. EZ Mode
To activate Wi-Fi, press and hold the down arrow icon on the thermostat screen while it's
turned off. Keep holding until the screen flashes rapidly and displays the Wi-Fi icon.
Follow the instructions outlined in the figure below.

19
2. AP Mode
To enable Wi-Fi, ensure the thermostat is turned off. Press and hold the down arrow
icon until the thermostat screen flashes slowly, and the icon appears. If the Wi-Fi
icon appears, continue pressing the down arrows button until the screen displays the
icon. Follow the instructions provided in the figure below.

20
Interface of the App
Power
External sensor
temperature
Target temperature
Energy saving
Button lock
Thermostat name
More
Manual mode
Programmable
mode
Adjustable
temperature
Room
temperature
This manual suits for next models
4
Table of contents
Languages:
Other Moe's Thermostat manuals
Popular Thermostat manuals by other brands

Citron
Citron SC-KS1-1 Series instruction manual

Lightstat
Lightstat TME series Installation & operation manual

Charmeg
Charmeg T10 quick start guide

BECA ENERGY CONTROLS
BECA ENERGY CONTROLS BAC-1000 user guide

Danfoss
Danfoss DEVIreg Smart installation guide

ICM Controls
ICM Controls SC 2000 quick start guide