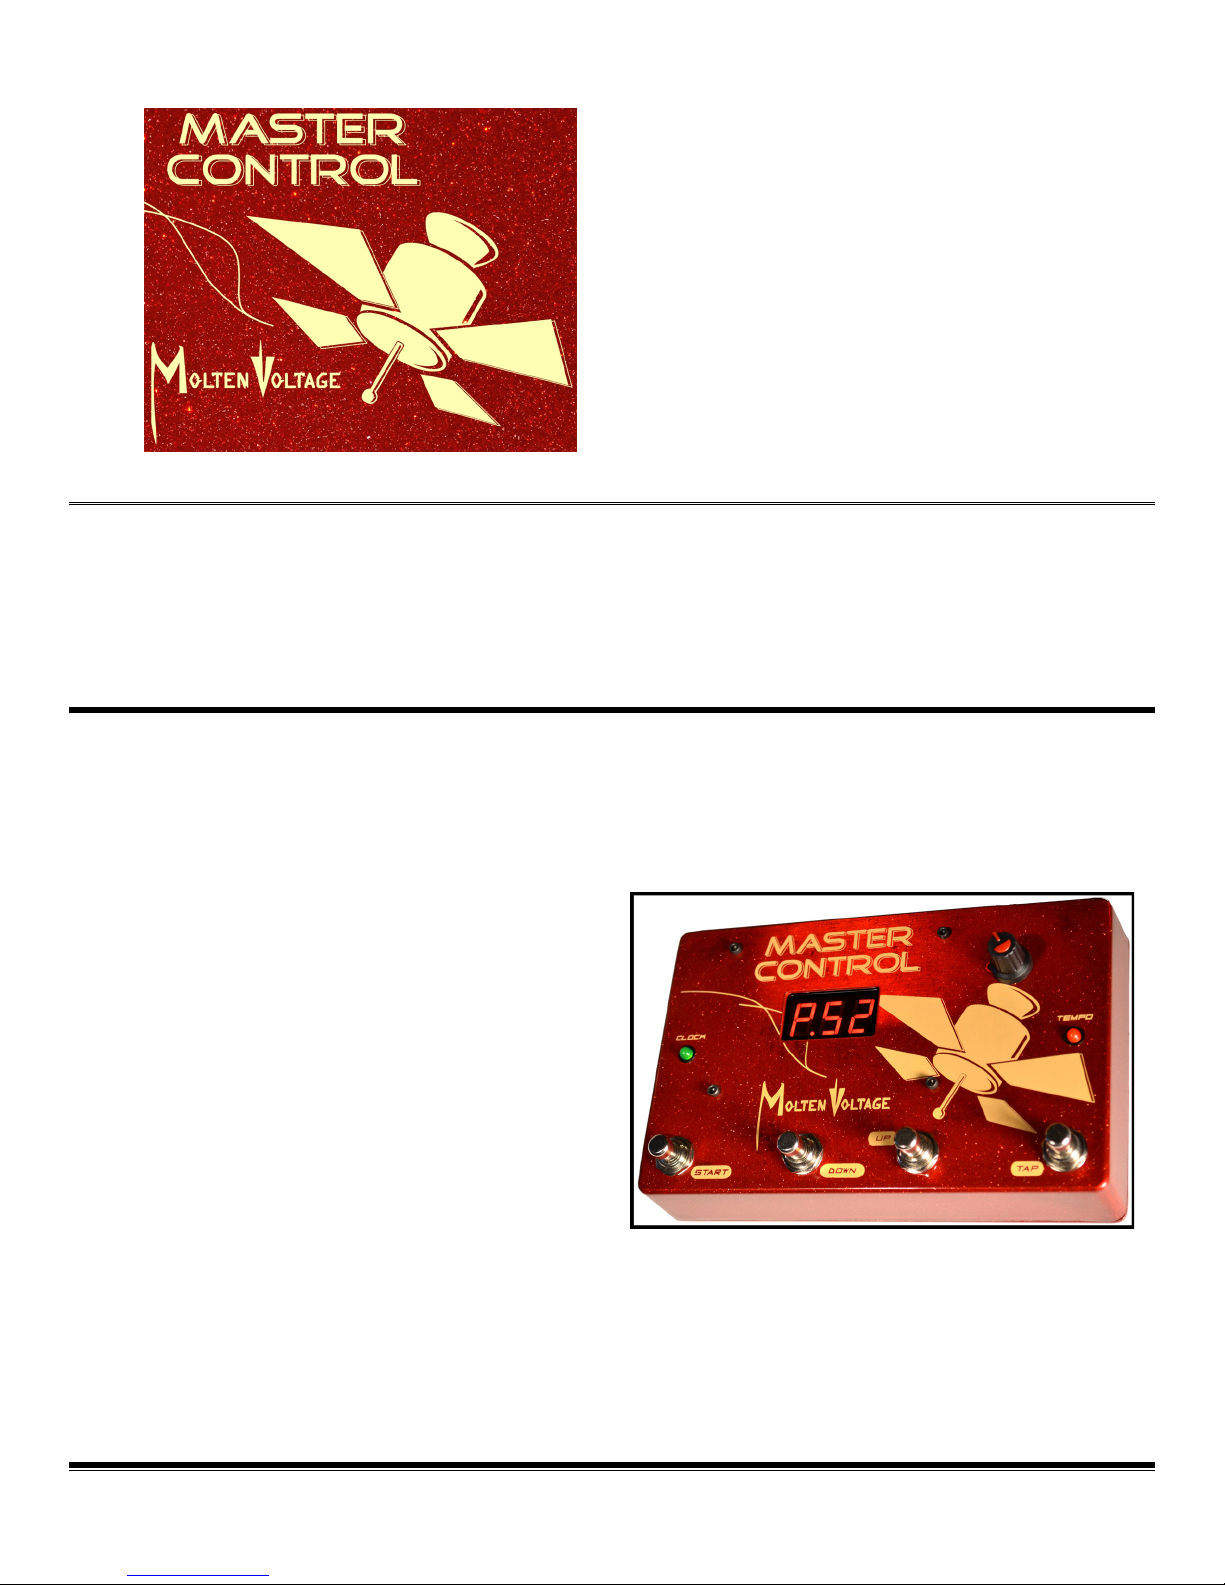
MoltenVoltage Master Control MV-58 User manual

questions@MoltenVoltage.com © 2015 - MoltenVoltage.com - All Rights Reserved.
v 1.09
OWNER’S MANUAL
Congratulations on purchasing the Molten Voltage™ Master Control MV-58
Master Control MV-58 is a programmable MIDI pedalboard controller that stores the tempo
associated with 128 programs, and transmits MIDI Clock to synchronize your MIDI-enabled effects.
Key Features
• Fully functional stand-alone Master Controller for MIDI-controlled PedalBoards
• Rock Solid MIDI Clock Generator
• Call up presets on your MIDI-enabled effects
• Solid, Professional-Grade construction, including
Riveted Steel MIDI Jack
• Large vivid LED display -- very easy to read
• Programmable pedalboard tempo control to
synchronize your effects
• Versatile tempo control, including precision tap
tempo
• MIDI Program Change and MIDI Start, Stop, and Clock output
• Robust, 128 program storage
• Causes other compatible Molten Voltage devices to self-program
• Simple, intuitive user interface

Molten Voltage™
Master Control MV-58
Owner’s Manual - p.2
questions@MoltenVoltage.com © 2015 - MoltenVoltage.com - All Rights Reserved.
v 1.09
CONNECTING
Plug in a separate or isolated 9 volt, 2.1mm, 100mA minimum, tip negative DC Power supply into
the DC9V jack (I). Avoid powering Master Control using a "daisy chained" power supply that is also
connected to audio effects.
MV-58 - self-contained MIDI controller:
(A) CLOCK LED
(B) START Button
(C) Display
(D) DOWN Button
(E) UP Button
(F) TAP Button
(G) TEMPO LED
(H) SELECT Knob
(I) DC Power Jack
(J) MIDI OUT Jack
Designed with the end user in mind
The Master Control interface has been designed to make switching and storing programs as simple
as possible so the end-user can concentrate on being creative.
Programs are selected using the UP and DOWN buttons or by turning the SELECT Knob. The
selected program number is displayed on a large bright 3-segment LED display. The selected program is
engaged by pressing the START Button.
Making Master Control and all connected Molten Voltage devices save their current settings is even
easier - simply hold down the TAP Button for 2 seconds.
START Button (B)
The START Button is used to start and stop the MIDI Clock data output and to change Programs.
Each time the clock is started or stopped, a corresponding MIDI Start or MIDI Stop command is
sent. The Tempo will be reset and synchronized each time the clock is started.
Note: MIDI Start, Stop, and Clock are not channel-specific

Molten Voltage™
Master Control MV-58
Owner’s Manual - p.3
questions@MoltenVoltage.com © 2015 - MoltenVoltage.com - All Rights Reserved.
v 1.09
If a Program is running (i.e. currently sending Clock data), pressing the START Button will stop the
clock unless a new Program number has been selected. In that case, pressing the START Button will send
the new Program Change message and the Clock data will continue uninterrupted.
When a new Program number has been selected but not yet engaged, the Display will flash. If no
Program is running, pressing the START Button will cause a MIDI Start command to be sent, together with
Program Change data, followed by a constant stream of Clock data.
Note: Stopping then re-starting the same Program does not cause additional Program Change
data to be sent.
Note: If the tempo has been altered but not saved, stopping then re-starting the same Program
does not recall the stored tempo, instead the altered tempo will continue to be used rather
than the stored tempo.
If a different Program is used, and later the previous Program is recalled, the previous
Program will recall its stored tempo rather than the altered tempo. In order to keep an
altered tempo, the Program must be saved, as described below.
Note: No program change is sent when powering up. To send the first program change, the start
button must be pressed.
TAP Button (F)
The TAP Button performs two separate functions, Tempo Control and Program Storage.
Tempo Control
When the TAP Button is first pressed, the current tempo is displayed. This provides a simple way
to check the tempo without altering it.
Pressing the TAP Button again within 2.5 seconds will adjust the tempo to the interval between the
taps. The new tempo starts right after the second or most recent tap. The time between the two most
recent taps always corresponds to the length of a quarter note.
The Display will show the adjusted tempo and light up the far right decimal point to indicate a new
tempo has been received.
Once at least one tap is received, the UP and DOWN Buttons and the SELECT Knob can be used to
"fine tune" the tempo.
Note: After the UP or DOWN Buttons are pressed or the SELECT Knob is turned, additional taps
have no effect.
Maximum tap interval = 2.5 seconds (24 bpm)
Minimum tap interval = 0.25 seconds (240 bpm)

Molten Voltage™
Master Control MV-58
Owner’s Manual - p.4
questions@MoltenVoltage.com © 2015 - MoltenVoltage.com - All Rights Reserved.
v 1.09
Tempo change times out after 2.5 seconds. If a single tap was received, then the display again
shows the currently selected Program number.
If multiple taps were received, then “tPo” “SEt” (Tempo Set) will be displayed to indicate that a
new tempo has been received. The Display will then show the currently selected Program number.
Note: This new tempo is only temporary and will not be saved unless the Program is saved.
Tempo can be continually adjusted on-the-fly with the TAP TEMPO Button, whether or not MIDI
Clock is being sent.
Tempo changes affect only the current Program and are not stored unless the SAVE function is
used.
Similarly, Tempo changes do not affect any pending Program (indicated by a flashing Program
number). However, if the pending Program uses the "oLd" tempo, it will use the existing tempo.
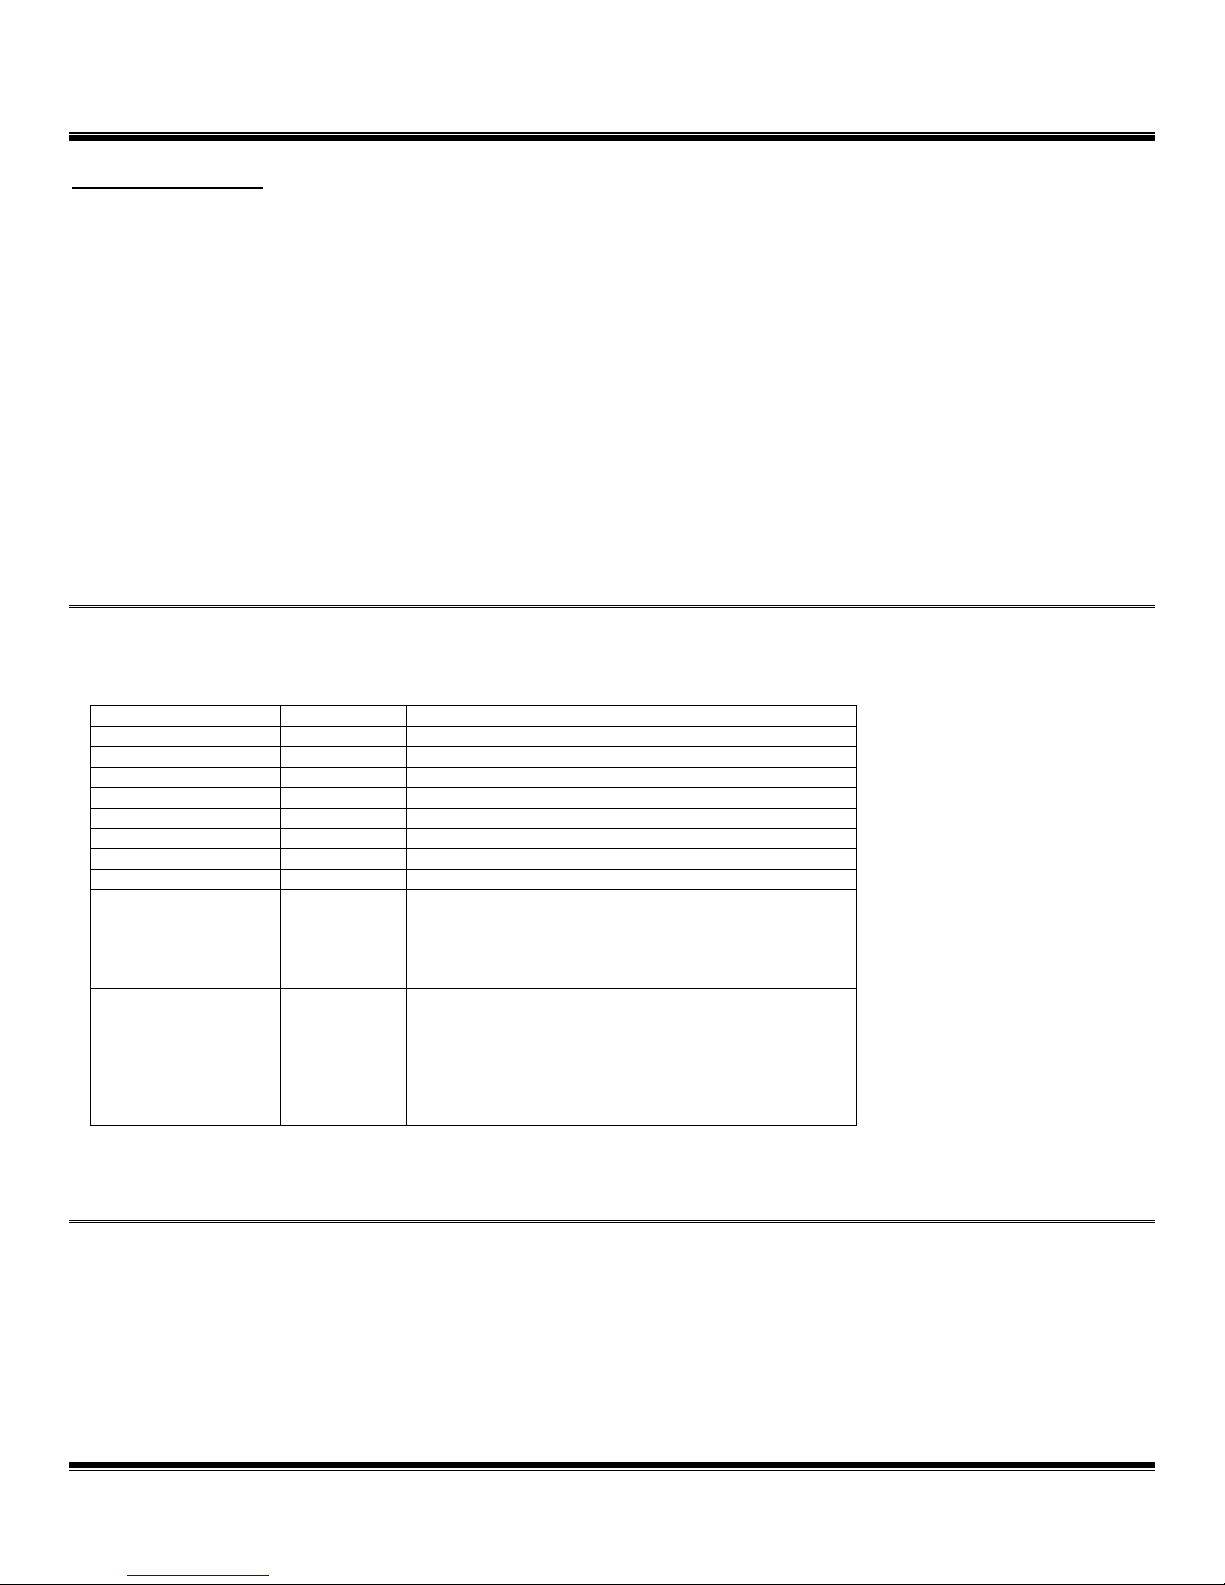
Program Storage
Master Control stores the tempo associated with each of the 128 programs.
Holding down the first press of the TAP Button for more than 2.5 seconds causes Master Control to
save the current tempo at the selected Program location. Once the TAP Button has been held long
enough, the Display shows the letter “P”. Release the button to store the program.
At the time the tempo is stored, Master Control simultaneously sends a command to all
compatible Molten Voltage devices connected to the MIDI OUT, causing them to self-program
and store their settings for the selected Program.
The selected Program is the one that is shown by the Display. If the Program number is flashing,
the selected Program is not the same as the one that is currently running.
As such, the current Program can be copied into a new Program location by selecting a
different program number but not engaging that Program (normally done by pressing the START Button).
Instead, hold down the TAP Button until the letter “P” appears. The current settings will be saved to the
selected Program when the button is released.
If the DOWN Button is pressed while the TAP Button is being held (and after the letter “P”
appears), the decimal point after the “P” will turn on. This indicates that Master Control will not save the
current tempo, but instead will set the tempo status to "oLd", meaning that Program will use the then-
current tempo when it is recalled.
Following a SAVE, the saved Program becomes the current Program and Program Change data is
sent.
Note: If you tap in a new tempo, you need to wait until you are done tapping and Tap Mode ends
(about 2.5 seconds after the last tap) before you can store the new tempo.
Note: MIDI Clock output will stop while Molten Voltage self-program data is sent. As such, it will
usually be necessary to restart drum machines, sequencers, etc. after storing a tempo.

Molten Voltage™
Master Control MV-58
Owner’s Manual - p.5
questions@MoltenVoltage.com © 2015 - MoltenVoltage.com - All Rights Reserved.
v 1.09
DOWN Button (D)
Pressing and releasing the DOWN Button will decrease the Program number by one. Pressing and
holding the DOWN Button will quickly decrease the Program numbers.
If the TAP Button has been pressed and released, pressing the DOWN Button will decrease the
tempo by one bpm. Pressing and holding the DOWN Button will quickly decrease the tempo.
Once the DOWN Button has been pressed, subsequent Taps will not affect the tempo until the 2.5
second tempo change time-out occurs, however the UP Button and SELECT Knob can still be used to
change the tempo.
UP Button (E)
Pressing and releasing the UP Button will increase the Program number by one. Pressing and
holding the UP Button will quickly increase the Program numbers.
If the TAP Button has been pressed and released, pressing the UP Button will increase the tempo
by one bpm. Pressing and holding the UP Button will quickly increase the tempo.
Once the UP Button has been pressed, subsequent Taps will not affect the tempo until the 2.5
second tempo change time-out occurs, however the DOWN Button and SELECT Knob can still be used to
change the tempo.
MIDI OUT Jack (J)
Connect Master Control to your MIDI device that will receive MIDI data by plugging a standard 5-
pin DIN MIDI cable into the MIDI OUT jack.
For best results, keep the MIDI output cable length under
fifteen (15) feet. If you need more distance, use a MIDI
repeater such as MIDI SPLITTY
The MIDI OUT Jack sends MIDI data as well as Molten Voltage self-programming messages.
SELECT Knob (H)
Turning the SELECT Knob will cause the program number to increase or decrease.
When a new program number has been selected, the Display will flash until the START Button has
been pressed and the selected program is engaged.

Molten Voltage™
Master Control MV-58
Owner’s Manual - p.6
questions@MoltenVoltage.com © 2015 - MoltenVoltage.com - All Rights Reserved.
v 1.09
If the TAP Button has been pressed and released, turning the SELECT Knob will increase or
decrease the tempo up to the 24-240 bpm limits. Pressing and holding the UP or DOWN Button will
quickly increase or decrease the tempo.
Once the SELECT Knob has been turned after a Tap, subsequent Taps will not affect the tempo,
however the UP and DOWN Buttons can still be used to change the tempo.
CLOCK LED (A)
When the CLOCK LED is illuminated, MIDI Clock data is being sent over the MIDI OUT Jack. The
CLOCK LED is toggled when the START Button is pressed unless a Program is running and a new Program
number has been selected, as described above.
TEMPO LED (G)
The TEMPO LED always flashes in time with the current tempo at quarter-note intervals. The
tempo corresponds to the standard quarter note interval of 24 MIDI Clocks.
Note: MIDI Clock data is not being sent unless the CLOCK LED is illuminated.
Display (C)
The Display provides a variety of information. On startup, the Display shows the version
information, flashes Program 1 and shows its tempo, then indicates Program 1.
Program number
The Display shows Program numbers as follows:
Programs 1-99 appear as P. 1 through P.99
Programs 100-128 appear as u.00 through u.28. “u” means “upper”.
Program 27 Program 128
Programs are selected with the UP and DOWN Buttons and the SELECT Knob, as described above.
If the Display is flashing a program number, a new Program has been selected but not engaged.
Once the new Program is engaged by pressing the START Button, the Display will stop flashing.

Molten Voltage™
Master Control MV-58
Owner’s Manual - p.7
questions@MoltenVoltage.com © 2015 - MoltenVoltage.com - All Rights Reserved.
v 1.09
Tempo information
If a Program has a fixed tempo associated with it, the far right decimal point (after the last
character) will be off. If a Program uses the “oLd” tempo from the previous Program, then the far right
decimal point will be on.
When the TAP Button is pressed (for less than 2.5 seconds), the current tempo will be displayed.
The tempo can then be changed by tapping again, pressing the UP or DOWN Buttons, or turning the
SELECT Knob.
Programming information
If the TAP Button is pressed and held for 2.5 seconds, the display will show the letter “P” to
indicate that upon release of the button, the selected Program will be stored.
If the DOWN Button is pressed while the TAP Button is being held, the decimal after the “P” will
turn on, indicating that program will use the “oLd” tempo from the previous Program, rather than the
current tempo.
MIDI Compatibility
The primary MIDI channel for the Molten Voltage system is MIDI Channel 15. All MIDI Program
Change messages are sent exclusively on that channel.
Molten Voltage devices all read MIDI messages on Channel 15 by default.
Set any other devices to receive MIDI Program Change messages on Channel 15.
Changing MIDI Channel
Although changing the MIDI Output Channel is not recommended because Molten Voltage devices
read MIDI messages primarily on Channel 15, it is possible to change the Master Control MIDI Output
Channel as follows:
1) Hold down the DOWN Button as you power the unit on. The unit will display a lowercase “c”
with a period after it follow by the current MIDI Channel. (e.g. c.15)
2) Release the DOWN Button.
3) Repeatedly press the UP Button to cycle through the 16 possible MIDI channels (the cycle
will start over at zero after Channel 16 is reached)
4) Once the desired MIDI Channel is reached, press and release the DOWN Button again. The
unit will re-start with the new MIDI Channel stored in memory.

Molten Voltage™
Master Control MV-58
Owner’s Manual - p.8
questions@MoltenVoltage.com © 2015 - MoltenVoltage.com - All Rights Reserved.
v 1.09
Active and Passive Program Select Modes (version 1.08 and later)
MV-58 version 1.08 and higher has two modes for selecting programs, Active and Passive.
In Passive Mode, pressing the Up or Down buttons selects a pending program, indicated by the flashing
program number. The program is not sent until the Start button is pressed.
Passive Mode is the default, and the way that all earlier versions operate.
In Active Mode, each time the Up or Down button is pressed, the corresponding MIDI Program Change is
sent instantly. This is true whether MIDI Clock is being sent or not.
The current mode is indicated by the decimal point in the displayed program number. The decimal point
flashes while in Passive Mode, and stays lit all the time in Active Mode.
You can select which mode will be used on startup by holding down the Down button while powering
on Master Control. The MIDI Channel number will be displayed first. Press the Start button twice, until
the display reads Pnd. or Act. Switch modes by pressing the Up button. Lock in your selection by
pressing the Down button.
Switch between the two modes during runtime by pressing both the Up and Down buttons at the same
time.
Version 1.08 always allows switching modes during runtime.
Version 1.09 allows you to turn this feature on and off by holding down the Down button while powering
on Master Control. The MIDI Channel number will be displayed first. Press the Start button until the
display reads rt.Y (real-time Yes) or rt.n (real-time No). Switch modes by pressing the Up button. Lock in
your selection by pressing the Down button. v 1.09 default is to have this feature off.
SIMI SysEx Compatibility (version 1.08 and later)
When selecting pending programs in Passive Mode, Master Control version 1.08 and later will send out
SysEx data allowing SIMI to flash the pending program name.
The default is for this feature to be active.
To turn this feature off, hold down the Down button while powering on Master Control. The MIDI Channel
number will be displayed first. Press the Start button until the display reads Sd.Y (send Yes) or Sd.n
(send No). Switch modes by pressing the Up button. Lock in your selection by pressing the Down button.
Factory Preset Values
Programs 1-64 are 120 bpm
Programs 65-128 are "oLd"
MIDI Channel 15

Molten Voltage™
Master Control MV-58
Owner’s Manual - p.9
questions@MoltenVoltage.com © 2015 - MoltenVoltage.com - All Rights Reserved.
v 1.09
Related Products
• CTL-SYNC - Classic Effect Synchronizer
• SIXY - Line 6 Tempo Controller
• CV-SYNC - Control Voltage Synchronizer
• MIDI SPLITTY - Pedalboard MIDI Splitter/Repeater
• NODE - 4-Loop MIDI PedalBoard Switcher
• SIMI - Modular MIDI Display
Many more available soon!
MIDI IMPLEMENTATION CHART
Function Generated Comment
Note On X
Note Off X
Aftertouch X
Control Change X
Program Change O On selected MIDI Channel.
Channel Pressure X
Pitch Bend X
System Common X
System Exclusive O Molten Voltage self-program instruction sent during
program save.
SIMI SysEx data sent during Passive Mode (v 1.08)
System Realtime O Only MIDI Start, Stop, and Clock.
Note that versions 1.06 and older (manufactured
before 10/15/14) also send Song Select data at the
same time and same value as the Program Change
value.
O = YES, X = NO

Molten Voltage™
Master Control MV-58
Owner’s Manual - p.10
questions@MoltenVoltage.com © 2015 - MoltenVoltage.com - All Rights Reserved.
v 1.09
TROUBLESHOOTING
Problem Solution
Master Control will not turn on. Plug in 9 volt DC, 2,1mm Tip Negative Power Supply.
Clicking or Noise Use a separate or isolated Power Supply for Master Control
MIDI device is not receiving MIDI
Clock
Make sure your other MIDI device is configured to receive MIDI Clock. Consult the User’s
Guide for that device.
MIDI device is not receiving MIDI
Program Change messages
Set your MIDI device to receive MIDI Program Change messages on Channel 15.
MIDI Clock stops Check Power Supply connection.
Replace MIDI cable with one under 15 feet.
General Guidelines
Keep MIDI cables as short as possible. Long cables can cause errors. If you need more
length, consider using a MIDI repeater.
If you are daisy chaining MIDI devices, the total MIDI cable length must be considered if
any MIDI devices do not amplify the data signal.

Molten Voltage™
Master Control MV-58
Owner’s Manual - p.11
questions@MoltenVoltage.com © 2015 - MoltenVoltage.com - All Rights Reserved.
v 1.09
Support
questions@MoltenVoltage.com
Warranty
Molten Voltage is proud of its products and warrants
this unit for a period of two (2) years from the date of
purchase to be free from defects in materials and
workmanship under normal use and service, as long as
the unit is used with an approved power supply, and
consistent with these instructions.
repairs. Any user repair attempts void the warranty.
PROOF OF PURCHASE IS REQUIRED FOR WARRANTY
REPAIRS.
DISCLAIMER
Information contained in this publication regarding device applications and the like is provided only for
your convenience and may be superseded by updates. It is your responsibility to ensure that your
application meets with your specifications. MOLTEN VOLTAGE MAKES NO REPRESENTATIONS OR
WARRANTIES OF ANY KIND WHETHER EXPRESS OR IMPLIED, WRITTEN OR ORAL, STATUTORY
OR OTHERWISE, RELATED TO THE INFORMATION, INCLUDING BUT NOT LIMITED TO ITS
CONDITION, QUALITY, PERFORMANCE, MERCHANTABILITY OR FITNESS FOR PURPOSE. Molten
Voltage disclaims all liability arising from this information and its use. No licenses are conveyed, implicitly
or otherwise, under any Molten Voltage intellectual property rights.
MASTER CONTROL, NODE, SIMI, MIDI SPLITTY, TEMPODE, CTL-SYNC, CV-SYNC, Molten Voltage, and
Table of contents
Other MoltenVoltage Music Pedal manuals
Popular Music Pedal manuals by other brands

EarthQuaker Devices
EarthQuaker Devices Grand Orbiter Operation manual

DryBell
DryBell Unit67 user manual

Hotone
Hotone Skyline Wally owner's manual

Rocktron
Rocktron Reaction Tremolo instruction manual

Diamond Guitar Pedals
Diamond Guitar Pedals MEMORY LANE user manual

Stagg
Stagg ABY BLAXX operating instructions