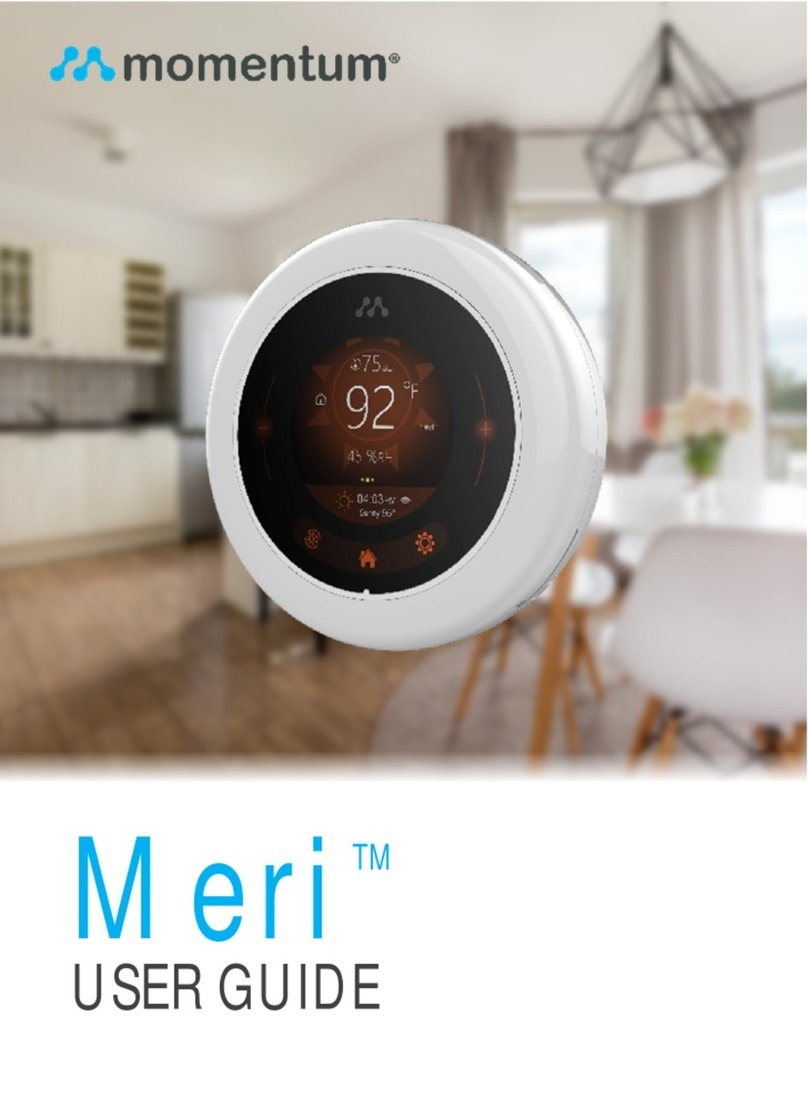
Momentum Meri User manual

MERI™
USER GUIDE


1
MAIN SCREEN
WiFi
Show WiFi
Connection status
Set Temp
Shows the current
set temperature
Eco Mode
Toggle the Eco Mode
temperature range
Humidity
Shows the current
room humidity
Fan Control
Toggle the Fan
operation
Room Temp
Show current room
temperature
Schedule Mode
Toggle the scheduled
temperature ranges
System Mode
Toggle the
system mode
Settings
Show the settings
option

2
SPECIFICATIONS
Temperature Sensor NTC
±1ºC
Heating 40º - 90ºF (4º-32ºC)
Cooling 50º - 99ºF (10º-37ºC)
0~45ºC, 5~95% RH
(non-condensing)
320 x 480 TFT LCD
AC 24V
112 x 112 x 20mm
PC
IP20
2.4GHz only
Accuracy
Temperature Range
Operating Temp/
Humidity Range
Screen Resolution
Power Supply
Size
Housing Material
IP Rank
WiFi

3
THERMOSTAT FUNCTIONS
Functions Descriptions
Off, Heat, Cool, Auto, Emergency
Schedule, Eco
Detects the room humidity level
Auto, on
Detects the current room
temperature
Controls the start and stop time
intervals of the compressor
Reminds you when it’s time to
change the lter according to your
preset timer
Calculates the best time period to
executeyour system prior to your
scheduled commands
User can preset a temperature
range to start at a certain time
and day(s).
The timing program will continue
until the next schedule or when
overwritten by another mode/
program
Direct WiFi connection for updates
and app access
Energy saving mode when you’re
away from home
Lock the controls to prevent others
from operating the thermostat
System Modes
Task Modes
Humidity Display
Fan
Room Temperature
Display
Delay Protect
Filter Reminder
Early On
Scheduling
WiFi Connection
ECO Mode
Lock

4
APP PAIRING
From the main screen, tap on the settings icon.
Then select the APP PAIRING option
Download the “Momentum Smart Thermostat”
App
1
2
3

5
APP PAIRING
Ready the app to scan the QR code on the next
screen
Scan the QR code on the screen
Complete!
4
5
6

6
SYMBOL GUIDE
Symbol Name Description
System
Mode
Standby/
Main
Settings
Schedules
ECO
Fan Auto
Fan On
WiFi
Filter
Selection of heat/ cool/ auto/
emer/ off options
Standby mode/ Main Screen
Enter settings screen
Enable the scheduled temperature
settings
ECO mode activation
Fan runs automatically
Fan turns on
WiFi connectivity
Replace lter alert

7
SYMBOL GUIDE OPERATIONS
1) System mode selection
In the main interface press to toggle
the system mode selection. You can
switch between OFF, COOL, HEAT, EMER,
AUTO modes.
Press to toggle the Fan AUTO, ON.
Note that not all mode options will be
available as it will depend on your sys-
tem type. The thermostat will determine
which modes are available according
your selected system type.
2) View or modify the set temperature
In the main screen, when a mode is
selected the currently set temperature is
displayed directly above the room
temperature indicator. Tap on – or + to
adjust the set temperature value.
You may also toggle the Schedule or Eco
modes by tapping on the icons right
below the room temperature value.
In Auto Mode, you’ll see two values for
the set temperature which accounts for
a range where the thermostat will try to
maintain. Tap on one of the values and
adjust it by tapping the – or +
buttons.
Note that if the Schedule or Eco modes
are toggled on, the set temperature val-
ue(s) on the home screen will then adjust
according to those mode values.

8
OPERATIONS
3) Standby Screen
When the thermostat is idled it will go
to a standby screen that has additional
options. You can adjust the idle period
from the thermostat’s display settings.
Here you can toggle the Schedules and
ECO modes by tapping the icons at the
bottom. Press the middle Home button
to go to the main screen.
5) Schedules
Set schedules throughout the week for
the thermostat to automatically keep
your home at the desired temperature
range.
4) System settings
Press the settings icon in the main
interface to enter the Settings list. Here
you’ll nd several ways to customize
your thermostat settings and controls.

9
OPERATIONS
6) Eco
This is an energy saving mode to use
when away from home. This mode
will maintain the room temperature
to stay within the preset cooling or
heating temperature range.
The temperature range should be
relatively wide to save more energy.
7) Display
• Location – Enter your zip code to
automatically program the clock
and weather.
• Standby timer – When the device
has been idle for a set time period
it will go to the standby screen.
• Screen brightness – Change the
screen’s brightness between Low,
Medium, High.
• Temperature unit – Change the
temperature unit between °F/°C.
• Lock – Lock the screen with a
4-digit numeric password to pre
vent unauthorized use. Note: If you
forget your password, enter “9999”
to reset it.

10
OPERATIONS
8) Reminders
Set a time frame to remind you to
change your air lter. The reminder can
be set from 0-12 months.
9) System Type
Select the appropriate system type
option according to your HVAC system.
Be sure to choose the correct one or
your system may not run properly. If
you’re unsure of what system type you
have, check the installation guide for the
wiring diagrams for reference or contact
a licensed HVAC technician.
10) WiFi – Setting WiFi
Select your WiFi network name, enter
your password, and connect to theWiFi
network. Also note that the WiFi icon
in the main interface screen will appear
when WiFi is connected.

11
OPERATIONS
12) Advanced
• Fan Controls – You can enable the
Fan to run with the heater and extend
the fan run time after the AC or
heater is turned off.
• O/B terminal – (Heat pump
systems only) You can reverse the
energized O/B valve for heating and
cooling according to your heat pump
system. If you notice that hot air is
blowing while the system is in Cool
mode or cold air in Heat mode, you
may want to reverse the energized
O/B terminal from this setting.
• Early on – Have the thermostat turn
on early so the desired temperature
will be achieved by the time of the
set schedules.
11) Status
Displays which terminals are currently
on when a system mode is activated.

12
OPERATIONS
• Temperature calibration – Adjust the
thermostat’s room temperature
reading.
• Temperature delay – Increase the
temperature range it would require for
the thermostat to activate relative to the
set temperature.
• Delay protect – This will delay the
compressor from activating frequently
to protect it from wear and tear.
13) App Pairing
Follow the instructions given on the
screen to pair the thermostat to the
Momentum Smart Thermostat app.
14) Reset
This will reset the device to the original
factory settings and wipe all the custom-
ized data and settings.

13
OPERATIONS
FCC Compliance
This device complies with Part 15 of the FCC Rules. Operation is
subject to the following two conditions:
(1) This device may not cause harmful interference, and
(2) This device must accept any interference received, including
interference that may cause undesired operation.
Attention that changes or modication not expressly approved by the
party responsible for compliance could void the user’s authority to
operate the equipment.
Note: This product has been tested and found to comply with the limits
for a Class B digital device, pursuant to Part 15 of the FCC Rules. These
limits are designed to provide reasonable protection against harmful
interference in a residential installation. This product generates, uses,
and can radiate radio frequency energy and, if not installed and used
in accordance with the instructions, may cause harmful interference to
radio communications.
However, there is no guarantee that interference will not occur in a
particular installation. If this product does cause harmful interference
to radio or television reception, which can be determined by turning
the equipment off and on, the user is encouraged to try to correct the
interference by one or more of the following measures:
—Reorient or relocate the receiving antenna.
—Increase the separation between the equipment and receiver.
—Connect the equipment into an outlet on a circuit different from that to
which the receiver is connected.
—Consult the dealer or an experienced radio/TV technician for help
This equipment should be installed and operated with a minimum
distance 20cm between the radiator and your body.

© 2016 Momentum
Momentum is a registered trademark in the United States.
Apple and iPhone are registered trademarks of Apple Inc.
Google, Google Play, and Android are trademarks of Google
LLC. All other brands and product names are or may be
trademarks of their respective owners.
Note: Screen shots and procedures described in this manual
are subject to change without notice. The latest Momentum
User Guide is always available on our website at
http://www.momentumcam.com.
Apollo Tech USA, Inc.
8608 Utica Ave. #220,
Rancho Cucamonga, CA 91730
Customer Service: +1 888 818 0436
E-mail: [email protected]
Version 2.0
Other manuals for Meri
2
Table of contents
Other Momentum Thermostat manuals