Introduction
Studio is a high-performance loudspeaker system for music enthusiasts looking for absolute performance
in a compact, affordable package. The uncompromising design ethos primarily embraces trickle down
driver technology from the flagship Platinum II series.
Every detail of the signal chain has been considered to achieve neutrality, which required our design team
to think in a very uncompromising fashion. The grille-less design, for example, ensures the speaker always
performs at its optimum level and without concession. Bespoke floor stands have been created for the
best possible foundation, matching design and performance impeccably.
Featured Technology
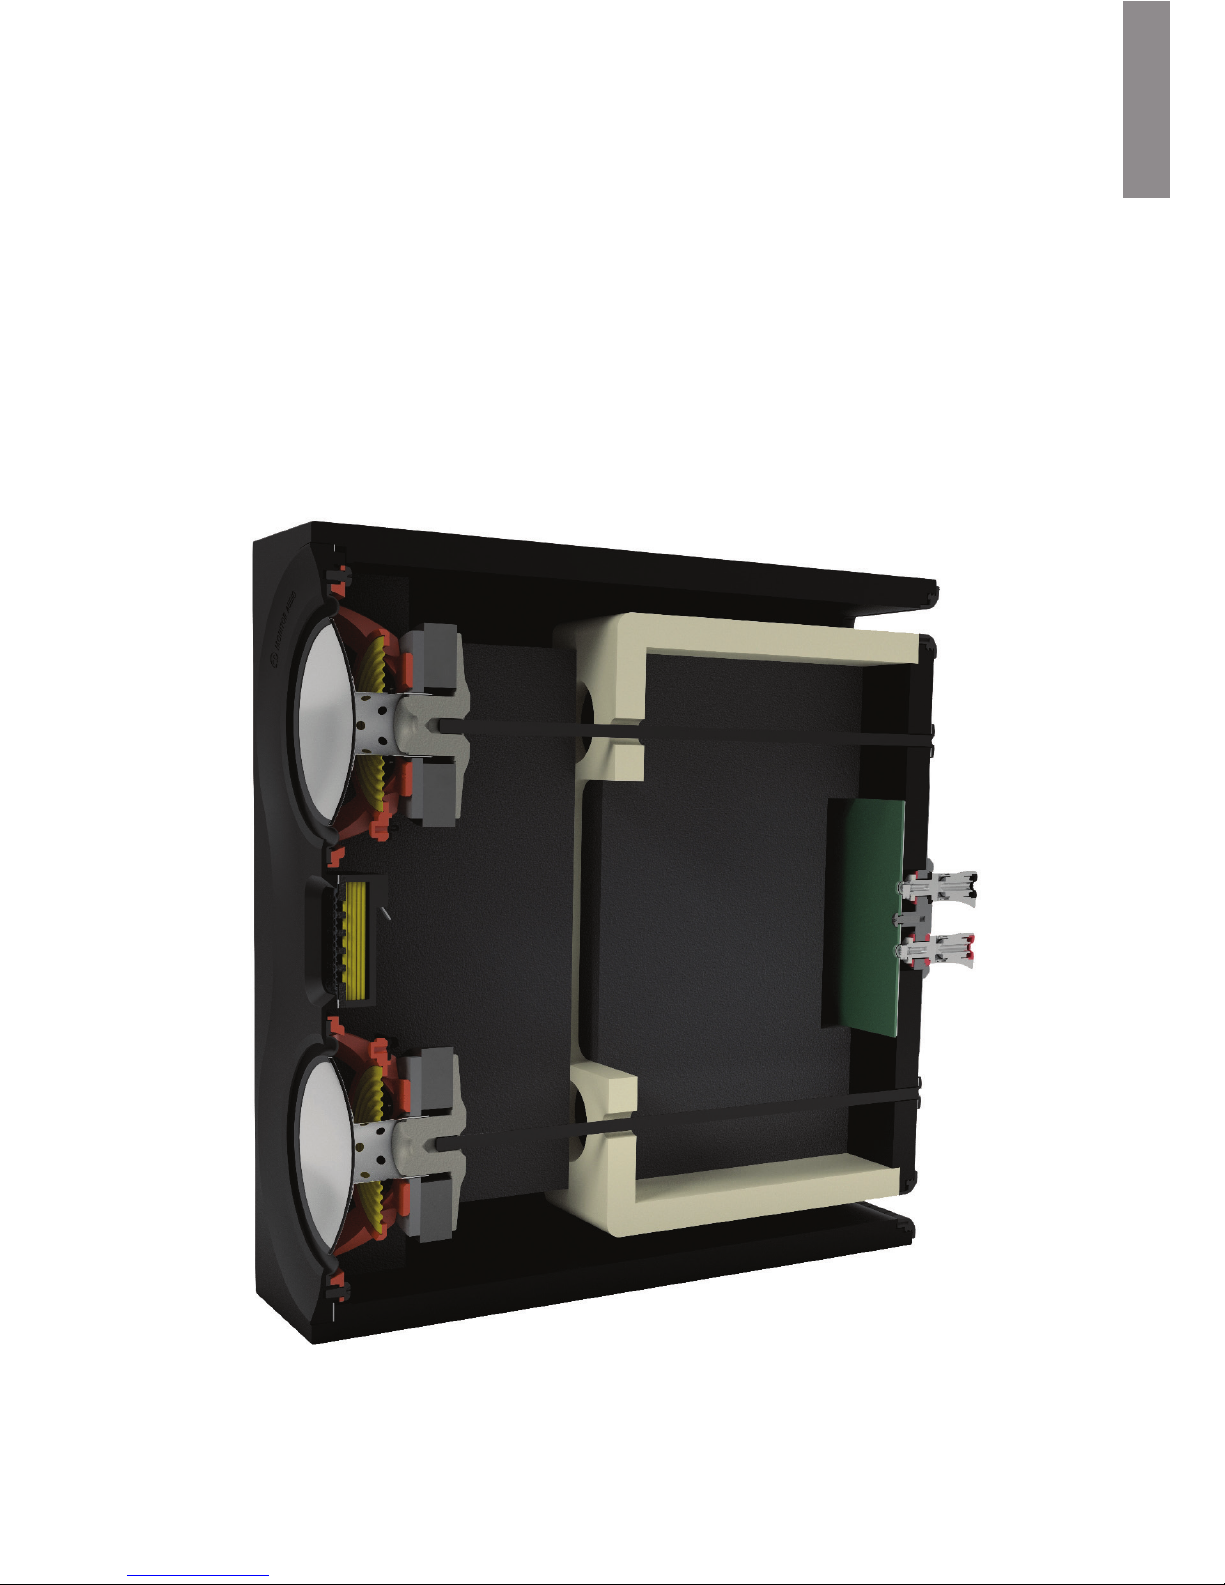
MPD High Frequency Transducer
An MPD (Micro Pleated Diaphragm) high frequency transducer has been designed in to provide incredible
articulation due to the low mass diaphragm. The MPD transducer works by rapidly squeezing the pleats
to produce a smooth, wide, naturally fast response way into the ultra-sonic band. As a result, the sound is
more lifelike, releasing the high harmonic spectrum of every note without the distortion that blurs definition.
C-CAM (Ceramic Coated Aluminium/Magnesium)
C-CAM is an innovative alloy material originally developed by the aerospace industry. It exhibits ideal
qualities for use as loudspeaker cones, being extremely rigid, yet light enough to yield high overall efficiency.
C-CAM is formed from an alloy of aluminium and magnesium, which undergoes stress-relieving processes
in manufacturing to avoid surface deformation and molecular weakness. A layer of pure ceramic (alumina)
is deposited onto the surfaces to produce a completely rigid exterior. C-CAM cones are designed to have
high resistance to bending stress. When formed into a cone, C-CAM material provides increased clarity and
reduced distortion compared to conventional cone materials.
RDT II (Rigid Diaphragm Technology 2nd Generation)
RDT II is a composite ‘sandwich’ structure made from ultra-thin low-mass skins, bonded to a honeycomb
NomexR core material. The overall thickness of the RDT II diaphragm is only 2mm, yet it exhibits 150 times
the strength of a conventional loudspeaker cone. RDT II is a unique, innovative development conceived
by Monitor Audio engineers for the new Platinum II series. It uses two skin materials with dissimilar
mechanical properties. C-CAM is used for the front skin, while the rear skin is made from a woven carbon
fibre. This combination is able to reduce distortion by over 8dB above 300Hz, which equates to a 60%
reduction in the energy of harmonic components, making RDT II the lowest distortion cone technology in
Monitor Audio’s history.
The dual 4” RDT II drivers used in Studio are developed from the PL500 II, modified in this case to produce
bass, as well as mid-range. The DCF ‘Dynamic Coupling Filter’ technology is also incorporated to optimise
and reduce high-frequency cone break-up and increase the critical voice coil circumferential rigidity. As
with Platinum II, Studio drivers are designed to be incredibly low in distortion and use the same magnetic
design principles.
Studio2