IMPORTANTE CONSERVAR PARA FUTURAS CONSULTAS. LEER
ATENTAMENTE.
Si no se obedecen estas advertencias y no se siguen las instrucciones
de montaje, podría resultar en lesiones graves o muerte.
Este producto cumple con la norma UNE-EN 1130-1/2:1996
La cuna moodelli babybox viene ya montada dentro del embalaje.
Respetar la medida del espesor del colchón para asegurar que la altura
vertical interna de la mini cuna (desde la superficie del colchón hasta la parte
superior de los laterales) sea, al menos de 200mm con la base en la posición
más alta.
! CUANDO EL NIÑO PUEDA SENTARSE, ARRODILLARSE O
LEVANTARSE SOLO, LA CUNA NO DEBERÁ UTILIZARSE MAS POR ESE
NIÑO.
! Es conveniente situar la mini cuna sobre un suelo horizontal.
! No permitir a los niños jugar en las proximidades de la mini cuna, cuando se
encuentren sin vigilancia.
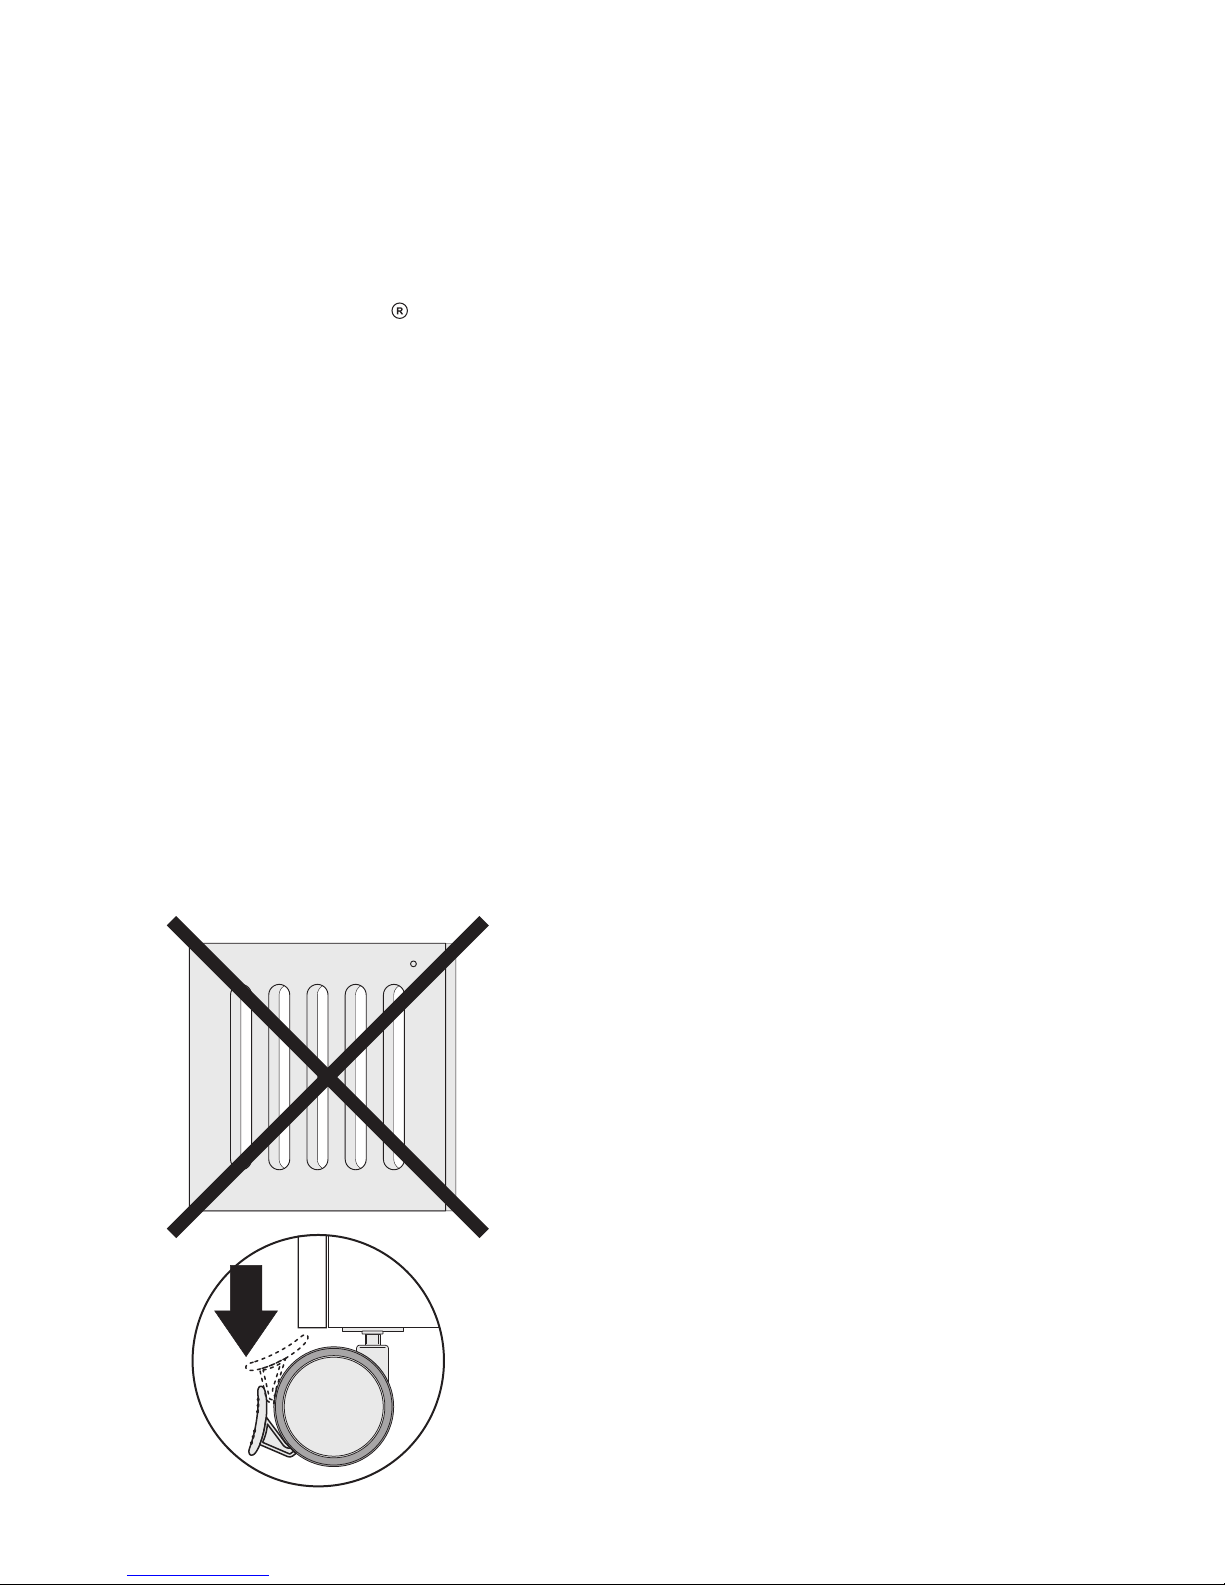
! Asegurar siempre la posición de uso colocando la rueda de ajuste en su lugar
y asegurar la mini cuna colocando los frenos de las ruedas, mientras el niño
permanezca sin vigilancia.
! No utilizar la mini cuna si se rompe, quiebra o pierde alguna pieza.
! Periódicamente verifique que todos los dispositivos de montaje se
encuentren convenientemente ajustados y que los tornillos no deben estar
sueltos pues el niño podría pincharse o engancharse con la ropa o accesorios
(cordones collares, cadenas para chupetes de bebe, etc) lo que supondría un
peligro de estrangulación.
! Para evitar riesgos de incendio, no ubicar la mini cuna en la proximidad de
fuentes de calor como aparatos de calefacción eléctrico, de calefacción a gas,
etc.
! La línea marcada en la placa cabecera indica el espesor máximo del colchón
que puede utilizarse con la mini cuna.
!
(ver Importante: Tamaño de colchones, página 7).
ADVERTENCIAS - Mini Cuna
4