manuals.online logo
Brands
  1. Home
  2. •
  3. Brands
  4. •
  5. MSI
  6. •
  7. Laptop
  8. •
  9. MSI MS-1057 User manual

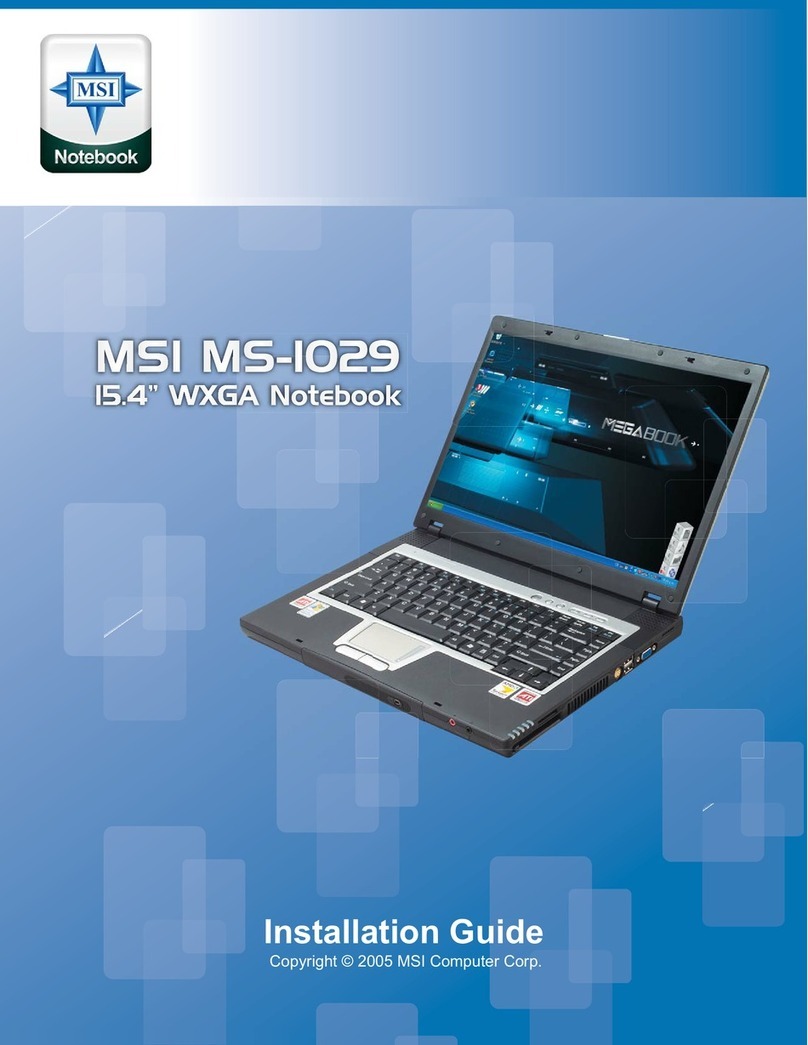
MSI MS-1057 User manual

Installation Guide
Copyright © 2006 MSI Computer Corp.
Overview:
MS-1057 is shipped out as a bare bone. Some of the components are equipped while some are not. This
installation guide provides you with the information of notebook hardware setup. Before assembling your
notebook, please prepare installation tools and appropriate items. If you are not sure about the items,
please contact your dealer for more information.
Package check list:
Optional Hardware Devices:
HDD, Mini PCI WLAN card, CPU, Memory
Before installing the notebook
• The peripheral devices contained herein depend on your actual system configuration.
• Third-party trademarks and names are the properties of their respective owners.
• The information contained herein are relevant to software and hardware and are for reference only and
in accordance with actual system configuration. All information is subject to change without notice.
Warning!
• Ensure power is turned off and notebook battery is removed before you install any hardware
devices.
• Use a grounded wrist strap before handling computer components such as CPU, Memory, HDD,
mini-PCI Card, etc.
• Place components (CPU, Memory, HDD, mini-PCI Card, etc) on a grounded antistatic pad or on a
bed that comes with the components whenever the components are separated from the
notebook.
• If you have any difficulties in installing hardware devices, please contact your dealer for further
information.
Open View
1. Cover latch
2. Display Panel
3. Quick Launch Buttons and Power button
4. Status LEDs
5. Keyboard
6. Touchpad
7. Stereo Speakers
Bottom View
1. Battery Unlock Button
2. Battery Pack
Right view
Left view
Front view
Step 1: Removing the Cover
1-1 a.b.c.d.e.f.g.h.i.j. Close the display. From the rear of the laptop, remove all 9 Philips screws.
1-2 a.b Remove both PCMCIA card and SD card.
1-3 Open your laptop to a 30 to 45 degree angle as shown in the Picture below.
1-4 a.b.c.d.e Prepare a proper size flat head screwdriver and locate the 3 notches. Carefully insert the
flathead screwdriver into the notches and gently lift up the hinge cover. Gently pry the hinge covers if
needed and be careful not to damage the plastic and cables underneath.
1-5 a.b.c If necessary, while holding the hinge cover, carefully insert the flathead screwdriver under both
side below the display assembly hinge, gently pry up, and then lift the hinge cover out. This
procedure may need to be repeated.
Hint: Gently pry the hinge cover if needed. Be careful not to damage the plastics and cables underneath.
1-6 a.b.c Unplug the connector underneath the hinge cover, so that it is out of the way.
1-7 Carefully remove the keyboard cover by lifting the keyboard at the switchboard PCA end. Pull the
keyboard toward the display assembly in order to release the keyboard from the top case.
1-8 Turn the keyboard over
!!! Do not excessively bend or fold the keyboard cable. Excessive flexing can damage the
keyboard cable connectors!!!
1-9 a.b.c Disconnect the keyboard cable by disengaging the cable actuator on the motherboard.
!!! Do not excessively bend or fold the keyboard cable. Excessive flexing can damage the
keyboard cable connectors!!!
!!! Do not pull the cable without disengaging the cable actuator.
1-10 a.b.c.d Disengage the plastic cover gently at both sides and pull the plastic cover away from the
notebook.
Hint: Gently pry the plastic cover if needed. Be careful not to damage the plastics or cables underneath.
1-11 a.b.c Lift the plastic cover up slowly and be careful not to damage the plastics and cables
underneath.
Hint: You do not have to unplug the connector underneath the cover.
1-12 a.b.c.d.e.f.g. Remove the 6 Philips screws on the plastic tab from the case and lift the plastic tab
upward.
Step 2: Installing the CPU
2-1 a.b.c. Unscrew the three screws attached to the CPU heat sink.
!!! Improper unlocking or locking of the CPU heat sink nuts will damage the CPU!!!
2-2 Unplug the CPU fan.
2-3 Use a flathead screwdriver to disengage (Open) the socket actuator, as shown in figure 2-3a below.
The socket actuator should open after only a half turn, and then you should be able to remove the
processor with your fingers.
2-4 Place new processor into the socket. Align processor’s pin A1 (shown in figure 2-4) with the arrow on
the micro-FCPGA socket. Pin A1 of the processor is identified with an embroidered corner and pin A1 of
the socket is identified with a small arrow. If the processor does not drop completely into the socket, turn
the actuator until the processor drops in completely.
!!!You do not have to press down the processor. If the processor does not drop completely into
the socket, turn the actuator until the processor drops in completely.
2-5 While gently holding the processor down with your finger, secure the processor in the socket by
closing the socket actuator with a screwdriver (See Figure 2-5)
2-6 Plug the CPU fan.
!!! Improper connection of the CPU heat sink fan and/or without plugging the fan connector will
damage the notebook and CPU!!!
2-8 a.b.c. Lock the CPU heat sink by screwing in the three screws.
!!! Improper unlocking or locking of the CPU heat sink nuts will damage the CPU!!!
Hint: We recommend you to apply the given thermal grease for better heat conduction between
your CPU and the heat sink.
Hint: Please check the heat sink and make sure it is in good contact with the CPU before you turn
on your notebook.
!!! Poor contact will cause overheat and may damage your CPU!!!
Step 3: Installing Notebook Memory
3-1a.b. Align the Memory Module on a 45 degree angle and push in.
!!! The location of the notch along the gold edge of the memory module needs to be lined up with
keyed notch in the socket. Memory module can only fit in one direction due to the keyed notch.
Wrong orientation will cause improper installation and may damage the memory modules or
DIMM sockets!!!
3-2 Push the Memory Module down until the metal clips on the side grasp the Module.
3-3 a.b.c If you have more than one memory module, please align the 2nd memory module to the DIMM
socket 2. Memory should be inserted firmly at a 45 degree angle and pushed down until module snaps
into place.
!!! Memory module can only fit in one direction due to the keyed notch. Wrong orientation will
cause improper installation and may damage the memory modules or DIMM sockets!!!
Step 4: Installing Mini PCI WLAN Card
4-1a.b Align the Mini PCI WLAN Card into the slot located in the front center. Place the Mini PCI WLAN
Card on a 45 degree angle.
!!! The location of the notch along the gold edge of the Mini PCI module needs to be lined up with
keyed notch in the socket. Mini PCI module can only fit in one direction due to the keyed notch.
Wrong orientation will cause improper installation and may damage the Mini PCI module or Mini
PCI socket!!!
4-2 a.b.c Push down the Mini PCI WLAN Card into place until metal clips grasp the Card. After Card is
firmly in place connect the 2 wires, making sure that the black wire is connected to the Main and the grey
wire is connected to the Aux.
Step 5: Installing Notebook Hard Drive (HDD)
5-1 a.b Tilt up the rear of the hard drive case and pull it gently by its edges only, because static electricity
can permanently damage the computer parts. Please use the given HDD shielding tray (refer to Figure 5-
1a)
5-2 a.b.c.d Unscrew all 4 Phillips screws that are on the side of the HDD.
5-3 a.b.c.d Remove the HDD connector (if replacing the older hard drive) by pulling it away from the hard
drive. Insert the HDD connector to HDD. Make sure to align the connector and the hard drive pin.
Improper alignment will cause damage to the hard drive and notebook.
!!!There is only 1 correct alignment and orientation in installing hard drive and hard drive
connector!!!
5-4 a.b.c.d Slide the hard drive (with the connector) into the given hard drive shielding bay and fasten the
hard drive you want to install with the 4 attached Phillips screws on the side.
!!! Failure to apply 4 screws may cause hard drive assembly to fall off in the notebook hard drive
area and will damage the hard drive and notebook!!!
5-5 a.b Carefully place the entire hard drive assembly into the notebook hard drive area.
Step 6: Installing Notebook Optical Storage Device (OSD)
6-1 a.b Remove the two screws in order to secure the optical storage device on the bottom case.
6-2 a.b Pull out the optical storage device from the notebook, then insert the new optical storage device.
6-3 a.b Make sure these screws are installed in the correct locations when reinstalling the optical storage
device.
!!!Failure to apply these 2 screws may cause the optical storage device to fall off!!!
Step 7: Wrapping Up
7-1 a.b.c Replace the metal shield and fasten 6 Phillips screws.

Other manuals for MS-1057

1

Other MSI Laptop manuals

MSI X430 User manual

MSI

MSI X430 User manual

MSI GE65 9SE-044IT Raider User manual

MSI

MSI GE65 9SE-044IT Raider User manual

MSI GE70 User manual

MSI

MSI GE70 User manual

MSI Gaming G Series User manual

MSI

MSI Gaming G Series User manual

MSI B10MW-486 User manual

MSI

MSI B10MW-486 User manual

MSI Megabook M660 User manual

MSI

MSI Megabook M660 User manual

MSI Wind U230-033US User manual

MSI

MSI Wind U230-033US User manual

MSI PR210 - Megabook - Athlon 64 X2 1.7 GHz User manual

MSI

MSI PR210 - Megabook - Athlon 64 X2 1.7 GHz User manual

MSI CX640 User manual

MSI

MSI CX640 User manual

MSI Wind U123-019US User manual

MSI

MSI Wind U123-019US User manual

MSI Stealth User manual

MSI

MSI Stealth User manual

MSI VR340 User manual

MSI

MSI VR340 User manual

MSI GL66 Pulse 11UCK-1010XIT User manual

MSI

MSI GL66 Pulse 11UCK-1010XIT User manual

MSI Workstation WF65 User manual

MSI

MSI Workstation WF65 User manual

MSI PR320 User manual

MSI

MSI PR320 User manual

MSI Creator Z17 HX Studio User manual

MSI

MSI Creator Z17 HX Studio User manual

MSI CR42 User manual

MSI

MSI CR42 User manual

MSI 9SC-472FR User manual

MSI

MSI 9SC-472FR User manual

MSI A9SD-034IT User manual

MSI

MSI A9SD-034IT User manual

MSI 12UDX-446IT User manual

MSI

MSI 12UDX-446IT User manual

MSI A12M-045IT User manual

MSI

MSI A12M-045IT User manual

MSI 9SG-415 User manual

MSI

MSI 9SG-415 User manual

MSI GS63VR Stealth Pro User manual

MSI

MSI GS63VR Stealth Pro User manual

MSI GT60 User manual

MSI

MSI GT60 User manual

Popular Laptop manuals by other brands

Toshiba Satellite Pro 435CDS Reconfiguration Guide

Toshiba

Toshiba Satellite Pro 435CDS Reconfiguration Guide

Acer C723 user manual

Acer

Acer C723 user manual

Panasonic CF-37 Series Reference manual

Panasonic

Panasonic CF-37 Series Reference manual

Lenovo 300e Chromebook 2nd Gen Hardware Maintenance Manual

Lenovo

Lenovo 300e Chromebook 2nd Gen Hardware Maintenance Manual

Sony VAIO PCG-GRX510 Service manual

Sony

Sony VAIO PCG-GRX510 Service manual

Toshiba A665-S6058 Specifications

Toshiba

Toshiba A665-S6058 Specifications

FIC A440 series Service manual

FIC

FIC A440 series Service manual

Lenovo THINKPAD MT 8748 manual

Lenovo

Lenovo THINKPAD MT 8748 manual

Sony VAIO VGN-BZ579TBB Specifications

Sony

Sony VAIO VGN-BZ579TBB Specifications

Psion Teklogix netpad user guide

Psion Teklogix

Psion Teklogix netpad user guide

Sony VAIO VGN-AW220J/H Specifications

Sony

Sony VAIO VGN-AW220J/H Specifications

Clevo Model 7200 Preliminary service manual

Clevo

Clevo Model 7200 Preliminary service manual

Lenovo ThinkPad Edge E520 user guide

Lenovo

Lenovo ThinkPad Edge E520 user guide

HP Fortis 11 G10 Chromebook Maintenance and service guide

HP

HP Fortis 11 G10 Chromebook Maintenance and service guide

Lenovo NetVista M41 user guide

Lenovo

Lenovo NetVista M41 user guide

HP ENVY Maintenance and service guide

HP

HP ENVY Maintenance and service guide

Dell P61F Setup and specifications

Dell

Dell P61F Setup and specifications

Lenovo 81VU000JUS user guide

Lenovo

Lenovo 81VU000JUS user guide

manuals.online logo
manuals.online logoBrands
  • About & Mission
  • Contact us
  • Privacy Policy
  • Terms and Conditions

Copyright 2025 Manuals.Online. All Rights Reserved.