MT-LINK MT-WN941G User manual

Page 1
MT-WN941G
1000mW Wireless G High Power USB Adapter
User’s Guide

Page 2
Table of Content
Over view.......................................................................................................................3
Unpacking information............................................................................................3
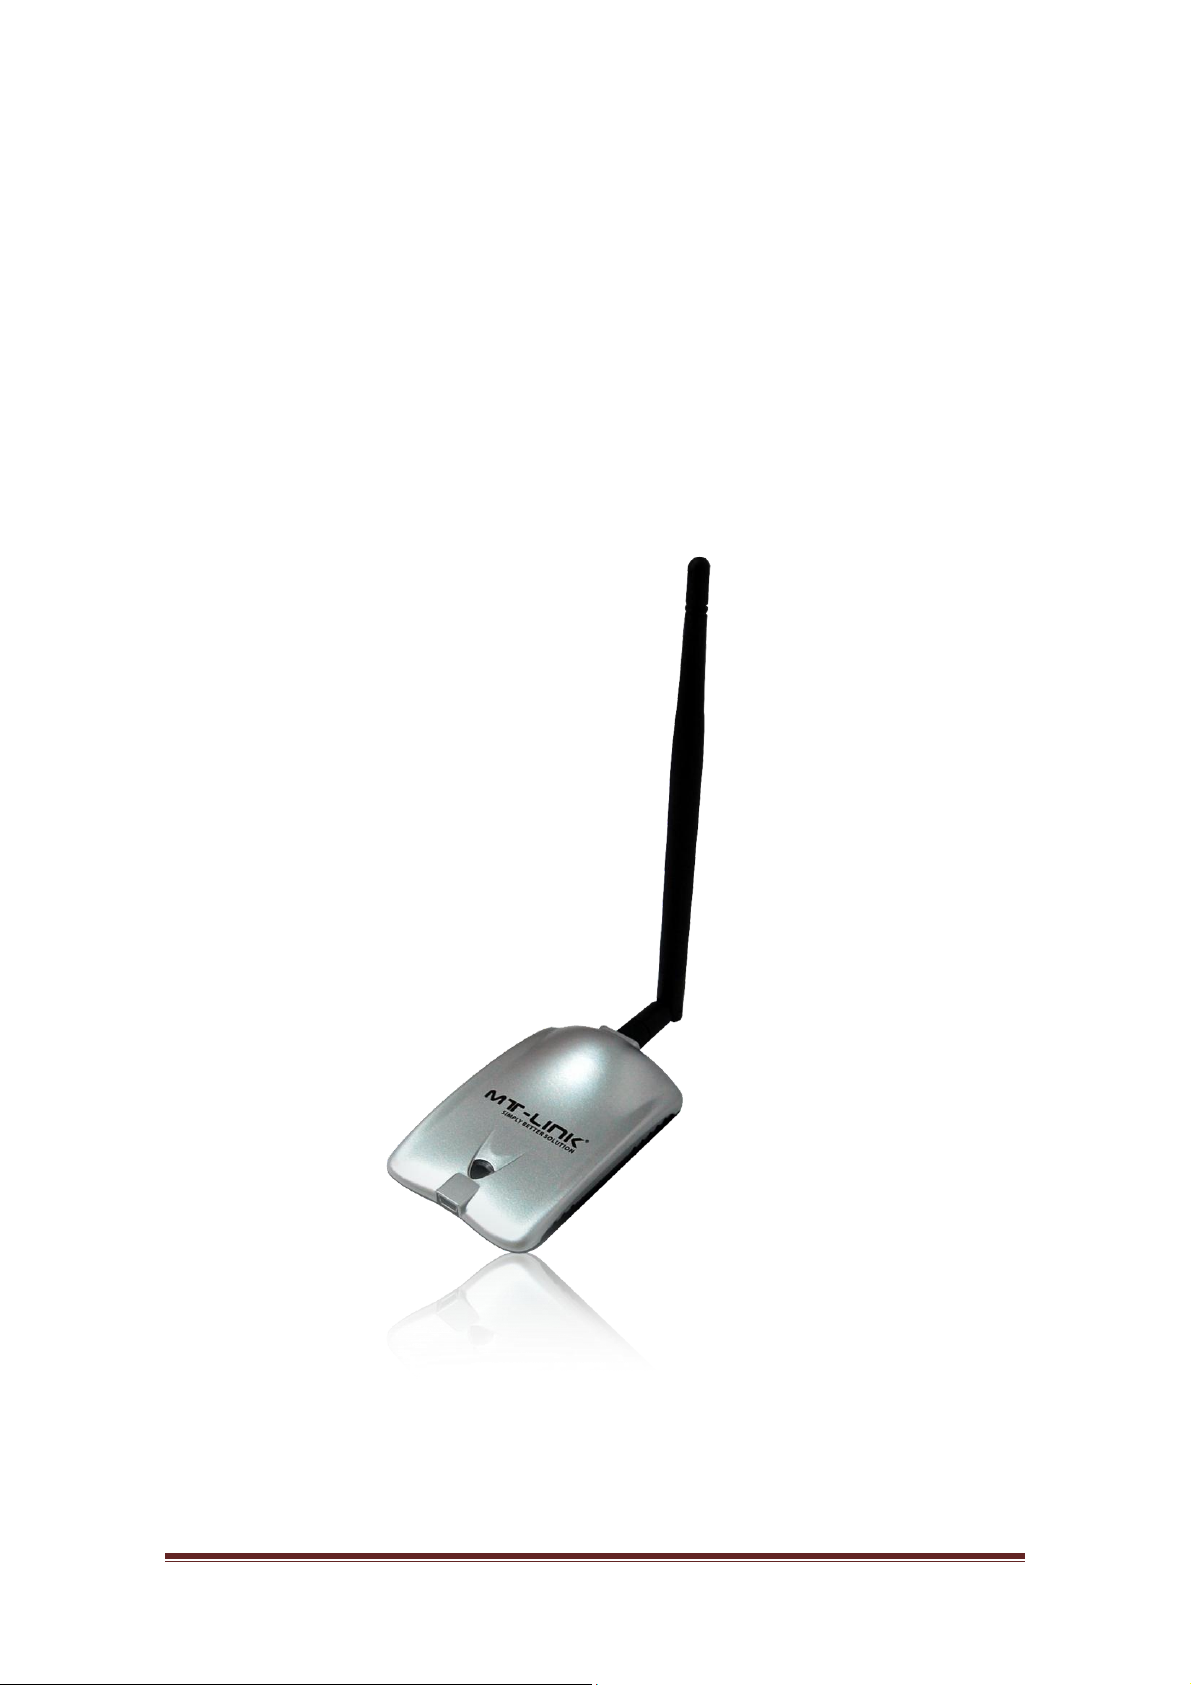
Introduction to the MT-WN941G Indoor USB Adapter........................................4
Installation Guide.....................................................................................................5
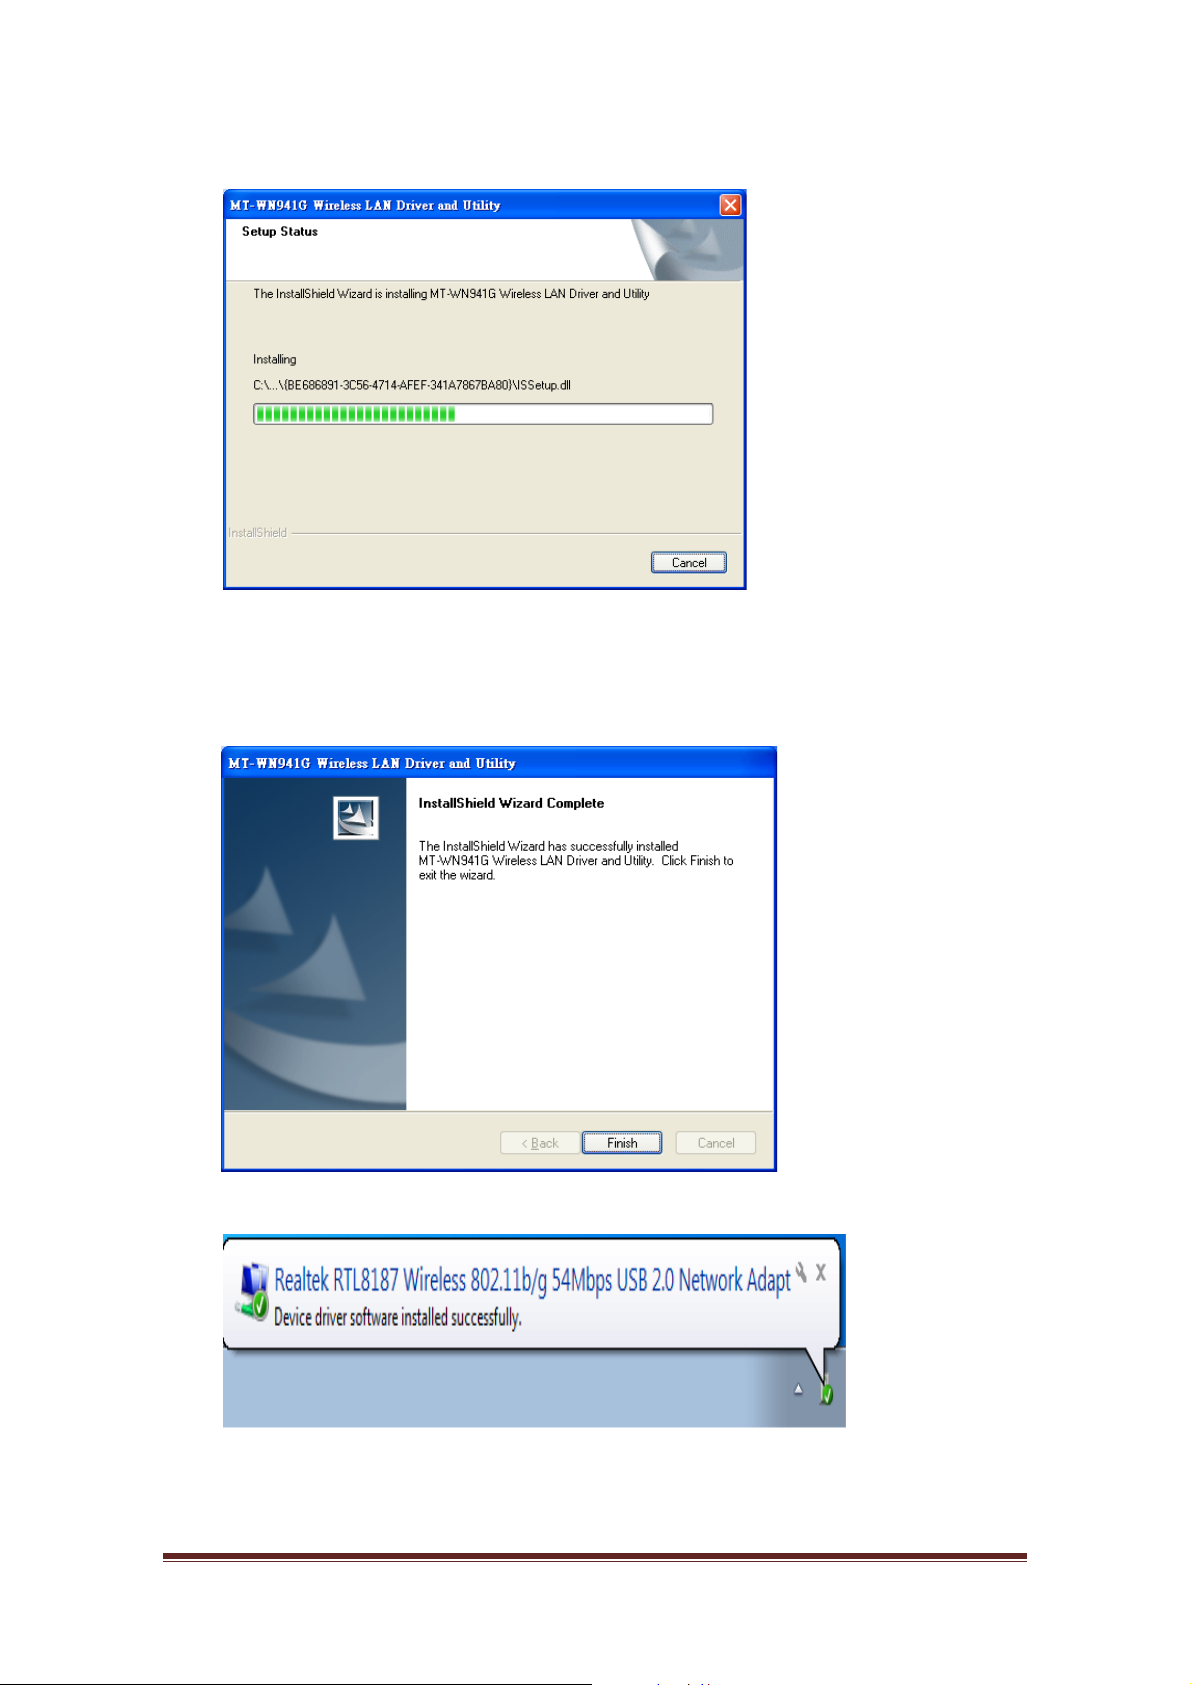
Software Installation................................................................................................5
Management Guide ...............................................................................................10
Makinga Basic Network Connection..................................................................10
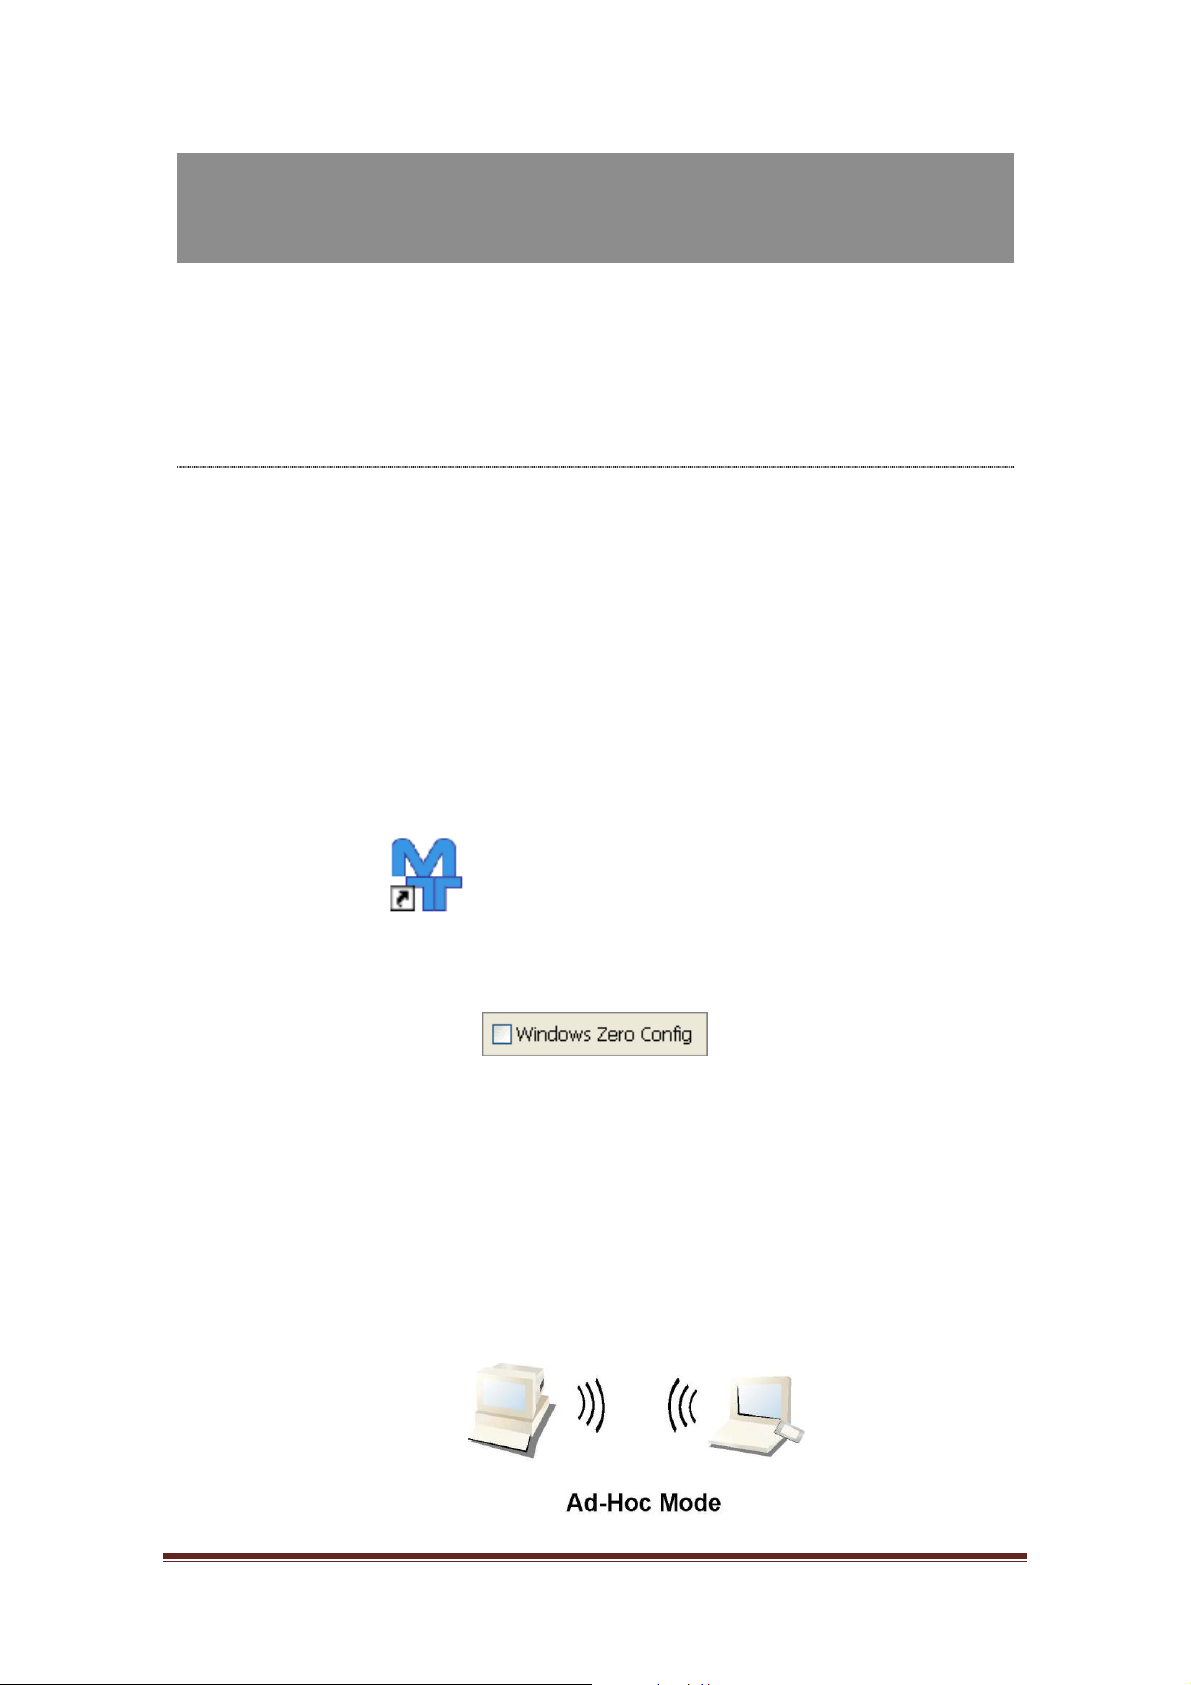
Ad-Hoc Mode.................................................................................................10
Infrastructure mode.......................................................................................12
Introductionto the Wireless LAN Utility..............................................................14
Starting the Wireless LAN Utility.................................................................14
General...........................................................................................................15
Profile..............................................................................................................16
Available Network..........................................................................................17
Advanced........................................................................................................18
Status..............................................................................................................19
Statistics..........................................................................................................19
Appendix.....................................................................................................................20
RT-Set Setup Wizard............................................................................................20
Connect to a wireless network in ad hoc mode................................................23
Use this adapter as an AP...................................................................................25
AP mode management guide..............................................................................27
General...........................................................................................................27
Advanced........................................................................................................27
Statistics..........................................................................................................28
ICS (Internet Connection Sharing).............................................................29

Page 3
Overview
Thank you for purchasing this product. Please read this chapter to
better understand your MT-WN941G Long Range indoor USB Adapter
Unpacking information
Before getting started, please verify that your package includes the following items:
1. MT-WN941G Long-Range 802.11g Indoor USB Adapter
2. One Utility/ Manual CD
3. USB Cable

Page 4
Introduction to the MT-WN941G Indoor USB Adapter
The MT-WN941G IEEE 802.11g indoor USB adapter provides users to launch IEEE
802.11g wireless network at 54 Mbps in the 2.4GHz frequency, which is also
compatible with IEEE 802.11b wireless devices at 11Mbps. You can configure
this adapter with AP mode to connect/share to other 2.4GHz wireless computers
or with Infrastructure mode to connect to a wireless AP or router for accessing to
Internet. This adapter includes a convenient Utility for scanning available
networks and saving preferred networks that users a r e usually connected
with. Security encryption can also be configured by this utility.
KeyFeatures
Complies with IEEE 802.11b/g
wireless standard
Support driver for Windows XP, Vista,
and Windows 7.
Complies with Universal Serial Bus
Rev. 1.0, 1.1 and 2.0 specifications.
Supports auto-installation and
diagnostic utilities.
High Speed transfer data rate up
to 54Mbps
Support turbo mode for 72 Mbps data
rate
Support wireless data encryption with 64/128-bit WEP, WPA (TKIP with IEEE
802.1x), and AES functions.

Page 5
Installation Guide
Software Installation
Note: The following driver installation guide uses Windows 7 as the presumed
operation system. The procedures and screens in Windows 98se, 2000, XP are
similar with Windows 7.
Insert the installation CD that came with this product to your CD-ROM drive.
Please click the “Windows 7/Vista/XP” button from the popup menu for this
product.
Note: If the CD-ROM fails to auto-run, please click on “My Computer”your
CD-ROM Drive will then double-click the “AutoRun.exe”to start this menu.

Page 6
1. Select the language for the installation.
2. The welcome window will pop up. Click the “Next”button to proceed.
3. Click “Install”button to continue the installation.

Page 7
4. Installation is in progress, please wait.
5. Click the “Finish” button to complete driver and utility installation.
Note, please insert this USB wireless adapter to your computer if you’re using
Windows 7, Vista, XP, or Windows 2000. If you are using Windows 98se or ME,
please restart the system first before connect this wireless adapter to your
computer.
6. Windows 7 detects new hardware has been inserted and driver is installed.

Page 8
Found New Hardware Wizard in Windows XP, 2000, and Vista.
1. The “Found New Hardware Wizard“ may pop up. (Note: This wizard
won’t pop up in Windows 98 and ME. The system finds the new hardware
and installs the hardware automatically. Please skip the following steps)
2. Select “No, not this time” and click the “Next” button.
3. Select “Install the software automatically” and then click the “Next”
button.
4. Please wait while installing the driver. The Windows logo testing
warning message may pops up. Please click the “Continue Anyway”
button to continue.

Page 9
5. Click the “Finish” button to complete installation.

Page 10
Management Guide
Please read this chapter to better understand the management interface
of your MT-WN941G Long Range Indoor USB Adapter
Makinga Basic Network Connection
BeforeYou Start
In the following instructions for making a network connection, we use the utility
we provided to configure your wireless network settings.
Note: For Windows XP users that want to configure your wireless network using this
Utility, please perform the following procedures to disable your native Windows XP
wireless support (Wireless Zero Configuration Service)
1. Double click the icon on your desktop to start the utility.
2. Make sure that the “Windows Zero Config” checkbox is unchecked.
Ad-Hoc Mode
An Ad-Hoc mode wireless network connects two computers directly without the use
of a router or AP. It is also known as a peer-to-peer network. For example, we
can install this wireless adapter to two computers respectively. The
communication between the two computers is an Ad-Hoc mode network.

Page 11
To use this adapter in Ad-Hoc Mode
1. Double click the icon on your desktop.
2. Click the “Available Network” button to scan available wireless network
adapters. Double click on the network adapter that you are going to connect to.
3. Click the OK button to confirm that you are connecting to an open wireless
network.
4. Click OK to add this network into the profile list.
Note: This example is an open wireless network. If you are going to connect to
a Wireless adapter with security protection, you will have to configure the
encryption settings in this profile to be corresponding to the other wireless
adapter. Please click on the “Network Authentication”drop list to select an
authentication method, and then select a “Data encryption” type. Fill in each
required blanks and click “OK”.

Page 12
Infrastructure mode
An Infrastructure Mode network contains at least one wireless client and one
wireless AP or router. This client connects to Internet or intranet by communicating
with this wireless AP.

Page 13
To use this adapter in Infrastructure Mode:
1. Double click the icon on your desktop.
2. Click the “Available Network” button to scan available access points. Double
click on the AP that you are going to connect to.
3. Click the OK button to confirm that you are connecting to an open wireless
network.
4. Click OK to add this network into the profile list.

Page 14
Note:
This example is an open wireless network. If you are going to connect to an AP with
security protection, you will have to configure the encryption settings in this profile
to be corresponding to your AP. Please click on the “Network Authentication”
drop list to select an authentication method, and then select a “Data encryption”
type. Fill in each required blanks and click “OK”.
Introductionto the Wireless LAN Utility
Note: This management instruction uses Windows 7 as the presumed operation
system. Some functions are not supported in Windows 98se or Windows ME.
Starting the Wireless LAN Utility
Double click the shortcut on your desktop. The Wireless LAN Utility will
pop up. You may click on the tabs above to configure this adapter. The
checkboxes below provide the following functions:
Show Tray Icon
Check this checkbox to show the utility icon on your
system tray, which is in the notification area at the
lower-right corner of the windows desktop. You may
also uncheck it to remove the utility icon from system
tray.
Windows Zero Config
(on Windows XP)
Uncheck this checkbox to use native Windows XP
wireless support (Wireless Zero Configuration Service)
instead of using this utility to configure your wireless
network.
Radio Off
Check this checkbox to prevent this adapter form
transmitting or receiving signals. Uncheck it to
communicate.
Disable Adapter
Check this checkbox to disable this wireless adapter.
Virtual Wifi Disallowed
(on Windows 7)
Check this checkbox to disable the Virtual Wifi Adapter
on Windows 7

Page 15
General
After starting the utility, the general page pops up This General tab and provide
the information of your current wireless network connection. You may click the
Renew button to refresh those listed information.
Status: Check if the device associated to target network.
Speed: The current connection speed
Type: Infrastructure mode or Ad-Hoc mode.
Encryption: The performing encryption mode for connecting to current
network profile.
SSID: The SSID (network name) of the connected wireless network.
Signal Strength: Indicates the signal strength detected by this adapter.
Network Address: Shows the current IP addresses settings for this adapter.

Page 16
Profile
The Profile tab lists the preferred connections. You can click the buttons on the
right-hand side to configure each connection.
Add Click this button to add a connection profile for this adapter.
Remove To remove a connection profile, click this profile on the profile
list and click this button to delete it.
Edit To modify the configurations for a profile, click this profile on
the profile list and click this button to edit.
Duplicate To make a copy of a profile, click the profile that you would
like to have copied, and click this button to copy it.
Set Default To select a profile as your default wireless connection, select
the profile on the list and click the Set Default button. You may
also double click on each profile to select it as your default
wireless connection.

Page 17
Available Network
The available tab lists the reachable wireless network for the adapter.
Refresh Click this button to rescan available networks around the
adapter.
Add to Profile To add an available Network to your profile list, select an
available network and click this button to add.

Page 18
Advanced
This Advanced tab provides advan ced c onfigurati ons to th is adapter.
Every modification in this tab will be performed after clicking the Apply button.
To restore the default settings of the advanced tab, click the Set defaults button to
perform restoring.
Power Save
None
Disable Power saving function.
Min
Minimum power consumption
Max
Maximum power consumption
Turbo Mode
OFF
Disable turbo mode
ON
Enable turbo mode
AUTO
Enable or disable turbo automatically according to the detected
environment
Fragment Threshold
The maximum size of a packet that is going to be segmented and transmitted.
Select the size from 256 to 2432(default) bytes.
RTS Threshold
Select the RTS Threshold form 0 to 2432(default)
Wireless Mode
802.11g/b
Connect to a 802.11g/b network (2.4GHz/54Mbps)
802.11b
Connect to a 802.11b network (2.4GHz/11Mbps)
Channel Plan
ETSI
For European counties (CH1 ~ CH13)
MKK
For Japan (CH1 ~ CH 14)
FCC
(default value) CH1 ~ CH11

Page 19
Status
This tab shows the current connection status of this adapter.
Statistics
See Statistics tab to show the transmission activity record. Clicking the “Reset”
button recounts the values from zero.

Page 20
Appendix
RT-Set Setup Wizard
For Windows 2000, XP, Vista users to connect to a wireless network easily, we
also provide the RT-Set setup wizard to help users set their preferred wireless
network step by step. You can configure your wireless network via this RT-Set
setup wizard in the following three modes:
Station mode (infrastructure): Select this mode to connect to the AP (access
point) in your LAN.
Station mode (ad hoc): Select this mode to connect to another wireless network
adapter in your LAN.
AP mode: Select this mode to perform this adapter as an AP (access point).
To start the RT-Set Wizard, please click the “RT-Set” tab on the up-left corner of the
window
Connect to a wireless network in infrastructure mode
1. To connect this adapter to an AP, select the “Station (infrastructure)”mode and click
the “Next”button to proceed.
Table of contents
Popular Adapter manuals by other brands

Adaptec
Adaptec AHA-3940U installation guide

CP TECHNOLOGIES
CP TECHNOLOGIES LevelOne WUA-0616 Quick installation guide

Zoom
Zoom 4311F quick start

Belden
Belden HIRSCHMANN ACA21-USB (EEC) Start-up instructions

AEM Performance Electronics
AEM Performance Electronics 30-3431 instruction manual

MG Biketec
MG Biketec AS641 Installation tips

TRENDnet
TRENDnet TBW-105UB Quick installation guide

Sony
Sony AC-PW10AM operating instructions

UCONNECT INTERNATIONAL
UCONNECT INTERNATIONAL BT-232B user manual

Cisco
Cisco SPA2102-AN - Single Port Router Administration guide

Airlinkplus
Airlinkplus ASOHOCB Quick installation guide

ConnectGear
ConnectGear WE320 user manual