manuals.online logo
Brands
  1. Home
  2. •
  3. Brands
  4. •
  5. MTD
  6. •
  7. Snow Blower
  8. •
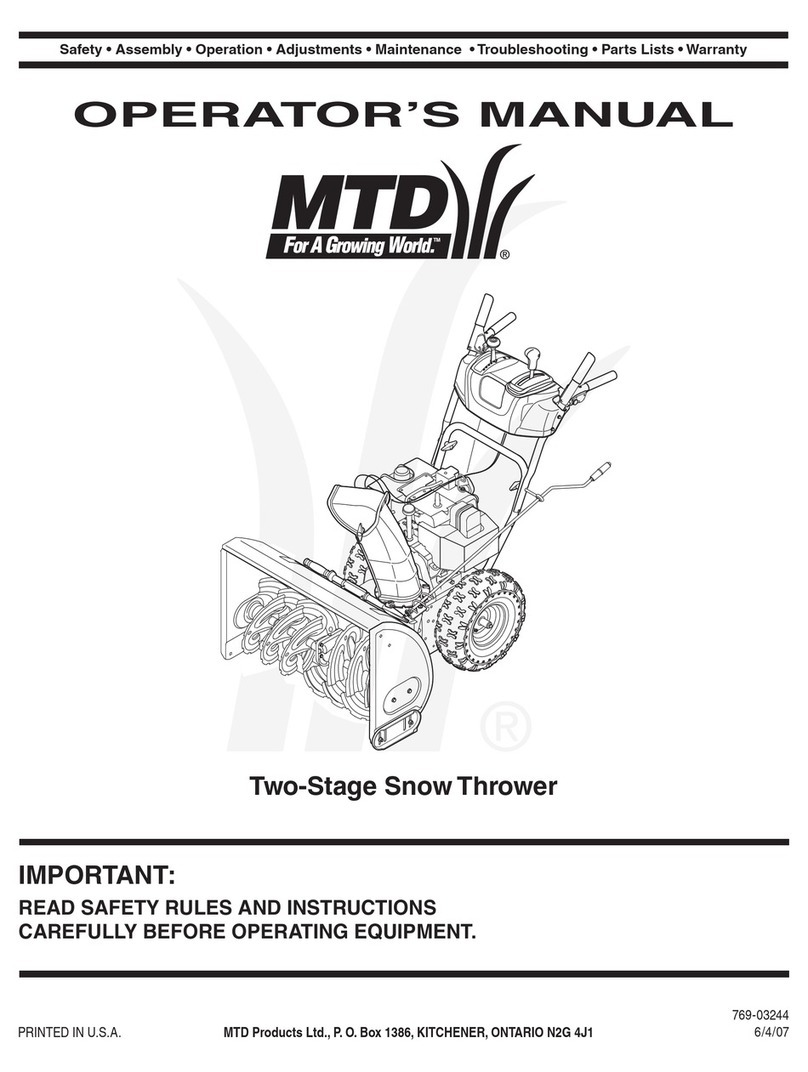
  9. MTD S261 User manual

MTD S261 User manual

Other manuals for S261

4

This manual suits for next models

9

Other MTD Snow Blower manuals

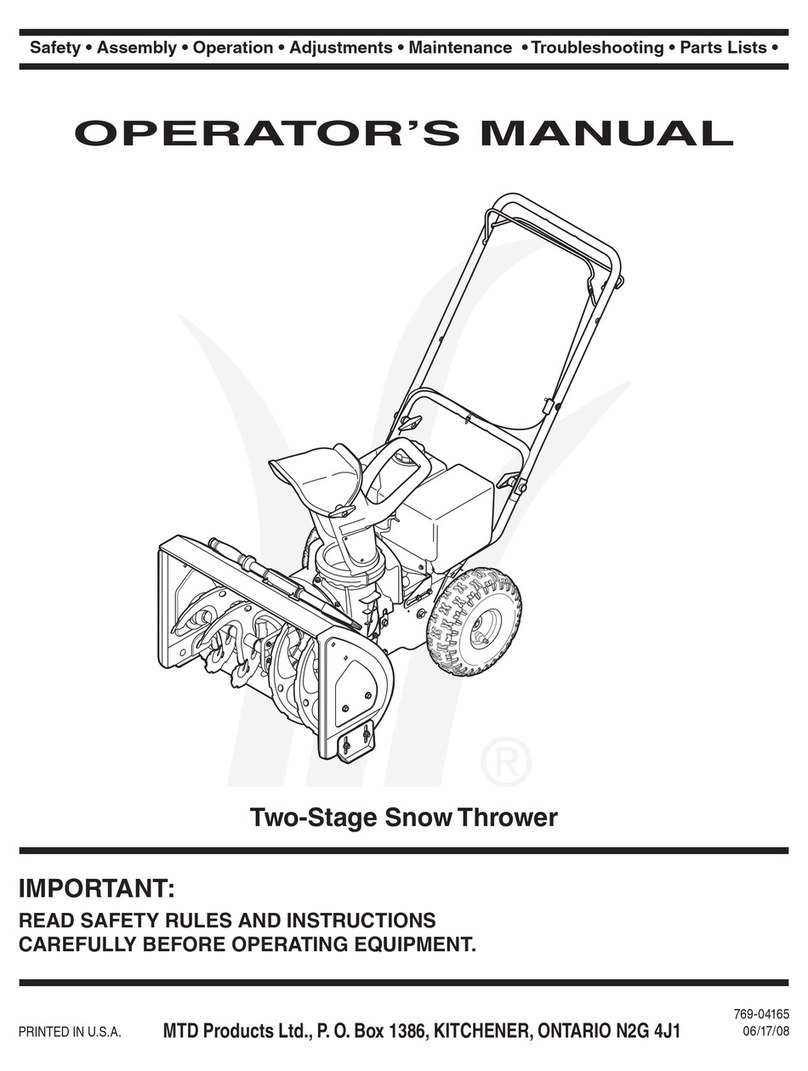
MTD 500 Series User manual

MTD

MTD 500 Series User manual

MTD 318-100a User manual

MTD

MTD 318-100a User manual

MTD 310-200 User manual

MTD

MTD 310-200 User manual

MTD 310-180-000 User manual

MTD

MTD 310-180-000 User manual

MTD YARD-MAN 31AE5KLG801 User manual

MTD

MTD YARD-MAN 31AE5KLG801 User manual

MTD 317-140-000 Setup guide

MTD

MTD 317-140-000 Setup guide

MTD Yard-Man 993 Series User manual

MTD

MTD Yard-Man 993 Series User manual

MTD 190-485C000 User manual

MTD

MTD 190-485C000 User manual

MTD 31AS6FEE729 User manual

MTD

MTD 31AS6FEE729 User manual

MTD 316-230A User manual

MTD

MTD 316-230A User manual

MTD 31A-3BAD729 User manual

MTD

MTD 31A-3BAD729 User manual

MTD 31AH65LG704 User manual

MTD

MTD 31AH65LG704 User manual

MTD 300 Series User manual

MTD

MTD 300 Series User manual

MTD TMO-33879C User manual

MTD

MTD TMO-33879C User manual

MTD 2B5 User manual

MTD

MTD 2B5 User manual

MTD 31AS250-700 User manual

MTD

MTD 31AS250-700 User manual

MTD E663G User manual

MTD

MTD E663G User manual

MTD 600 Series User manual

MTD

MTD 600 Series User manual

MTD 31AM62EE706 User manual

MTD

MTD 31AM62EE706 User manual

MTD Cub Cadet 221 HP User manual

MTD

MTD Cub Cadet 221 HP User manual

MTD 3BA User manual

MTD

MTD 3BA User manual

MTD 300 Series User manual

MTD

MTD 300 Series User manual

MTD 731AE5MLG729 User manual

MTD

MTD 731AE5MLG729 User manual

MTD 190-822 User manual

MTD

MTD 190-822 User manual

Popular Snow Blower manuals by other brands

Wen 20720BT instruction manual

Wen

Wen 20720BT instruction manual

Poulan Pro 420904 owner's manual

Poulan Pro

Poulan Pro 420904 owner's manual

Poulan Pro 421602 owner's manual

Poulan Pro

Poulan Pro 421602 owner's manual

Murray 624504X4A Instruction book

Murray

Murray 624504X4A Instruction book

Blizzard POWER PLOW 8100PP owner's manual

Blizzard

Blizzard POWER PLOW 8100PP owner's manual

Craftsman 486.24837 Operator's manual

Craftsman

Craftsman 486.24837 Operator's manual

Yard-Man E2B5 Operator's manual

Yard-Man

Yard-Man E2B5 Operator's manual

ST ST 526 A Operator's manual

ST

ST ST 526 A Operator's manual

Toro Power TRX 1428 OHXE Operator's manual

Toro

Toro Power TRX 1428 OHXE Operator's manual

Poulan Pro 416829 owner's manual

Poulan Pro

Poulan Pro 416829 owner's manual

Poulan Pro 437986 owner's manual

Poulan Pro

Poulan Pro 437986 owner's manual

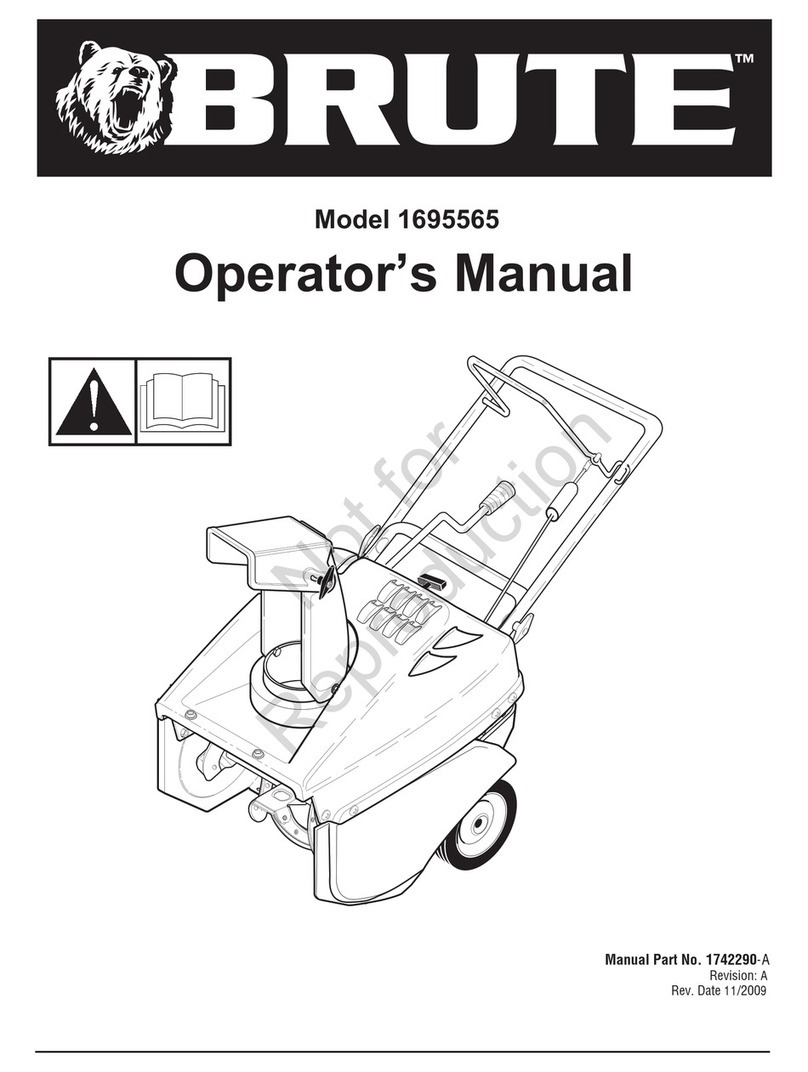
Brute 1695565 Operator's manual

Brute

Brute 1695565 Operator's manual

Poulan Pro 420915 owner's manual

Poulan Pro

Poulan Pro 420915 owner's manual

GreenWorks SNF402 Operator's manual

GreenWorks

GreenWorks SNF402 Operator's manual

LOFTNESS 601D1 Operator's manual

LOFTNESS

LOFTNESS 601D1 Operator's manual

LOFTNESS 1082I Operator's manual

LOFTNESS

LOFTNESS 1082I Operator's manual

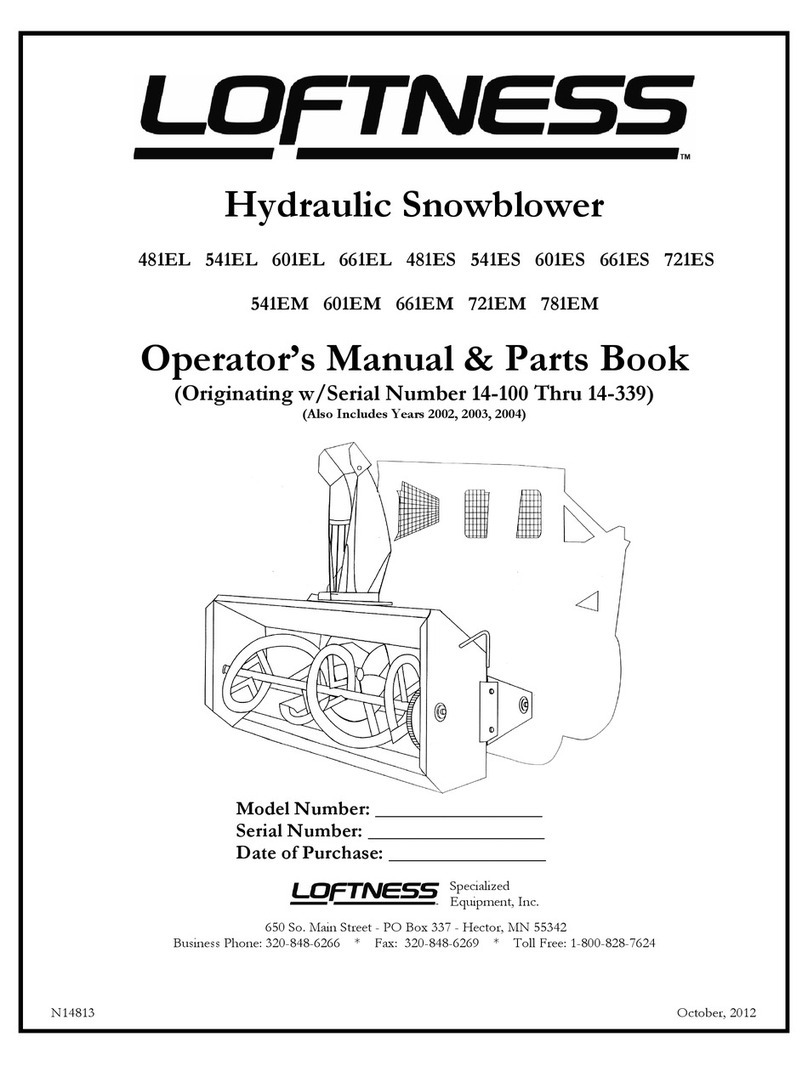
LOFTNESS 481EL Operator's manual

LOFTNESS

LOFTNESS 481EL Operator's manual

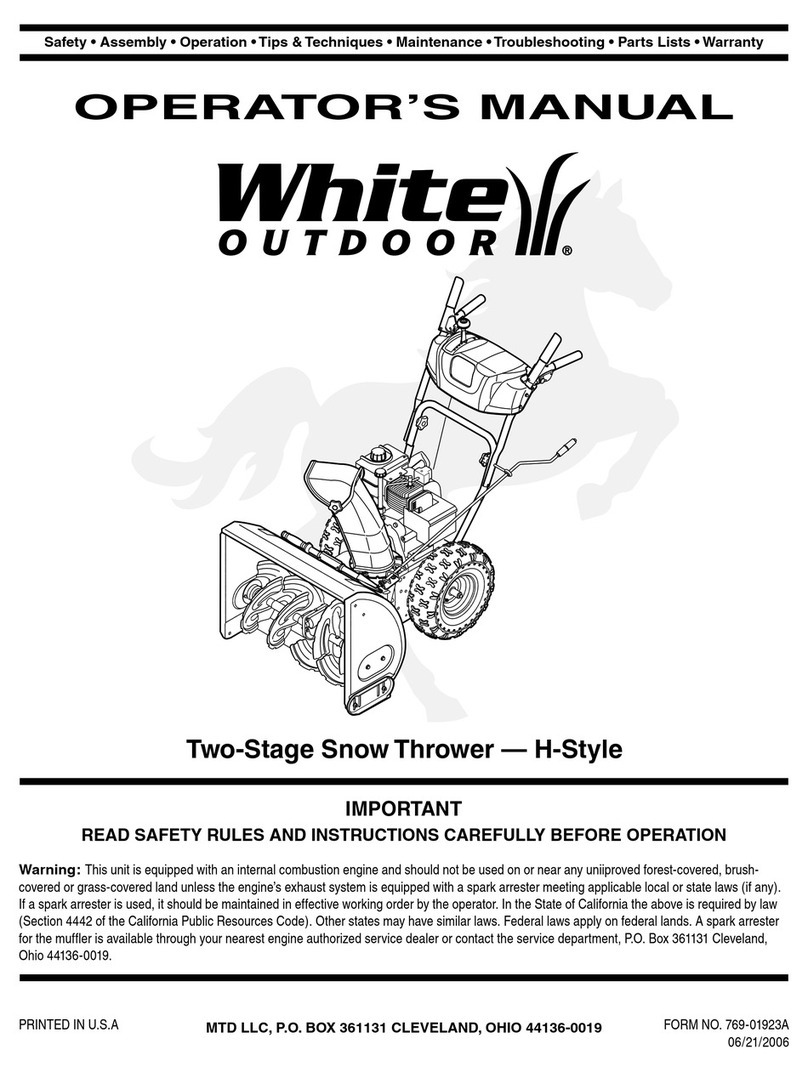
White Outdoor 769-01923A Operator's manual

White Outdoor

White Outdoor 769-01923A Operator's manual

manuals.online logo
manuals.online logoBrands
  • About & Mission
  • Contact us
  • Privacy Policy
  • Terms and Conditions

Copyright 2025 Manuals.Online. All Rights Reserved.

Safety ,, Assembly ,, Operation ,,Tips &Techniques ,, Maintenance ,,Troubleshooting ,, Parts Lists ,,Warranty
OF AOA AL
ingle-Stage nowThrower
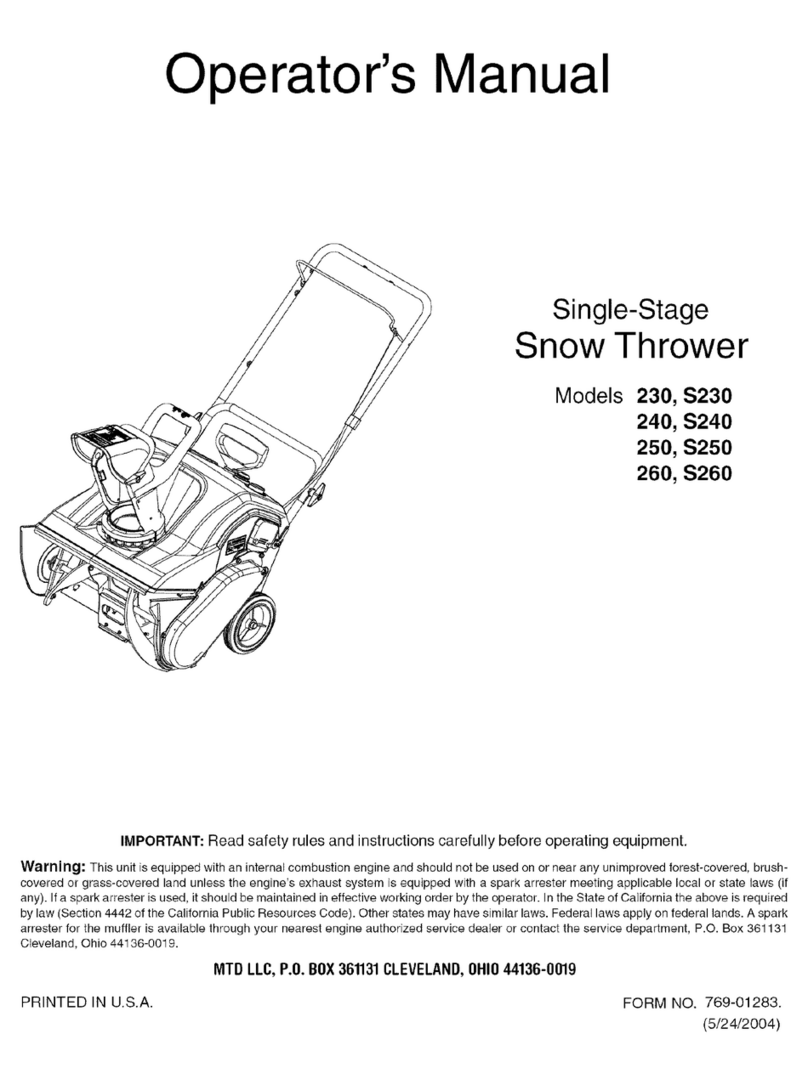
Model 230, $230
Model 240, S240
Model 250, S250
Model 260, S260
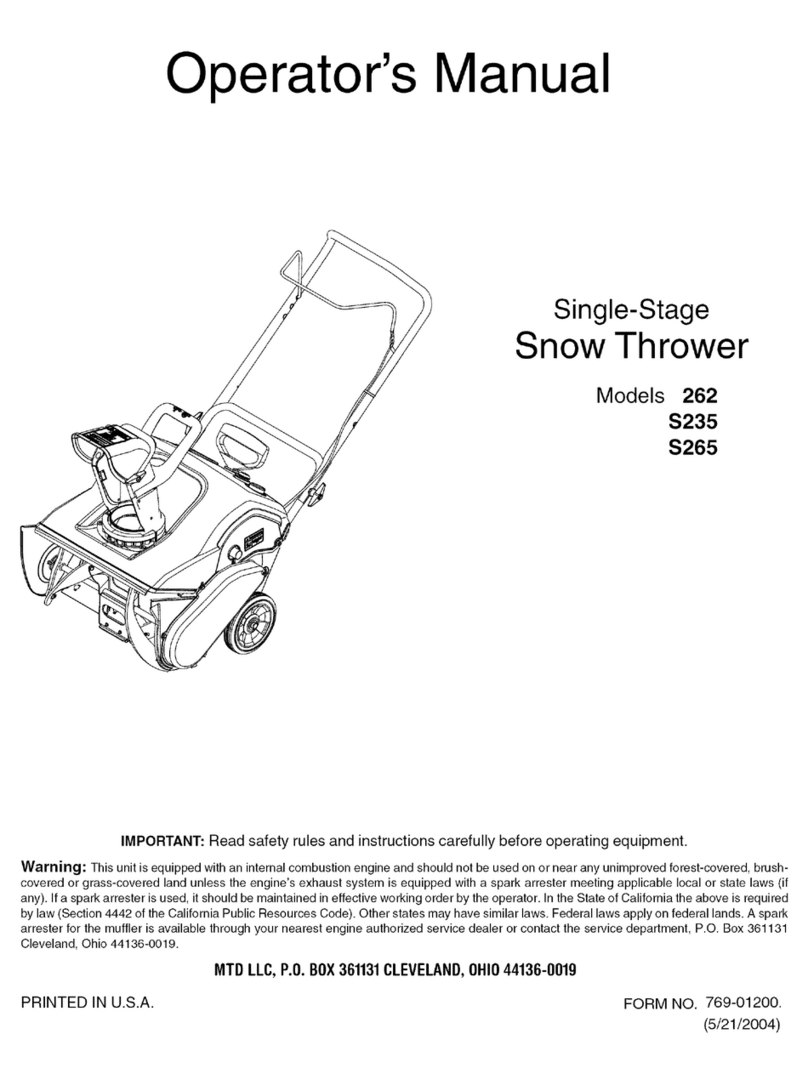
Model 261, S261
iMPORTANT
READ SAFETY RULES AND iNSTRUCTiONS CAREFULLY BEFORE OPERATION
Warning: Thisunitisequippedwithan internalcombustionengineandshouldnotbeusedon or nearanyunimprovedforest-covered,brush-
coveredor grass-coveredlandunlesstheengine'sexhaustsystemisequippedwitha sparkarrestermeetingapplicablelocalor statelaws(if any).
If a sparkarresterisused,it shouldbemaintainedineffectiveworkingorderbytheoperator.IntheStateofCaliforniatheaboveis requiredbylaw
(Section4442oftheCaliforniaPublicResourcesCode).Otherstatesmayhavesimilarlaws.Federallawsapplyonfederallands.A sparkarrester
forthemufflerisavailablethroughyournearestengineauthorizedservicedealeror contacttheservicedepartment,RO.Box361131Cleveland,
Ohio44136-0019.
PRINTEDIN U.S.A. IVITDLLC, P.O. BOX 361131 CLEVELAND, OHiO 44136-0019 FORMNO.769-01283A
04/2005
This Operator's Manual is an important part of your new snow thrower, it will help you assemble,
prepare and maintain the unit for best performance. Please read and understand what it says.
Table of Contents
Safety Labels .............................................. p. 3
Safe Operation Practices ........................... p. 4
Setting Up Your Snow Thrower .................. p. 6
Know Your Snow Thrower .......................... p. 7
Operating Your Snow Thrower ................... p. 8
Adjustments & Maintenance ................... p. 10
Off-Season Storage .................................. p. 12
Troubleshooting ........................................ p. 13
Parts List ................................................... p. 14
Accessories & Kits ................................... p. 17
Notes .......................................................... p. 18
Warranty ........................................ Back Cover
Finding and Recording IVlodel Number
BEFOREYOU STARTASSEMBLING
YOURNEW EQUIPMENT,
please locatethe modelplate onthe equipmentand copythe
informationto the sample modelplate providedtothe right.
Youcan locatethe model plateby standing at the operating
position and lookingdown atthe rear ofthe snowthrower.
This informationwill be necessaryto use the manufacturer's
website and/or obtainassistancefromthe CustomerSupport
Departmentor an authorizedservice dealer.
Model Number
_D
www. rntdproducts.corn
Serial Number
MTD LLC
P.O. BOX 361131
CLEVELAND, OH 44136
330-220-4683
800-800-7310j
Customer Support
Please do NOTreturn the unit to the retailer from which it was
purchased, without first contacting Customer Support.
If youhave difficulty assemblingthis product or have anyquestions regardingthe controls, operation,ormaintenanceof this
unit,you canseek help from the experts.Choose fromthe options below:
1. Visit mtdproducts.com. Click onthe Service & Support menuoption.
2. Phonea Customer Support Representative at 1 (800) 800-7310.
3. The engine manufacturer is responsiblefor all engine-relatedissueswith regardsto performance,power-rating,specifica-
tions,warranty and service. Pleasereferto theengine manufacturer'sOwner's/Operator's Manual,packedseparatelywith
your unit, for more information.
MTD _rtt_r,t_fi_a_ O_r C_mp_y
Ser,_ice 8_Suppo_±
Product. Registration
Priwcy P_y
2
1.KEEPAWAYFROMROTATINGAUGER
CONTACTWiTHAUGERCAHAMPUTATE
HAHOSANDFEET.
2. DISEHGAGECLUTCHLEVERS,STOPEHGIHE,
ANDREMAINDEHIHDHAHBLESUNTILALL
MOVIHGPARTSHAVESTOPPEDBEFORE
UHCLOGGiHGORSERViCIHGMACHiHE.
3.TO AVOIDTHROWNOBJECTSIHJURIES,
NEVERDIRECTDISCHARGEATBYSTANDERS.
USEEXTRACAUTIONWHEHOPERATINGOH
GRAVELSURFACES.
4. BEADOPERATOR'SMAHUAL
3
WARNING
Thissymbolpoints
out importantsafety
instructionswhich,if
notfollowed,could
endangerthepersonal
safetyand/or property
ofyourself andothers.
Readandfollowall
instructionsinthis
manualbefore
attemptingto operate
this machine.Failure
to complywiththese
instructionsmay result
in personalinjury.When
youseethis symbol.
HEED ITS WARNING!
Your Responsibility
Restrictthe useof
this powermachineto
personswho read,
understandand
followthe warnings
and instructionsin this
manualand on the
machine.
WARNING
Thissymbolpoints
out importantsafety
instructionswhich,if
notfollowed,could
endangerthe personal
i safetyand/or property
I ofyourselfand others.
Readandfollowall
instructionsinthis
manualbeforeat-
temptingto operate
i this machine.Failure
I to complywiththese
instructionsmay result
i in personalinjury.When
youseethis symbol.
i HEED ITS WARNING!
Your Responsibility
Restrictthe use
ofthis powermachine
to personswho read,
_understand
ano followthe warnings
and instructions
inthis manual
and on the machine.
WARNING: EngineExhaust,some of its constituents,andcertain vehiclecompo-
nentscontain or emit chemicals knownto Stateof Californiato cause cancerand
birth defectsor other reproductiveharm.
DANGER: This machinewas builtto be operatedaccordingto the rulesfor safe operation in this
manual.As with anytypeof powerequipment,carelessnessor erroronthe part ofthe operatorcan
result in seriousinjury.This machine iscapable of amputatinghands andfeet andthrowing objects.
Failureto observethe followingsafety instructionscould resultinserious injury or death.
Training
1. Read,understand,andfollowall instructionsonthe 1.
machineandin themanual(s)beforeattemptingto
assembleandoperate.Keepthismanualina safe placefor
futureandregularreferenceandfororderingreplacement
parts. 2.
2. Befamiliarwithall controlsandtheirproperoperation.
Knowhowto stopthe machineanddisengagethemquickly.
3. Neverallowchildrenunder14yearsoldto operatethis
machine.Children14yearsoldandovershouldreadand
understandtheoperationinstructionsandsafetyrulesin 3.
thismanualandshouldbetrainedandsupervisedbya
parent.
4. Neverallowadultsto operatethis machinewithoutproper
instruction.
5. Thrownobjectscancauseseriouspersonalinjury.Plan 4.
yoursnow-throwingpatternto avoiddischargeof material
towardroads,bystandersandthe like.
6. Keepbystanders,helpers,petsandchildrenatleast75feet 5.
fromthe machinewhileit isin operation.Stopmachineif
anyoneentersthe area. 6.
7. Exercisecautiontoavoidslippingor falling,especially 7.
whenoperatingin reverse.
8,
9.
Preparation
Thoroughlyinspectthe areawherethe equipmentisto be
used.Removealldoormats,newspapers,sleds,boards,
wiresandotherforeignobjects,whichcouldbetripped over
orthrownbythe auger/impeller.
Alwayswearsafetyglassesor eyeshieldsduringoperation
andwhile performinganadjustmentorrepairto protectyour
eyes.Thrownobjectswhich ricochetcancauseserious
injurytothe eyes.
Do notoperatewithoutwearingadequatewinterouter
garments.Do notwearjewelry,longscarvesorother
looseclothing,whichcould becomeentangledin moving
parts.Wearfootwearwhich willimprovefootingonslippery
surfaces.
Useagroundedthree-wireextensioncordandreceptacle
forall unitswithelectric startengines.
Adjustcollectorhousingheighttocleargravelorcrushed
rocksurfaces.
Disengageallcontrolleversbeforestartingthe engine.
Neverattemptto makeanyadjustmentswhileengineis
running,exceptwherespecificallyrecommendedinthe
operator'smanual.
Letengineandmachineadjusttooutdoortemperature
beforestartingtoclearsnow.
Toavoidpersonalinjuryor propertydamageuseextreme
careinhandlinggasoline.Gasolineisextremelyflammable
andthe vaporsare explosive.Seriouspersonalinjurycan
occurwhengasolineis spilledonyourselforyourclothes,
whichcanignite.Washyourskinand changeclothes
immediately.
a. Useonlyanapprovedgasolinecontainer.
b. Extinguishallcigarettes,cigars,pipesandothersources
ofignition.
c. Neverfuel machineindoors.
d. Neverremovegascap oradd fuelwhilethe engineis hot
or running.
e. Allowengineto coolat leasttwo minutesbeforerefuel-
ing.
f. Neveroverfillfueltank.Filltankto nomorethanY2inch
belowbottomoffiller neckto providespacefor fuel
expansion.
g. Replacegasolinecap andtightensecurely.
h. If gasolineis spilled,wipe itoff theengineand equip-
ment.Movemachinetoanotherarea.Wait5minutes
beforestartingtheengine.
i. Neverstorethe machineorfuel containerinsidewhere
there isan openflame,sparkor pilotlight(e.g.furnace,
waterheater,spaceheater,clothesdryeretc.).
j. Allowmachinetocoolat least5 minutesbeforestoring.
4
Operation
1. Donot puthandsorfeet nearrotatingparts,inthe
auger/impellerhousingor chuteassembly.Contactwiththe
rotatingpartscanamputatehandsandfeet.
2. The auger/impellercontrolleveris asafetydevice.Never
bypassitsoperation.Doingsomakesthe machineunsafe
andmaycausepersonalinjury.
3. The controlleversmustoperateeasilyin bothdirections
and automaticallyreturntothe disengagedpositionwhen
released.
4. Neveroperatewitha missingor damagedchuteassembly.
Keepall safetydevicesin placeandworking.
5. Neverrunan engineindoorsor in a poorlyventilatedarea.
Engineexhaustcontainscarbonmonoxide,anodorlessand
deadlygas.
6. Donotoperatemachinewhile underthe influenceofalcohol
or drugs.
7. Mufflerandenginebecomehotandcan causea burn.Do
nottouch.
8. Exerciseextremecautionwhenoperatingonor crossing
gravelsurfaces.Stayalertforhiddenhazardsortraffic.
9. Exercisecautionwhenchangingdirectionandwhileoperat-
ingonslopes.
10.Planyoursnow-throwingpatternto avoiddischargetowards
windows,walls,carsetc.Thus,avoidingpossibleproperty
damageor personalinjury causedbyaricochet.
11.Neverdirectdischargeatchildren,bystandersandpetsor
allow anyonein frontofthe machine.
12.Donotoverloadmachinecapacitybyattemptingto clear
snowattoofast ofarate.
13.Neveroperatethis machinewithoutgoodvisibilityor light.
Alwaysbesureofyourfootingand keepafirm holdonthe
handles.Walk,neverrun.
14.Disengagepowerto the auger/impellerwhentransportingor
notin use.
15.Neveroperatemachineat hightransportspeedsonslippery
surfaces.Lookdownand behindandusecarewhen
backingup.
16.Ifthe machineshouldstartto vibrateabnormally,stopthe
engine,disconnectthe sparkplugwireandgroundit against
the engine.Inspectthoroughlyfordamage.Repairany
damagebeforestartingandoperating.
17.Disengageallcontrolleversandstopenginebeforeyou
leavethe operatingposition(behindthe handles).Wait
untilthe auger/impellercomestoa completestop before
uncloggingthe chuteassembly,makinganyadjustments,or
inspections.
18.Neverputyourhandin thedischargeor collectoropenings.
Alwaysusethe clean-outtoolprovidedtounclogthe dis-
chargeopening.Donot unclogchuteassemblywhileengine
isrunning.Shutoffengineandremainbehindhandlesuntil
all movingpartshavestoppedbeforeunclogging.
19.Useonlyattachmentsandaccessoriesapprovedbythe
manufacturer(e.g.wheelweights,tire chains,cabsetc.).
20. If situationsoccurwhich arenotcoveredin thismanual,
usecareand goodjudgment.Contactyourdealeror call
(800)800-7310for assistanceand the nameofyournearest
servicingdealer..
Maintenance & Storage
1. Nevertamperwithsafetydevices.Checktheirproper
operationregularly.Refertothe maintenanceandadjust-
mentsectionsofthis manual.
2. Beforecleaning,repairing,or inspectingmachinedisen-
gageall controlleversandstopthe engine.Wait untilthe
auger/impellercometoa completestop. Disconnectthe
sparkplugwireandgroundagainstthe engineto prevent
unintendedstarting.
3. Checkboltsand screwsfor propertightnessatfrequent
intervalsto keepthe machinein safeworkingcondition.
Also,visuallyinspectmachineforanydamage.
4. Do notchangethe enginegovernorsettingor over-speed
theengine.Thegovernorcontrolsthemaximumsafe
operatingspeedoftheengine.
5. Snowthrowershaveplatesandskidshoesaresubjectto
wearanddamage.Foryoursafetyprotection,frequently
checkallcomponentsandreplacewith originalequipment
manufacturer's(OEM)partsonly."Useof partswhichdo
notmeetthe originalequipmentspecificationsmayleadto
improperperformanceandcompromisesafety!"
6. Checkcontrolsperiodicallytoverify theyengageand
disengageproperlyandadjust,if necessary.Referto the
adjustmentsectioninthisoperator'smanualfor instructions.
7. Maintainor replacesafetyandinstructionlabels,as neces-
sary.
8. Observeproperdisposallawsandregulationsforgas,oil,
etc.toprotectthe environment.
9. Priorto storing,runmachineafewminutestoclearsnow
frommachineandpreventfreezeupof auger/impeller.
10.Neverstorethe machineorfuel containerinsidewhere
thereisan openflame,sparkor pilotlightsuchas a water
heater,furnace,clothesdryeretc.
11.Alwaysreferto theoperator'smanualforproperinstructions
onoff-seasonstorage.
Do not modify engine
Toavoidseriousinjuryordeath,donot modifyengineinany
way.Tamperingwiththegovernorsettingcan leadto a runaway
engineandcauseit tooperateatunsafespeeds.Nevertamper
withfactorysettingofenginegovernor.
Notice regarding Emissions
Engineswhicharecertifiedto complywithCaliforniaandfederal
EPAemissionregulationsfor SORE(SmallOff RoadEquipment)
arecertifiedtooperateonregularunleadedgasoline,and may
includethefollowingemissioncontrolsystems:EngineModifica-
tion(EM)andThreeWayCatalyst(TWO)ifsoequipped.
Your Responsibility
Restrictthe useofthispowermachineto personswhoread,un-
derstandand followthe warningsand instructionsin this manual
andonthe machine.
5
Operation
WARNING
This symbol points
out importantsafety
instructions,which if
notfollowed,could
endangerthe personal
safety and/or property
of yourselfand others.
Readand followall
instructions inthis man-
ual beforeattemptingto
operatethis machine.
Failureto comply with
these instructionsmay
result in personalinjury.
Whenyou seethis
symbol.
HEED IT'S WARNING!
YourResponsibility
Restrictthe use
of this powermachine
to personswho read.
understand
and followthe warnings
and instructions
in this manua
and onthe machine.
} ThisOperator'sManual
i coversseveralmodels.
i Snowthrowerfeatures
varybymodel.Not
allfeaturesdiscussed
} inthismanualare
applicabletoalsnow
i ihrowermodels.
NOTE:
Allreferencestoleft
orrightsideofthe
snowthroweris
fromtheoperating
positiononly.
iMPORTANT:
Do not usethe
chute handleto lift
thesnowthrower.
NOTE:This Operator'sManualcoversseveralmodels.
Snowthrowerfeaturesvarybymodel.Notall features
discussedin thismanualareapplicabletoall snow
throwermodels.
Figure 1
Figure 2
NOTE:All referencesto leftor rightsideofthesnow
throwerisfromtheoperatingpositiononly
Contents of Carton
Cartoncontentsare listedbelowwithpartnumbersin
parentheses.
1. TwoIgnitionKeys(725-0201)
2. 2.6ozBottleof2 CycleOil (737-04037)
3. ExtensionCord(if soequipped)(629-0236)
__, ARNING: Disconnectthe sparkplug
wire and ground itagainst the engineto
preventunintended starting.
Positioning the Upper Handle
1. Removepackingmaterial,if present.
2. Makingsurenottopinchthecablein theprocess,
pivottheupperhandleintotheoperatingpositionas
illustratedin Figure1 untilit clicksintoplace.
3. Tightenthewingknobstosecurethehandleinplace
asin Figure1.
Assembling the Discharge Chute
Forshippingreasons,thesnowthrowerhasbeen
packagedwiththeupperchutepivotedall thewaydown.
Topivotitupward,proceedasfollows:
1. Turnthechuteuntilthechuteopeningisfacing
straightahead. Removethewingknob,flatwasher
andcarriageboltfromthe lowerchute. See Figure2.
2. Pivottheupperchuteupwardoverthelip onthelower
chutesothatthereisNOgap betweentheupper
chuteandthelowerchute.
3. Resecurewiththe hardwarejust removed.If installed
correctly,yoursnowthrowershouldlooklikeFigure3.
IMPORTANT:Donotusethechutehandleto liftthe
snowthrower.
Figure 3
6
"f AugerControlHandle "_
Chute FuelCap
ElectricStarterButton
Key
StarterHandle
Primer
SparkPlugAccess
ChokeLever......
ShavePlate /
/
Auger
Figure 4
Choke Lever Auger
4m,c.oKE
Activatingchokecontrolclosesthechokeplateon
carburetorandaidsin startingengine.Refertotheengine
manualpackedwithunitformoredetailedinstructions.
Primer
Depressingprimerforcesfueldirectlyinto
engine'scarburetortoaidin cold-weather
starting.Referto enginemanualpackedwith
unitformoredetailedinstructions.
Ignition Key
Ignitionkeymust be present,insertedin
keyswitch,andinthe"ON"positionfor
engineto start. IGNITION
Recoil Starter
Thestarterhandleisusedtomanuallystarttheengine.

Electric Starter Button (If so equipped)
Pressingthe electricstarterbuttonengagesthe
engine'selectricstarterwhenpluggedintoa 120V
powersource
Electric Starter Plug (If so equipped)
Requiresuseofa two-prongoutdoorextensioncord
(packedwiththesnowthrower)anda 120Vpower
source/walloutlet.
Spark Plug Cover
Removesparkplugcovertoaccesssparkplug.
Whenengaged,theaugersrotationdrawssnowintothe
augerhousingandthrowsitoutthedischargechute.
Rubberpaddleson theaugersalsoaidin propellingthe
unitastheycomeincontactwiththe pavement.
Auger Control Handle
Locatedontheupperhandle,theaugercontrolhandle
isusedtoengageanddisengagedrivetotheauger.
Squeezethecontrolhandleagainsttheupperhandleto
engageauger;releaseittodisengage.
Discharge Chute /Chute Handle
Rotatethedischargechutetotheleftor rightusingchute
handle.Pitchofthedischargechutecontrolsangleat
whichthesnowisthrown.Loosenwingknobonside
ofthedischargechutebeforepivotingdischargechute
upwardordownward.Retightentheknoboncedesired
positionhasbeenachieved.
Shave Plate
Theshaveplatemaintainscontactwithpavementas
thesnowthrowerispropelled,allowingsnowcloseto
pavement'ssurfacetobedischarged.
Fuel Cap
Removegascaptoaddfuel. Thisunitrunsona mixture
offuelandoil.DoNOToperatethesnowthrowerwithout
firstreadingtheTecumsehenginesoperator'smanualfor
instructionsregardingproperfuelandengineoil.
NOTE:Thisunitmayincludea fuelplug,whichisonly
usedduringassemblytokeepdirtanddebrisoutof fuel
tank. Discardthefuelplugbeforefillingthefueltank.
7
IMPORTANT:
Thisunitrunson a
mixtureoffuel
andoil.Do NOT
operatethesnow
throwerwithoutfirst
readingtheTecumseh
engineoperator's
manualfor instructions
regardingproperfuel
and engineoilmixture.
NOTE:
Thisunitmay
includeafuel plug,
which isonly used
duringassemblyto
keepdirt and debris
outof fuel tank.
Discardthe fuel plug
beforefilling the
fuel tank.
WARNING
Read, understand,
and follow all
instructionsand
warnings onthe
machineand in
this manual before
operating.
Useextreme care
when handling
gasoline. Gasolineis
iextremely flammable
iand theVapors are
i explosive. Neverfuel
the machine indoors
or while the engine
is hot or running.
iExtinguishcigarettes,
Icigars, pipesand
iother sourcesof
ignition.
The electric starter
must be usedwith a
iproperlygrounded
i three-prong
receptacle at all
i times to avoid the
Ipossibility ofelectric
shock. Follow all
instructionscarefully
priorto operating the
electric starter.
Electric
Starter
Button
(if equipped)
Figure 5A
FuelCap
ChuteAssembl
Wing
Key
StarterHandle
PlugAccess
ChokeLever
\
Figure 5
Before Starting
_ ARNING:Beforestarting the
engine,read, understand,and follow
all instructionsand warnings on the
machine and inthis manual.
Positioning the Discharge Chute
1. Loosenthewingknobfoundon theleftsideofthe
dischargechuteandpivottheupperchuteupward
ordownwardtothedesiredpitch.Retightenthewing
knobbeforeoperatingthesnowthrower.
2. Rotatethedischargechutetotheleftor rightusing
thechutehandle.SeeinsetFigure5A.
Fuel And Oil Mixture
Yoursnowthrowerisequippedwithatwo-cycleengine
thatrequiresa mixtureofgasolineandtwocycleoilat a
ratioof50:1.RefertotheTecumsehengineoperator's
manualfordetailedinstructionsregardingthemixtureof
oilandgasolineforyoursnowthrower'sengine.
IMPORTANT:DoNOToperatethesnowthrower
withoutthefuelcapsecurelyinplaceon thefueltank.
Fuel Fill-Up
Checkfuellevelandadd ifnecessary.Followrelated
instructionsintheseparateenginemanualpacked
withyoursnowthrower.
_ WARNING:Useextremecarewhen
handling fuel. Fuelisextremelyflam-
mableand the vapors are explosive.
Neverfuel machine indoorsor while
the engine ishot or running.Extin-
guish cigarettes, cigars, pipesand
other sources of ignition.
To Start Engine
IMPORTANT:Forcompleteanddetailedenginestarting,
stoppingand storinginstructions,it isrecommendedthat
youreadtheenginemanualalsoincludedwiththisunit.
1. Thesparkplugwirewasdisconnectedforsafety.
Attachsparkplugwireto sparkplugbeforestarting.
2. Toavoidcarbonmonoxidepoisoning,makesure
engineisoutdoorsina well-ventilatedarea.
3. Insertignitionkeyintoslot.TurnkeytoONposition.
4. Nowfollowtheinstructionsbelowasitpertainstoyour
unit.SeeFigure5 forlocationofcontrols.
Electric Starter(if equipped)
_ ARNING:Theelectric starter must
be used with a properly grounded
three-prong receptacleat all times to
avoid the possibility of electric shock.
Follow all instructionscarefullypriorto
operating theelectric starter.
1. Theelectricstarterisequippedwitha groundedthree-
wirepowercordandplug,and isdesignedtooperate
on 120voltAChouseholdcurrent.
2. Determinethatyourhousewiringisa three-wire
groundedsystem.Aska licensedelectricianifyouare
notcertain.
3. If your homewiring system isnot a three-wire
grounded system, do notusethiselectricstarter
underanyconditions.
4. If your homeelectricalsystemisgrounded, but
a three-holereceptacleisnotavailable,oneshould
beinstalledbya licensedelectricianbeforeusingthe
electricstarter.
8
5. Ifyou haveagroundedthree-prongreceptacle,
proceedasfollows.
6. MoveChokeControlto the"Full"position.
7. PushPrimerthree(3) times,makingsuretocover
ventholewhenpushing.
8. Connectpowercordtoswitchboxon dashpanel.
Plugtheotherendofpowercordintoa three-prong
120-volt,grounded,ACreceptacle.
9. Pushstarterbuttonto crankengine.
10.Whenenginestarts,releasestarterbutton,and move
chokegraduallyto 1/2Chokeuntiltheengineruns
smoothly.NextmoveChoketo OFEIfenginefalters,
movechokeimmediatelyto FULLandthengradually
to 1/2thentoOFF.
11.Disconnectthepowercord.Always unplug from the
outlet first, and then from the snow thrower.
Recoil Starter
1. MovechokelevertoFULLchokeposition(coldengine
start).
2. ifengineiswarm,placechokeinOFFpositioninstead
of FULL.
3. PushPrimerthree(3) times,makingsuretocover
ventholewhenpushing.
4. Ifengineiswarm,pushprimerbuttononlyonce.
NOTE:Alwayscoverventholein primerbuttonwhen
pushing.Additionalprimingmaybenecessaryforfirst
startiftemperatureisbelow15degreesFahrenheit.
5. Graspstarterhandleand pullropeoutslowly,untilit
pullsslightlyharder.Letroperewindslowly.
6. Pullstarterhandlerapidly.Donotallowhandletosnap
back.Allowittorewindslowlywhilekeepinga firm
holdon thestarterhandle.
7. Asenginewarmsupand beginstooperateevenly,
rotatechokeleverslowlytothe 1/2Chokeposition.
Whentheenginebeginstorunsmoothly,movethe
choketo theOFFposition.Ifenginefalters,return
to FULLchoke,thenslowlymoveto1/2thenOFF
position.
To Stop Engine
1. Tostopengine,turnignitionkeycounter-clockwise.
Disconnectthesparkplugwirefromthesparkplug
to preventaccidentalstartingwhileequipmentis
unattended.
Tohelp preventpossiblefreeze-upofstarter,
proceedas follows:
1. Runengineforafew minutesbeforestoppingtohelp
dryoff anymoistureon theengine.
2. ElectricStarter:Connectpowercordtoswitchbox
on engine,thento 120voltACreceptacle.Withthe
enginerunning,pushstarterbuttonandspinthe
starterforseveralseconds.Theunusualsoundmade
byspinningthestarterwillnotharmengineorstarter.
.
Disconnectthepowercordfromreceptaclefirst,and
thenfromswitchbox.
RecoilStarter:Withenginerunning,pullstarterrope
witha rapid,continuousfullarmstrokethreeor four
times.Pullingthestarterropewillproducea loud
clatteringsound,whichisnotharmfultotheengine
or starter.
4. Wipeall snowandmoisturefromthecarburetor
coverintheareaofthecontrollevers.Also,move
controlleversbackandforthseveraltimes.Leave
chokecontrolintheFULLchokeposition.
5. Removeignitionkeyanddisconnectsparkplugwire
topreventaccidentalstarting.
Operating the Snow Thrower
Thepitchofthechuteassemblycontrolstheangleat
whichthesnowisthrown.
1. Loosenthewingknobfoundon theleftsideofthe
chuteassemblyandpivottheupperchuteupwardor
downwardtothedesiredpitch.Retightenthewing
knobbeforeoperatingthesnowthrower.
2. Positionthechuteassemblyopeningbyusingthe
ChuteHandletothrowthesnowinthedesired
direction.SeeinsetFigure5Aon page8.
Clearing Snow
__L ARNING:Neveroperate thesnow
thrower with bystanders in front of or
near the discharge chute opening.
1. Engagetheauger
bysqueezingthe
augercontrolhandle
againsttheupper
handle.See Figure6.
2. Liftup slightlyon the
handletoallowthe
rubberpaddleson
theaugertocontact Figure 6
thepavementandpropelthesnowthrowerforward.
Pushingdownwardonthehandlewillraisethe
augersoff thegroundandstopforwardmotion.
3. Dischargesnowdownwindwheneverpossible.
Slightlyoverlapeachpreviouslyclearedpath.
NOTE:Excessiveupwardpressureon thehandlewill
resultinprematurewearontherubberaugerblades
whichwouldnotbecoveredbywarranty.
Operating Tips
1. Runtheenginefora fewminutesbeforestoppingto
helpdryanymoistureontheengine.
2. Cleanthesnowthrowerthoroughlyaftereachuse.
__k ARNING:Muffler,engineand
surroundingareasbecome hot and
cancauseaburn.Becareful and do
not touch when hot.
WARNING
Muffler, engine and
surrounding areas
become hotand
can cause a burn,
Donottouch:
Never operate the
snow thrower with
bystanders in front of
Ornearthed scharge
chuteopening,
NOTE:
ExCesSiveupward
pressure onthe
handlewill resultin
prematurewear
onthe rubber
auger blades which
WouldnOtbe covered
by warranty.
ExcessiVeUpward
pressureonthehandle
resultinpremature
wear onthe rubberauger
bladeswhichWouldnot
becoveredbywarranty.
9
WARNING
Disconnectthe
sparkplugwire
andgrounditagainst
theengineto prevent
unintendedstarting.
NEVERattempt
to make any
adjustmentswhile
I the engine is
running, except
where specified in
the operator's
manual.
Before servicing,
repairing,or
inspecting,
disengagethe
control bail and
istopengine. Wait
until all moving
parts have come to a
complete stop.
Figure 7
Figure 8
_ARNING:Disconnectthe spark plug
wireand grounditagainst the engine
to preventunintended starting.
__lk ARNING:NEVERattempt to make
any adjustmentswhilethe engineis
running,except wherespecified inthe
operator'smanual.
Shave Plate
1. Tochecktheadjustmentoftheshaveplate,placethe
uniton a levelsurface.Thewheels,shaveplateand
augersshouldallcontactlevelsurface.Notethatif the
shaveplateisadjustedtoohigh,snowmayblowunder
thehousing.Iftheshaveplatewearsoutexcessively,
ortheunitdoesnotself-propel,theshaveplatemay
betoolowand needstobeadjusted.
NOTE:On newunitsorunitswitha newshaveplate
installed,theaugersmaybeslightlyoff theground.
2. Toadjust,tipthesnowthrowerbacksothat itrestson
thehandle.Loosenthefourlocknutsand boltswhich
securetheshaveplatetothehousing.See Figure7.
Movetheshaveplatetodesiredpositionand retighten
thenutsandboltssecurely.
Replacing Shave Plate
Theshaveplateisattachedtothebottomof theauger
housingandis subjecttowear.It shouldbechecked
periodically.Therearetwo wearingedgesandtheshave
platecanbereversed.RefertoFigure7.
1. Removethefourcarriageboltsandhexlocknuts
whichattachittothesnowthrowerhousing.
2. Installnewshaveplate,makingsuretheheadsofthe
carriageboltsareonthe insideofthehousing.
3. Adjusttheshaveplateaccordingtoinstructions
above.Tightenthenutssecurelybeforeoperatingthe
snowthrower.
NOTE:Call1-800-800-7310forinformationregarding
priceandavailabilityofShavePlateKit753-0451or
contactanauthorizedMTDServiceDealerin yourarea.
Control Cable
Asa resultofboththecontrolcableandthedrivebelt
stretchingduetowear,periodicadjustmentsmaybe
necessary.
If theaugerseemsto hesitatewhenrotatingwhilethe
enginemaintainsa constantspeed,an adjustmentis
necessary.Proceedasfollows:
Theupperholeinthecontrolhandleprovidesforan
adjustmentincabletension.Toadjust,disconnectthe
endofcontrolcablefromthebottomholeinthecontrol
handleand reinsertit intheupperhole.Insertthecable
fromtheoutsideas shownin Figure8.Testthe snow
throwerto seeif thereisa noticeabledifference.
Carburetor
__ ARNING:If any adjustments needto
be madeto the enginewhile the engine
isrunning(e.g. carburetor), keep
clear of all moving parts.Becareful of
muffler, engine and other surrounding
heatedsurfaces.
10