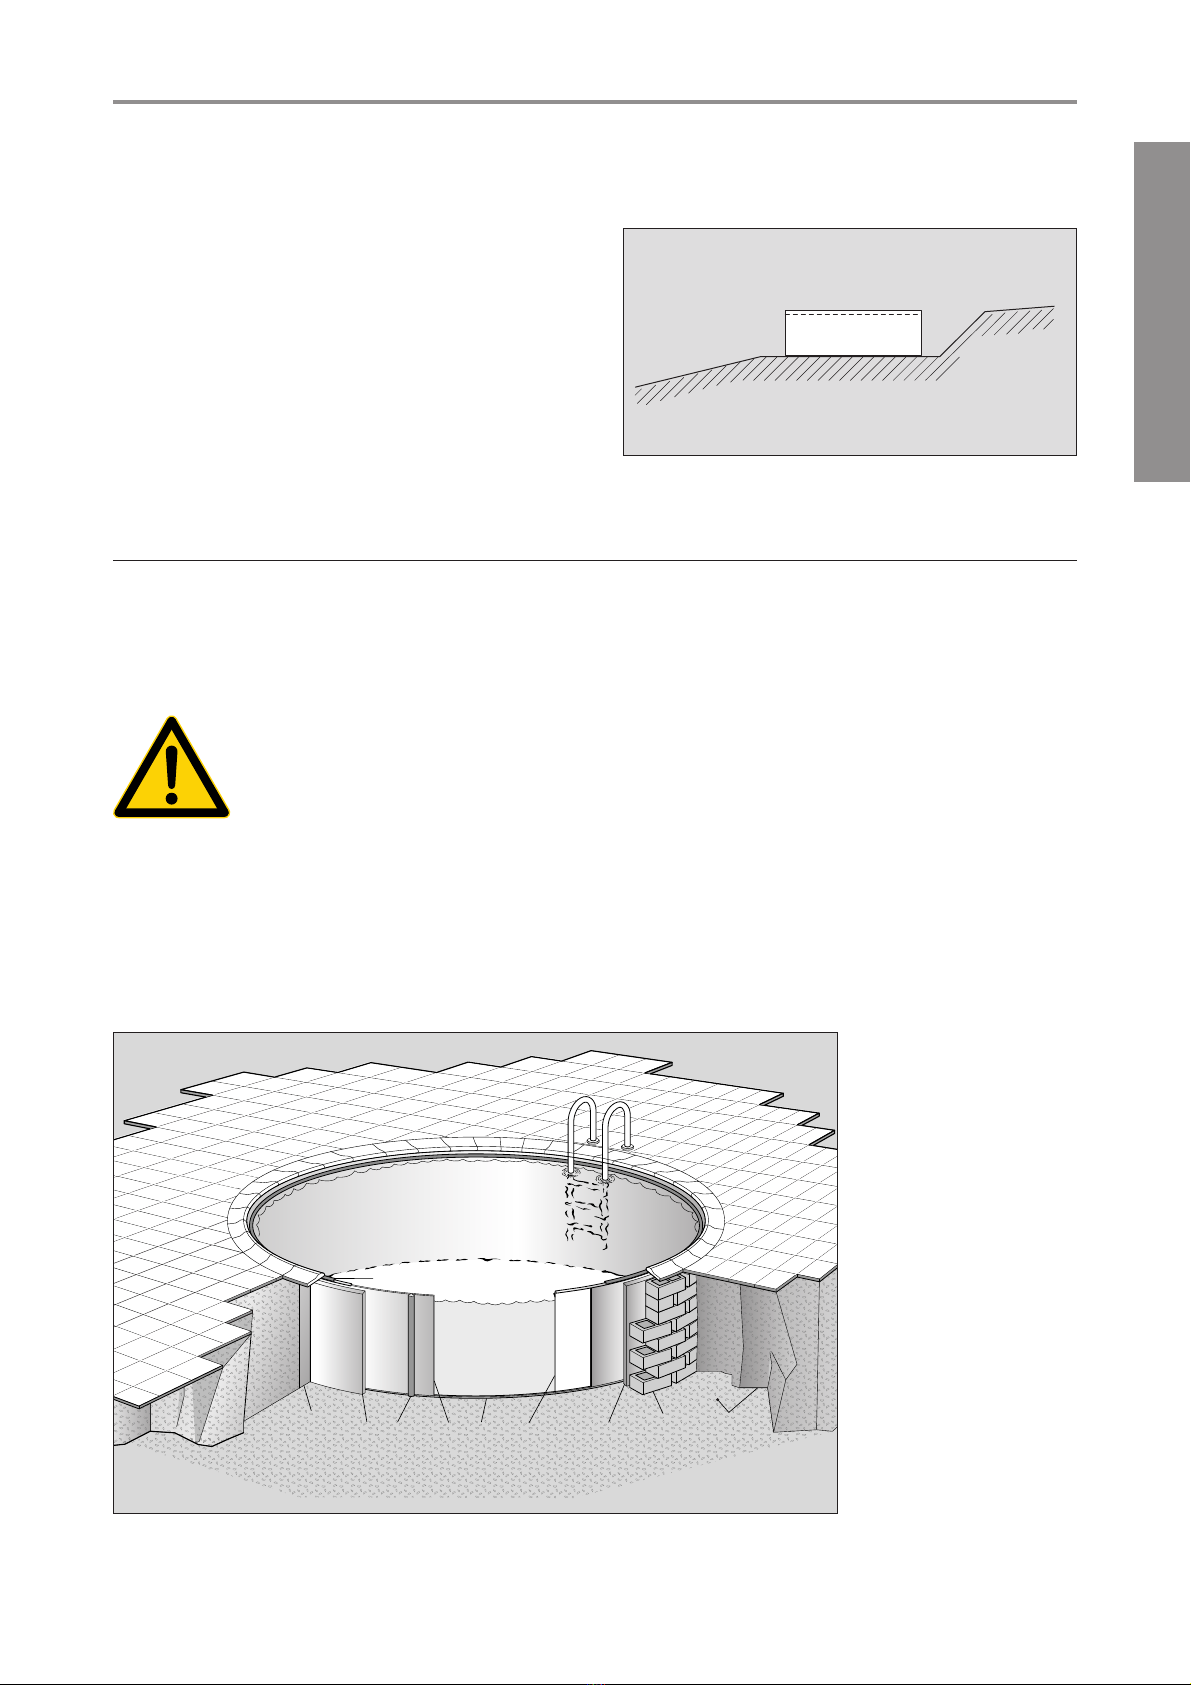
2.4 The right surface
The place chosen for installation of the swim-
ming pool must be completely flat, so that any
little slopes must be evened out accordingly. The
ground under the swimming pool should be so-
called natural ground. It must not consist of
heaped up ground. Any heaped up ground
must be compacted in such a way that it can
take the necessary swimming pool load of
1200 kp/m2for a pool depth of 1.20 m or
1500 kp/m2for a depth of 1.50 m.
The ground excavated for the swimming pool
must be approx. 1 m larger in diameter than the
pool itself.
Before you begin with the actual installation of
the pool, firstly the ground must be cleared of
any possible particles which could damage the
inner cover of the swimming pool. If necessary,
any remaining uneven patches can be smooth-
ed over with a fine layer of sand. Use a ground
protection tarpaulin or a layer of nonwoven
material to protect the swimming pool inner
cover. This kind of ground protection tarpaulin
should also be used on asphalt, concrete or
polystyrene paving. Asphalt, polystyrene and
fresh concrete are not compatible with PVC.
We always recommend the use of a ground
protection tarpaulin. This is the only way to
guarantee a longer service life for the pool
inner cover.
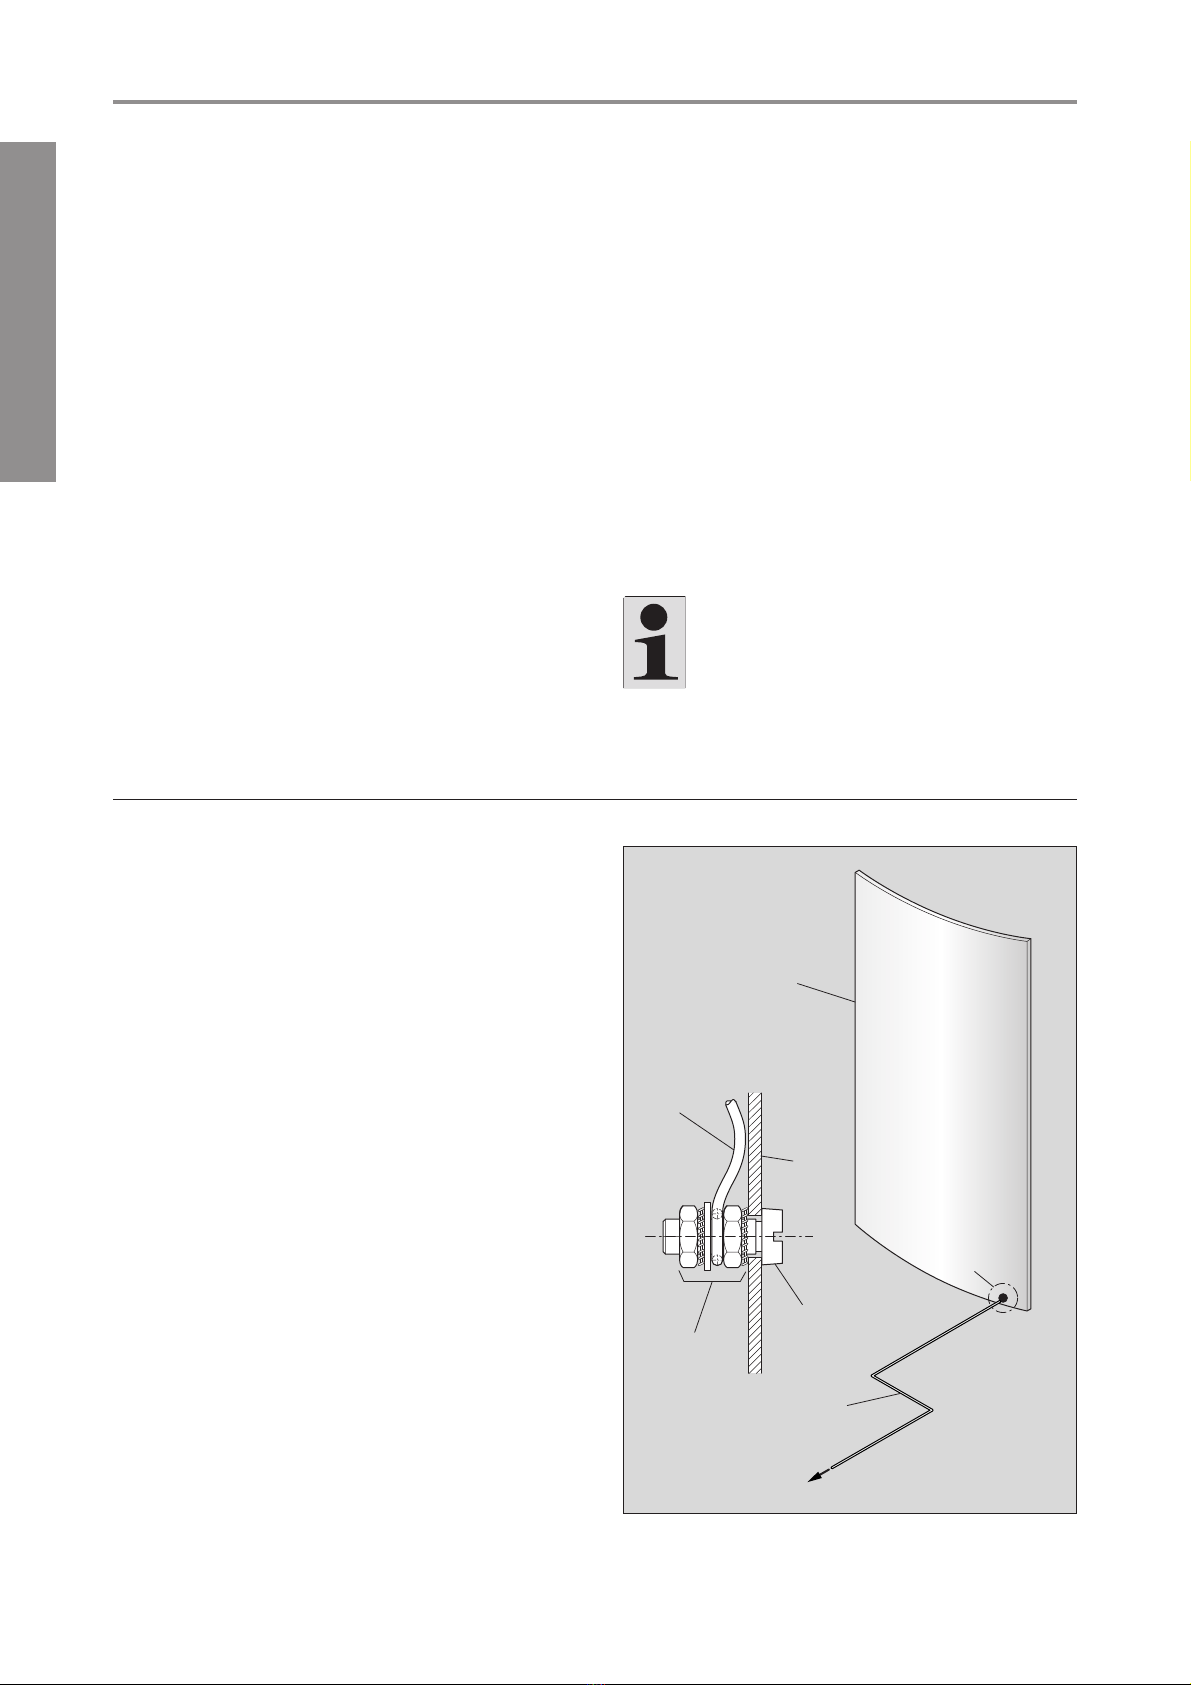
2.5 Temperature and wind
The inner cover foil of the swimming pool is
made of soft PVC (thermoplastic material). In
view of the properties of this material, the best
conditions for installing the swimming pool pre-
vail when the outside temperature is between
15°C and 25°C.
Note:
If the temperature is too low, the foil is
hard and inelastic, and therefore too
small.
If the temperature is too high, the foil is
soft and elastic, and therefore too large.
When fitting the inner cover, please note that
bright sunshine can cause excessive stretching.
You cannot install the swimming pool when
there is a strong wind, because the wind can
easily tip the steel casing over. This can cause
damage.
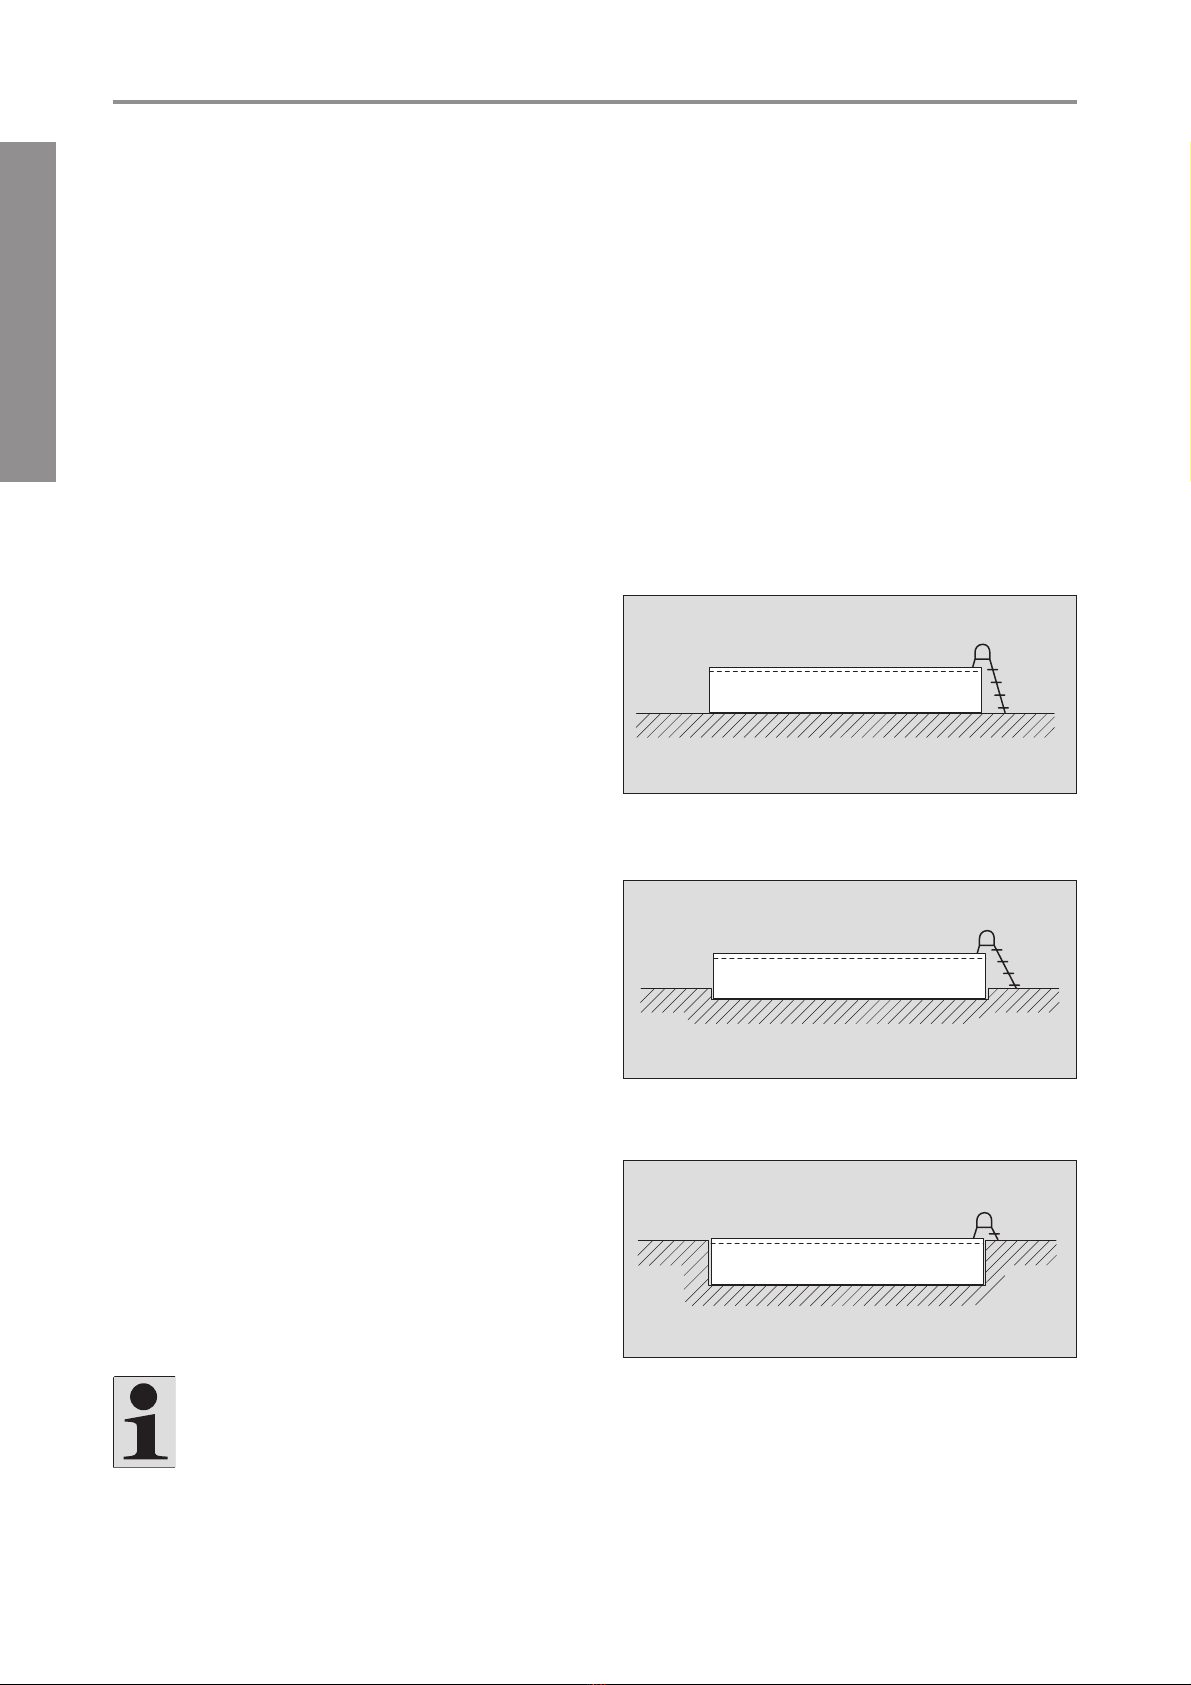
2.6 Installation of the swimming pool
You can install your swimming pool in various
different ways:
• completely free-standing on the ground
• partly installed in the ground
• completely installed in the ground
English
44MTH SUNNY POOL round pool Installation recommendations and instructions for use