Nagano Japan Radio NJT-475 User manual

Wireless LAN
NJT-475
Guide to Operations
Nagano Japan Radio Co., Ltd.,

NOTICE
This equipment has been tested and found to comply with the limits for a Class A
digital device, pursuant to part 15 of the FCC Rules. These limits are designed to
provide reasonable protection against harmful interference when the equipment is
operated in a commercial environment. This equipment generates, uses and can
radiate radio frequency energy and, if not installed and used in accordance with
the instruction manual, may cause harmful interference to radio communications.
Operation of this equipment in a residential area is likely to cause harmful
interference in which case the user will be required to correct the interference at
his own expense.
This equipment complies with FCC radiation exposure limits set forth for at
uncontrolled equipment. This equipment should be installed and operated with
minimum distance at least 20cm between the radiator and persons
body(excluding extremities: hands, wrists, feet and legs) and must not be co-
located or operated with any other antenna or transmitter.
We, Nagano Japan Radio Co., Ltd., hereby declare that Wireless LAN, model NJT-
475 is in compliance with the essential requirements and other relevant
provisions of Directive 1999/5/EC.

Contents
1. About this equipment
1.1 Function ………………………………………………………… 1
1.2 Features ………………………………………………………… 1,2
1.3 Structure ………………………………………………………. 3
1.4 Construction …………………………………………………… 4
2. Each part name and its work
2.1 A figure of front view ………………………………………….. 5
2.2 A figure of rear view ………………………………………….. 6
3.How to set up ……………………………………………………………. 7
3.1 Attentions to setting up ……………………………………….. 7
3.1.1 Don’t put this equipment adjacent to the devices
generating strong interference emission. ………………8
3.1.2 This equipment shall be installed so as not to
affect on the radio transmitting characteristics. ……… 8
3.1.3 Do not block up the ventilation openings. ……………… 9
3.2 Connecting to power supply ……………………………………9
3.3 Connecting to computer and wired LAN …………………….. 9
3.3.1 Connecting to the computer …………………………….. 9
3.3.2 Connecting to HUB ……………………………………… 9

1
1.About this Equipment
1.1 Function
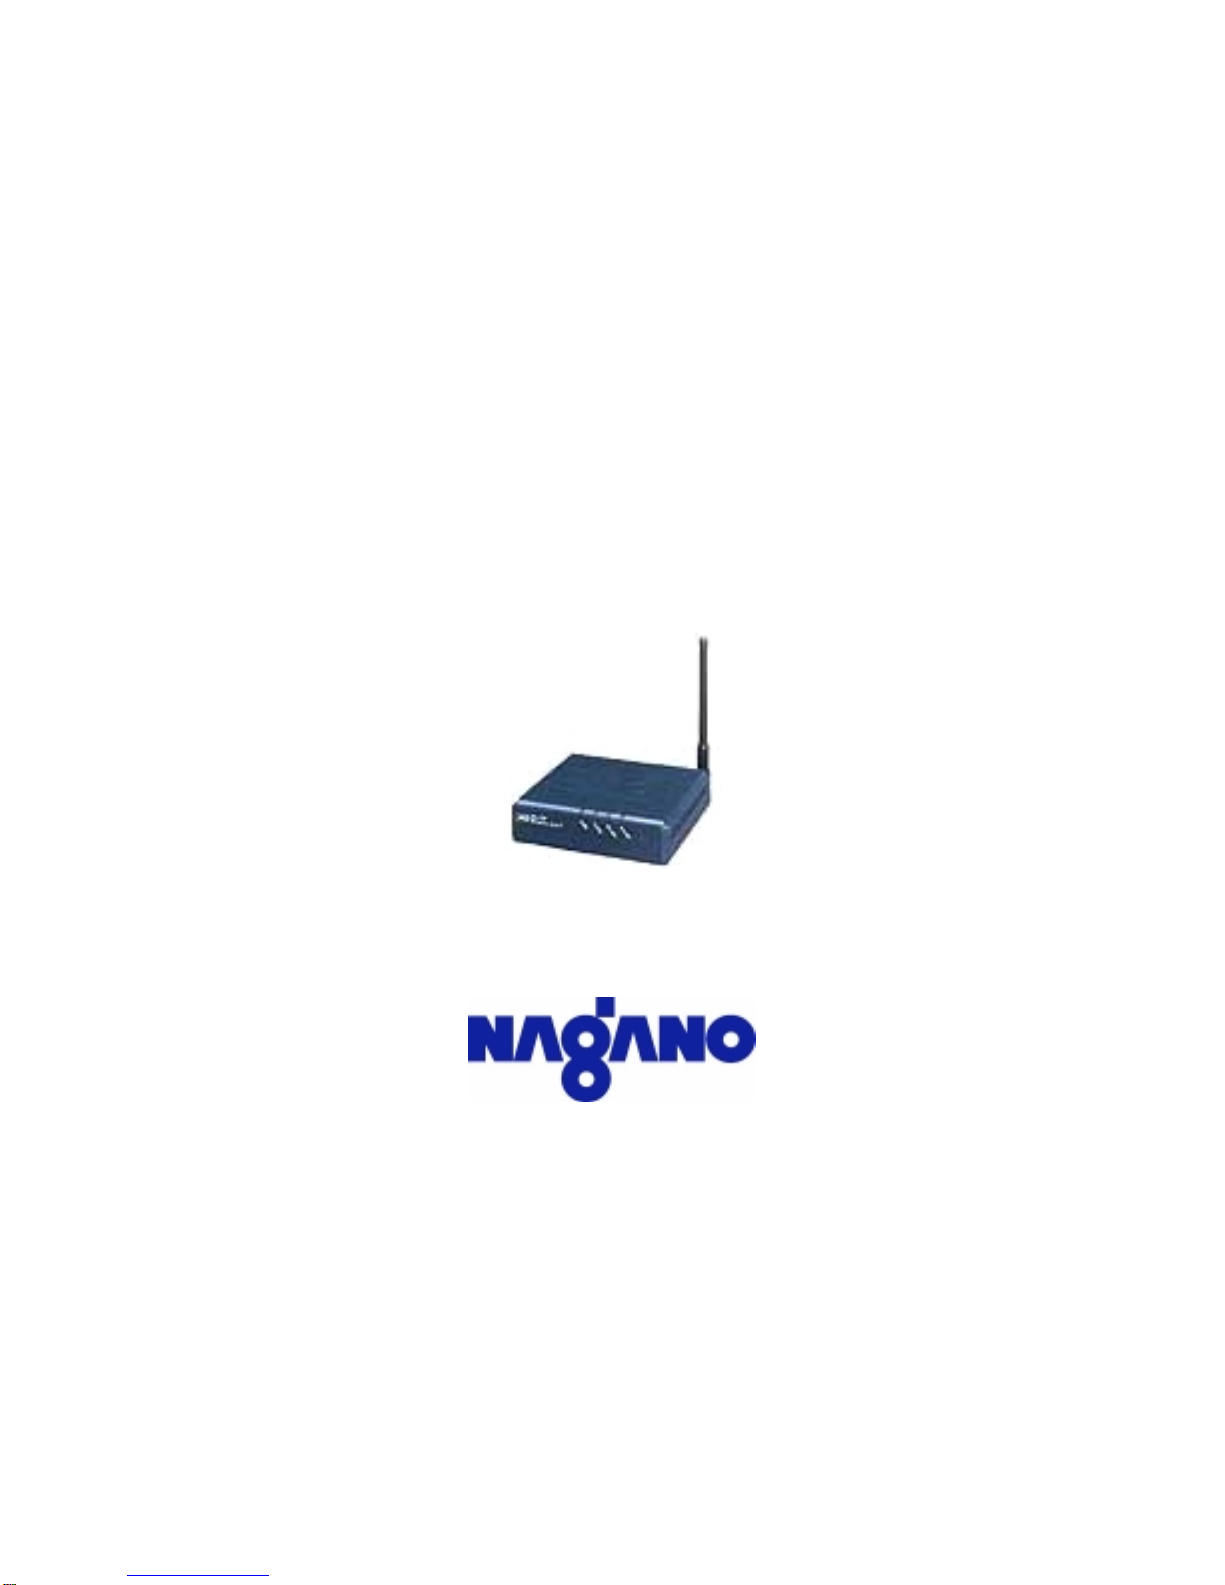
This wireless LAN, NJT-475 is intended to use for replacing an Ethernet cable
connection(i.e. wired networks) with wireless networks. A signal, so called as
packet data, which runs in the Ethernet cable is send by wireless as it is, so
that a change to wireless LAN can be realized without any relation with type of
OS or model of the terminal equipment.
By changing into a wireless communication, following advantages are realized
compared with a wired communication.
1). Low cost of network construction
2). Available while moving.
3). Changing an office layout with an arrangement of OA equipment is easy.
4). LAN in a historical or tenant building where the cable laying is restricted is
available.
5). LAN connection between buildings across a thoroughfare is possible.
1.2 Features
•Plug and Play
Wireless LAN is easily available to everybody by only connecting an
Ethernet cable to your terminal equipment, such as a personal computer
or workstation, and switch on. Also a troublesome software installation is
not needed.
•Ethernet compatible interface
Connecting to an international standard LAN of IEEE802.3(Ethernet) is
possible without any additional work or items. For customers who have
used a wired LAN, wireless LAN can be realized by simply connecting the
wireless LAN adapter to your existing equipment.
•Data reliability
Since the packet data in an Ethernet is sent as it is, the data is reliable
and does not affect on higher layers. Therefore it make possible to change
into wireless communication without any modification of an existing
application software.
•Applicable to multi-vendor
This wireless LAN adapter can be connected to any kind of terminal
equipment(P.C., work station) without any relation to the manufacturer or
model of the terminal equipment. Also a troublesome working of the
software installation is not to be required when connecting the network.
Even if the OS of the terminal equipment is changed, it can be used as it
is.
•High-speed data transmitting
With adopting the radio communication system, pursuant to international
standard of IEEE802.11b, it makes possible to high-speed data
transmitting with a maximum speed of 11 Mbps, which equals to the
wired LAN in transmitting speed.
•Bridge function

2
This equipment contains a MAC bridge function. An unwanted wireless
packet is not sent out, so that the throughput within the wireless range is
to be improved.
•Roaming control function
A roaming control function which the access point is selected
automatically by judging the degree of an electric wave strength is
provided. It makes possible to realize a data transmission even while
moving.

3
1.3 Structure
This equipment contains as follows:
Part name Type Qty Note
1 Wireless LAN Unit NJT-475 1
2 AC adapter 1
3 Instruction manual 1 This document

4
1.4 Construction
29
••••••
••••••
•••
•••••
• ••• •
••
10BASE-T •••
100.5
•••••••
LABEL
121
Figure 1. Actual size of this equipment.

5
2.Each part name and its work
2.1 A figure of front view
Following shows a figure of front view of this equipment, and its work of each
part.
••••••
••••••
•••
•••••
Part name Work
1 PWR It turns on when this equipment was switched on.
2 TX/RX It flashes on and off in orange when transmitting, in
green when receiving.
3 W-LINK It turns on when the slave station was connected to an
access point, not turns on at an access point.
4 E-LINK It turns on when Ethernet was connected normally.
PWR
TX/RX
W-LINK
E-LINK

6
2.2 A figure of rear view
Following shows a figure of rear view of this equipment, and its work of each
part.
•••• •
••
10BASE-T •••
•••••••
Part name Work
5 CONSOLE Connector for serial cable (not use normally).
6 10BASE-T Connector for Ethernet cable.
7 HUB/PC* Button which changes the connection point(HUB or
PC).
8 DC IN Connector for an attached AC adapter for supplying
power.
Note *: The connection point is changed as follows.
PC HUB
DC IN
HUB
/
P
10BASE-T
CONSOLE

7
3.How to set up
Equipment shall be installed away from devices
generating noise. Noise may cause trouble in
communication.
Antenna of the equipment shall be set away from a wall
or pillar made by metal and concrete. They may cause
trouble in communication.
Equipment shall be so installed that a ventilation
openings of a heat radiation are not to be blocked. It
may cause fire or damage due to over heat.
3.1
Attentions to setting up
The service area of the wireless LAN adapter covers from 10 to 60m
approximately, but it varies depend on presence of obstacles.
Where this equipment is enclosed with an object shutting out the radio wave
such as the metal partition, or source which generates an interference with
the radio wave is exists near this equipment, the communication distance
might be shortened. To produce a performance of the wireless LAN adapter
fully, please make sure following before setting up this equipment.
Attention

8
3.1.1 Don’t put this equipment adjacent to the devices generating strong
interference emission.
Devices which might generate an interference emission are:
1) Micro wave oven or industrial medical equipment within the 2,4GHz band
such as an electric scalpel.
2) Wireless LAN used in 2,4GHz band other than this equipment.
3) Amateur radio communications equipment used in 2,4GHz band.
Since this equipment has an error detection function, wrong data are not got in or
the file is not destroyed even if a bit error occurs between the wireless
communications due to radio wave interference.
Where a very strong interference is generated continuously, such as a microwave
oven, the wireless communication will not be operated at all.
In such a case, this equipment requires that the sources of generation is to be
removed or kept from this equipment at least 3m.
Also, where a wireless LAN other than this equipment is used, the communication
passing through a gap between both packet communications is possible but the
performance of the throughput will be reduced.
3.1.2 This equipment shall be installed so as not to affect on the radio
transmitting characteristics.
Following installation is recommended.
1) Keep an antenna apart from metal surfaces.
2) Set up this equipment away from a concrete walls or pillars.
3) Set up this equipment away from a metal partition.
It is much preferable to setup this equipment in a condition where an antenna of
the communicating partner is fully visible. Glasses, wooden furniture,
documents, etc do not become a big obstacles for the communications. However a
human body becomes a object shielding and reflecting the radio wave. It is
desirable that the antenna position shall be so arranged that the human body
would not go across a passage of the radio waves.
When the radio waves does not reach within the expected range of the service
area, remove the obstacles which is shielding a radio waves or a source of the
interference, or move the wireless LAN away from the source of the interference.

9
3.1.3 Do not block up the ventilation openings.
This equipment shall be so installed that the ventilation openings is not
blocked. This equipment might generate some heat even in a normal
operation. It is not abnormal condition. But if this equipment is operated
with blocking the ventilation openings, the normal operation would not be
carried out, and also it might cause fire and breaking down due to
overheating.. Also, please make sure that the equipment is installed in an
appropriate place where this equipment would not be exposed to direct rays of
the sun.
3.2 Connecting to power supply
The power of this equipment is supplied from a connector [DC IN] on the back
of this equipment.
Before you connect an attached AC adapter cord to AC100V outlet, connect a
DC plug on the AC adapter to the [DC IN] connector on this equipment.
Note: Do not use any other AC adapter except an attached one.
3.3 Connecting to computer and wired LAN
3.3.1 Connecting to the computer
When you connect this equipment to your computer, press a connection point
selecting button to the position of PC(button pushed down) and use a twisted
pair cable(straight cable) for the connection. When you use a cross cable, set
a connection point selecting switch to the position of HUB(button protruded).
An Ethernet interface(10 Base-T) is necessary for your computer in addition to
above.
Note: When this equipment was connected correctly to the computer or the
wired LAN, an E-LINK lamp located in front of this equipment will turn
on.
3.3.2 Connecting to HUB
When you connect this equipment to HUB, set a connection point selecting
button to the HUB position(button protruded) and use a twisted pair cable
(straight cable) for the connection. When you use a cross cable, set a
connection point selecting switch to the PC position (button pushed down).
Note: When this equipment was connected correctly to the computer or the
wired LAN, an E-LINK lamp located in front of this equipment will turn
on.
Table of contents