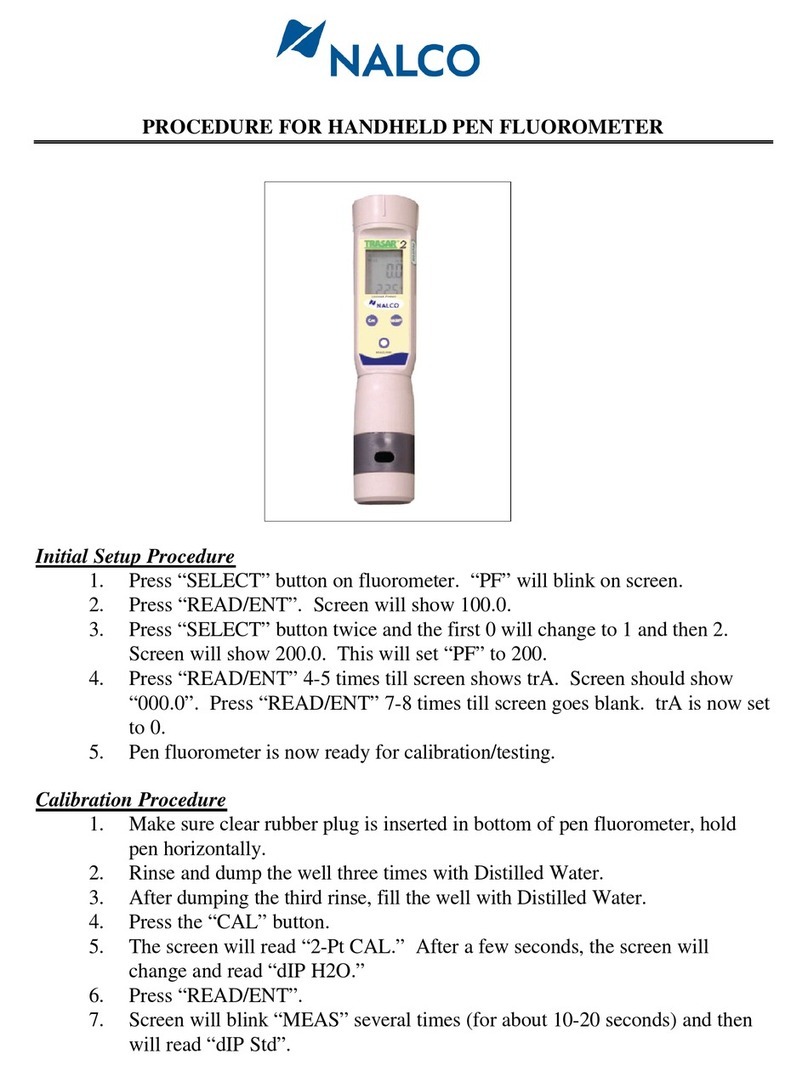
Nalco TRASAR 1 User manual

© 2012 Ecolab Inc. Manufactured in the USA
OM-0249 www.ecolab.com
US Patent # 7 550 746 (other patents pending)
Operation Manual
Retain this manual for operation, and
servicing information.
TRASAR 1
Handheld Fluorometer

2
1.0 SYSTEM INTRODUCTION
1.1 Preface ................................................................................3
1.2 System Features ..............................................................3
1.3 Principle of Operation ....................................................4
1.4 Equipment|Component Description ...........................4
1.5 Commonly Used Terms ..................................................7
2.0 SPECIFICATIONS
2.0 Specifications ................................................................ 8
3.0 SET-UP
Set-up ......................................................................................9
4.0 OPERATION
4.1 Turn On ............................................................................ 10
4.2 Set date .......................................................................... 10
4.3 Set time .......................................................................... 12
4.4 Calibrate ......................................................................... 12
4.5 Sample Introduction ................................................... 15
4.6 Sample Measurement ................................................. 16
4.7 Site Selection ............................................................... 18
4.8 Set Product ................................................................... 19
4.9 Set Background ........................................................... 20
4.9.1 Background Fluorescence: (Field Procedure)
....... 20
4.10 Storage......................................................................... 22
4.11 Language Selection.....................................................23
5.0 TROUBLESHOOTING
5.1 Erroneous readings ..................................................... 25
5.2 Screen goes blank. ...................................................... 25
5.3 Error codes ................................................................... 25
6.0 MAINTENANCE
6.1 Cleaning .......................................................................... 26
6.2 Replacing the Battery ................................................ 26
7.0 REPLACEMENT PARTS
7.0 Replacement Parts .......................................................27
8.0 WARRANTY
8.0 Warranty ....................................................................... 28

3
1.0 SYSTEM INTRODUCTION
1.1 Preface
The TRASAR 1 program uses an inert fluorescent
tracer formulated in Nalco products that verifies
product dosage. This handheld fluorometer is used with
selected TRASAR 1 products and the analysis is fast and
effortless.
1.2 System Features
The TRASAR 1 Handheld offers the following features:
• Easy to follow menu structure
• Superior accuracy and precision
• Built in product factors
• Large display with backlit screen
• Ergonomic design
• No plastic cuvettes for sampling; cup for sampling
• Multiple Language – English and Spanish
• Internal Data Storage
• Alarm if calibration has expire
• Real time clock
• Temperature compensated reading
• Date and Time display
• Site memory storage
• USB port
• Powered by 9 volt battery
• Product updates via computer
• Firmware updates via computer

4
1.3 Principle of Operation
The TRASAR 1 Handheld Fluorometer is a battery-
powered instrument designed to quickly measure the
product concentration within boiler systems. TRASAR
1 products contain a small concentration of an inert
fluorescent molecule measured by the instrument.
The concentration of this molecule in the boiler water
is directly proportional to the amount of product
present in the system.
The sample collected is poured into the sample cup
and is analyzed by the instrument. Ultraviolet light
from the meter excites the inert fluorescent dye in
the product. The detector then measures the amount
of fluorescence emitted by the inert molecule. The
intensity of fluorescence is directly proportional to
the concentration of product added to the boiler
water.
Also, the TRASAR 1 Handheld Fluorometer performs a
temperature compensation to eliminate errors due to
temperature.
1.4 Equipment - Component Description
Refer to figures with features highlighted.
Up
Down
On | Of
f
Forwar
d
Enter
Back
Figure 1.1 Keypad

5
Main Menu BTxxx1
*Measure
Site
Product
Background
12:00:56 01/01/11
Time Date
ProductMenu Selection
Main Menu BTxxx1
*Background
Calibration
Options
Version
12:00:56 01/01/11
Figure 1.2 Main Menu
Figure 1.3 Sensor Head
Temperature Sensor
Fluorescence Sensor
Lenses

6
Figure 1.4 Cup
Figure 1.5 Bayonet Mount
Figure 1.6 USB port in Battery
Compartment
Fill Line
Pin Clips
L Slots
USB Port

7
1.5 Commonly Used Terms
• USB – Universal Serial Bus
• D.I. Water – Deionized Water
• Tap Water – City Water
• ppm - Parts per million
• SU - Standard Units
• % - Percent
• °F - Fahrenheit
• °C - Celsius
• lb - pound
• Calibration Solution
• Bayonet mount – fastening mechanism consisting
of a male side with one or more pins and a female
receptor with matching L slots to keep the two
parts locked together.
• Background is the measurement of naturally
occurring fluorescence or absorbance in the water.
Naturally occurring means both the physical make-
up of the water or any contaminants added to the
water.

8
8.5”
3.8”
Power: 1 - 9 volt battery - Suppled
Dimensions: 8.5” x 3.8”
Weight: 1.1 lb
Enclosure: Suitable for indoor/outdoor use
Environment: Temperature: 41-104°F
[5-40°C]
Relative Humidity: 90%
Accuracy: ± 10% (for ± 3 sigma)
Dynamic Range: 0.05-2.00 ppm Fluorescent Tracer
from 10% to 400% of nominal
product concentration
A u t o S h u t d o w n after 5 minutes
Background
Concentration
0-50% of nominal product
concentration.
2.0 SPECIFICATIONS

9
3.0 SET-UP
Open the case and inspect the instrument.
The TRASAR 1 handheld unit is pre-calibrated with
TRASAR 1 Calibration Solution (460-S0910.75).
Remove the protective rubber boot. Insert 9 volt
battery (provided) by removing the battery access
panel on the bottom of the unit.
Re-install the battery access panel and attach the
gray protective rubber liner prior to operation.

10
4.0 OPERATION
4.1 Turn On
Press the power button
For three seconds, the initial display will show the year
of manufacture and software version, then go to the
Main Menu (figure 1.2). To turn unit off after
measurements, press the power button. The unit turns
off after 5 minutes of no activity.
ECOLAB
WaterMARX
2012
2.0.8
4.2 Set date
1. Press the power button
2. Using the down button , scroll down
and select Options then press enter
Main Menu BTxxx1
Background
Calibration
*Options
12:00:56 01/01/11
Year of Manufacture
Software Version

11
3. Using the down button , select
Date/Time then press enter
Options BTxxx1
Date Log
*Date/Time
Language
12:00:56 01/01/11
4. Select Set Date then press enter
Options BTxxx1
*Set Date
Set Time
12:00:56 01/01/11
5. Use the up and down
arrows to change the highlighted number on
the display. Press enter to accept the
value and move to the next value.
Set Date
MM/DD/YY
12:00:56 01/01/11

12
4.3 Set time
6. Using the down arrow, scroll down and
select Set Time, then press enter .
7. Use the up and down arrow
to change the highlighted number on the display.
Press enter to accept the value and move
to the next value.
Set Time
HH:MM:SS
12:00:56 01/01/11
8. Press the back button to exit to the
previous menu or make another menu selection
or press On/off button to turn off meter.
Note: The date and time is set at the factory. Meter
does not automatically adjust to time zone or
daylight savings time.
4.4 Calibrate
User Nalco Sales Representative or Customer
Equipment/
Solutions D.I. Water, Tap water or equivalent
TRASAR 1 Calibration Solution, 1L,
460-S0910.75
TRASAR 1 Handheld Fluorometer,
460-TSR1MTR.88
Paper Towels or equivalent
Frequency Calibration should be completed once
a month. Calibration checks may be
completed more frequently.

13
1. Turn on unit by pressing on/off button
2. From the Main Menu, use the down arrow
to scroll down to Calibration then
Press enter
Main Menu BTxxx1
Background
*Calibration
Options
Version
12:00:56 01/01/11
3. The display instructions will read “Fill Cup With
Water”. Fill cup with DI water or equivalent. See
Section 4.5 for Sample Introduction section.
4. Select Zero and press Enter
Calibration
Fill cup with
water
*Zero
Factory Default
12:00:56 01/01/11
5. The display will show “Zeroing” and then count
down from 11 seconds to 0. Please wait.

14
6. After the count down, the Display will read Fill cup
with standard.
Calibration
Fill cup with
Standard
*Calibrate
12:00:56 01/01/11
7. Unlock cup from sensor head. Dispose of the
distilled water and wipe dry with clean paper
towel.
8. Using a clean dry sample cup, fill cup to fill line
with TRASAR 1 Calibration Solution
(460-S0910.75).
9.
Insert cup slowly on probe and lock cup by turning
cup onto pin clips on handheld unit. Over filling may
lead to sample splashing over onto your hands.
10. Press Enter
11. The display will show “Calibrating” and will count
down from 11 seconds to 0. Please wait.
12. After the count down, the display will read
“Deviation X.X% Save New Calibration”.
Calibration S0910
Deviation + X.X%
Save new calibr.
*Yes
No
12:00:56 01/01/11
13. If deviation is less than 10%, then select Yes.

15
14. If deviation is greater than 10%, then press the
down arrow and select “No” and go to Step 1.
15. If the deviation is still greater than 10% then
accept the readings and press “Yes”.
16. After calibration, the unit will default to the
S0910 TRASAR 1 Calibration Solution. To change
the product selection see section 4.8.
17. Rinse sample cup twice with tap or distilled water
and wipe dry with clean paper towel.
18. Store dry. See Section 4.10 for proper storage.
If the handheld unit is not in use, do not store
liquids in cup with the probe attached.
Note:
• The calibration solution is good until the expiration
date on label. If the calibration solution is past the
expiration date, then dispose of the solution.
• Always dispose of the calibration solutions after
use. Never return the used calibration solution
to the calibration bottle.
• Warning: It is critical that you do not cross
contaminate calibration solution. If the integrity
of the solution has been compromised then the
solution should be disposed.
• Clean tap water or bottled water can be used in
place of D.I. water.
4.5 Sample Introduction
1. Rinse sample cup twice with tap or distilled water
and wipe dry with clean paper towel.
2.
Rinse the sample cup at least 3 times with sample
to be tested. Fill the cup to the fill line with sample.
Fill Line

16
3. Insert cup slowly on probe and lock cup by turning
cup onto pin clips on handheld unit.
Note:
• If the sample cup is filled above the fill line, sample
will overflow outside the cup. Continue with
analysis. Analysis is still considered valid.
• If the sample cup is filled far below the fill line,
such that the sample does not cover the sensor
lenses, then erroneous low results will be
obtained. The analysis is not valid. Refill cup just
slightly below fill line.
4.6 Sample Measurement
1. Turn on unit by pressing on/off button
2. Confirm that the unit is setup to analyze the
product being used in the system. The product is
displayed in the top right corner of the display. Go
to section 4.8 to change product selection.
Main Menu BTxxx1
Measure
Site
*Product
Background
12:00:56 01/01/11
3. Fill the cup with sample water.
Product

17
4. From the Main Menu, verify that “Measure”
is selected, then press enter to start
measurement.
Main Menu BTxxx1
*Measure
Site
Product
Background
12:00:56 01/01/11
5. The display will show “Measuring” and count
down.
6. After the count down, the display will show
the result of measurement, product name, site
number or name and background for selected
site.
7. Record value in ppm.
8. Unlock cup from sensor head. Dispose of sample
water. Rinse cup with tap or distilled water and
wipe dry with clean paper towel.
9. Store dry. See Section 4.10. If the TRASAR 1
Handheld Fluorometer is not in use, do not store
liquids in cup with the probe attached.
Note:
• Samples should always be taken from a point that
is representative and homogeneous .
• The unit is temperature compensated, but it is
always good practice to have all of the samples
close to room temperature.

18
4.7 Site Selection
The unit has the capacity to store twenty two
different sites in memory. Site parameters include
site name, product and background. Twenty sites
have numbers or names. The site Ecolab name has
a default background of 0%. The Site Test name is
reserved for measurements which do not require
separate data logging with individual site names. The
background for the test site name can be set similar
to the twenty sites. Site names can only be changed
by the Nalco sales representative.
1. Turn on unit. Press on/off button
2. From the Main Menu use the down arrow
to select “Site”
Main Menu BTxxx1
Measure
*Site
Product
Background
12:00:56 01/01/11
3. Then press enter
4. The display will show
Select Site
Site #1
*Site #2
Site #3
12:00:56 01/01/11

19
5. Select a site. Once the site has been selected,
select the product, see section 4.8. If the
background level is known for a selected site, then
set background according to Section 4.9.
4.8 Set Product
1. Turn on unit. Press on/off button
2. From the Main Menu use the down arrow
to select “Product”.
Main Menu BTxxx1
Measure
Site
*Product
Background
12:00:56 01/01/11
3. Then press enter
4. The display will show
Select Product
*S0910
M1000
PF 400
BTxxx1
12:00:56 01/01/11
5. Use the up and down
arrows to select a product being used in the
system. Then press enter

20
6. The display will return to the main menu with the
product selected on the top right corner.
Main Menu BTxxx1
Measure
Site
*Product
Background
12:00:56 01/01/11
4.9 Set Background
Background Determination: If no traced product has
been added to the system, background determination
can be completed at the site. See 4.9.1. If marked
product has been added then a sample would need to
be sent to the Nalco Analytical lab. Background level
for this site will be evaluated in the analytical lab and
sent to the Nalco sales representative.
4.9.1 Background Fluorescence: (Field Procedure)
Prior to background determination, calibration of
fluorometer should be completed. See Section 4.4.
User Nalco Sales Representative or
Customer
Equipment/
Solutions
D.I. Water, Tap water or
equivalent
TRASAR 1 Calibration Solution,
1L, 460-S0910.75
TRASAR 1 Handheld Fluorometer,
460-TSR1MTR.88
Paper Towels or equivalent
Frequency Frequency Once. This procedure
is completed prior to adding the
product.
1. Turn on unit. Press on/off button
Product
Table of contents
Other Nalco Measuring Instrument manuals
Popular Measuring Instrument manuals by other brands

Delta
Delta PPM P1_120 instruction manual

Kyoritsu Electrical Instruments Works, Ltd.
Kyoritsu Electrical Instruments Works, Ltd. 5000 instruction manual

V-tech
V-tech VC9312-245 user manual

YOKOGAWA
YOKOGAWA FC500G user manual

C-SCOPE
C-SCOPE M-SCAN user guide

Challenger Optics
Challenger Optics CO-OPM-18 operating manual

Kyoritsu Electrical Instruments Works, Ltd.
Kyoritsu Electrical Instruments Works, Ltd. KEW6315-03 instruction manual

red lion
red lion PAXS0010 manual

ABQINDUSTRIAL
ABQINDUSTRIAL Western Instruments WC-8 operating instructions

In-situ
In-situ Aqua TROLL quick start guide

AquaLab
AquaLab 4TE Series quick start

iSens
iSens i-Smart 300 VET Operator's manual