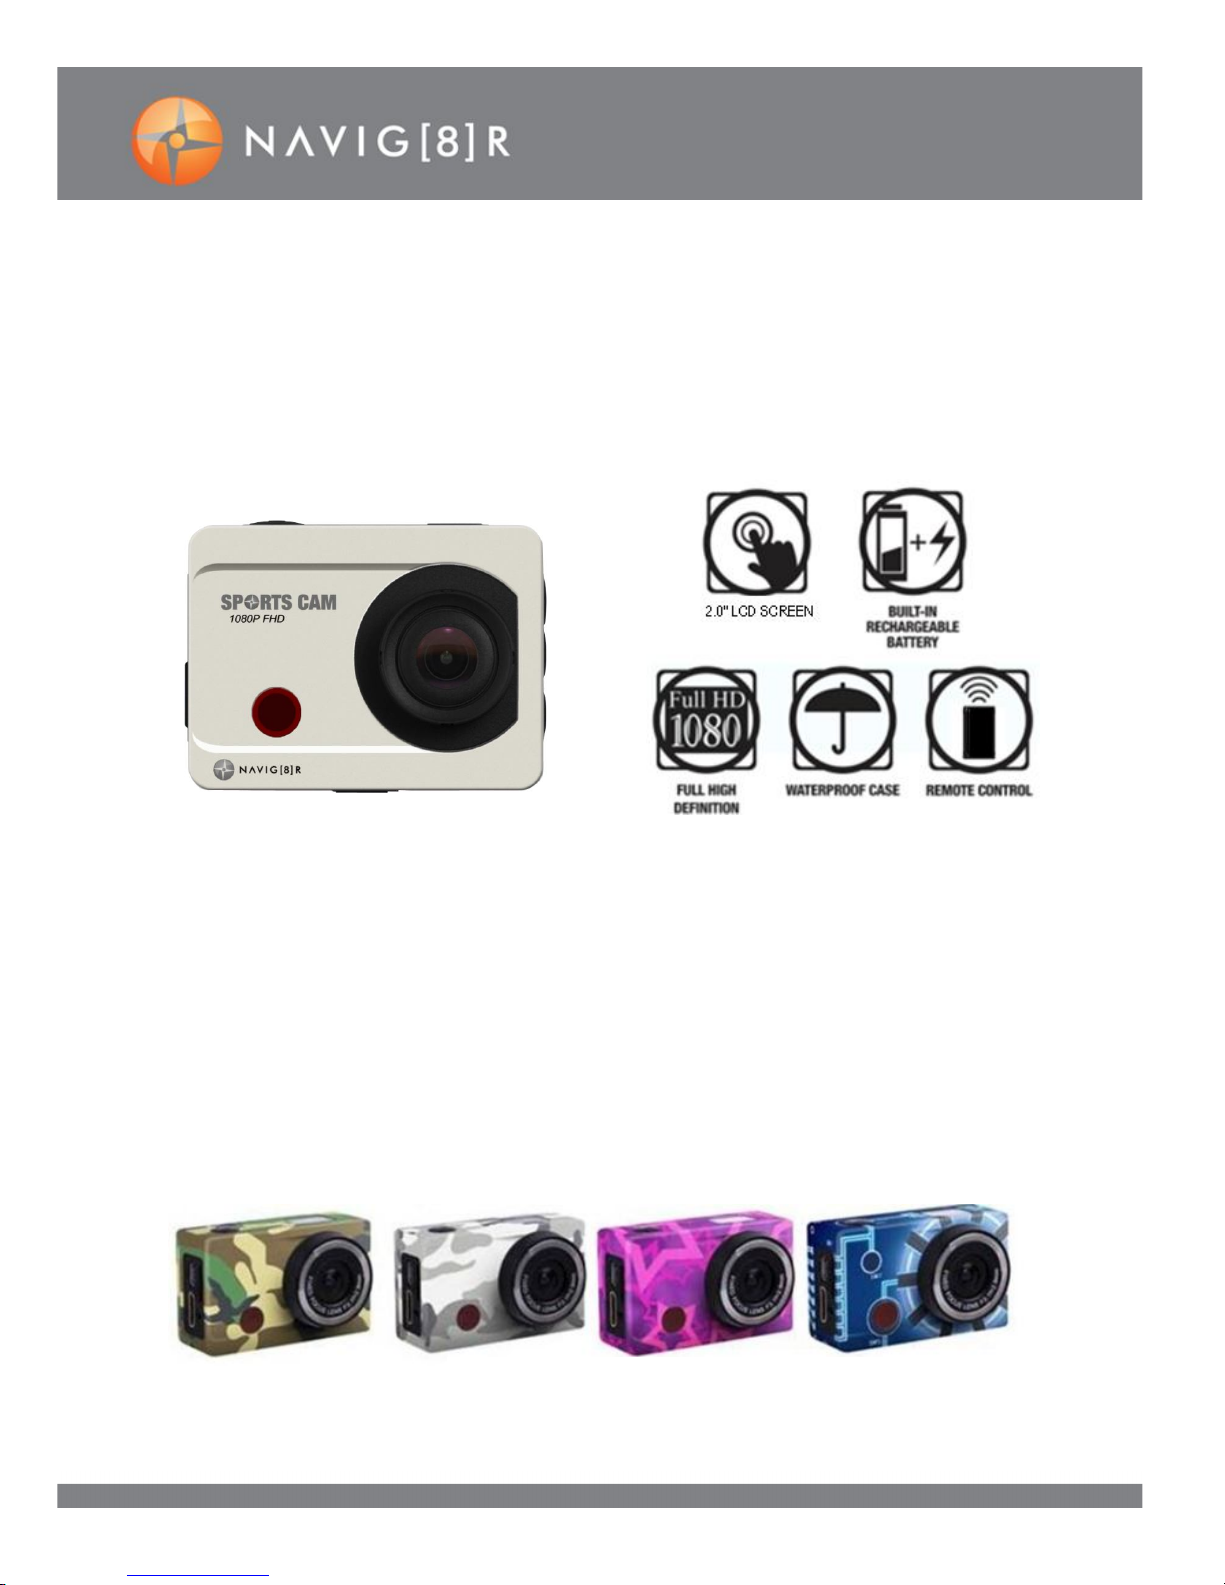
Navig8r NAVSPORT1080X User manual

1
SPORTS CAM 1080X
NAVSPORT1080X USER GUIDE
*
Includes themed stickers only. Extra cameras notincluded.

2
SPORTS CAM 1080X
IMPORTANT SAFETY INSTRUCTIONS AND PRECAUTIONS
Read all instructions carefully before use
Retain this product manual for future reference.
Use this product only in the manner described.
Only use a water-dampened soft-cloth to clean the surface of the camera including the lens.
Remove particulate such as dirt or grease before you do so otherwise you may risk scratching the
case. The camera is not waterproof when itis outside its waterproof case
Be aware of environmental conditions such extreme heat and cold, humidity, dusty, salty or sandy
environments. In extremely cold weatherand afterprolongedusage, condensation may form inside
the case which maycause the lens to fog up. Wewould recommend to stop using thecamera and
let the condensation evaporate (i.e.: don’t try to wipe it off)
For first time use, it is recommended to chargeovernight to ensure a full battery charge.
Subsequent charges can be as required.During charging, or extendeduse, the product may
become warm.
There are no user serviceable parts in this product.
Un-authorized attempts to dismantle or repair this product willvoid your
product warranty
Do not pointthe camera directly at the sun as this may damage the video sensor
Do not wipe the lens surface with your fingers. Instead use an appropriate lens cleaning cloth or lens
cleaning solution.

3
SPORTS CAM 1080X
ACCESSORIES IN THE BOX 4
PRODUCT CONNECTION AND BUTTONS 5
CHARGING THE BATTERY 6
WATERPROOF CASE 6
HANDLEBAR/ SEAT POST MOUNT 7
HELMET MOUNTING KIT 7
REMOTE CONTROL 7
MOUNTING EXAMPLES 8
INSERTING THE MICROSD CARD 8
START-UP/SHUTDOWN 9
SWITCH BETWEEN FUNCTION MODES 9
START RECORDING / TAKE PHOTO 10
VIDEO MODE SCREEN ICONS 10
PHOTO MODE SCREEN ICONS 10
PLAYBACK MODE 10
VIDEO PLAYBACK: OPTIONS 11
PHOTOS DISPLAY: OPTIONS 11
CONNECTING TO A COMPUTER 11
MENU OPTIONS (GUIDE) 12
PRODUCT REGISTRATION 14
FAQ 14
TECHNICAL SPECIFICATIONS 15

4
SPORTS CAM 1080X
ACCESSORIES IN THE BOX
1x Waterproof Housing, 1x Remote Control,1x HandleBarMount, 1x Suction Cup Mount, 1x Helmet
Mount, 1 x Helmet Strap, 1 x Tripod, 4 x themed adhesive stickers, 1x In-Car 12V Charger,1x User
manual (The below images are for reference only)

5
SPORTS CAM 1080X
MAIN PRODUCT CONNECTION AND BUTTONS:
Button
Function
Power / Mode
Press and hold to turn CameraON or OFF; toggle between Camera,Video and
Playback modes.
*From the main MENU screen use to toggle to the CAMERA SETTINGS menu
Shutter / OK
Capture Camera image or being Video
recording; P
lay/
S
top video
playback in
playback mode; Menu confirmation
MENU
Open and
E
xitfrom
M
enu
;
Stop
V
ideo
playback in
playback mode
UP (Button) Digital zoom-in: Highlight aMenu item from the Menu screen; Scroll up through
saved files; Pause Video Playback; Rewind Video Playback.
Down (Button) Digital zoom-out: Highlight a Menu item from the Menu screen; Scroll down
through saved files; Fast forward Video Playback.
Charger indicator
R
ed duringcharging
and
OFF when charged.
Busy indicator
Flas
hing GREEN when
busy
eg. During
recording
.
Infrared
light(receiver)
Direct line of sight required to the RECEIVER when remote is in use.

6
SPORTS CAM 1080X
CHARGING THE BATTERY
Turn the camera OFF and connect the USB cable to the camera and to your power source (i.e. in-car
charger,PC USB port or USB Mains Power Adaptor) The charging indicator light will turn RED. When the
battery charge is full, the RED light will turn OFF. A typical full charge can take up to 4 hours.
WATERPROOF CASE
1. Use your fingertip togently pull the release clamp OUT and BACK, in the direction of the arrow (on the clamp)
2. Inspect the rubber water seal gasketto ensure itisin good condition, and then insertthe camera in the correct
orientation.
Note 1: You can test the gasket by closing the case without the camera inside and submersing it completely in a
bowl of water for a few minutes. Remove the case from the water, dry off the exterior with a towel, and then
open the case carefully. If the interior is dry, the camera and case willbe safe for use underwater.
Note 2: Only two buttons are required for recording video and images: the Shutter Button, & the On/Off button.
Note 3: Remember, when the unit is turned OFF and ON again, the unit will default to VIDEO mode and
the default resolution.
On/Off Button
Releaseclamp
Case Hinge
Shutter
Button
OR
OR
*
Images for illustrational purposes
only. Product and case may differ from
that supplied.

7
SPORTS CAM 1080X
HANDLEBAR / SEAT POST MOUNT
1. Connect the bar clamp to your handlebar (4).
2. Connect yourcamera to the ¼”screw (1) securely.
3. Loosen the tiltknob (5)and adjust.
4. After positioning tighten all clamp nuts.
HELMET MOUNTING KIT
Use the supplied strap toloop through the holesin your helmetand then through the longslots on the
helmetmount. Tighten as required. Then observe the steps in the previous section regarding adjustment.
Search YOUTUBE for Navig8r Sportscam - How to prepare your helmet mount to view our instructional
video or click this link ifyou are viewing this file online https://www.youtube.com/watch?v=EgLbwFummrY
REMOTE CONTROL
Locking Wheel
Locking Wheel
Bar Clamp
Nuts
BarClamp
TiltKnob
HelmetBe
lt
HelmetMount
Tilt
Knob
4
1
”
Shutter Button
(press once to
take one photo)
Record Video
Button stop/start
Off Button
(remote does
not turn on
camera)
Infrared
transmitter
Note: Point the remote
directly at the camera’s
Infrared receiver, during
operation as shown above
Lanyard Hole
Note:This bracketwillonly work
with vented Helmets such as
bicycle helmets.

8
SPORTS CAM 1080X
MOUNTING EXAMPLES
INSERTING THE MICRO SD CARD
Carefully push the memory card into the card slot,as shown in the diagrambelow (using your fingernail).
The Micro SD card will “click into place”. To take the memory card out, gently press the end of the memory
card inward using your fingernailuntila click is heard. An internal spring will then release the card.
Note: This camera has no built-in memory. A memory card is needed for operation.
Note 2: High Definition and High Frame Rate video capture devices, place
huge demands on memory cards. Pending your user settings, it is
recommended thata CLASS 10 SD Card be used to avoidRead/Write
complications, which willappear as an error message on the screen
during use. If you are not sure, please test any lower class cards
(Read/Write speed) in the device before use.
HANDLE BAR
Mount
HELMET Mount
SUCTION CUP Mount
* Images for illustrational
purposes only. Product and case
may differ from those supplied.

9
SPORTS CAM 1080X
START-UP/SHUTDOWN
1. START-UP: Press andhold the power button until the WELCOME screen isdisplayed.
Note: The remote controlcannot turn on the camera. You must use the power button on the camera
2. SHUTDOWN: Press and hold the power button until the GOODBYE screen is displayed.
Note 1: The camera willautomatically shut down after3 minutes of inactive use to conserve power.
Note 2: If there is not enough power thelow powerbattery icon will flash. When power has been exhausted
the camera will shutdown.
Note 3: The camera can also be turned off with the remote control.
SWITCH BETWEEN FUNCTION MODES
Tap the POWER BUTTON to change between modes. Adifferent icon will appeareach time.
Video mode: Record video
(To start recording press the shutter button)
Picture mode: Digital Still Cameraoperation
(To take a single picture, press the shutter button)
Playback mode: Playback Digital Still Cameraoperation
(To playback a file,us the UP/DOWN buttons then press the SHUTTER button)

10
SPORTS CAM 1080X
START RECORDING / TAKE PHOTO
When the camera is turned on, it will automatically enter VIDEO MODE. Either select another mode or start
video recording by simply pressing the shutter button. To stop recording video, press the shutterbutton
again. When the memory card is full or the battery is too low, the camera will also automatically stop
recording.
VIDEO MODE SCREEN ICONS
PHOTO MODE SCREEN ICONS
1 Mode icon: Camera mode selected
2 Burst Mode: 3, 5 or 10 image rapid capture
3
Driver Mode
: Delayed capture2 or 10 seconds
4 Resolution selected:5M/8M/10M/12M.
5 Camera Enhancement: Superfine,Fine,
Normal
6
Counter
:
Shows
the number of
remaining
photos
which can betaken.
7 Digital Zoom: The level of Digital zoom
magnification (eg. 4x times).
8
Battery icon
:
B
attery
life indica
tor
9 Face Recognition: Focus enhancement
PLAYBACK MODE
After turning on the camera and enabling the playback mode, select what type of file to playback by
using theVideo and Photo icons. Afile screen will then appear with apreview thumbnailimage. Use
the UP and DOWN arrows to select your file and press the shutter button to begin playback.
1
Mode icon
:
Video mode selected
2 Video Enhancement: Superfine, Fine, Normal
3,4
Video size: 1080p/720p 60FPS/720p 30FPS
5 Recording time: Indicates the length of time
recorded
6 Face Recognition: Focus enhancement
7
Digital Zoom
: The leve
lof
Digital zoom
magnification (eg. 4x times).
8 Battery icon: Battery life indicator

11
SPORTS CAM 1080X
Preview
screen options
Playback
screen options
Preview
screen options
Playback
screen options
VIDEO PLAYBACK: OPTIONS
The optionsavailable on the playback screen are: PAUSE,STOP,PLAY, FASTFORWARDand REWIND.
PHOTO DISPLAY: OPTIONS
The optionsavailable on thisplayback screen are:PREVIOUS IMAGE, NEXT IMAGEand DELETE FILE.
CONNECTING TO A COMPUTER
Files can be played back directly from the Camera to a Windows ® Computer via a USB cable. The camera
will appear as a common removable disk under Window Explorer. (Drivers are not required) Photos/Videos
are saved in folder DCIM\100MEDIA.
Available Options
Elapsed time
File counter
Playback home icon
Playback home icon
File counter
Elapsed
time
Available Options

12
SPORTS CAM 1080X
MENU OPTIONS (GUIDE)
Video Options
Feature
Description
Options
Movie Size Choose the pixel resolution and over file size of captured
video 1080p (1920 x 1080), 720p (1280 x 720
30fps), 720p (1280 x720 60fps)
Video Quality
Post
-
process captured images foradded image clarity
Super Fine,Fine,Normal
Seamless
Record timesegments ofvideo (loop recording)
*Note To remind you that this feature has been
selected, the screen menu options rotate upside down.
Remove the feature and exit out of the menu screen to
correct the screen rotation)
OFF, 1Min, 3Min, 5Min
White Balance Offset or correct lighting environments usingpreset level
adjustments
Auto, Daylight,Cloudy, Fluor H, Tungsten
Metering Select the field of view that the camera willrecognise
light differentials
Center,Multi, Spot
Effect Create new and exciting lighting special effects and
colour overlays
Normal, B&W,Sepia, Negative,Red, Green,
Blue
Face Tracking Make people faces priority with focus and automatic
enhancment adjustments ON, OFF
Camera Settings (The same forVideo, Camera andPlayback)
* Move to the SETTINGS TAB by pressing the POWER/MODE button immediately after pressing the MENU button
Feature
Desrciption
Options
Auto Review
Preview images after theyhave been taken
OFF, 1Sec, 3Sec, 5Sec
PowerFrequency
N/A
50Hz, 60Hz
Video Format Select the image compression output files types to suit
your needs
MJPG, H.264
Media Format
Select the image file output files types to suit your needs
AVI, MOV
PowerSave
Automatically turn the camera off to conserve power
OFF,1min,3min,5min
Date and time Choose how the dateand time is displayed. YY/MM/DD; MM/DD/YY; YY/MM/DD (Date),
HH/MM (Time)
Language Change between different languages of displayed text on
the camera displayand menu items
English, French, Spanish
USB Select to operate the camera as a MSD (Mass Storage
Device) or UVC (Web Camera) H.264 or MJPG format. MSDC, UVCH264, UVCMJPG
Format
Clearallfiles on the SDcard to maxmise space
Yes, No
Reset all Restore all settings back to default – especially usful if
you have changed to many settings
Yes, No
*
IMPORTANT

13
SPORTS CAM 1080X
Camera Options
Feature Desrciption Options
Resolution Choose the pixel resolution and over file size of
captured images 12M (400 x3000), 8M (3264 x 2448), 5M (2592 x
1944), 3M (2048 x 1536)
Quality
Post
-
process captured images foradded image clarity
Super
Fine,Fine,Normal
Metering Select the field of view that the camera willrecognise
light differentials from Center,Multi, Spot
White Balance Offset or correct lighting environments using preset
level adjustments
Auto, Daylight,Cloudy,FluorH, Tungsten
ISO
Adjust the speedof the shutter as needed
Auto, 50, 100, 200, 400
Exposure Increase ordecrease the amout of light through the
aperatureas needed -2.0, -1.7, -1.3, -1.0, -
0.7,0, +0.3, +0.7, +1.0, +1.3,
+1.7, +2.0
Drive Mode Take a controlled delay picture – especially useful
when taking self portraits
OFF,2S (2 Seconds), 10S (10 Seconds)
BurstMode Take a sequence of images with one press of the
shutter button.
OFF,3, 5, 10
Sharpness Define how the edges of imagesare to be produced Hard, Normal, Soft
Effect Create new and exciting lighting special effects and
colour overlays
Normal, B&W,Sepia, Negative,Red, Green, Blue
Date Stamp Overlay thecurrentdate on imagesso you know
exactly when they were taken+
OFF, Date, Date and Time
Detection Make people faces priority with focus and automatic
enhancment adjustment
s
OFF, Face Tracking, Smile Detect
DigitalZoom
Enable the digitalzoom function
OFF,ON
Playback options
Feature Desrciption Options
Protect
Preserve files so
theyarenot over written
Single, Protect All, Unprotect All
Delete Delete a file that is no longerneededor to create more
space on your SD card Single,All
Slide Show Display files back as a slide show Start, Interval (1-10 Seconds), Transition (1-5
or mix), Repeat
Photo Effect Create new and exciting lighting special effects and
colour overlays
B&W, Sepia, Negative,Mosaic, Vivid Red,
Vivid Green, Vivid Blu
Rotate Rotate an image if the images is sideways for example Rotate, Save, Back
Resize
Res
ize an image to a new
mega pixel
format
8M, 5M, 3M, 1M

14
SPORTS CAM 1080X
PRODUCT REGISTRATION
Congratulations on purchasing your newLASER product.Registering yourLASER product is quick
and easy. Visit our web site www.laserco.net/productregistration
We can then stay in touch with you with information on product support,new product releases,and
limited special offers.
FAQ
Windows mediaplayer can not play the
recorded video files?
Try installing the CODEC pack supplied on the
installCD, otherwise we find most customers
have better luck with VLC Player.
In car recorder mode, Ican not record to my
SD card even though thereis spaceon it.
The car recorder mode uses cyclical
recording, which means it requires some
buffer memory of 500MB. Please remove
some files from your SD card or use an SD
card with more space.
How many minutes of video can I record to my SD
card?
In full 1080P mode, each minute willrecord up to
95MB of data. So a 4GB card will store up to 45
minutes and a 16GB card up to 170 minutes.
How long does a fullcharge takeand how long will
it last?
A fullcharge can take up to4 hoursand will
record up to 90 minutes of video, dependingon
your settings and situation eg time of day and
detail of image.
How many metersdeep can I use the waterproof
case in water?
The waterproof case can safely go down to 3
meters in depth.

15
SPORTS CAM 1080X
TECHNICAL SPECIFICATIONS
Image sensor
5.0
mega
-
pixel CMOS image sensor
Functions
Recor
d V
ideo
Take photos
Video Playback
Camera lens
F2.5 f=3.53mm
Z
oom
8
X Digital
Shutter
Electronic
LCD display screen
2.
0
-
inch
Image resolution 12M (4000 x 3000), 8M (3264 x 2448), 5M
(2592 x 1944)
Video resolution
(Higherresolution = betterimagequality)
(Higherframe rate = smoother playback)
HD 1280x720 (60 frames/sec)
HD 1280x720 (30 frames/sec)
FHD 1920x1080 (30 frames/sec)
White balance
Automatic
Exposure
Automatic
File formats
Image
JPEG
Video
H.264
Storage medium Micro SD card (Up to 32GB). There is no built in
memory.
USB interface
High
-
speed USB 2.0 interface
PowerSupply
Built
-
in 3.7V rechargeable lithium
Dimension (length × width ×height)
58
x
44
x
23mm
Weight
72
grams

16
SPORTS CAM 1080X
Warranty against Defects
Laser Corporation Pty Ltd (“Laser”) warrants your new product to be free from defects in materials and workmanship for 12 months,
from the date of purchase, provided that the product is used in accordance with accompanying recommendations or instructions
where provided. The benefit of thiswarranty is in addition to your rights under the Australian Consumer Law and to other rights and
remediesof the consumerundera law in relation to the goodsorservices to which thewarranty relates.
Through a network of retailers and resellers, Laser will provide you with your choice of a refund, repair or exchange (where possible)
for this product if it becomes defective within the warranty period. This warranty will no longer apply where the defect is a result of
alteration, accident, misuse, abuse, normalwear andtear,neglect or improper storage.
Pleaseretain your receipt asproof of purchase.
How to makea productwarranty claim:
Step 1: Find your receipt which proves the date of purchase. Where thedate of purchase cannot be verified, your place of purchase
or Laser will makean assessmentbased on thedate of manufacture, theconditionof the Laser product and thetype of defect.
Step 2a): Contact your place of purchase. They will assess the nature of the fault and refund or replace the product as per their
storerefund or warrantypolicy.
Step 2b): If your placeof purchase cannot be contacted, then you can contact Laser Customer Service with details of your defective
Laser Product Phone (02) 9870 3355; or Email: service@laserco.com.au or online www.laserco.net/support/warranty (click on
“Consumers(End Users)”).Our business address is at 1/6-8 Byfield Street, NorthRyde,NSW 2113
Step 3: Laser will issue you with a Return Authorisation (RA) number within 48 hours. When requested, send us the defective
product and a copyof your receipt. Laserwill cover the cost of the return delivery.
Step 4: Wait for us to contact you. Once we have received your defective Laser product for inspection, we will inform you of our
assessment of your claim within 7 days. When wecontact you, we will firstly let you know whether you havea valid claim under this
Warranty, and if so, we will inform you whether you’re defective Laser product will be replaced or repaired, together with the
number of daysyou can expect to wait to receive your replaced or repairedLaser product.
Our goods come with guarantees that cannot be excluded under the Australian Consumer Law. You are entitled to a replacementor
refund for a major failure and compensation for any other reasonably foreseeable loss or damage. You are also entitled to have the
goods repairedor replaced ifthe goodsfail to be ofacceptablequalityand the failuredoes not amount to a major failure.
Table of contents
Other Navig8r Digital Camera manuals