Naxa NSW-10 LifeForce+ User manual

LifeForce+ Fitness Band
NSW-10
Instruction Manual
Please read carefully before use and keep for future reference.

Page 2 Naxa Electronics
Table of Contents
Thank You ........................................................ 3
In the Box ......................................................... 3
Features ........................................................... 4
At a Glance ....................................................... 5
Getting Started................................................ 6
What You’ll Need ................................................................6
Charging the Module .................................................. 6
Removing the Module from the Band ..................... 6
Use with an Android Device .............................7
Getting the Bluetooth Health Watch App ......................7
Bluetooth Health Watch App............................................9
Use with an iOS Device ...................................13
Getting the Bluetooth Health Watch App ....................13
Bluetooth Health Watch App..........................................14
Warnings and Precautions............................. 17
Support .......................................................... 20

www.naxa.com Page 3
Thank You
We know you have many choices when it comes to
technology; thank you for choosing us here at Naxa
Electronics. Established in 2001 in Los Angeles, Califor-
nia, we are dedicated to delivering products that en-
tertain and delight.
We trust that you will be happy with your purchase.
Please read this manual carefully and save it for refer-
ence. You may also nd the latest FAQ, documentation,
and other product material at our website. Come visit
us on the web at www.naxa.com and see all that we
have to offer!
In the Box
Please take a moment to make sure that you have ev-
erything in the list below. Although we make every ef-
fort to ensure that each Naxa device is securely packed
and sealed, we know a lot can happen in between us
and you. If anything is missing, check back with your
local retailer to get immediate assistance. If they can-
not help you, please contact our Naxa Support team at
www.naxa.com/naxa_support.
•NSW-10 module
• Adjustable tness band
•USB charge cable

Page 4 Naxa Electronics
Features
• Fitness coach with companion app for your smart-
phone
•Step counter and calorie tracking helps you im-
prove your health with easy to reach goal and ac-
tivity monitoring
•Get energized! Sleep monitoring helps you improve
your sleep quality
•Durable and adjustable wristband
•Bluetooth® 4.0 low-energy wireless sync
•Downloadable companion app for your iPhone or
Android smartphone

www.naxa.com Page 5
At a Glance
7
1 5
6
2 4
31 B Bluetooth connect button. Press and
hold until the status indicator ashes
blue to sync data with the app.
2 Status
indicator
Flashes blue when in Bluetooth sync/pair
mode.
3 Charge
indicator
Flashes red when charging. Lights steady
red when fully charged and connected to
power.
4 Sleep
indicator
Lights yellow when switched to sleep
mode.
5 S Sleep button. Press and hold to switch
between active and sleep modes. Prress
to see which is the current mode.
6 Reset Press to reset the band if it behaves
abnormally.
7 Micro USB
charge port
Connection for power. Use the included
USB cable to connect to a USB power
source.

Page 6 Naxa Electronics
Getting Started
What You’ll Need
To start using your LifeForce+ Fitness band, you’ll need
the following:
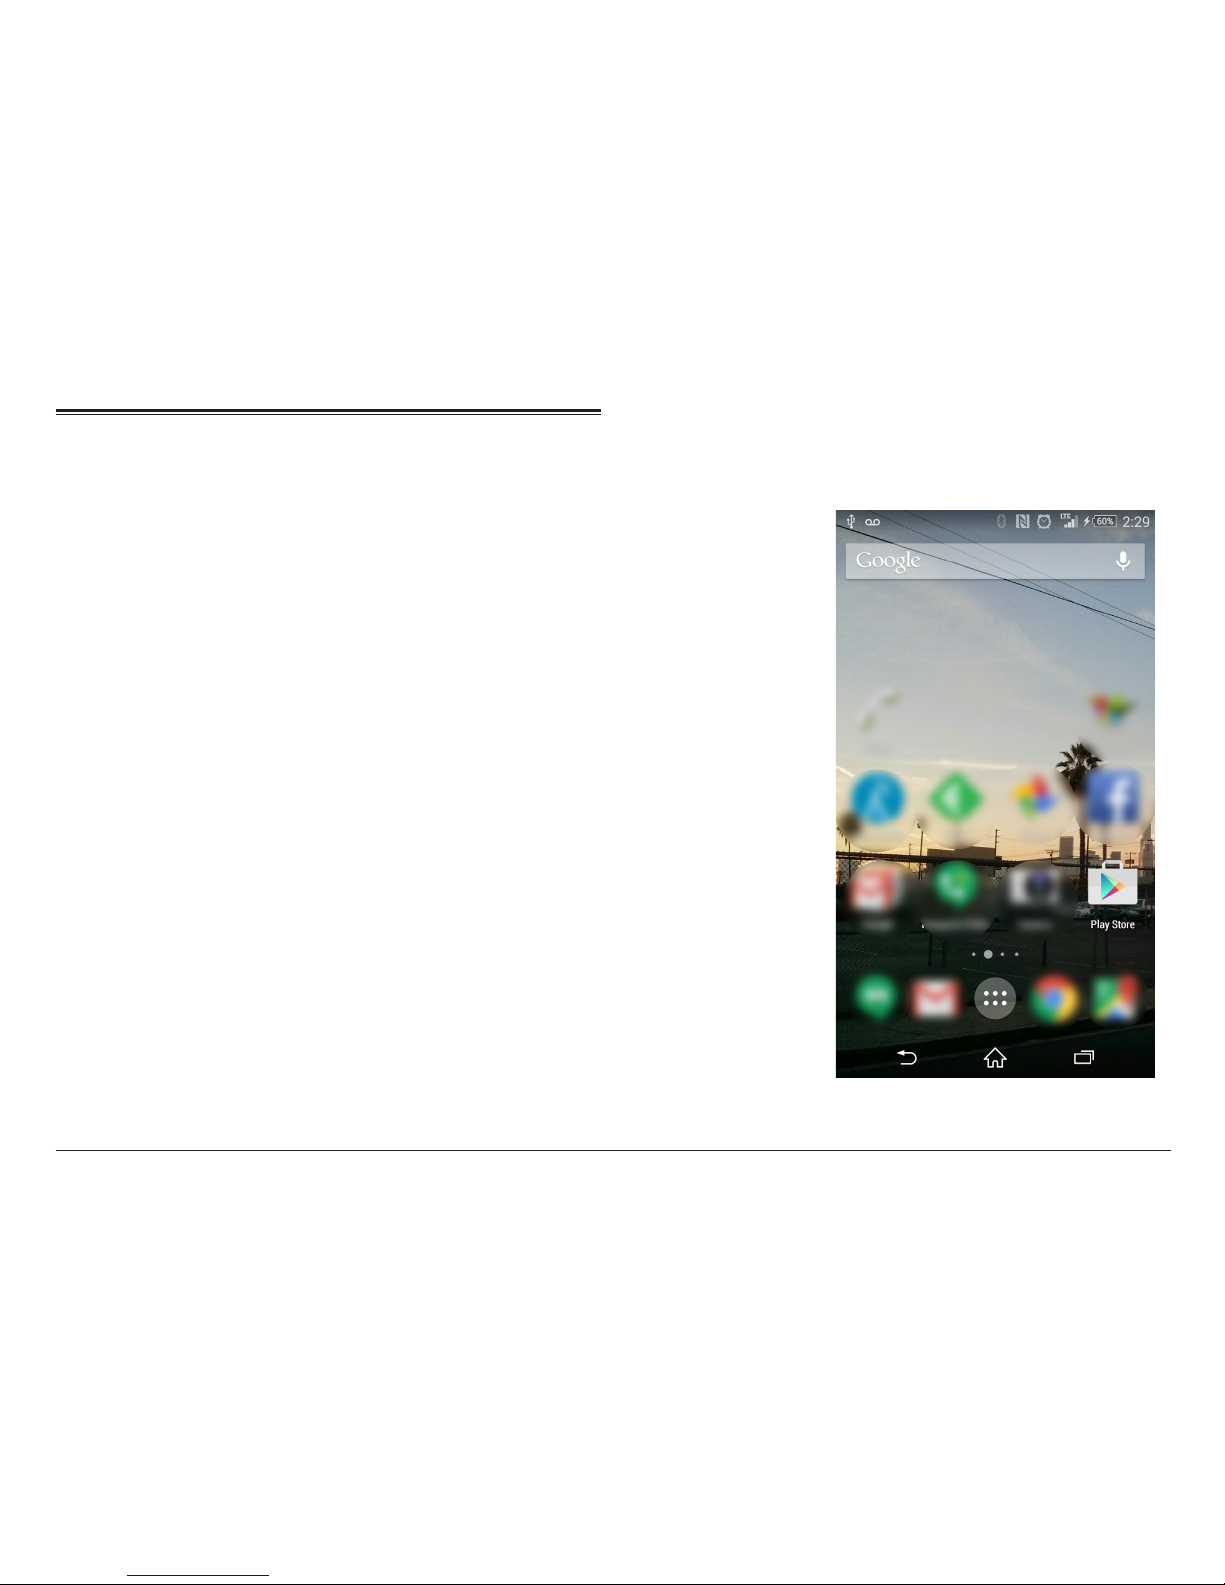
•An internet connection
•A smartphone or tablet that has the following:
•Bluetooth 4.0
•Android OS or iOS
•A fully charged NSW-10
Charging the Module
The module contains all of the sensors and processors,
as well as a built-in rechargeable battery that will
need to be charged from time to time.
Use the included USB cable to charge the module.
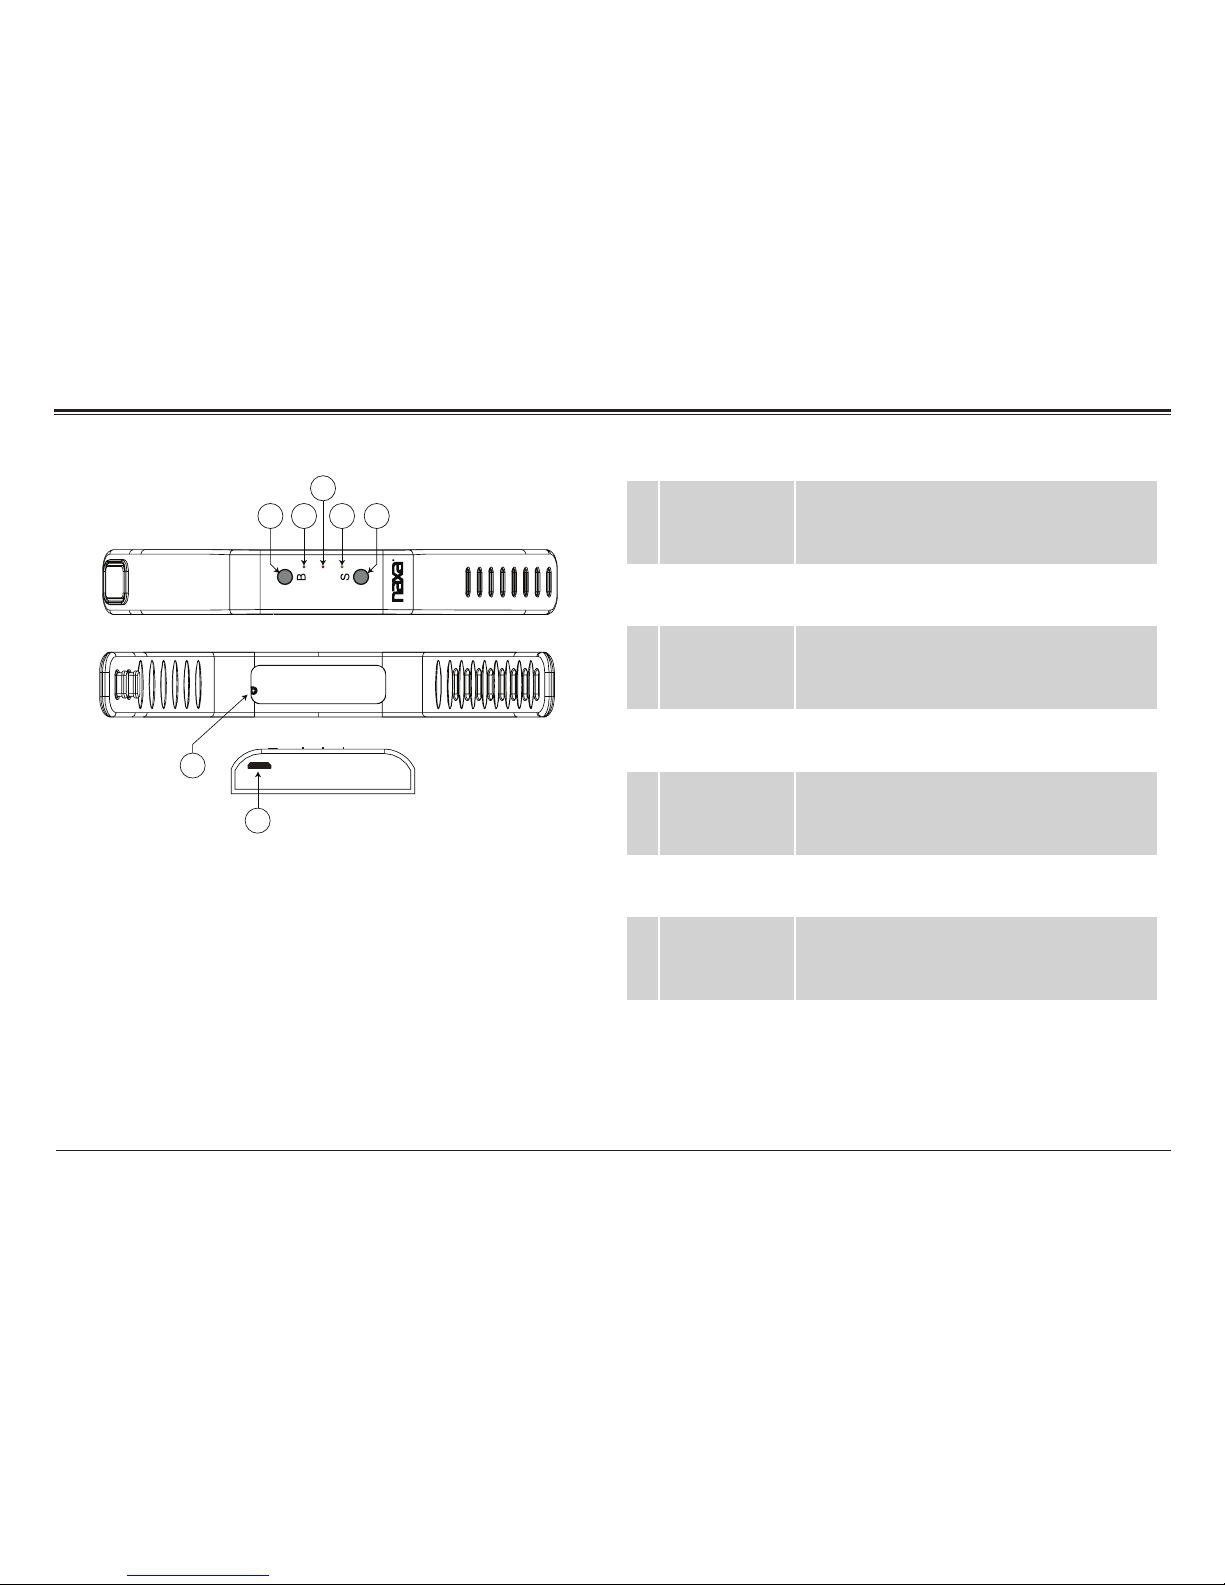
1. Remove the main module from the tness band.
2. Connect the small end of the cable to the USB port
of the module.
3. Connect the larger end of the cable to a USB power
source (e.g., a powered computer or laptop, a pow-
ered USB hub, a USB power adapter).
4. The charge indicator will ash red while the mod-
ule is charging. It will light a steady red when the
module is fully charged.
To ensure optimal performance, fully charge
the battery the rst time you use the band.
Removing the Module from the Band
You will need to remove the module from the band in
order to charge it.
1. Turn the band over so that the back is facing you,
2. Grip either end of the module at the point where
the band tapers to a thin strap.
3. Gently bend one end of the band away from you, as
if peeling the band apart. The module will pop free
from the band.
Take note of the position of the indicator
LEDs when replacing the module in the band.

www.naxa.com Page 7
Use with an Android De-
vice
This tness band will work with the following Android de-
vices:
•SAMSUNG GALAXY S5, Android 4.3
•SAMSUNG GALAXY S4, Android 4.3
•SAMSUNG GALAXY S3, Android 4.3
•SAMSUNG GALAXY NOTE 2, Android 4.3
•SAMSUNG GALAXY NOTE 10.1, Android 4.3
The tness band may work with other
devices that support Bluetooth 4.0 and
Android 4.3, but compatibility cannot be
guaranteed with all devices.
Getting the Bluetooth Health Watch
App
1. Find and tap the
Google Play store
app on your device
to launch it.

Page 8 Naxa Electronics
2. Tap the magnify-
ing glass at the top
right corner.
3. Type Bluetooth
Health Watch into
the search box. In
the list of search
results below, tap
“Bluetooth Health
Watch”.

www.naxa.com Page 9
4. Tap the green In-
stall button. Fol-
low the on-screen
instructions to
nish downloading
and installing the
app.
Bluetooth Health Watch App
1. Find and tap the
BlueHealth icon to
launch the app.

Page 10 Naxa Electronics
2. The app will pres-
ent a personal
setup screen. Tap
in each eld to
set your start-
ing information.
The tness band
requires this info
to accurately track
your activity.
Tap “Continue”
when you’re
nished entering
your info.
3. The Home screen
gives you access
to all of the app’s
functions.
You will rst need
to sync the data
from the tness
band to the app.
Tap “sync” to
begin.

www.naxa.com Page 11
4. Press and hold the
[B] button on the
tness band until
the status LED
ashes blue. While
it is ashing blue,
tap the SCAN but-
ton on the device
screen.
5. The tness band
wil announce
itself as the Blue-
Health device.
Find it in the list
and then tap it on
the screen.

Page 12 Naxa Electronics
6. After a successful
pairing/import,
you will see the
following screen.
Tap OK to continue
on.
Repeat steps 3 to 6 each time you use the
app to have the latest data available to
you.

www.naxa.com Page 13
Use with an iOS Device
This tness band will work with the following Apple iOS
devices:
•iPhone 4S
•iPhone 5
•iPhone 5s
•iPhone 5c
•iPhone 6
•iPhone 6 plus
•iPod touch (5th gen)
•iPad 3
•iPad Air
•iPad mini
•(and newer iPads)
Getting the Bluetooth Health Watch
App
1. Find and
tap the App
Store icon on
your device to
launch it.
2. Tap the mag-
nifying glass at
the top right
corner.

Page 14 Naxa Electronics
3. Type Blue-
tooth Health
Watch into the
search box.
Tap “Bluetooth
Health Watch”
in the results
panel. (Make
sure you are
searching for
“iPhone only”
apps.)
4. Tap the “Get”
button and
then the “In-
stall” button.
Follow the on-
screen instruc-
tions to nish
downloading
and installing
the app.
Bluetooth Health Watch App
1. Find and tap the
BlueHealth icon to
launch the app.

www.naxa.com Page 15
2. The app will pres-
ent a personal
setup screen. Tap
in each eld to
set your start-
ing information.
The tness band
requires this info
to accurately track
your activity.
Tap “Continue”
when you’re
nished entering
your info.
3. The Home screen
gives you access
to all of the app’s
functions.
You will rst need
to sync the data
from the tness
band to the app.
Tap “sync” to
begin.

Page 16 Naxa Electronics
4. Press and hold the
[B] button on the
tness band until
the status LED
ashes blue. While
it is ashing blue,
tap the Sync but-
ton on the device
screen.
5. The tness band
wil announce
itself as the
Blue-Health. Find
it in the list and
then tap it on the
screen.
Repeat steps 3 to 5 each time you use the
app to have the latest data available to
you.

www.naxa.com Page 17
Warnings and Precautions
The lightning ash with arrowhead symbol within an equilateral
triangle is intended to alert the user to the presence of unin-
sulated “dangerous voltage” within the product’s enclosure that
may be of signicant magnitude to constitute risk of electric
shock
The exclamation point within an equilateral triangle is intended
to alert the userto the presence of important operation and ser-
vicing instructions in the literature accompanying the appliance.
CAUTION
• Do not block the ventilation openings or holes.
• Do not place any naked ames (such as lighted candles) on the ap-
paratus.
• When discarding batteries, follow all local rules and laws governing the
disposal of batteries. Consider the environmental impact of your actions!
• To prevent re or shock hazard, do not expose this appliance to rain
or moisture.
Important Safety Information
1. Read Instructions: All the safety and operating instructions should be
read before the product is operated.
2. Retain Instructions: The safety and operating instruction should be
retained for future reference.
3. Heed Warnings: All warnings on the product and in the operating in-
structions should be adhered to.
4. Follow Instructions: All operating and usage instructions should be
followed.
5. Cleaning: Unplug this product from the wall outlet before cleaning.
Do not use liquid cleaners or aerosol cleaners. Use a damp cloth for
cleaning.
6. Attachments: Use only attachments recommended by the manufac-
turer. Use of other attachments may be hazardous.
7. Water and Moisture: Do not use this product near water (e.g., near a
bathtub, washbowl, kitchen sink, laundry tub, in wet basements, or
near a swimming pool and the like).
8. Power Sources: This product should be operated only from the type of
power source indicated on the rating label. If you are not sure of the
type of power supply to your home, consult your product dealer or
local power company. For products intended to operate from battery
power or other sources, refer to the operating instructions.
9. Grounding or Polarization: This product may be equipped with a po-
larized alternating-current line plug that has one blade wider than
the other. This plug will only t into the power outlet in one direction.
This is a safety feature. If you are unable to insert the plug fully into
the outlet, try reversing the direction of the plug. If the plug should

Page 18 Naxa Electronics
still fail to t, contact an electrician to replace the obsolete outlet. Do
not defeat the safety purpose of the polarized plug.
10. Power-Cord Protection: Power supply cords should be routed so that
they are not likely to be walked on or pinched by items placed upon
or against them, paying particular attention to cords at plugs, conve-
nience receptacles, and at the point which they exit from the product.
11. Protective Attachment Plug: The product may be equipped with an at-
tachment plug with overload protection. This is a safety feature. See
the operating instructions for replacement or directions to reset the
protective device. If replacement of the plug is required, be sure the
service technician has used a replacement plug that has the same over-
load protection as the original plug as specied by the manufacturer.
12. Overloading: Do not overload wall outlets, extension cords, or inte-
gral convenience receptacles as this can result in a risk of re or elec-
tric shock.
13. Object and Liquid Entry: Never push objects of any kind into this prod-
uct through openings as they may touch dangerous voltage points or
short-out parts that could result in a re or electric shock. Never spill
liquid of any kind on the product.
14. Servicing: Do not attempt to service this product yourself as open-
ing or removing covers may expose you to dangerous voltage or other
hazards. Refer all servicing to qualied service personnel.
15. Damage Requiring Service: Unplug this product from the wall outlet
and refer servicing to qualied service personnel under the follow-
ing conditions: a) when the power-supply or plug is damaged; b) if
liquid has been spilled or if objects have fallen into the product; c) if
the product has been exposed to rain or water; d) if the product does
not operate normally by following the operating instructions. Adjust
only those controls that are covered by the operating instructions as
improper adjustment of other controls may result in damage and will
often require extensive work by a qualied technician to restore the
product to its normal operation; e) if the product has been dropped or
damaged in any way; f) when the product exhibits a distinct change in
performance—this indicates a need for service.
16. Replacement Parts: When replacement parts are required, be sure
that your service technician has used replacement parts specied
by the manufacturer or have the same characteristics as the original
part. Unauthorized substitutions may result in re, electric shock, or
other hazards.
17. Safety Check: Upon completion of any service or repairs to this
product,ask the service technician to perform safety checks to ensure
that the product is in proper operating condition.
18. Heat: The product should be situated away from heat sources such as
radiators,heat registers, stoves, or other products (including ampli-
ers) that produce heat.
WARNING:
This product contains lead, a chemical known to the State of California to
cause cancer and birth defects or other reproductive harm. Wash hands
after handling.
FCC NOTICE
This device complies with Part 15 of the FCC Rules. Operation is subject
to the following two conditions: (1) this device may not cause harmful
interference, and (2) this device must accept any interference received,
including interference that may cause undesired operation.
Note: This equipment has been tested and found to comply with the lim-
its for a Class B digital device, pursuant to Part 15 of the FCC Rules. These
limits are designed to provide reasonable protection against harmful in-
terference in a residential installation. This equipment generates, uses
and can radiate radio frequency energy and, if not installed and used in
accordance with the instructions, may cause harmful interference to ra-

www.naxa.com Page 19
dio communications. However, there is no guarantee that interference
will not occur in a particular installation. If this equipment does cause
harmful interference to radio or television reception, which can be de-
termined by turning the equipment off and on, the user is encouraged to
try to correct the interference by one or more of the following measures:
• Reorient or relocate the receiving antenna.
• Increase the separation between the equipment and receiver.
• Connect the equipment into an outlet on a circuit different from that
to which the receiver is connected.
• Consult the dealer or an experienced radio/TV technician for help.
CAUTION ON MODIFICATIONS
Any changes or modications not expressly approved by the grantee of
this device may void the authority granted by the FCC to operate the
equipment.
Trademark & Regulatory Statements
Bluetooth®is a registered trademark of Bluetooth SIG, Inc. Other trade-
marks and names are those of their respective owners.

Page 20 Naxa Electronics
Support
If you have problems with your device, please consult
the instructions in this manual. Please also visit us
on the web at www.naxa.com to get up to the minute
news, alerts, and documentation for your device. For
additional assistance, please contact Naxa Technical
Support.
NAXA Technical Support
2320 East 49th St.
Vernon, CA 90058
http://www.naxa.com/naxa_support/
Table of contents
Other Naxa Fitness Electronic manuals
Popular Fitness Electronic manuals by other brands

Oregon Scientific
Oregon Scientific ZONE TRAINER SE331 user manual

Soleus Watches
Soleus Watches PULSE HRM user manual

Polar Electro
Polar Electro RS 800 SD Brochure & specs

Kettler
Kettler ST 7835-20 operating instructions

Energetics
Energetics E-203 instruction manual

Polar Electro
Polar Electro FT80 Getting started guide