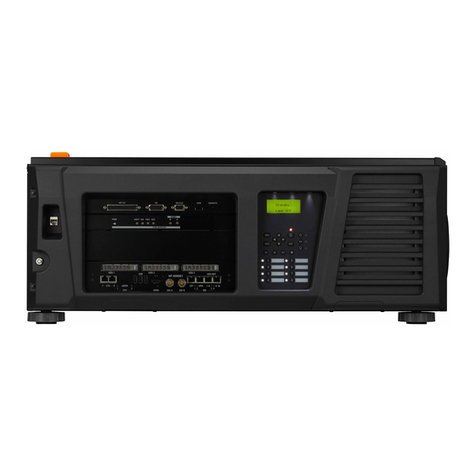
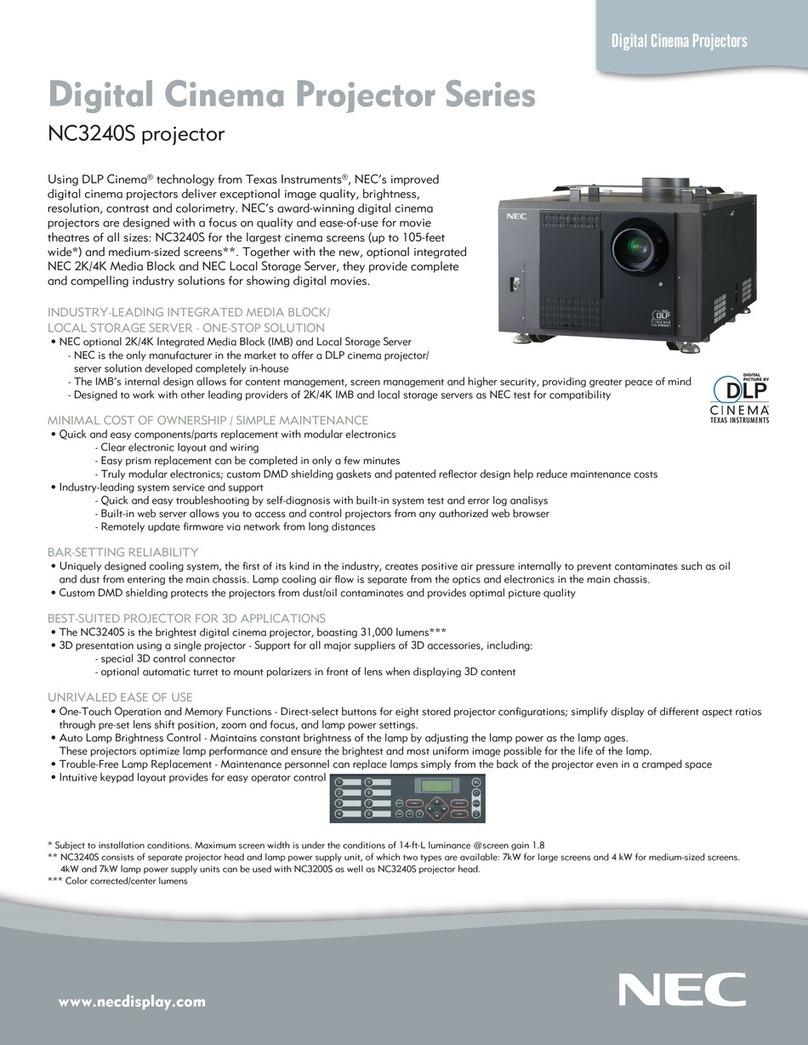
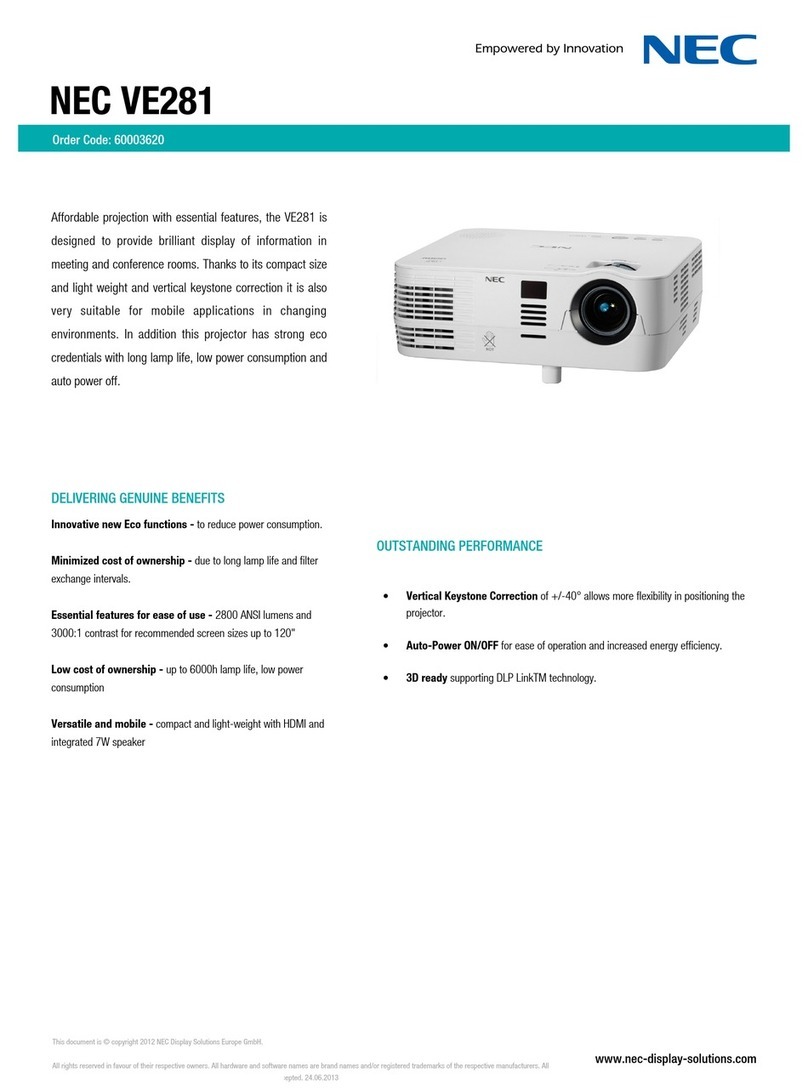
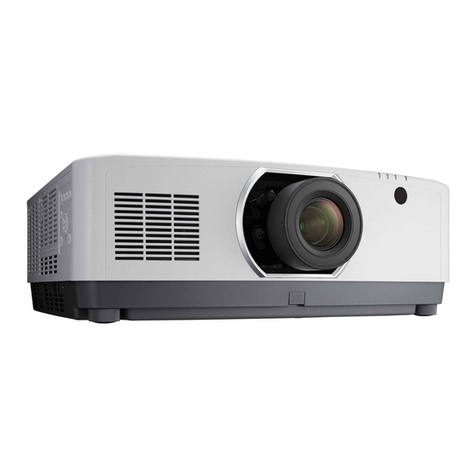
NEC iS15-2K User manual

iS15-2K
Super High Brightness Digital Cinema Projector
User Manual
104-597A

iS15-2K Cinema Projector: User Manual

page i
iS15-2K Cinema Projector: User Manual Important Information
Please read this user manual carefully before using the projector, and keep
the manual handy for future reference.
A serial number is located on the side of the projector. Record it here:
Symbols used in this manual
Warnings
ELECTRICAL WARNING: this symbol indicates that there is a danger of
electrical shock unless the instructions are closely followed.
WARNING: this symbol indicates that there is a danger of physical
injury to yourself and/or damage to the equipment unless the
instructions are closely followed.
NOTE: this symbol indicates that there is some important information that
you should read.
Trademarks
• IBM is a registered trademark of International Business Machines Corporation.
• Macintosh and PowerBook are registered trademarks of Apple Computer, Inc.
• Other product and company names mentioned in this user's manual may be the
trademarks of their respective holders.
Product revision
• Because we continually strive to improve our products, we may change
specifications and designs, and add new features without prior notice. Projectors
built prior to this revision of the User Manual may therefore not include all the
features described.
Manual revision
Important Information
Date Description Revision
Notes

page ii
Important Information iS15-2K Cinema Projector: User Manual
General precautions
Do not open the cabinet. There are no user serviceable parts inside.
Use only the power cable provided.
Ensure that the power outlet includes a Ground connection, as this
equipment MUST be earthed.
Take care to prevent small objects such as paper or wire from falling
into the projector. If this does happen, switch off immediately, and have
the objects removed by authorised service personnel.
Do not expose the projector to rain or moisture, and do not place any
liquids on top of the projector.
Unplug before cleaning, and use a damp, not wet, cloth.
Do not touch the power plug with wet hands.
Do not touch the power plug during a thunder storm.
Handle the power cable carefully and avoid sharp bends. Do not use a
damaged power cable.
There are no user-serviceable parts inside the lamp module. The whole
module should be replaced by your provider.
Do not use the lamp for more than 750 hours, as this may cause
serious lamp failure, damage the lamp module and cause extra cost on
replacement.
Warranted lamp life is determined by the reading on the Lamp-hours
meter on the face of the Lamp module, - NOT the reading available via
the Information menus.
Xenon lamps produce high intensity light. Do not look directly at the
light coming from the lamp housing, or the lens, or allow items such as
magnifying lenses to be placed in the light path. This could result in
serious eye damage.
Do not touch the ventilation outlets, as they will become hot in use.
Do not cover the ventilation outlets or inlets.
Do not cover the lens whilst the projector is switched on. This could
cause a fire
Always allow the lamp to cool for 5 minutes before switching off the
power, moving the projector or changing the lamp. If, as a result of an
extreme mains supply variation, the projector goes into Standby mode
during normal operation, allow the lamp to cool for at least 15 minutes
before moving the projector. Alternatively, switch the projector ON to
restart the cooling fan, then switch into Standby mode and wait for 5
minutes.
The projector must be switched OFF before removing the air filter,
otherwise dust could be sucked into the projector by the ventilation fan.
Never use strong detergents or solvents such as alcohol or thinners to
clean the projector and lens.
Notes

page iii
iS15-2K Cinema Projector: User Manual Important Information
Installation precautions
Connect the LAN cable only to a computer LAN connection. Other
similar connectors may have a dangerously high voltage source.
A ferrite-core clamp must be fitted to each SDI cable used, to ensure
protection from radio frequency interference.
The projector must be installed only by suitably qualified personnel, in
accordance with local building codes.
The projector should be installed as close to the power outlet as
possible.
The power connection should be easily accessible, so that it can be
disconnected in an emergency.
Ensure that there is at least 30cm (12in) of space between the
ventilation outlets and any wall, and 10cm (4in) on all other sides.
Do not install the projector close to anything that might be affected by
its operational heat, for instance, polystyrene ceiling tiles, curtains etc.
If the projector must be mounted close to people or heat sensitive
equipment, then external ducting will be required to remove the hot
exhaust air safely.
For more information about external ducting, see Fitting the lamp duct box,
in section 6. Installation.
The projector weighs over 100kg (200lbs). Use safe handling
techniques when lifting the projector.
Before installation, make sure that the surface that is to support the
projector is capable of supporting the combined weight of the projector
and lens (see specification for exact weights).
Do not place heavy objects on top of the projector chassis. The
projector chasis is NOT capable of withstanding the weight of another
projector.
Do not drop or jarr the projector.
Place the projector in a dry area away from sources of dust, moisture,
steam, smoke, sunlight or heat.
Each time a new lens is fitted to the projector, or the zoom drive lever is
operated, the calibration procedure MUST be carried out. See Using the
Menus in Section 4. Controlling the projector.
The zoom drive mechanism should always be set to the engaged
position, even when using the non-zoom lens, as it provides an extra
level of protection, should the lens release lever fail.
Installation of the lamp duct box should be carried out ONLY by
certified service personnel.
Do not tilt the projector more than ±12° from side to side when in use,
as this may cause serious lamp failure, damage the lamp module and
cause extra cost on replacement. The projector my be tilted forwards
and backwards as necessary.
Notes
±12°
360°

page iv
Important Information iS15-2K Cinema Projector: User Manual
Operation and configuration precautions
The lamp should be changed ONLY by certified service personnel.
Do NOT open the lamp compartment door whilst a film is being shown -
safety interlocks on the door will shut down the projector without
warning.
Do not make changes to the networking configuration unless you
understand what you are doing, or have taken advice from your
Network Manager. If you make a mistake, it is possible that you will lose
contact with the projector. Always double-check your settings before
pressing the APPLY button. Always keep a written note of the original
settings, and any changes you have made.
Software update should NOT be carried out except by, or with the
supervision of certified service personnel.
WARNING TO CALIFORNIA RESIDENTS
Handling the cables supplied with this product will expose you to lead,
a chemical known to the State of California to cause birth defects or
other reproductive harm. Wash hands after handling.
Notes

page v
iS15-2K Cinema Projector: User Manual Important Information
Compliance with international standards
Noise
GSGV Acoustic Noise Information Ordinance
The sound pressure level is less than 70 dB (A) according to ISO 3744 or ISO 7779.
RF Interference
FCC
The Federal Communications Commission does not allow any modifications or
changes to the unit EXCEPT those specified in this manual. Failure to comply with
this government regulation could void your right to operate this equipment.
This equipment has been tested and found to comply with the limits for a Class A
digital device, pursuant with Part 15 of the FCC Rules. These limits are designed to
provide reasonable protection against harmful interference when the equipment is
operated in a commercial environment. This equipment generates, uses, and can
radiate radio frequency energy and, if not installed and used in accordance with the
instruction manual, may cause harmful interference to radio communications.
Operation of this equipment in a residential area may cause harmful interference, in
which case the user will be responsible for correcting any nterference.
Notes

page vi
Contents iS15-2K Cinema Projector: User Manual
iS15-2K Cinema Projector: User Manual
CONTENTS
1. Introduction 1.1
What’s in the box? ..........................................................................................................1.2
Key features of the projector .........................................................................................1.3
Getting to know the projector ........................................................................................1.4
Chassis – lamp, lens and filter ............................................................................................................. 1.4
Connection panels – input and control ............................................................................................... 1.5
2. Installation 2.1
Fitting the image to the screen ......................................................................................2.2
Fitting the image to the DMD................................................................................................................ 2.2
Fitting the projected image to the screen ........................................................................................... 2.3
Using the anamorphic lens ............................................................................................2.5
Choosing the projection lens ........................................................................................2.6
Method one: using the lens charts ...................................................................................................... 2.6
Lens charts ............................................................................................................................................ 2.7
Method two: Choosing a lens by calculation ................................................................................... 2.15
Useful lens formulae and constants .................................................................................................. 2.16
Fitting the projection lens ............................................................................................2.17
Calibrating the lens ............................................................................................................................. 2.17
Shifting the image .........................................................................................................2.18
Fitting the anamorphic lens .........................................................................................2.19
Adjusting the anamorphic lens .......................................................................................................... 2.20
Positioning the screen and projector..........................................................................2.21
Mounting the projector ................................................................................................. 2.22
Levelling............................................................................................................................................... 2.22
Fitting the lamp duct box .............................................................................................2.23
Connecting the projector ............................................................................................. 2.24
Typical connections ............................................................................................................................ 2.24
Cinema Inputs (SMPTE 292 / HD-SDI)................................................................................................ 2.26
DVI-D Inputs ......................................................................................................................................... 2.27
Control connections ........................................................................................................................... 2.28
Power connections ............................................................................................................................. 2.30
3. Getting started 3.1
Switching the power on .................................................................................................3.2
Selecting a title ...............................................................................................................3.3
Displaying a test pattern ................................................................................................ 3.4
Adjusting the projected image ......................................................................................3.5
To adjust the position of the image on the screen: ............................................................................ 3.5
To adjust the size of the image on the screen: ................................................................................... 3.5
To adjust the focus of the image on the screen: ................................................................................ 3.5
Switching the power off ................................................................................................. 3.6
page vii
iS15-2K Cinema Projector: User Manual Contents
4. Controlling the projector 1.1
Introduction .....................................................................................................................1.2
Using the control panel ........................................................................................................................ 1.2
Using the remote control ...................................................................................................................... 1.3
Using the menus ................................................................................................................................... 1.4
Menu trees .......................................................................................................................1.8
Source Select menus ............................................................................................................................ 1.9
Configuration menus .......................................................................................................................... 1.10
Information menus .............................................................................................................................. 1.14
5. Maintenance 5.1
Changing the air filter material ......................................................................................5.2
Changing the lamp..........................................................................................................5.4
Lamp-hours meter................................................................................................................................. 5.4
Cleaning the projector and lens ....................................................................................5.5
6. Appendix 6.1
Troubleshooting ..............................................................................................................6.2
Specifications.................................................................................................................. 6.4
Part numbers ......................................................................................................................................... 6.4
Optical .................................................................................................................................................... 6.5
Physical ................................................................................................................................................. 6.5
Electrical ................................................................................................................................................ 6.5
Control Inputs ........................................................................................................................................ 6.5
Cinema Inputs ....................................................................................................................................... 6.6
DVI-D Inputs ........................................................................................................................................... 6.8
Projection lens data .............................................................................................................................. 6.9
Connections ..................................................................................................................6.10
Cinema Input (SMPTE 292 / HD-SDI) connection ............................................................................. 6.10
DVI-D Input connection ....................................................................................................................... 6.11
LAN connection................................................................................................................................... 6.12
Serial control input ............................................................................................................................. 6.13
Remote Control 2 ................................................................................................................................ 6.14
General Purpose Input/Output (GPIO) ............................................................................................... 6.15
Dimensions ...................................................................................................................6.16
without anamorphic lens .................................................................................................................... 6.16
Dimensions ...................................................................................................................6.17
with anamorphic lens fitted ................................................................................................................ 6.17

page viii
Contents iS15-2K Cinema Projector: User Manual

1. Introduction
Contents
1. Introduction 1.1
What’s in the box?...................................................................................................................1.2
Key features of the projector..................................................................................................1.3
Getting to know the projector ................................................................................................1.4
Chassis – lamp, lens and filter ....................................................................................................................... 1.4
Connection panels – input and control ......................................................................................................... 1.5

page 1.2
1. Introduction iS15-2K Cinema Projector: User Manual
What’s in the box?
• Make sure your box contains everything listed. If any pieces are missing, contact
your dealer.
• You should save the original box and packing materials, in case you ever need to
ship your Projector.
Notes
Lenses are optional. Order
lenses from your provider.
For more detailed information
about lenses, see Using the
anamorphic lens and
Choosing the projection lens,
in Section 2. Installation, and
Specification, Lens data in
6. Appendix.
Important Information
(104-598)
User manual
(104-597)
2 x DVI-D
cable (2 m)
(LA00205 or
73893286)
Remote control
(7N900122)
Remote control cable
(2m: 7N520019 and
16m: 73499217)
PC adaptor card
(79646181)
dummy
PC adaptor card
(24FT8871)
Memory card
(7N960191)
or
Projector
(USA: 102-566 or 01164028)
(Rest of World: 102-859 or 01164029)
Power cable -
Rest of World
(LA00097)
Power cable -
USA
(LA00098)
2 x Ferrite-core clamps
(61605095)

page 1.3
iS15-2K Cinema Projector: User Manual 1. Introduction
Notes
For inputs other than Cinema,
including analog or digital,
composite or component, RGB
and S-video, and for DVI
sources needing features such
as scaling, soft-edge blend,
cross-fade, and user definable
geometric warp:
use in conjunction with the
MMS 1000 multi-media
switcher.
Key features of the projector
Congratulations on your purchase of an integrated Series iS15-2K Digital
Cinema Projector.
This world leading Digital Cinema projector is a third generation development based
upon Texas Instruments' 3-chip DLPTM technology; producing incredibly bright, high
resolution images, and exceptional contrast with extended colour performance; to
meet the very demanding standards of the film community. This large screen movie
theatre projector delivers the finest digital images with unprecedented clarity and
precision.
The integrated Series iS15-2K harnesses the power of Texas instruments' new
2048x1080 pixel HPO DMD'sTM, delivering a greyscale and contrast previously
unknown in movie theatres. With the security of de-encryption to decode digital
movie material, protection is ensured right up to the point it turns into light. A Sub-
title engine enables sharp text scaled according to projected image size.
Key Features
• High resolution, large screen projector
• For screens up to 50ft wide (15m)
• Optical performance to meet or exceed the TI DLP Cinema guidelines
• True 2K (2048x1080) resolution
• Film-like colour gamut matching
• 110kg, 4kW single phase
• Compact size, light weight
• Intelligent Lens Mount for precision pixel accurate pre-sets
• LAN and RS232 connection for network operation
• SMPTE 292 serial Digital Input
• DVI-D - Single and Twin for alternative inputs for corporate or live events
• LCD display for local setup and system status
• Shutter
• Electronic non-linear cropping
• Electronic linear resizing

page 1.4
1. Introduction iS15-2K Cinema Projector: User Manual
Getting to know the projector
Chassis – lamp, lens and filter
Notes
For information about the LCD
lamp-hours meter, and how to
change the lamp or the filter,
see section 5. Maintenance.
For more detailed information
about lenses, see
section 2. Installation and
section 6. Specification.
Do NOT open the lamp
compartment door whilst a
film is being shown - safety
interlocks on the door will
shut down the projector
without warning.
Warranted lamp life is
determined by the reading on
the Lamp-hours meter on the
face of the Lamp module,
shown here - NOT the reading
available via the Information
menus.
Lens
Air filter
Lamp
compartment
Lamp module
Lamp-hours meter
Air outlets
Air inlet
(underneath)
Adjustable
feet
Carrying
handle

page 1.5
iS15-2K Cinema Projector: User Manual 1. Introduction
Connection panels – input and control Notes
For information about how to
use the control panel, see
section 4. Controlling the
projector.
For information about how to
connect the projector, see
Connecting the projector in
section 2. Installation, and
Connections in section
6. Appendix.
Power
connection
Power
switch
Control panel
LCD screen
Control
connections
PC adaptor
card slot
Input
connections

page 1.6
1. Introduction iS15-2K Cinema Projector: User Manual

2. Installation
Contents
2. Installation 2.1
Fitting the image to the screen ..............................................................................................2.2
Fitting the image to the DMD .......................................................................................................................... 2.2
Without anamorphic lens .............................................................................................................................. 2.2
With anamorphic lens ................................................................................................................................... 2.2
Fitting the projected image to the screen ..................................................................................................... 2.3
Diagonal screen sizes .................................................................................................................................. 2.4
Using the anamorphic lens ....................................................................................................2.5
Projecting 2.35:1 format images .................................................................................................................. 2.5
Choosing the projection lens .................................................................................................2.6
Method one: using the lens charts ................................................................................................................ 2.6
Lens charts ...................................................................................................................................................... 2.7
Native resolution 2048x1080, no anamorphic lens ...................................................................................... 2.7
2.35:1 full width image with anamorphic lens ............................................................................................... 2.8
2.35:1 full width image, no anamorphic lens ................................................................................................ 2.9
1.85:1 full height image, no anamorphic lens ............................................................................................. 2.10
16:9 full height image, no anamorphic lens ................................................................................................. 2.11
1.66:1 full height image, no anamorphic lens ............................................................................................. 2.12
4:3 full height image, no anamorphic lens .................................................................................................. 2.13
5:4 full height image, no anamorphic lens .................................................................................................. 2.14
Method two: Choosing a lens by calculation .............................................................................................. 2.15
Useful lens formulae and constants ............................................................................................................ 2.16
Fitting the projection lens ....................................................................................................2.17
Calibrating the lens ....................................................................................................................................... 2.17
Shifting the image .................................................................................................................2.18
Fitting the anamorphic lens .................................................................................................2.19
Adjusting the anamorphic lens .................................................................................................................... 2.20
Positioning the screen and projector ..................................................................................2.21
Mounting the projector .........................................................................................................2.22
Levelling ......................................................................................................................................................... 2.22
Fitting the lamp duct box ......................................................................................................2.23
Connecting the projector ......................................................................................................2.24
Typical connections ...................................................................................................................................... 2.24
Cinema Inputs (SMPTE 292 / HD-SDI) .......................................................................................................... 2.26
Fitting a ferrite-core clamp ......................................................................................................................... 2.26
DVI-D Inputs ................................................................................................................................................... 2.27
EDID handshaking ..................................................................................................................................... 2.27
Control connections ..................................................................................................................................... 2.28
LAN 1 and LAN 2 ....................................................................................................................................... 2.28
Interlocks .................................................................................................................................................... 2.28
USB ............................................................................................................................................................ 2.29
Remote Control 1 ....................................................................................................................................... 2.29
Remote Control 2 ....................................................................................................................................... 2.29
PC Control.................................................................................................................................................. 2.29
PC Control T .............................................................................................................................................. 2.29
General Purpose Input/Output (GPIO) ....................................................................................................... 2.29
PC adaptor card slot .................................................................................................................................. 2.29
Power connections ....................................................................................................................................... 2.30
USA power input ........................................................................................................................................ 2.30
Rest of World power input .......................................................................................................................... 2.30

page 2.2
2. Installation iS15-2K Cinema Projector: User Manual
Fitting the image to the screen
Fitting the image to the DMD
Without anamorphic lens
The projector can be configured by your installer to display a number of standard
image formats using the full height of the DMD. This means that the projected
screen height can be constant for all image formats, which is preferable for theatres
that employ only side-masking.
The exception to this is the 2.35:1 format, which can use the full width, but not the
full height of the DMD. Therefore any other image formats would have to be zoomed
down to maintain the same height.
With anamorphic lens
The projector can be configured by your installer to correctly display images that
have been compressed horizontally (or stretched vertically) by an anamorphic lens
when filmed. When the anamorphic lens is deployed, the image will be restored to
its correct aspect ratio.
In this configuration, the 2.35:1 format can use the full height of the DMD, and no
zooming will be necessary between this and other image formats.
Notes
For more information on how to
connect the projector, see
Connecting the projector,
later in this section, and
Connections, in 6. Appendix
The resolution of the DMD fitted
to the projector is 2048 x 1080
pixels.
For more information on how
the use of the anamorphic lens
will affect your choice of
projection lens, see Choosing
the lens combination, later in
this section.
2.35:1
2048 x 871
pixels
1.66:1
1793 x 1080
pixels
16:9
1920 x 1080
pixels
examples of DMD
usage when configured
for display
without
anamorphic lens
DMD usage when
configured for
2.35:1 display
with
anamorphic lens
2.35:1
2030 x 1080
pixels
1.85:1
1998 x1080
pixels
5:4
1350 x 1080
pixels

page 2.3
iS15-2K Cinema Projector: User Manual 2. Installation
Fitting the projected image to the screen
It is important that your screen is of sufficient height and width to display images at
all the aspect ratios you are planning to use.
Use the conversion chart, or the sample calculations below to check that you are
able to display the full image on your screen. If you have insufficient height or width,
you will have to reduce the overall image size in order to display the full image on
your screen.
Notes
1 2 3 4 5 6 7 8 9 10
Screen width
Screen height
1.85:1
2.35:1
Aspect ratio
10
9
8
7
6
5
4
3
2
1
2.35:1 aspect ratio
W = H x 2.35 H = W x 0.43
2048x1080, native resolution
W = H x 1.9 H = W x 0.53
1.85:1 aspect ratio
W = H x 1.85 H = W x 0.54
16:9 aspect ratio
W = H x 1.77 H = W x 0.56
1.66:1 aspect ratio
W = H x 1.66 H = W x 0.6
4:3 aspect ratio
W = H x 1.33 H = W x 0.75
5:4 aspect ratio
W = H x 1.25 H = W x 0.8
1.66:1
4:3
5:4
16:9
2048x1080

page 2.4
2. Installation iS15-2K Cinema Projector: User Manual
Diagonal screen sizes
Screen sizes are sometimes specified by their diagonal size in inches (D). When
dealing with large screens and projection distances at different aspect ratios, it is
more convenient to measure screen width (W) and height (H).
The example calculations below show how to convert diagonal sizes in inches into
width and height in inches or metres, at various aspect ratios.
2.35:1 aspect ratio
W = D x 0.92 in = D x .023 m H = D x 0.39 in = D x .01 m
2048x1080, native resolution
W = D x 0.88 in = D x .022 m H = D x 0.47 in = D x .012 m
1.85:1 aspect ratio
W = D x 0.88 in = D x .022 m H = D x 0.48 in = D x .012 m
16:9 aspect ratio
W = D x 0.87 in = D x .022 m H = D x 0.49 in = D x .0125 m
1.66:1 aspect ratio
W = D x 0.86 in = D x .022 m H = D x 0.52 in = D x .013 m
4:3 aspect ratio
W = D x 0.8 in = D x .02 m H = D x 0.6 in = D x .015 m
5:4 aspect ratio
W = D x 0.78 in = D x .02 m H = D x 0.625 in = D x .016 m
Notes
D = diagonal (in)
W = width
H = height
Table of contents
Other NEC Projector manuals

NEC
NEC HT410 Series User manual

NEC
NEC NP600S XGA User manual

NEC
NEC NP610 Series User manual

NEC
NEC PX750U Series User manual

NEC
NEC VT45KG User manual

NEC
NEC NP-PH1000U User manual

NEC
NEC NP216 Series User manual

NEC
NEC DLP Cinema NP-NC1402L User manual

NEC
NEC PV800UL-W User manual

NEC
NEC NP4000 User manual