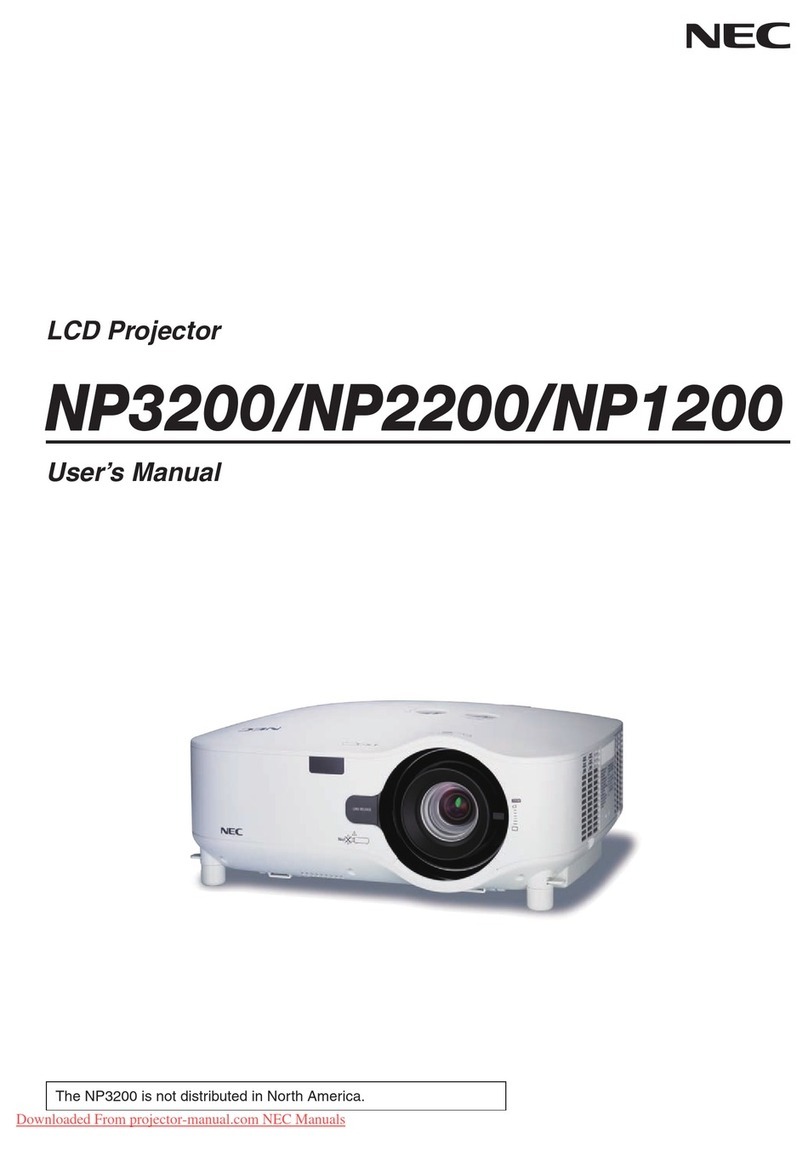
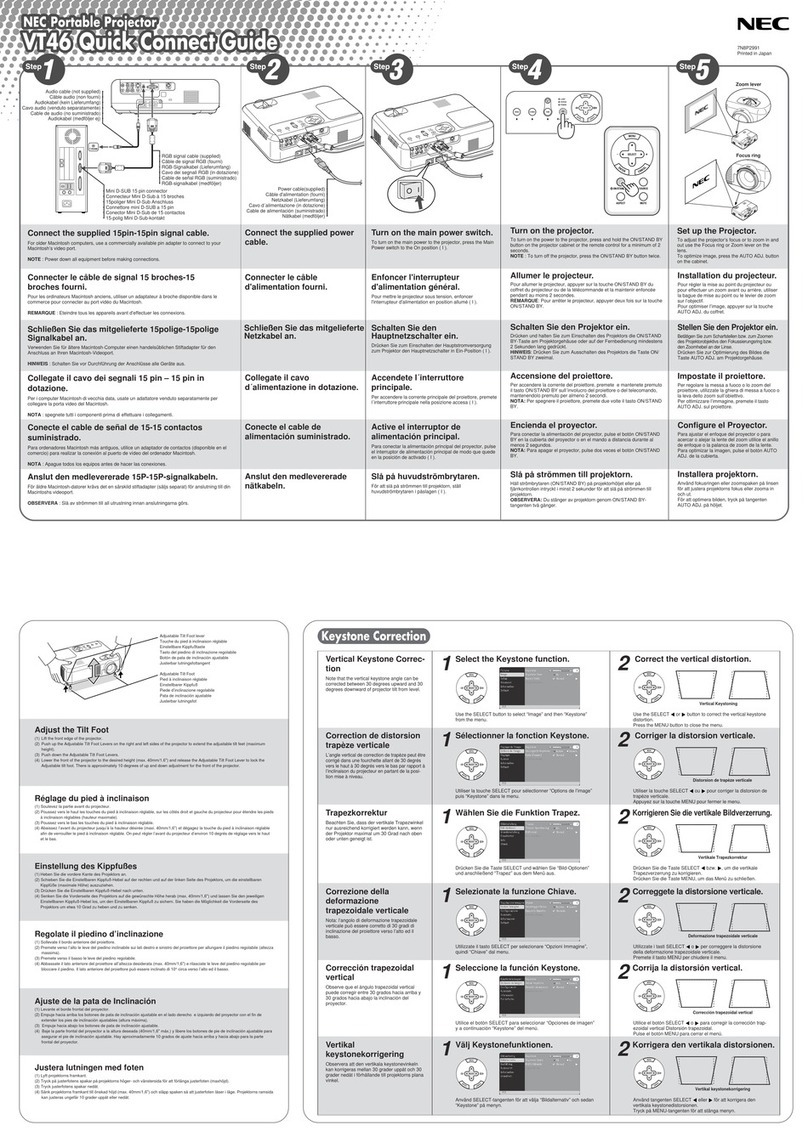
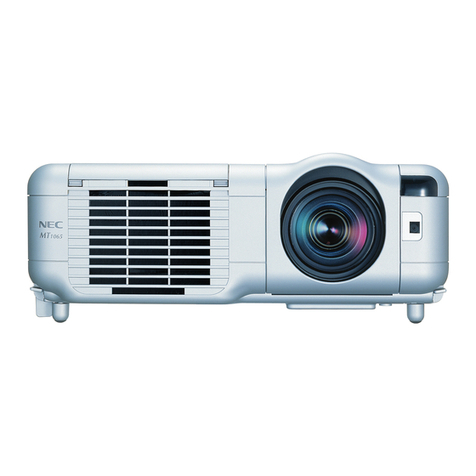
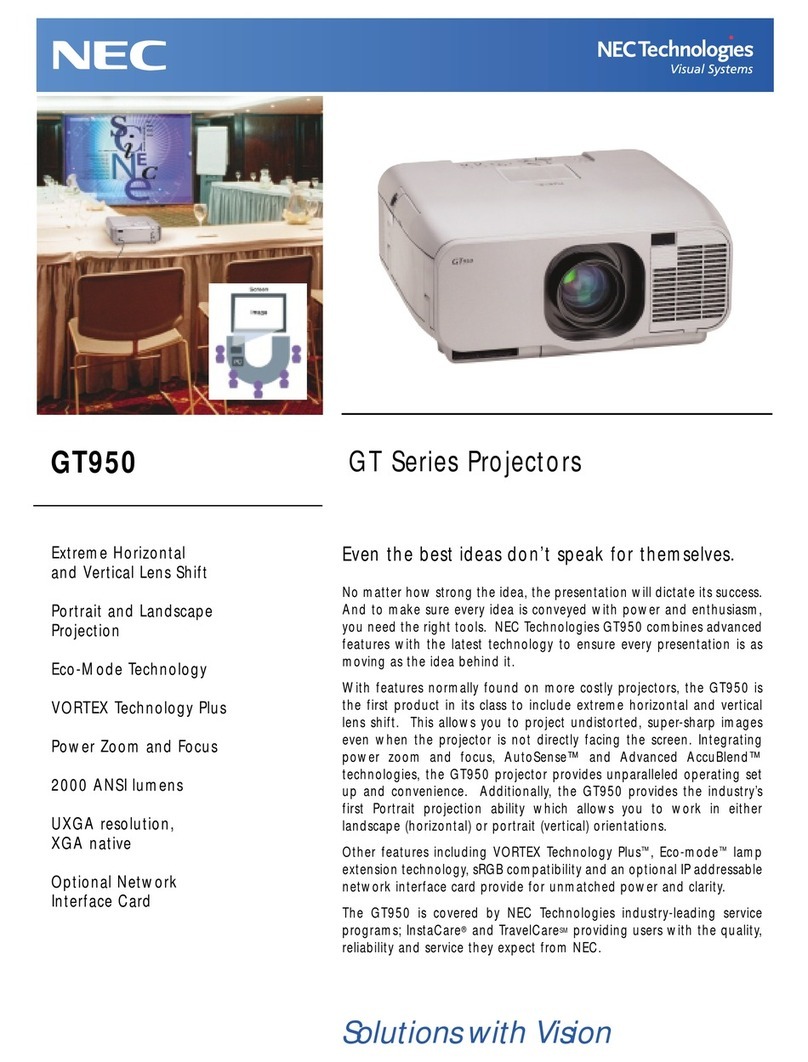
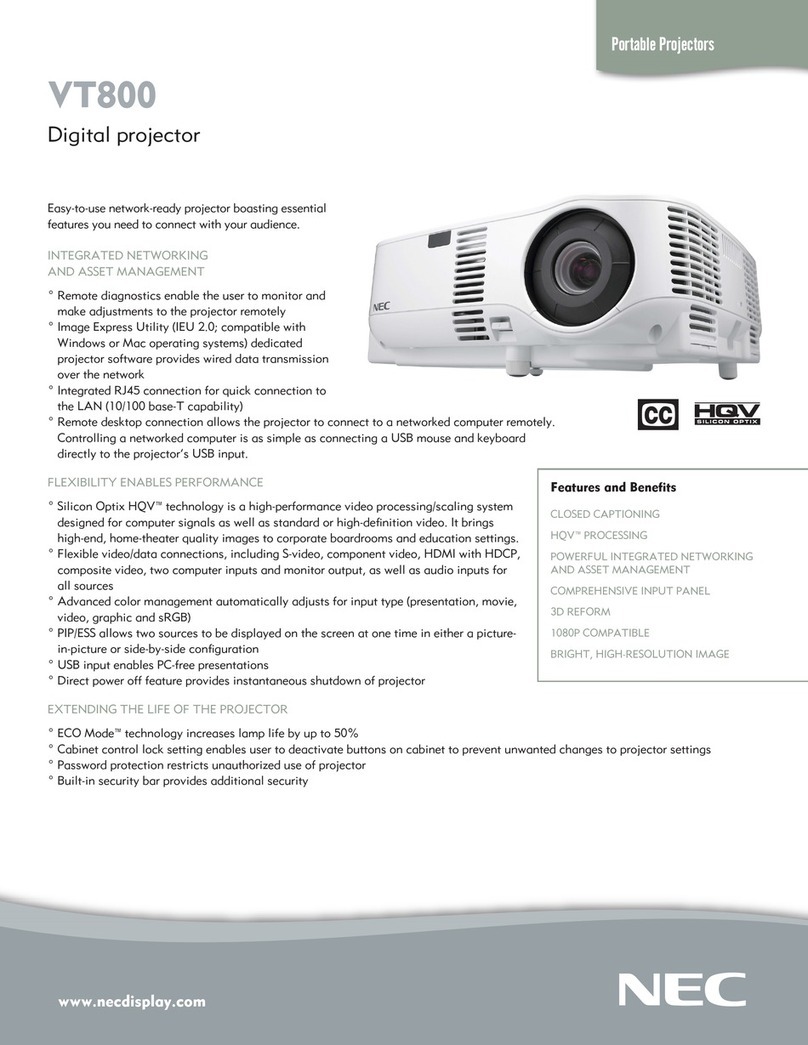
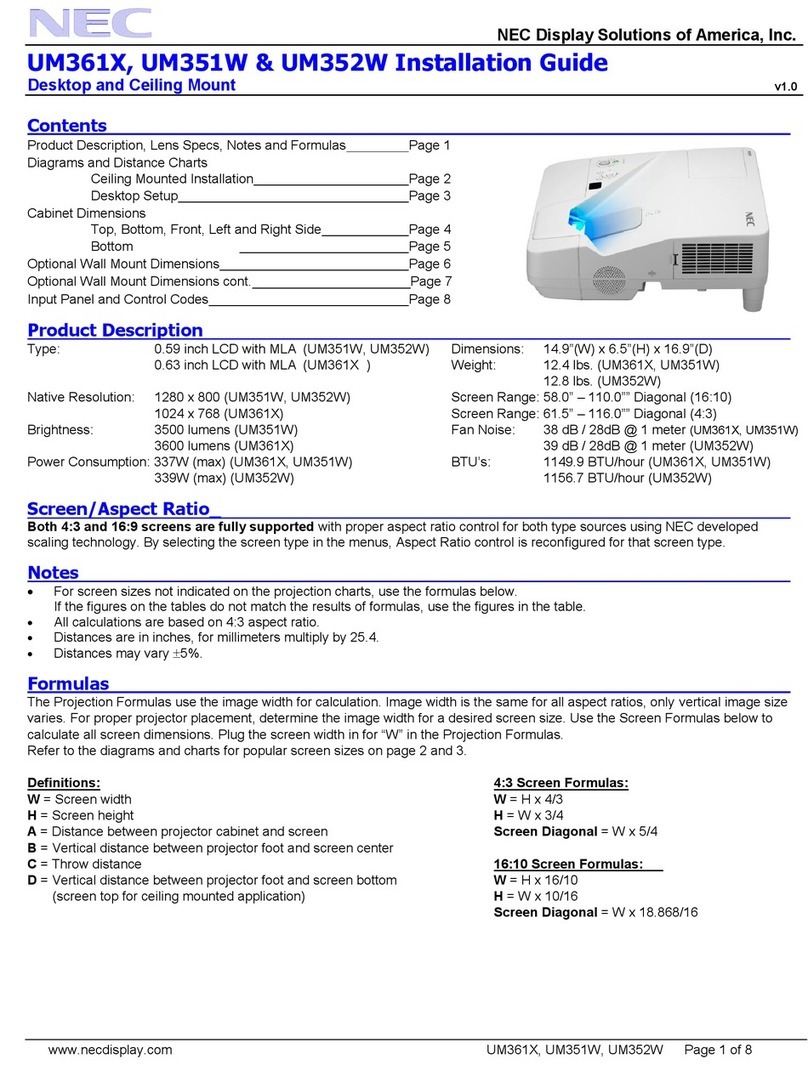
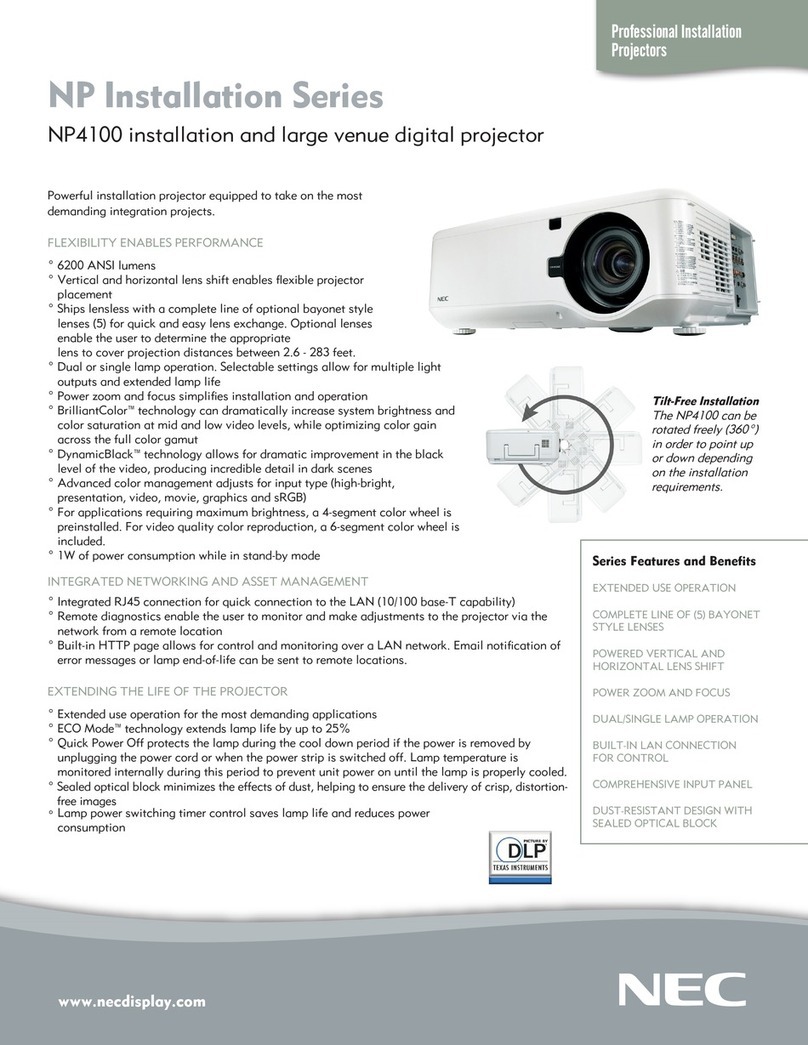
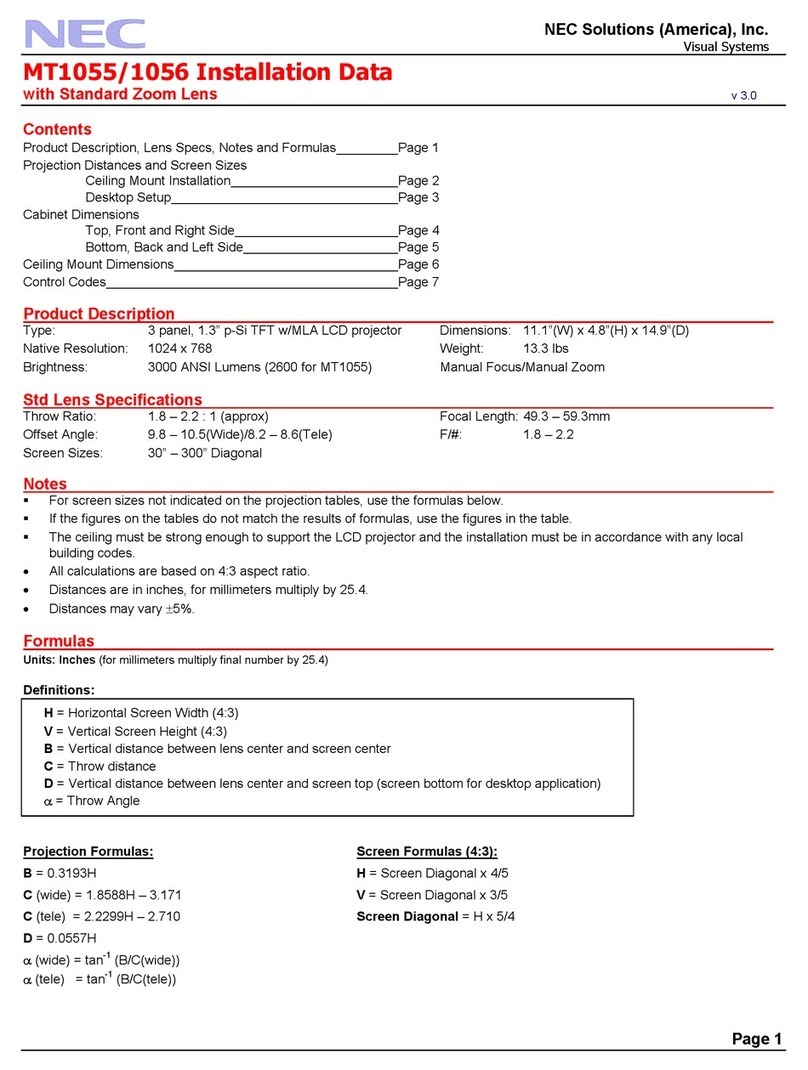
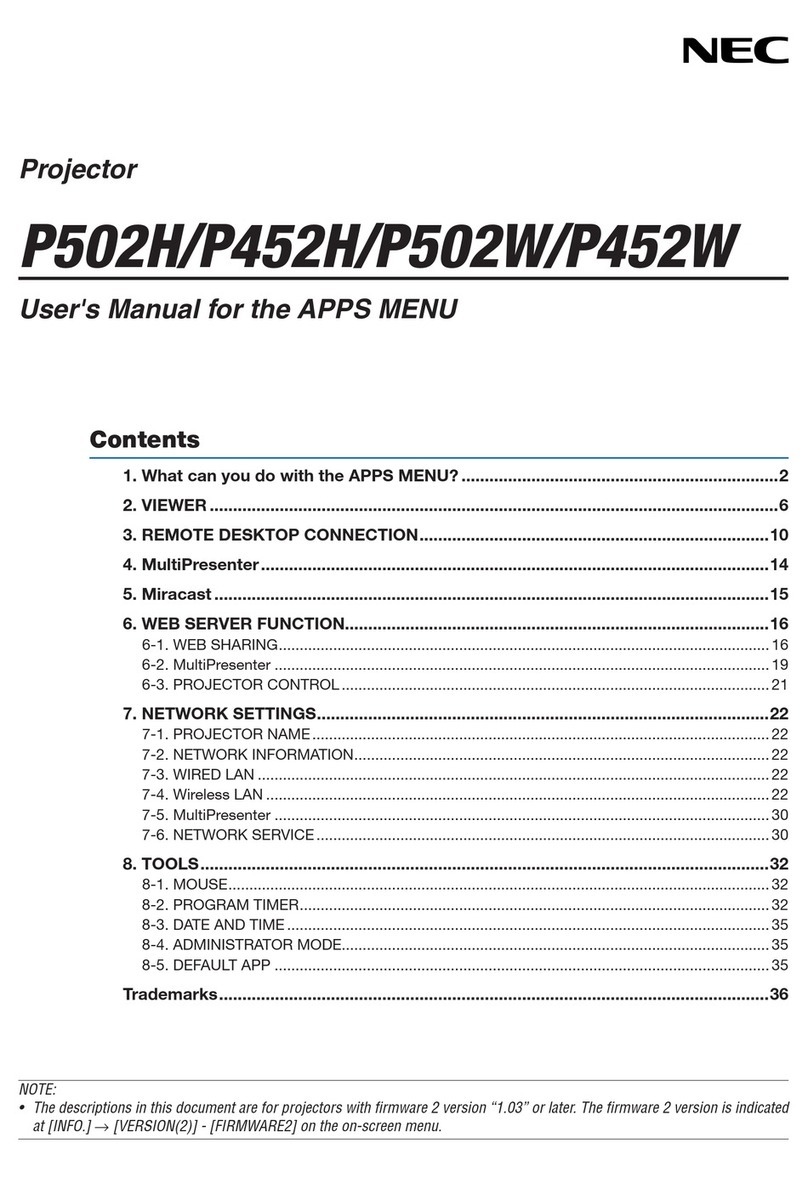
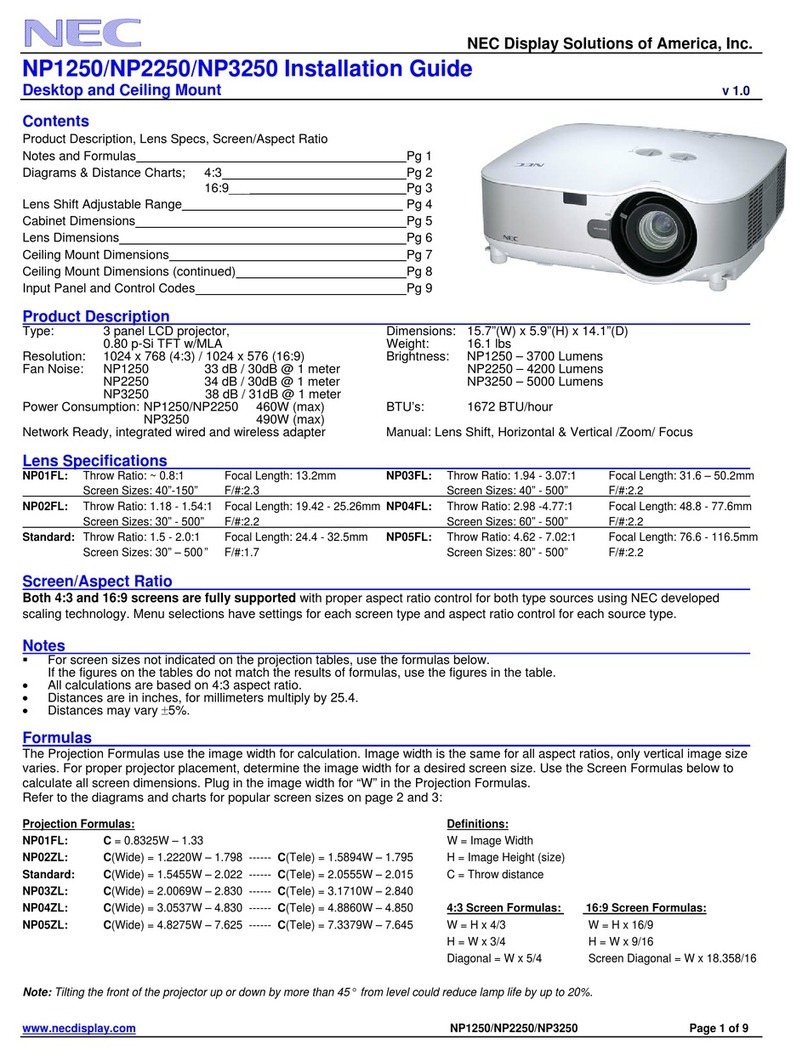
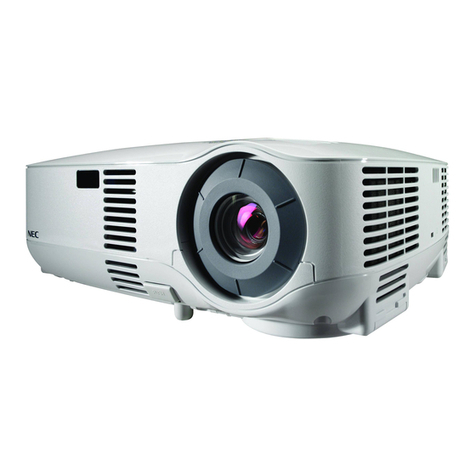
NEC M230X User manual

Portable Projector
M350X/M300X/M260X/M230X/M420X/
M420XV/M300W/M260W/M350XS/
M300XS/M260XS/M300WS/M260WS
User’s Manual
The M350X, M230X, M420X, M420XV, M350XS, M260XS, and
M260WS are not distributed in North America.
Model No.
NP-M350X, NP-M300X, NP-M260X, NP-M230X, NP-M420X, NP-
M420XV, NP-M300W, NP-M260W, NP-M350XS, NP-M300XS, NP-
M260XS, NP-M300WS, NP-M260WS
[M350X/M300X/M260X/M230X/M300W/M260W]
[M350XS/M300XS/M260XS/M300WS/M260WS][M420X/M420XV]

3rd edition, January 2011
• Macintosh,MacOSXandPowerBookaretrademarksofAppleInc.registeredintheU.S.andothercountries.
• Microsoft,Windows,WindowsVista,InternetExplorer,.NETFrameworkandPowerPointareeitheraregistered
trademarkortrademarkofMicrosoftCorporationintheUnitedStatesand/orothercountries.
• MicroSaverisaregisteredtrademarkofKensingtonComputerProductsGroup,adivisionofACCOBrands.
• VirtualRemoteToolusesWinI2C/DDClibrary,©NicomsoftLtd.
• HDMI,theHDMILogoandHigh-DenitionMultimediaInterfacearetrademarksorregisteredtrademarksofHDMI
LicensingLLC.
• TrademarkPJLinkisatrademarkappliedfortrademarkrightsinJapan,theUnitedStatesofAmericaandother
countries and areas.
• Wi-Fi®,Wi-FiAlliance®,andWi-FiProtectedAccess(WPA,WPA2)®areregisteredtrademarksoftheWi-FiAlli-
ance.
• Blu-rayisatrademarkofBlu-rayDiscAssociation
• Otherproductandcompanynamesmentionedinthisuser’smanualmaybethetrademarksorregisteredtrademarks
oftheirrespectiveholders.
• GPL/LGPLSoftwareLicenses
TheproductincludessoftwarelicensedunderGNUGeneralPublicLicense(GPL),GNULesserGeneralPublic
License(LGPL),andothers.
Formoreinformationoneachsoftware,see“readme.pdf”insidethe“aboutGPL&LGPL”folderonthesuppliedCD-
ROM.
NOTES
(1)Thecontentsofthisuser’smanualmaynotbereprintedinpartorwholewithoutpermission.
(2)Thecontentsofthisuser’smanualaresubjecttochangewithoutnotice.
(3)Greatcarehasbeentakeninthepreparationofthisuser’smanual;however,shouldyounoticeanyquestionable
points,errorsoromissions,pleasecontactus.
(4)Notwithstandingarticle(3),NECwillnotberesponsibleforanyclaimsonlossofprotorothermattersdeemed
toresultfromusingtheProjector.

i
Important Information
Safety Cautions
Precautions
PleasereadthismanualcarefullybeforeusingyourNECprojectorandkeepthemanualhandyforfuturereference.
CAUTION
Toturnoffmainpower,besuretoremovetheplugfrompoweroutlet.
Thepoweroutletsocketshouldbeinstalledasneartotheequipmentaspossible,andshouldbeeasily
accessible.
CAUTION
TOPREVENTSHOCK,DONOTOPENTHECABINET.
THEREAREHIGH-VOLTAGECOMPONENTSINSIDE.
REFERSERVICINGTOQUALIFIEDSERVICEPERSONNEL.
Thissymbolwarnstheuserthatuninsulatedvoltagewithintheunitmaybesufcienttocauseelectrical
shock.Therefore,itisdangeroustomakeanykindofcontactwithanypartinsideoftheunit.
Thissymbolalertstheuserthatimportantinformationconcerningtheoperationandmaintenanceofthis
unithasbeenprovided.
Theinformationshouldbereadcarefullytoavoidproblems.
WARNING: TOPREVENTFIREORSHOCK,DONOTEXPOSETHISUNITTORAINORMOISTURE.
DONOTUSETHISUNIT’SPLUGWITHANEXTENSIONCORDORINANOUTLETUNLESSALLTHEPRONGS
CANBEFULLYINSERTED.
DOC Compliance Notice (for Canada only)
ThisClassBdigitalapparatusmeetsall requirementsof theCanadian Interference-CausingEquipmentRegula-
tions.
Machine Noise Information Regulation - 3. GPSGV,
Thehighestsoundpressurelevelislessthan70dB(A)inaccordancewithENISO7779.
CAUTION
Avoiddisplayingstationaryimagesforaprolongedperiodoftime.
DoingsocanresultintheseimagesbeingtemporarilysustainedonthesurfaceoftheLCDpanel.
Ifthisshouldhappen,continuetouseyourprojector.Thestaticbackgroundfrompreviousimageswill
disappear.
Disposing of your used product
EU-widelegislationasimplementedineachMemberStaterequiresthatusedelectricalandelectronic
productscarryingthemark(left)mustbedisposedofseparatelyfromnormalhouseholdwaste.Thisin-
cludesprojectorsandtheirelectricalaccessoriesorlamps.Whenyoudisposeofsuchproducts,please
followtheguidanceofyourlocalauthorityand/orasktheshopwhereyoupurchasedtheproduct.
Aftercollectingtheusedproducts,theyarereusedandrecycledinaproperway.Thiseffortwillhelpus
reducethewastesaswellasthenegativeimpactsuchasmercurycontainedinalamptothehuman
healthandtheenvironmentattheminimumlevel.
ThemarkontheelectricalandelectronicproductsonlyappliestothecurrentEuropeanUnionMember
States.

ii
Important Information
WARNING TO CALIFORNIA RESIDENTS:
Handlingthecablessuppliedwiththisproductwillexposeyoutolead,achemicalknowntotheStateofCalifornia
tocausebirthdefectsorotherreproductiveharm.WASH HANDS AFTER HANDLING.
RF Interference (for USA only)
WARNING
TheFederalCommunicationsCommissiondoesnotallowanymodicationsorchangestotheunitEXCEPTthose
speciedbyNECDisplaySolutionsofAmerica,Inc.inthismanual.Failuretocomplywiththisgovernmentregu-
lationcouldvoidyourrighttooperatethisequipment.Thisequipmenthasbeentestedandfoundtocomplywith
thelimitsforaClassBdigitaldevice,pursuanttoPart15oftheFCCRules.Theselimitsaredesignedtoprovide
reasonableprotectionagainstharmfulinterferenceinaresidentialinstallation.Thisequipmentgenerates,uses,and
canradiateradiofrequencyenergyand,ifnotinstalledandusedinaccordancewiththeinstructions,maycause
harmfulinterferencetoradiocommunications.However,thereisnoguaranteethatinterferencewillnotoccurina
particularinstallation.
Ifthisequipmentdoescauseharmfulinterferencetoradioortelevisionreception,whichcanbedeterminedby
turningtheequipmentoffandon,theuserisencouragedtotrytocorrecttheinterferencebyoneormoreofthe
followingmeasures:
•Reorientorrelocatethereceivingantenna.
•Increasetheseparationbetweentheequipmentandreceiver.
•Connecttheequipmentintoanoutletonacircuitdifferentfromthattowhichthereceiverisconnected.
•Consultthedealeroranexperiencedradio/TVtechnicianforhelp.
ForUKonly:InUK,aBSapprovedpowercordwithmouldedplughasaBlack(veAmps)fuseinstalledforusewith
thisequipment.Ifapowercordisnotsuppliedwiththisequipmentpleasecontactyoursupplier.
Important Safeguards
Thesesafetyinstructionsaretoensurethelonglifeofyourprojectorandtopreventreandshock.Pleasereadthem
carefullyandheedallwarnings.
Installation
•Donotplacetheprojectorinthefollowingconditions:
- on an unstable cart, stand, or table.
-nearwater,baths,ordamprooms.
-indirectsunlight,nearheaters,orheatradiatingappliances.
-inadusty,smokyorsteamyenvironment.
-onasheetofpaperorcloth,rugsorcarpets.
•Ifyouwishtohavetheprojectorinstalledontheceiling:
-Donotattempttoinstalltheprojectoryourself.
-Theprojectormustbeinstalledbyqualiedtechniciansinordertoensureproperoperationandreducetherisk
ofbodilyinjury.
-Inaddition,theceilingmustbestrongenoughtosupporttheprojectorandtheinstallationmustbeinaccordance
withanylocalbuildingcodes.
-Pleaseconsultyourdealerformoreinformation.

iii
Important Information
Fire and Shock Precautions
• Ensurethatthereissufcientventilationandthatventsareunobstructedtopreventthebuild-upofheatinsideyour
projector.Allowatleast4inches(10cm)ofspacebetweenyourprojectorandawall.
• Donottrytotouchtheventilationoutletontheleftfront(whenseenfromthefront)asitcanbecomeheatedwhile
theprojectoristurnedonandimmediatelyaftertheprojectoristurnedoff.Partsoftheprojectormaybecometem-
porarilyheatediftheprojectoristurnedoffwiththePOWERbuttonoriftheACpowersupplyisdisconnectedduring
normalprojectoroperation.
Usecautionwhenpickinguptheprojector.
• Preventforeignobjectssuchaspaperclipsandbitsofpaperfromfallingintoyourprojector.Donotattempttoretrieve
anyobjectsthatmightfallintoyourprojector.Donotinsertanymetalobjectssuchasawireorscrewdriverintoyour
projector.Ifsomethingshouldfallintoyourprojector,disconnectitimmediatelyandhavetheobjectremovedbya
qualiedservicepersonnel.
• Donotplaceanyobjectsontopoftheprojector.
• Donottouchthepowerplugduringathunderstorm.Doingsocancauseelectricalshockorre.
• Theprojectorisdesignedtooperateonapowersupplyof100-240VAC50/60Hz.Ensurethatyourpowersupply
tsthisrequirementbeforeattemptingtouseyourprojector.
• Donotlookintothelenswhiletheprojectorison.Seriousdamagetoyoureyescouldresult.
WARNING
•Donotuseanyotherobjectthantheprojector’sslidinglenscovertocoverthelenswhiletheprojectorison.
Doingsocancausetheobjecttogetextremelyhot,andpossiblyresultinginareordamageduetotheheat
emittedfromthelightoutput.
•Donotcoverthelenswiththelenscaporequivalentwhiletheprojectorison.Doingsocanleadtomeltingof
thecapduetotheheatemittedfromthelightoutput.
•Donotplaceanyobjects,whichareeasilyaffectedbyheat,infrontoftheprojectorlens.Doingsocouldlead
totheobjectmeltingfromtheheatthatisemittedfromthelightoutput.
Place the projector in a horizontal position
Thetiltangleoftheprojectorshouldnotexceed10degrees,norshouldtheprojectorbeinstalledinanywayother
thanthedesktopandceilingmount,otherwiselamplifecoulddecreasedramatically.
10°

iv
Important Information
• Keepanyitems(magnifyingglassetc.)outofthelightpathoftheprojector.Thelightpathbeingprojectedfromthe
lensisextensive,thereforeanykindofabnormalobjectsthatcanredirectlightcomingoutofthelens,cancause
anunpredictableoutcomesuchasareorinjurytotheeyes.
• Donotplaceanyobjects,whichareeasilyaffectedbyheat,infrontofaprojectorexhaustvent.
Doingsocouldleadtotheobjectmeltingorgettingyourhandsburnedfromtheheatthatisemittedfromtheex-
haust.
• Handlethepowercordcarefully.Adamagedorfrayedpowercordcancauseelectricshockorre.
- Donotuseanypowercordotherthantheonesuppliedwiththeprojector.
- Donotbendortugthepowercordexcessively.
- Donotplacethepowercordundertheprojector,oranyheavyobject.
- Donotcoverthepowercordwithothersoftmaterialssuchasrugs.
- Donotheatthepowercord.
- Donothandlethepowerplugwithwethands.
• Turnofftheprojector,unplugthepowercordandhavetheprojectorservicedbyaqualiedservicepersonnelunder
thefollowingconditions:
- Whenthepowercordorplugisdamagedorfrayed.
- Ifliquidhasbeenspilledintotheprojector,orifithasbeenexposedtorainorwater.
- Iftheprojectordoesnotoperatenormallywhenyoufollowtheinstructionsdescribedinthisuser’smanual.
- Iftheprojectorhasbeendroppedorthecabinethasbeendamaged.
- Iftheprojectorexhibitsadistinctchangeinperformance,indicatinganeedforservice.
• Disconnectthepowercordandanyothercablesbeforecarryingtheprojector.
• Turnofftheprojectorandunplugthepowercordbeforecleaningthecabinetorreplacingthelamp.
• Turnofftheprojectorandunplugthepowercordiftheprojectorisnottobeusedforanextendedperiodoftime.
• WhenusingaLANcable(onlymodelswiththeRJ-45LANport):
Forsafety,donotconnecttotheconnectorforperipheraldevicewiringthatmighthaveexcessivevoltage.
CAUTION
• Donotusethetilt-footforpurposesotherthanoriginallyintended.Misusessuchasgrippingthetilt-footorhang-
ingonthewallcancausedamagetotheprojector.
• Donotsendtheprojectorinthesoftcasebyparceldeliveryserviceorcargoshipment.Theprojectorinsidethe
softcasecouldbedamaged.
• Select[HIGH]inFanmodeifyoucontinuetousetheprojectorforconsecutivedays.(Fromthemenu,select
[SETUP]→[OPTIONS(1)]→[FANMODE]→[HIGH].)
• Donottrytotouchtheventilationoutletontheleftfront(whenseenfromthefront)asitcanbecomeheatedwhile
theprojectoristurnedonandimmediatelyaftertheprojectoristurnedoff.
• DonotturnofftheACpowerfor60secondsafterthelampisturnedonandwhilethePOWERindicatorisblink-
ingblue.Doingsocouldcauseprematurelampfailure.
Remote Control Precautions
• Handletheremotecontrolcarefully.
• Iftheremotecontrolgetswet,wipeitdryimmediately.
• Avoidexcessiveheatandhumidity.
• Donotshort,heat,ortakeapartbatteries.
• Donotthrowbatteriesintore.
• Ifyouwillnotbeusingtheremotecontrolforalongtime,removethebatteries.
• Ensurethatyouhavethebatteries’polarity(+/−)alignedcorrectly.
• Donotusenewandoldbatteriestogether,orusedifferenttypesofbatteriestogether.
• Disposeofusedbatteriesaccordingtoyourlocalregulations.

v
Important Information
Note for US Residents
Thelampinthisproductcontainsmercury.PleasedisposeaccordingtoLocal,StateorFederalLaws.
Lamp Replacement
• Usethespeciedlampforsafetyandperformance.
• Toreplacethelamp,followallinstructionsprovidedonpage120.
• Besuretoreplacethelampandlterwhenthemessage[THE LAMP HAS REACHEDTHE END OF ITS USABLE
LIFE. PLEASE REPLACE THE LAMP AND FILTER.]appears.Ifyoucontinuetousethelampafterthelamphas
reachedtheendofitsusablelife,thelampbulbmayshatter,andpiecesofglassmaybescatteredinthelamp
case.Donottouchthemasthepiecesofglassmaycauseinjury.
Ifthishappens,contactyourdealerforlampreplacement.
A Lamp Characteristic
Theprojectorhasahigh-pressuremercurylampasalightsource.
Alamphasacharacteristicthatitsbrightnessgraduallydecreaseswithage.Alsorepeatedlyturningthelampon
andoffwillincreasethepossibilityofitslowerbrightness.
CAUTION:
• DONOTTOUCHTHELAMPimmediatelyafterithasbeenused.Itwillbeextremelyhot.Turntheprojectoroff
andthendisconnectthepowercord.Allowatleastonehourforthelamptocoolbeforehandling.
• Whenremovingthelampfromaceiling-mountedprojector,makesurethatnooneisundertheprojector.Glass
fragmentscouldfallifthelamphasbeenburnedout.
About High Altitude mode
•
Set[FANMODE]to[HIGHALTITUDE]whenusingtheprojectorataltitudesapproximately5500feet/1600metersor
higher.
Usingtheprojectorataltitudesapproximately5500feet/1600metersorhigherwithoutsettingto[HIGHALTITUDE]
cancausetheprojectortooverheatandtheprotectorcouldshutdown.Ifthishappens,waitacoupleminutesand
turnontheprojector.
• Usingtheprojectorataltitudeslessthanapproximately5500feet/1600metersandsettingto[HIGHALTITUDE]
cancausethelamptoovercool,causingtheimagetoicker.Switch[FANMODE]to[AUTO].
• Usingtheprojectorataltitudesapproximately5500feet/1600metersorhighercanshortenthelifeofopticalcom-
ponentssuchasthelamp.
About Copyright of original projected pictures:
Pleasenotethatusingthisprojectorforthepurposeofcommercialgainortheattractionofpublicattentioninavenue
suchasacoffeeshoporhotelandemployingcompressionorexpansionofthescreenimagewiththefollowingfunc-
tionsmayraiseconcernabouttheinfringementofcopyrightswhichareprotectedbycopyrightlaw.
[ASPECTRATIO],[KEYSTONE],Magnifyingfeatureandothersimilarfeatures.
Turkish RoHS information relevant for Turkish market
EEE Yönetmeliğine Uygundur.
Thisdeviceisnotintendedforuseinthedirecteldofviewatvisualdisplayworkplaces.Toavoidincommodingreec-
tionsatvisualdisplayworkplacesthisdevicemustnotbeplacedinthedirecteldofview.

vi
Table of Contents
Important Information............................................................................................i
1. Introduction.......................................................................................................... 1
1What’sintheBox?......................................................................................................... 1
IntroductiontotheProjector .......................................................................................... 2
CongratulationsonYourPurchaseoftheProjector ................................................. 2
Featuresyou’llenjoy: ............................................................................................... 2
Aboutthisuser’smanual.......................................................................................... 3
ComparativeTableofMainFeatures ....................................................................... 4
PartNamesoftheProjector .......................................................................................... 5
Front/Top.................................................................................................................. 5
Rear ......................................................................................................................... 6
TopFeatures ............................................................................................................ 8
TerminalPanelFeatures .......................................................................................... 9
PartNamesoftheRemoteControl ............................................................................. 10
BatteryInstallation ................................................................................................. 11
RemoteControlPrecautions.................................................................................. 11
OperatingRangeforWirelessRemoteControl...................................................... 11
OperatingEnvironmentforSoftwareIncludedonCD-ROM ........................................ 12
OperatingEnvironment.......................................................................................... 13
2. Projecting an Image (Basic Operation) .............................................. 14
1FlowofProjectinganImage........................................................................................ 14
ConnectingYourComputer/ConnectingthePowerCord............................................. 15
TurningontheProjector .............................................................................................. 16
NoteonStartupscreen(MenuLanguageSelectscreen)...................................... 17
SelectingaSource ...................................................................................................... 18
Selectingthecomputerorvideosource................................................................. 18
AdjustingthePictureSizeandPosition....................................................................... 19
AdjusttheTiltFoot ................................................................................................. 20
Zoom...................................................................................................................... 21
Adjustingfromthemenu........................................................................................ 22
Focus ..................................................................................................................... 23
CorrectingKeystoneDistortionManually .................................................................... 24
Adjustingwithbuttonsonthecabinet .................................................................... 24
Adjustingwiththeremotecontrol........................................................................... 25
OptimizingComputerSignalAutomatically ................................................................. 26
AdjustingtheImageUsingAutoAdjust.................................................................. 26
TurningUporDownVolume(notavailableonM420XV)............................................. 26
TurningofftheProjector .............................................................................................. 27
AfterUse...................................................................................................................... 28
3. Convenient Features..................................................................................... 29
1TurningofftheImageandSound ................................................................................ 29
FreezingaPicture ....................................................................................................... 29
EnlargingaPicture ...................................................................................................... 29
ChangingEcoMode/CheckingEnergy-SavingEffect ................................................ 30

vii
Table of Contents
UsingEcoMode[ECOMODE].............................................................................. 30
CheckingEnergy-SavingEffect[CARBONMETER] ............................................. 31
PreventingtheUnauthorizedUseoftheProjector[SECURITY] ................................. 32
UsingtheComputerCable(VGA)toOperatetheProjector(VirtualRemoteTool) ..... 35
OperatingYourComputer’sMouseFunctionsfromtheProjector’sRemoteControl
viatheUSBCable(RemoteMouseFunction)....................................................... 41
ProjectingYourComputer’sScreenImagefromtheProjectorviatheUSBCable
(USBDisplay) ........................................................................................................ 42
ControllingtheProjectorbyUsinganHTTPBrowser ................................................. 44
ControllingtheProjectoroveraLAN(PCControlUtilityPro4)................................... 50
ProjectingYourComputer’sScreenImagefromtheProjectoroveraLAN(Image
ExpressUtilityLite) ................................................................................................ 53
ProjectinganImagefromanAngle(GeometricCorrectionToolinImageExpress
UtilityLite) .............................................................................................................. 56
WhatyoucandowithGCT.................................................................................... 56
ProjectinganImagefromanAngle(GCT)............................................................. 56
4. Using the Viewer ............................................................................................. 58
❶WhatyoucandowiththeViewer................................................................................. 58
❷ProjectingimagesstoredinaUSBmemorydevice .................................................... 60
ConvertingPowerPointlestoSlides(ViewerPPTConverter3.0)............................. 66
5. Using On-Screen Menu................................................................................ 69
1UsingtheMenus.......................................................................................................... 69
MenuElements............................................................................................................ 70
ListofMenuItems ....................................................................................................... 71
MenuDescriptions&Functions[SOURCE] ................................................................ 73
COMPUTER1 and 2 ............................................................................................. 73
HDMI...................................................................................................................... 73
VIDEO.................................................................................................................... 73
S-VIDEO ................................................................................................................ 73
VIEWER................................................................................................................. 73
NETWORK............................................................................................................. 73
USBDISPLAY........................................................................................................ 73
MenuDescriptions&Functions[ADJUST].................................................................. 74
[PICTURE] ............................................................................................................. 74
[IMAGEOPTIONS] ................................................................................................ 77
MenuDescriptions&Functions[SETUP].................................................................... 81
[GENERAL]............................................................................................................ 81
[MENU] .................................................................................................................. 83
[INSTALLATION] .................................................................................................... 85
[OPTIONS(1)] ........................................................................................................ 87
[OPTIONS(2)] ........................................................................................................ 89
SettinguptheProjectorforaWiredLANConnection[WIREDLAN]..................... 91
SettinguptheProjectorforaWirelessLANConnection(withtheoptionalUSB
WirelessLANUnitequipped)[WIRELESSLAN] ................................................... 92
MenuDescriptions&Functions[INFO.] ...................................................................... 94
[USAGETIME] ....................................................................................................... 94

viii
Table of Contents
[SOURCE].............................................................................................................. 95
[WIREDLAN]......................................................................................................... 95
[WIRELESSLAN] .................................................................................................. 95
[VERSION]............................................................................................................. 96
[OTHERS] .............................................................................................................. 96
MenuDescriptions&Functions[RESET].................................................................... 97
ReturningtoFactoryDefault[RESET]................................................................... 97
6. Installation and Connections ................................................................... 98
1SettingUptheScreenandtheProjector..................................................................... 98
SelectingaLocation............................................................................................... 98
ThrowDistanceandScreenSize......................................................................... 101
MakingConnections.................................................................................................. 104
ConnectingYourComputer .................................................................................. 104
ConnectinganExternalMonitor .......................................................................... 106
ConnectingYourDVDPlayerorOtherAVEquipment.......................................... 107
ConnectingComponentInput .............................................................................. 108
ConnectingHDMIInput........................................................................................ 109
ConnectingtoaWiredLAN ................................................................................. 110
ConnectingtoaWirelessLAN(Optional:NP02LMseries).................................. 111
AttachingtheOptionalCableCover(NP01CV) ................................................... 114
7. Maintenance .................................................................................................... 115
1CleaningtheFilters.................................................................................................... 115
CleaningtheLens...................................................................................................... 119
CleaningtheCabinet................................................................................................. 119
ReplacingtheLampandtheFilters........................................................................... 120
8. Appendix............................................................................................................. 127
1Troubleshooting ......................................................................................................... 127
IndicatorMessages.............................................................................................. 127
CommonProblems&Solutions........................................................................... 128
Ifthereisnopicture,orthepictureisnotdisplayedcorrectly............................... 129
Specications ............................................................................................................ 130
CabinetDimensions .................................................................................................. 136
PinAssignmentsofD-SubCOMPUTERInputConnector ........................................ 139
CompatibleInputSignalList...................................................................................... 140
PCControlCodesandCableConnection................................................................. 141
TroubleshootingCheckList........................................................................................ 142
TravelCareGuide....................................................................................................... 144
TCOCertication....................................................................................................... 144

1
Projector
[M350XS/M300XS/M260XS/M300WS/
M260WS]
[M420X/M420XV]
1. Introduction
1What’s in the Box?
Makesureyourboxcontainseverythinglisted.Ifanypiecesaremissing,contactyourdealer.
Pleasesavetheoriginalboxandpackingmaterialsifyoueverneedtoshipyourprojector.
Power cord
US
(7N080236: M300X/M260X/M300W/M260W)
(7N080240: M300XS/M300WS)
EU
(7N080022: M350X/M300X/M260X/M230X/
M300W/M260W/M420X/M420XV)
(7N080026: M350XS/M300XS/M260XS/
M300WS/M260WS)
Computer cable (VGA)
(7N520073)
NEC Projector CD-ROM
User’s manual (PDF) and the util-
ity software
(7N951543)
For North America only
Registrationcard
Limitedwarranty
For customers in Europe:
YouwillndourcurrentvalidGuaranteePolicyonourWebSite:
www.nec-display-solutions.com
The M420X/M420XV and
M350XS/M300XS/M260XS/
M300WS/M260WS do not come
with a soft case.
• ImportantInfomation(ForNorth
America: 7N8N1181) (For Other
countries than North America:
7N8N1181 and 7N8N1192)
• QuickSetupGuide(ForNorthAmer-
ica: 7N8N1201) (For Other countries
than North America: 7N8N1201 and
7N8N1211)
Remote control
(7N900922)
Batteries (AAA × 2)
Unlessotherwisedescribedintheuser’smanual,thedrawingsfortheprojectorcabinetshowexamplesoftheM350X.
Soft case
(24BS8121)
[M350X/M300X/M260X/M230X/M300W/M260W]

2
1. Introduction
Introduction to the Projector
Thissectionintroducesyoutoyournewprojectoranddescribesthefeaturesandcontrols.
Congratulations on Your Purchase of the Projector
Thisprojectorisoneoftheverybestprojectorsavailabletoday.Theprojectorenablesyoutoprojectpreciseimagesup
to300inches(110inchesonshort-throwmodels)across(measureddiagonally)fromyourPCorMacintoshcomputer
(desktopornotebook),VCR,DVDplayer,ordocumentcamera.
Youcanusetheprojectoronatabletoporcart,youcanusetheprojectortoprojectimagesfrombehindthescreen,
andtheprojectorcanbepermanentlymountedonaceiling*1.Theremotecontrolcanbeusedwirelessly.
*1 Donotattempttomounttheprojectoronaceilingyourself.
Theprojectormustbeinstalledbyqualiedtechniciansinordertoensureproperoperationandreducetherisk
ofbodilyinjury.
Inaddition,theceilingmustbestrongenoughtosupporttheprojectorandtheinstallationmustbeinaccordance
withanylocalbuildingcodes.Pleaseconsultyourdealerformoreinformation.
Features you’ll enjoy:
• Quickstart(3seconds*1),QuickPowerOff(0seconds),DirectPowerOff
3seconds*1afterturningonthepower,theprojectorisreadytodisplayPCorvideoimages.
Theprojectorcanbeputawayimmediatelyaftertheprojectorispowereddown.Nocooldownperiodisrequired
aftertheprojectoristurnedofffromtheremotecontrolorcabinetcontrolpanel.
Theprojectorhasafeaturecalled“DirectPowerOff”.Thisfeatureallowstheprojectortobeturnedoff(evenwhen
projectinganimage)byusingtheMainPowerSwitchordisconnectingtheACpowersupply.
ToturnofftheACpowersupplywhentheprojectorispoweredon,useapowerstripequippedwithaswitchand
abreaker.
*1Thequickstarttimeisonlywhen[STANDBYMODE]issetto[NORMAL]intheon-screenmessage.
• 0.2W(100-130VAC)/0.4W(200-240VAC)instandbyconditionwithenergysavingtechnology
Selecting[POWER-SAVING]for[STANDBYMODE]fromthemenucanputtheprojectorinpower-savingmode
thatconsumesonly0.2W(100-130VAC)/0.4W(200-240VAC).
• CarbonMeter
Thisfeaturewillshowenergy-savingeffectintermsofCO2emissionreduction(kg)whentheprojector’s[ECO
MODE]issetto[AUTOECO],[ECO1],or[ECO2]*2.
TheamountofCO2emissionreductionwillbedisplayedintheconrmationmessageatthetimeofpower-offand
intheINFOoftheon-screenmenu.
*2[ECO2]isavailableonM300X,M260X,andM260XSonly.
• Longerlamplifewithoutcleaningtheltersregularly
UsinginEcoModeallowsyoutoprolongtheprojector’slamplife.
Thetwo-layer,largeltersrequirenoregularcleaning.Filterreplacementisrequredonlyatthetimeofthelamp
replacement.
• Shortthrowdistances(M350XS/M300XS/M260XS/M300WS/M260WS)
Shortfocallensesprovideforalargerimageusingashorterthrowdistancewhencomparedtoatypicalprojector
lens.
• HDMIinputportprovidesdigitalsignal
TheHDMIinputprovidesHDCPcompatibledigitalsignals.TheHDMIinputalsosupportsaudiosignal.
• 10Wbuilt-inspeakerforanintegratedaudiosolution(notavailableonM420XV)
Powerful10wattmonauralspeakerprovidesvolumeneedforlargerooms.

3
1. Introduction
• ThesuppliedremotecontrolallowsyoutoassignaCONTROLIDtotheprojector
Multipleprojectorscanbeoperatedseparatelyandindependentlywiththesamesingleremotecontrolbyassigning
anIDnumbertoeachprojector.
• Autoverticalkeystonecorrection
AutoKeystonefeatureallowstheprojectortodetectitstiltandcorrectverticaldistortionautomatically.
• USBDisplay
UsingacommerciallyavailableUSBcable(compatiblewithUSB2.0specications)toconnectthecomputerwith
theprojectorallowsyoutosendyourcomputerscreenimagetotheprojectorwithouttheneedofatraditional
computercable(VGA).
• IntegratedRJ-45connectorforwirednetworkingcapabilityalongwithwirelessnetworkingcapabilities
AnRJ-45connectorisstandard.AnoptionalUSBWirelessLANUnitisrequiredforwirelessLANconnection.
• Softwareprograms(UserSupportware)containedinthesuppliedCD-ROM
ThesuppliedNECProjectorincludesfourprograms:VirtualRemoteTool,ImageExpressUtilityLite,PCControl
UtilityPro4,andViewerPPTConverter3.0.
• AUTOPOWERONandAUTOPOWEROFFfeatures
TheAUTOPOWERON(AC),AUTOPOWERON(COMP1),AUTOPOWEROFF,andOFFTIMERfeatureseliminate
theneedtoalwaysusethePOWERbuttonontheremotecontrolorprojectorcabinet.
• Preventingunauthorizeduseoftheprojector
Enhancedsmartsecuritysettingsforkeywordprotection,cabinetcontrolpanellock,securityslot,andsecurity
chainopeningtohelppreventunauthorizedaccess,adjustmentsandtheftdeterrence.
• HighresolutionuptoUXGA
Highresolutiondisplay-uptoUXGAcompatible,XGA(M350X/M300X/M260X/M230X/M420X/M420XV/M350XS/
M300XS/M260XS)/WXGA(M300W/M260W/M300WS/M260WS)nativeresolution.
About this user’s manual
Thefastestwaytogetstartedistotakeyourtimeanddoeverythingrightthersttime.Takeafewminutesnowto
reviewtheuser’smanual.Thismaysaveyoutimelateron.Atthebeginningofeachsectionofthemanualyou’llnd
anoverview.Ifthesectiondoesn’tapply,youcanskipit.

4
1. Introduction
Comparative Table of Main Features
Themainfeaturesvarydependingonthemodelasfollows.
Standard Models Standard Models
withWidePanel Short-ThrowModels
Short-Throw
ModelswithWide
Panel
M350X M300X M260X M230X M420X M420XV M300W M260W M350XS M300XS M260XS M300WS M260WS
NativeAspect
Ratio
4:3
Standard
16:10
Wide
4:3
Standard
16:10
Wide
NativeResolu-
tion(dots×
lines*1)
XGA(1024×768) WXGA(1280×
800) XGA(1024×768) WXGA(1280×
800)
ScreenSize 25" - 300" 60" - 110"
ThrowDistance 26–543inches/0.65–13.8m 25–542 inch-
es/0.6–13.8m
27–573inch-
es/0.69–14.6m 18-43inches/0.5-1.1m
Lightoutput*2*3
inOFFforECO
MODE
3500
lumens
3000
lumens
2600
lumens
2300
lumens 4200 lumens 3000
lumens
2600
lumens
3500
lumens
3000
lumens
2600
lumens
3000
lumens
2600
lumens
LampReplace-
ment Time
(average)
OFFforECOMODE/ONforECOMODE(H)
4000/
5000 5000/6000 3000/3500 4000/
5000
5000/
6000
3000/
3500
4000/
5000
5000/
6000
3000/
3500
4000/
5000
LampModel NP16LP NP15LP NP17LP NP16LP NP15LP NP17LP NP16LP NP15LP NP17LP NP16LP
LampWattage
(AC) 230 W 180 W 265 W 230 W 180 W 265 W 230 W 180 W 265 W 230 W
Zoom Usingthemanualzoomlever Usingthe[DIGITALZOOM]functionfromthe
menu
Focus Usingthemanualfocusring Usingthemanualfocuslever
Forfurtherdetailsonthespecications,seepages130 to 135.
*1 Effectivepixelsaremorethan99.99%.
*2 Thisisthelightoutputvalue(lumens)whenthe[PRESET]modeissetto[HIGH-BRIGHT].Ifanyothermodeis
selectedasthe[PRESET]mode,thelightoutputvaluemaydropslightly.
*3 CompliancewithISO21118-2005
TIP: The model name is located on the cabinet.
Model name

5
1. Introduction
Part Names of the Projector
Front/Top
[M350X/M300X/M260X/M230X/M300W/M260W]
[M420X/M420XV]
[M350XS/M300XS/M260XS/M300WS/M260WS]
Controls
(→page 8)
Controls
(→page 8)
Lens
Lens
Remote Sensor
(→page 11)
Remote Sensor
(→page 11)
Ventilation (inlet) / Filter Cover
(→page 115, 123)
Ventilation (inlet) / Filter Cover
(→page 117, 125)
Zoom Lever
(→page 21)
Zoom Lever
(→page 21)
Lens Cover
Lens Cover
Focus Ring
(→page 23)
Focus Ring
(→page 23)
Adjustable Tilt Foot
(→page 20)
Adjustable Tilt Foot
(→page 20)
Adjustable Tilt Foot Lever
(→page 20)
Adjustable Tilt Foot Lever
(→page 20)
Ventilation (outlet)
Heated air is exhausted from here.
Ventilation (outlet)
Heated air is exhausted from here.
Controls
(→page 8)
Lens Cap
Ventilation (inlet) / Filter Cover
(→page 117, 125)
Focus Lever
(→page 23)
Remote Sensor
(→page 11)
Lens
Adjustable Tilt Foot
(→page 20)
Adjustable Tilt Foot Lever
(→page 20)
Ventilation (outlet)
Heated air is exhausted from here.

6
1. Introduction
Rear
[M350X/M300X/M260X/M230X/M300W/M260W]
[M420X/M420XV]
AC Input
Connect the supplied power cord’s
three-pin plug here, and plug the
other end into an active wall outlet.
(→page 15)
Port Cover for Optional USB
Wireless LAN Unit
When using the optional USB
Wireless LAN Unit, first remove
the cover. (→page 111)
Terminal Panel (→page 9)
MonauralSpeaker(10W)
Lamp Cover (→page 121)
Rear Foot (→page 20)
Built-in Security Slot ( )* Security chain opening
Attach an anti-theft device.
The security chain opening accepts
security wires or chains up to 0.18
inch/4.6 mm in diameter.
AC Input
Connect the supplied power cord’s
three-pin plug here, and plug the
other end into an active wall outlet.
(→page 15)
Connection for cable cover (Left/
right)
Screw holes temporarily fixing
grooves for the optional cable cover
(→page 114)
Port Cover for Optional USB
Wireless LAN Unit
When using the optional USB
Wireless LAN Unit, first remove
the cover. (→page 111)
Terminal Panel (→page 9)
MonauralSpeaker(10W)
(The M420XV does not come with
thespeaker.)
Lamp Cover (→page 121)
Rear Foot (→page 20)
Security chain opening
Attach an anti-theft device.
The security chain opening accepts
security wires or chains up to 0.18
inch/4.6 mm in diameter.
Built-in Security Slot ( )*
* ThissecurityslotsupportstheMicroSaver®Security System.

7
1. Introduction
Opening and closing the lens cover
Slidethelenscovertothelefttouncoverthelens.
Tocoverthelens,slidethelenscovertotheright.
NOTE:
• ThelenscoverworksinconjunctionwiththeAVmutefunction.Closingthelenscoverwillturnofftheimageandsound
duringnormalprojectoroperation;openingitwillrestoretheimageandsound.
Withthelenscoverclosedtheimageandsoundisturnedoff,howeverthelampisstilllit.Iftheprojectorstaysthiswayfor
about2hours,itwillturnoffautomatically.
• Donotpullthelenscoverwithexcessiveforceorapplystrongpressureineithertheupordowndirection.Doingsocan
causedamagetothelenscoverslidingmechanism!
[M350X/M300X/M260X/M230X/M300W/M260W/M420X/M420XV]
[M350XS/M300XS/M260XS/M300WS/M260WS]
AC Input
Connect the supplied power cord’s
three-pin plug here, and plug the
other end into an active wall outlet.
(→page 15)
Connection for cable cover (Left/
right)
Screw holes temporarily fixing
grooves for the optional cable cover
(→page 114)
Port Cover for Optional USB
Wireless LAN Unit
When using the optional USB
Wireless LAN Unit, first remove
the cover. (→page 111)
Terminal Panel (→page 9)
MonauralSpeaker(10W)
Lamp Cover (→page 121)
Rear Foot (→page 20)
Security chain opening
Attach an anti-theft device.
The security chain opening accepts
security wires or chains up to 0.18
inch/4.6 mm in diameter.
Built-in Security Slot ( )*
* ThissecurityslotsupportstheMicroSaver®Security System.

8
1. Introduction
Top Features
1/2
5
6
4
7
811
9
3
10
1. (POWER)Button(→page16, 27)
2. POWER Indicator (→page15, 16, 27, 127)
3. STATUSIndicator(→page127)
4. LAMPIndicator(→page120, 127)
5. ECOButton(→page30)
6. SOURCEButton(→page18)
7. AUTOADJ.Button(→page26)
8. MENU Button (→page69)
9. /Volume Buttons /KeystoneButtons
(→page24, 26)
10.ENTERButton(→page69)
11.EXITButton(→page69)

9
1. Introduction
Terminal Panel Features
1235613 12
87
11 14910
4
1. COMPUTER1IN/ComponentInputConnector
(MiniD-Sub15Pin)(→page104, 108)
2. COMPUTER1AUDIOINMiniJack(StereoMini)
(→page104, 107, 108)(notavailableonM420XV)
3. COMPUTER2IN/ComponentInputConnector
(MiniD-Sub15Pin)(→page104, 108)
4. COMPUTER2AUDIOINMiniJack(StereoMini)
(→page104, 107, 108)(notavailableonM420XV)
5. HDMIINConnector(TypeA)
(→page104, 109)
6. USB(PC)Port(TypeB)
(→page42, 104)
7. MONITOROUT(COMP.1)Connector(MiniD-Sub
15Pin)(→page106)
8. AUDIOOUTMiniJack(StereoMini)(→page106)
(notavailableonM420XV)
9. S-VIDEOINConnector(MiniDIN4Pin)
(→page107)
10.VIDEOINConnector(RCA)(→page107)
11.VIDEO/S-VIDEOAUDIOINL/MONO,R(RCA)
(→page107)(notavailableonM420XV)
12.LANPort(RJ-45)(→page110)
13.USBPort(TypeA)(→page60)
14.PCCONTROL[PCCONTROL]Port(D-Sub9Pin)
(→page141)
UsethisporttoconnectaPCorcontrolsystem.This
enablesyoutocontroltheprojectorusingserialcommu-
nicationprotocol.Ifyouarewritingyourownprogram,
typicalPCcontrolcodesareonpage141.

10
1. Introduction
Part Names of the Remote Control
3
7
5
6
1
2
10
15
16
14
17
9
4
8
13
29
30
31
19
20
25
27
28
24
18
23
22
21
26
32
12
11
1. Infrared Transmitter
(→page11)
2. POWER ON Button
(→page16)
3. POWEROFFButton
(→page27)
4,5,6.COMPUTER1/2/3Button
(→page18)
(COMPUTER3buttonisnotavailable.)
7. AUTOADJ.Button
(→page26)
8. VIDEOButton
(→page18)
9. S-VIDEOButton
(→page18)
10.HDMIButton(→page18)
11.VIEWERButton(→page18, 60)
12.NETWORKButton(→page18)
13.USBDISPLAYButton(→page18)
14.IDSETButton
(→page86)
15.NumericKeypadButton/CLEARButton
(→page86)
16.FREEZEButton
(→page29)
17.AV-MUTEButton
(→page29)
18. MENU Button
(→page69)
19.EXITButton(→page69)
20. Button (→page69)
21. ENTER Button (→page69)
22.D-ZOOM(+)(–)Button
(→page29)
23.MOUSEL-CLICKButton*
(→page41)
24.MOUSER-CLICKButton*
(→page41)
25.PAGE/Button*
(→page41)
26.ECOButton(→page30)
27.KEYSTONEButton
(→page25)
28. PICTURE Button
(→page74, 76)
29.VOL.(+)(–)Button
(→page26)
30.ASPECTButton
(→page79)
31.FOCUS/ZOOMButton
TheZOOMbuttonworksontheshort-throwmodels
only.TheFOCUSbuttondoesnotworkonthisseries
ofprojectors.
32.HELPButton
(→page94)
* ThePAGE/, ,MOUSEL-CLICKandMOUSER-CLICKbuttonsworkonlywhenaUSBcableisconnected
withyourcomputer..
Other manuals for M230X
2
This manual suits for next models
20
Table of contents
Other NEC Projector manuals

NEC
NEC VT595 Series User manual

NEC
NEC PH1202HL1 User manual

NEC
NEC NP600 EDU User manual

NEC
NEC Nighthawk XT5100 User manual

NEC
NEC P502WL-2 User manual

NEC
NEC NP4100WJ User manual

NEC
NEC MultiSync LT280 Manual

NEC
NEC LCDMT1050 Installation and user guide

NEC
NEC Nighthawk SX 4000D User manual

NEC
NEC LT180 - LT 180 XGA DLP Projector User manual