ImportAppliances.com
THE EASIEST WAY TO SELF-IMPORT APPLIANCES DIRECT FROM EUROPE.
en Important safety information
6
Microwave
:Warning – Risk of fire!
■Using the appliance for anything other than
its intended purpose is dangerous and may
cause damage.
The following is not permitted: drying out
food or clothing, heating slippers, grain or
cereal pillows, sponges, damp cleaning
cloths or similar.
For example, heated slippers and grain or
cereal pillows may catch fire, even several
hours after they have been heated.The
appliance must only be used for the
preparation of food and drinks.
Risk of fire!
■Food may catch fire. Never heat food in
heat-retaining packages.
Do not leave food heating unattended in
containers made of plastic, paper or other
combustible materials.
Do not select a microwave power or time
setting that is higher than necessary. Follow
the information provided in this instruction
manual.
Never use the microwave to dry food.
Never defrost or heat food with a low water
content, e.g. bread, at too high a microwave
power or for too long.
Risk of fire!
■Cooking oil may catch fire. Never use the
microwave to heat cooking oil on its own.
:Warning – Risk of explosion!
Liquids and other food may explode when in
containers that have been tightly sealed.
Never heat liquids or other food in containers
that have been tightly sealed.
:Warning – Risk of burns!
■Foods with peel or skin may burst or
explode during, or even after, heating.
Never cook eggs in their shells or reheat
hard-boiled eggs. Never cook shellfish or
crustaceans. Always prick the yolk when
baking or poaching eggs. The skin of foods
that have a peel or skin, such as apples,
tomatoes, potatoes and sausages, may
burst. Before heating, prick the peel or skin.
Risk of burns!
■Heat is not distributed evenly through baby
food. Never heat baby food in closed
containers. Always remove the lid or teat.
Stir or shake well after the food has been
heated. Check the temperature of the food
before it is given to the child.
Risk of burns!
■Heated food gives off heat. The ovenware
may become hot. Always use oven gloves
to remove ovenware or accessories from
the cooking compartment.
Risk of burns!
■Airtight packaging may burst when food is
heated. Always observe the instructions on
the packaging. Always use oven gloves to
remove dishes from the cooking
compartment.
Risk of burns!
■The accessible parts become very hot when
in operation. Never touch hot parts. Keep
children at a safe distance.
Risk of burns!
■At the highest settings in microwave only
mode, the drying function will automatically
switch on an additional heating element to
heat the cooking compartment. Never touch
the inside surfaces of the cooking
compartment or the heating elements while
they are hot. Keep children at a safe
distance.
Risk of burns!
■Using the appliance for anything other than
its intended purpose is dangerous.
You are not permitted to use it to dry food
or clothing or to warm slippers, grain or
cereal pillows, sponges, damp cleaning
cloths or the like.
This is because, for instance, overheated
slippers, grain or cereal pillows, sponges
and damp cleaning cloths, etc., may cause
burns to the skin.
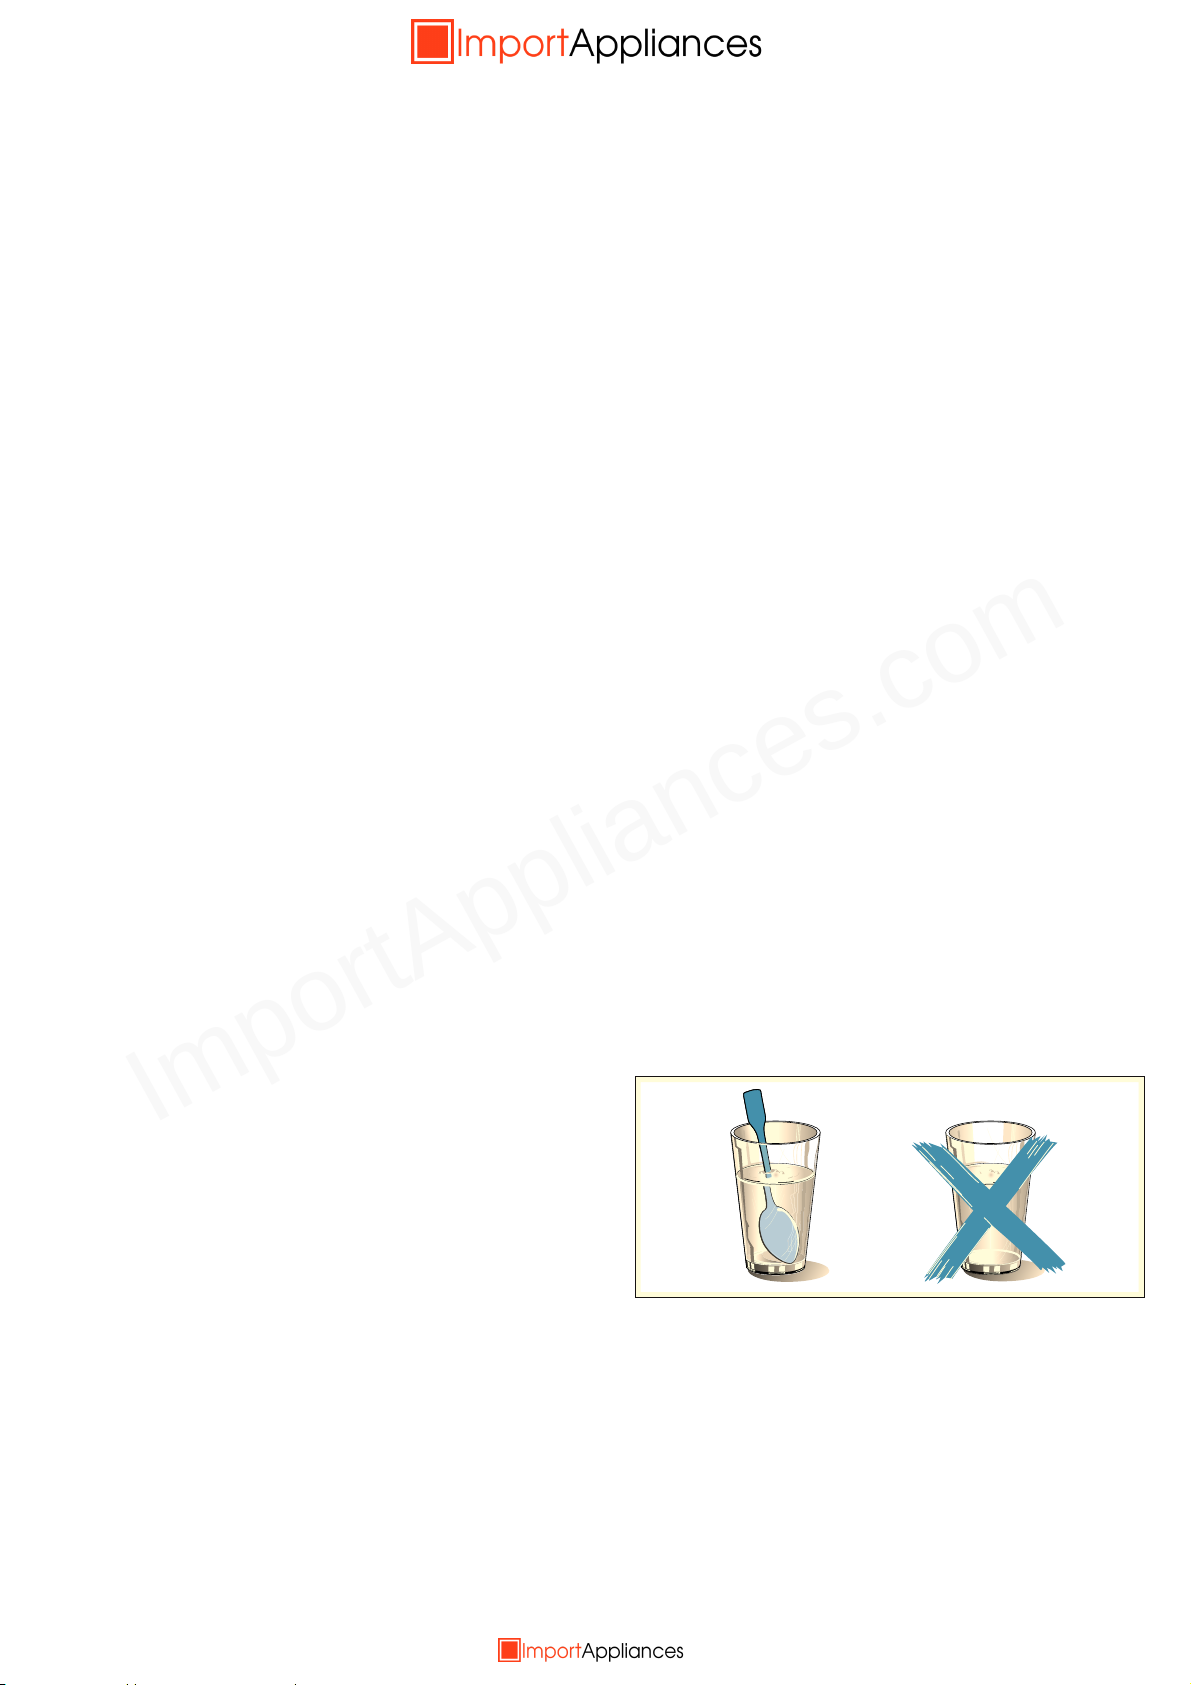
:Warning – Risk of scalding!
■There is a possibility of delayed boiling
when a liquid is heated. This means that the
liquid reaches boiling temperature without
the usual steam bubbles rising to the
surface. Even if the container only vibrates a
little, the hot liquid may suddenly boil over
and spatter. When heating, always place a
spoon in the container. This will prevent
delayed boiling.
:Warning – Risk of injury!
■Unsuitable ovenware may crack. Porcelain
or ceramic ovenware can have small
perforations in the handles or lids. These
perforations conceal a cavity below. Any
moisture that penetrates this cavity could
cause the ovenware to crack. Only use
microwave-safe ovenware.
Risk of injury!