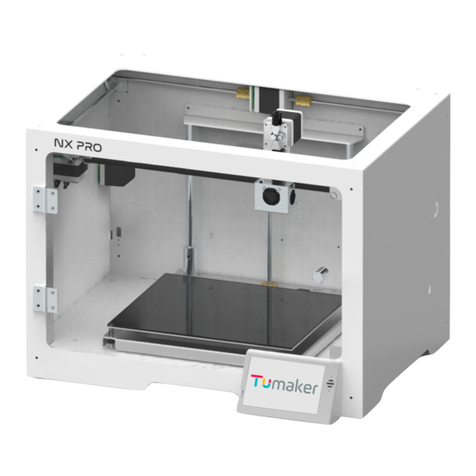
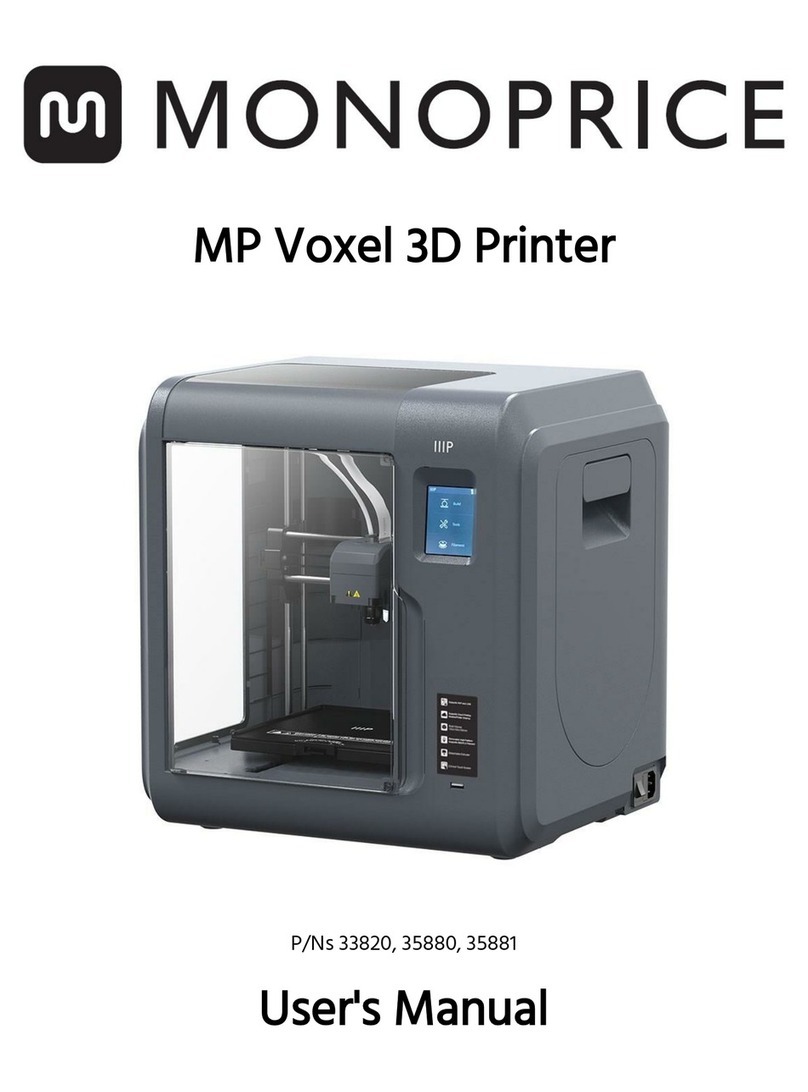
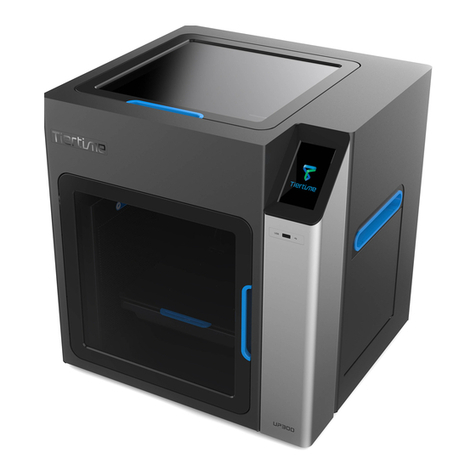
Nemotech Nautilus MK42 User manual

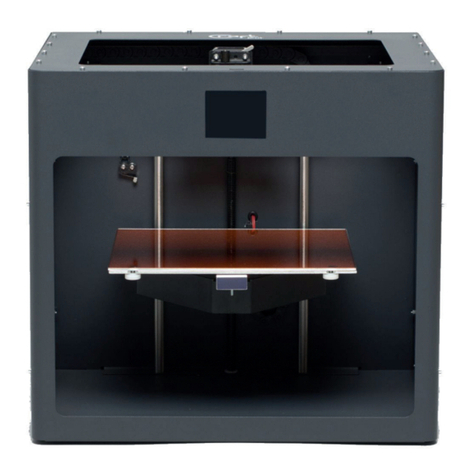
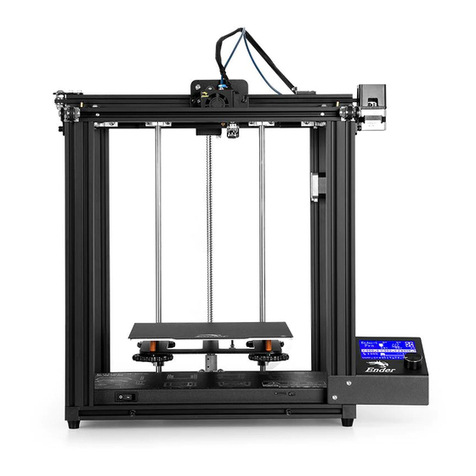
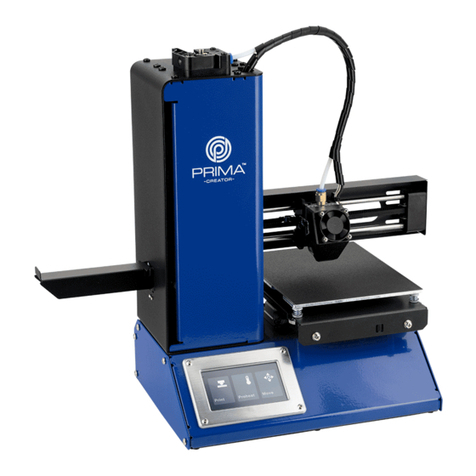
NAUTILUS 3D PRINTER MK42
Filament
Filament Holder
Printer Frame
Threaded Rod
X Axis
Z2 Stepper Motor
Z1 Stepper Motor
Heatbed
LCD Knob
LCD Panel
Reset Button
Z Axis
Extruder Stepper Motor
X Stepper Motor
X Axis Endstop Switch
SD Card Slot
Y Axis
Y Axis Endstop Switch

NAUTILUS 3D PRINTER MK42
Open the shipping box and carefully remove the printer.
Confirm the following have been included with the printer:
1 pair of Nitrile Gloves
USB Cable
Power Cable
2 Alcohol Wipes
Print Bed Pry Tool
8GB SD Card
Place the printer on a level surface in a draft-free area.
Break off the two spool holders still attached to the print bed.
Clip off the two large orange wire ties.
DO NOT CLIP ANY BLACK WIRE TIES
Attach the filament holders to the upper frame and load the filament spool. Make sure the spool
doesn’t jam and can turn freely. The filament should unwind from the top of the spool in the direction
of the LCD display.
Plug in the AC power cord, checking that the proper setting for AC voltage is selected (110V/220V), and
turn on the power using the switch located on the rear right side of the printer.
Wipe the print bed thoroughly using one of the included alcohol wipes.
DO NOT TOUCH THE PRINT BED WITHOUT WEARING NITRILE GLOVES
Check the LCD display to make sure the firmware is up to date
Main Screen displays the most important details:
A. Temperature of the nozzle (actual/desired)
B. Temperature of the heatbed (actual/desired)
C. Progress of printing in %
D. Status bar
E. Z-axis Position
F. Printing Speed
G. Elapsed printing time

Printer Statistics shows statistics for the running print. If you view the screen while the printer is idle,
you will see the lifetime statistics. Both filament usage and print time is being tracked.
Silent vs. Hi-Power Mode adjusts motor power consumption. Silent uses less current and makes the
printer quieter, but less powerful. Hi-Power is great for large (over 200 gram) prints and for freshly
assembled kits before you fine tune everything.
Factory Reset is used when troubleshooting the printer and resetting to the factory state.
Factory Reset Menu
1. Press and release the reset button (located under the LCD-Knob on the LCD panel and
marked with an X).
2. Press and hold the LCD-Knob until you hear a beep.
3. Release the LCD-Knob.
OPTIONS
1. Language
2. Statistics – erases all the recorded print time and material from the memory
3. Shipping Prep – resets only the printer language selection, but will prompt the ser once to run
the Calibrate Z function
4. All Data – resets everything including all calibration data, as well as, cleaning the whole EEPROM.
After this reset, user is expected to go through the calibration flow again, except setting the flow
height.
If you experience random glitches after firmware update or after printer upgrade, use the All
Data option.

XYZ CALIBRATION
The purpose of the XYZ calibration process is to measure the skew of the XYZ axes and to find the
position of the 9 calibration points on the print bed for the proper bed leveling.
MEASURING THE DISTANCE BETWEEN THE TIP OF THE NOZZLE AND THE PROBE
1. Place a sheet of regular office paper under the nozzle and hold it there during the first round
(first four points being checked) of calibration.
If the nozzle catches on the paper during the process, power off the printer and lower the probe slightly.
Check probe height.
The paper will not affect the calibration process. The nozzle must not touch the print surface or deflect
the bed by any means. If everything went correctly, continue with the calibration process.
2. Initiating this process performs a series of measurements in three rounds. The progress and
results of each step are displayed on the LCD. In case of errors found, the XYZ calibration is
interrupted and the reason for error is shown to guide in troubleshooting
3. At the start of the XYZ calibration procedure the printer prompts you with the following
message: Calibrating XY. Move Z carriage up to the end stoppers. Click when done. The printer
then asks you to confirm this step: Are left and right Z carriages all up?
Make sure you really move the Z carriage up to the end stoppers until you hear a rattling sound as the Z
stepper motors skip steps.
The XYZ calibration procedure also prompts you to: Please clean the nozzle for calibration. Click when
done.

LOADING FILAMENT
Preheat the nozzle before inserting the filament. If printing right away, preheat the print bed, as well.
The temperature depends on the material being used.
1. Press the LCD-knob to enter the main menu on the LCD Display. Rotate the knob to choose the
preheat option and confirm by pressing the LCD-knob. Next, choose the material you will be
printing, and confirm by pressing the LCD-knob. The nozzle and print bed will heat to the
requested temperature. WARNING: DO NOT TOUCH THE HEATED NOZZLE OR THE HEATED
PRINT BED.
2. Press the LCD-Knob on the LCD panel to enter the main menu. Turn the LCD-Knob to UNLOAD
FILAMENT and press the LDC-Knob to select. The extruder will release the remaining black
filament from the factory settings.
3. Insert the filament from the filament spool into the top of the Extruder Compartment.

Look through the window on the side of the Extruder Compartment to confirm that your filament
is loading properly into the feed guide.
4. Press the LCD-Knob to enter the main menu. Turn the LCD-Knob and scroll to LOAD FILAMENT.
5. Press the LCD-Knob to select LOAD FILAMENT while simultaneously feeding he filament into the
extruder. Apply firm, even pressure. This process can take a few tries. Trimming the filament at
a sharp angle is recommended.

6. Check if the filament is flowing from the nozzle.
7. As the filament begins to flow from the nozzle, gently use the pry tool to pull the filament away
from the nozzle. Continue pulling it away until it stops flowing. The will prevent the nozzle from
clogging.
8. The LCD Screen will prompt you: Is the Color Clear. Select yes, or the process will begin again.
CHANGING THE FILAMENT
If you change the filament for a new one, do not forget to completely remove the old filament before
beginning your print.
1. Press the LCD-Knob to enter the main menu. Turn the LCD-Knob to scroll to SETTINGS. Select
MOVE AXIS – EXTRUDER until the color is completely changed.
RUNNING OUT OF FILAMENT DURING A PRINT
CHANGING FILAMENT COLOR DURING A PRINT
If your filament is running out during a print, or you want to change filament color during a print, you
can easily change it for a new spool.
1. Press the LCD-Knob to enter the main menu. Turn the LCD-Knob to scroll to TWEAK
SUBMENU, press the LCD-Knob to select CHANGE FILAMENT. The printer will pause and go
out of the print area. Follow the prompts on the LCD Screen to unload the remaining
filament and load the new spool.

FIRST LAYER CALIBRATION
Check if your printer surface is clean! See the Print Surface Preparation section of this manual.
Complete the Calibrate XYZ section of this manual first, or you can permanently damage the print
surface.
1. Preheat the nozzle for PLA. On the LCD menu, use the LCD-Knob to select Print from SD.
Run the V2calibration.gcode file from the bundled SD card.
2. The printer will probe the bed and start printing a zig zag pattern on the print surface. The
nozzle will be at the height based on the probe setting. It must not touch the print surface.
3. Observe the line which is being extruded on the print surface. Go to the LCD menu and
choose the LIVE ADJUST Z option. A new menu will show up where you can adjust the nozzle
height live during the test print.
The point is to lower the nozzle until the extruded plastic sticks nicely to the bed and you can see it is
being lightly squished. Set value should not exceed -1mm. If additional adjustments must be made,
move the probe slightly higher. Loosen the two screws on the probe holder to adjust the probe.
By rotating the probe counter clockwise, it will raise at 1mm per turn. It is very handy for precise
adjustments, but it can also be pushed in and out when the set screws are loosened completely. Then
rerun CALIBRATE Z followed by the V2Calibration.gcode again.
FINE TUNING THE FIRST LAYER
1. After finishing the calibration gcode, print a simple object. The gcode from the supplied SD
card is a great example. The Live Adjust Z function (described in the First Layer Calibration
section of this manual) works during every print, so you can fine tune at any point.
2. Calibration might be slightly different for multiple materials. It is a good practice to check the
first layer and adjust accordingly with Live Adjust Z when switching between different types
of filament.
3. If the first layer seems inconsistent between multiple prints, the probe might be too high.
Lower it slightly. Loosen the two screws on the probe holder to make adjustments.
By rotating the probe clockwise, it will lower at 1mm per turn. It is very handy for making precise
adjustments, but it can also be pushed in and out when the set screws are loosened completely. Then
rerun CALIBRATE XYZ. Keep in mind, the probe must always be higher than the nozzle tip, otherwise it
will catch on prints.

PRINTING
1. Make sure that the nozzle and the bed are heated to the desired temperature. If you forget to
preheat the printing nozzle and the bed before printing, the printer will automatically check the
temperature of the nozzle and the bed; printing will start when desired temperature is reached
– it can take several minutes. This is not recommended. Follow the procedure in the Loading
Filament section.
Do not let the preheated printer idle. When a printer is preheated and non-printing material in an
extruder degrades over time – it may cause the nozzle to clog.
2. Press the LCD-Knob and choose the Print from SD option from the menu, press to confirm and
pick the desired model model_name.gcode. Printer will start printing the object.
3. Watch the first few printed layers to be sure filament has attached to the bed properly. This
should take at least five minutes.
REMOVING OBJECTS FROM THE PRINTER
1. When printing is finished, let the nozzle and heatbed cool down before removing the printed
object. Always handle the printed objects when the temperature of the bed and nozzle drop to
room temperature. Removing the object before the heat bed has properly cooled could result in
damage to the object or the heat bed.
2. Once cooling is complete, use the Print Bed Pry Tool to gently lift the corners of the object.
Apply gentle upward pressure until the object breaks free.
PRINTING SPEED
Print times will vary depending on object size and print resolution. Printing a small object takes a few
minutes, but printing larger models can take hours. The overall printing time can be changed in
different ways.
Slic3r Print speed can be changed by adjusting the layer height in Slic3r.
In the Slic3r software, change the Print settings option (upper right corner) from 0.20 mm NORMAL (this
is the default) to 0.35mm FAST. Increasing the speed compromises the print quality. Your print will
exhibit visible layer borders and be less detailed. Lowering the speed of your print will result in greater
detail and a higher quality print model. Printing time may double. Choose 0.10mm DETAIL for better
quality.
While Printing Speed can be changed while printing. The LCD-Screen will show the FR 100% item – it’s
actual speed (feed rate). You can increase the print speed up to 999% by turning the LCD-Knob
clockwise. A speed increase of anything over 200% is not recommended. Watch the results of
increased speed on the printed object and adjust the speed accordingly.

When increasing print speed, always check that the printed object is cooled properly. Increasing the
speed of small objects printed from ABS may result in a distorted or “warped” object. This issue can be
prevented by printing more similar objects together. Layer printing interval is long enough to prevent
this issue.
If the object shows lower quality than desired, you can decrease the printing speed by turning the LCD-
Knob counterclockwise. Minimum usable print speed is around 20% of nominal speed.
NOZZLE CLEANING
Use a small wire brush to carefully clean the nozzle from the outside. Heat the nozzle before you do so.
If the filament is not extruded from the nozzle (or extruding very slowly or in very small volume), first
check the extruder fan is working properly and that the temperature is set correctly (see the Materials
List in this Manual for correct temperature settings). Also check that the filament was loaded correctly
into the extruder.
If the filament extrudes, but in a small volume, check the direction. If it swirls and goes back up toward
the nozzle, the nozzle needs to be cleaned.
To Clean the Nozzle:
1. Move the extruder to the rightmost position out of the way of the heatbed. This allows you to
reach the nozzle from below.
2. Heat the nozzle according to the filament you want to print. Load the filament. Place a small
needle (0.3 – 0.35mm) into the nozzle from below. Push the needle in 1 to 2 cm deep.
3. Remove the needle and choose LOAD FILAMENT from the LCD menu. Check for proper
extrusion. If necessary, repeat the above steps with the needle a few more times. When the
filament is extruded properly, the nozzle is clear.

PRINT MATERIALS
ABS
Materials suitable for common, robust objects.
*Nozzle temperature: 255° C
*Bed temperature: 100° C. You can set the bed between 80° to 110° C depending on the size of an
object (larger object will require a higher temperature)
PLA
Material suitable for detailed models. PLA is made of renewable sources, mostly from cornflower and
cellulose. This material is appropriate for a layer height up to 50 microns.
*Nozzle temperature: 215° C
*Bed temperature: 50° to 60° C
PET
Material suitable for large objects thanks to its minimal thermal expansion. Universal material suited
also for printable mechanical components.
*Nozzle temperature: 240° C
*Bed temperature: 80° to 100° C
NOTE Do not use isopropyl alcohol to clean the bed. Doing so may cause the adhesion to be too strong.
Windex or another window cleaner is a great option for PET. Pour a small amount on a paper towel and
wipe the print surface.
HIPS
Universal, stable material with good heat resistance suited for printable mechanical coponents.
*Nozzle temperature: 220° C
*Bed temperature: 100 ° C. You can set the bed termperaute between 80° to 110° C depending on the
size of an object (larger objects will require a higher temperature).

NYLON
Nylon is very tough material suitable for mechanical parts.
*Nozzle temperature: 240° C
*Bed temperature: 80° to 90° C
Heatbed: Requires one coat of glue stick. Call Tech Support for additional instruction.
PP
Polypropylene is a flexible and resistant material suitable for printing precise objects requiring flexibility,
firmness and persistence.
*Nozzle temperature: 254° C
*Bed temperature: 95° – 100° C
*Heatbed: The best results are obtained with common scotch tape. Attach the tape directly to the print
surface an clean it after the print is finished.
FLEX
Flex is a very strong and flexible material suitable especially for flexible prototypes, covers, etc.
NOTE – Before you start printing from Flex, clean all previous material from the nozzle. Preheat the
nozzle and load PLA to remove any other previous material. When loading Flex, loosen the extruder
(idler) screws. Keep in mind that when printing from Flex the automatic filament exchange function may
not work properly.
*Nozzle temperature: 230° C
*Bed temperature: 50° C. You can set the bed temperature up to 65° C depending the size of an object.
(Larger objects will require a higher temperature).
*Heatbed: Some very soft flex materials can bond to the bed too much and will require the use of glue
on the bed as a separator to prevent PEI damage.

DIALING IN NEW MATERIALS
Materials will vary slightly depending on the manufacturer.
*To achieve the best possible output, you should experiment with the nozzle temperature, fan speed,
print speed and flow. All of these can be changed even during a print from the TWEAK menu on the LCD
panel.
*For materials not listed above, always follow the Manufacturer’s suggested settings, but find the
closest match in the Slic3r material profiles, modify and save as NEW. Continue by printing a few simple
test pieces and continuously use the TWEAK menu.
*After each improvement, don’t forget to modify the settings in Slic3r. Reset the TWEAK values before
every print.
Slic3r
A 3D printer can print almost anything. Whether you’ve downloaded 3D models from the Internet or
created your own models, you will need to convert the .obj or .stl format into a .gcode file. Gcode is a
file format readable by a 3D printer. The file contains information for nozzle movement and the amount
of filament to extrude. The right tool for this task, and for many more, is the Slic3r program.
You set the printing material, print quality and the print speed in Slic3r. You can manipulate the object
here, vary the placement of the printbed, resize it, etc.
Table of contents

